Growing Vegetables in Pots Indoors: 10 Crops That Work
A 60-centimetre (24-inch) windowsill with one or two hours of direct sun can support microgreens, lettuce, spinach, dwarf kale, radishes, scallions, short carrots and pea shoots; it is a poor place for ripe tomatoes or chillies unless you add a grow light. Growing vegetables in pots indoors works when light is specified before the pot, not after it.
The workable ten-crop list is practical, but the last two crops—compact cherry tomatoes and chilli peppers—belong under a properly positioned lamp rather than in a dim corner that merely feels bright.
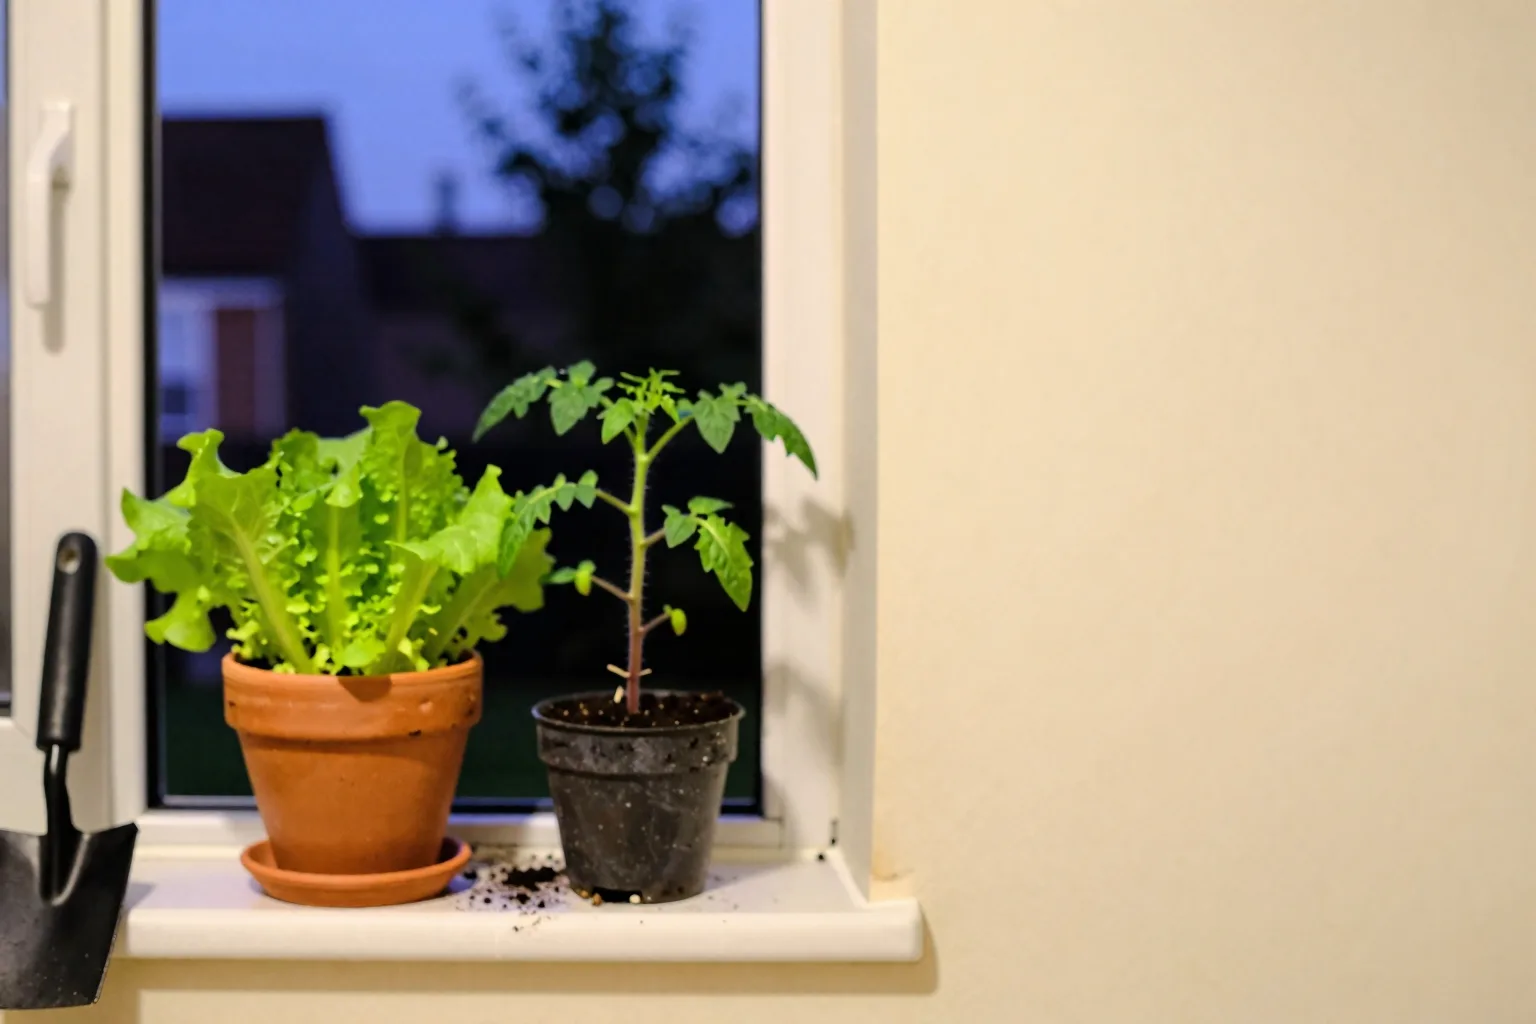
The first limit is light, not pot size
A bright room is not necessarily a bright plant station. Human eyes adjust quickly to indoor light, while a seedling has no such adjustment; glass, curtains, overhangs and the angle of the winter sun can leave the leaves receiving much less useful light than the room suggests.
Audit the actual growing surface before buying containers. For three days, put a strip of tape on the sill or shelf and write down whether direct sun reaches it at breakfast, around noon and in late afternoon. Record the shadow from a nearby building, balcony, blind or curtain. The useful figure is the direct light hitting the leaves, not the number of hours the window itself looks bright. A full guide to How to measure usable sunlight on a balcony or windowsill is worth using if the light changes sharply across the room.
If you are trying to grow vegetables indoors without sunlight, treat the lamp as part of the container specification. Leaf crops and radishes can be trialled in a bright window with one or two hours of usable sun, especially if you harvest them young. Cherry tomatoes and chilli peppers need much stronger, longer illumination to build flowers and fruit, so a grow light is the sensible starting point for those two.
Watch the plant before changing the watering routine. Long, thin stems, wide gaps between leaves, pale new growth and a plant leaning hard toward the glass all point toward insufficient light. A tomato that makes lush leaves but no flowers may also be receiving too little light. A timer helps keep the day consistent, but a weak fixture run for longer is not automatically equivalent to a suitably bright one.
Two productive trays under a properly positioned light will usually outperform ten struggling pots spread around a room that only looks bright.
Set up the station: pot depth, drainage, mix, tray and light
Buy usable root volume, not a container that looks large from above. A broad, shallow bowl can be excellent for microgreens and still fail a carrot or tomato because the roots run out of vertical space. The figures below are working starting points for compact varieties. They refer to the volume of mix inside the pot, not its outside dimensions.
Use these figures as starting specifications, not promises.
| Crop group | Working minimum depth | Approximate usable mix | Support |
|---|---|---|---|
| Microgreens | 5–8 cm (2–3 in) | 1–3 L (0.25–0.8 US gal) | No |
| Lettuce, spinach and dwarf kale | 15–25 cm (6–10 in) | 3–7 L (0.8–1.8 US gal) | No |
| Radishes and scallions | 15–20 cm (6–8 in) | 3–7 L (0.8–1.8 US gal) | No |
| Short or round carrots | 25–30 cm (10–12 in) | 7–12 L (1.8–3.2 US gal) | No |
| Dwarf peas | 20–25 cm (8–10 in) | 5–10 L (1.3–2.6 US gal) | Yes |
| Compact chilli peppers | 20–25 cm (8–10 in) | 10–15 L (2.5–4 US gal) | Usually a stake |
| Compact cherry tomatoes | 25–30 cm (10–12 in) | 20–30 L (5–8 US gal) | Yes |
For more crop-by-crop depth decisions, see How deep does a pot need to be for vegetables? If you are standing in a garden-centre aisle comparing bags of mix, How many litres of potting mix does a container vegetable need? covers the volume calculation rather than relying on the label on the pot.
Drainage is a root-zone issue
For the edible pots in this list, choose a container with a drainage hole at its lowest point and place it in a saucer or tray. Water should be able to leave the root zone; the tray catches the flow so it does not stain a sill. Empty the tray after the pot has finished draining instead of allowing the base to sit in water.
The saturated layer that can remain above a drainage hole is called a perched water table. In plain terms, the mix can hold a wet band near the bottom even after the excess has run out, because water clings to the small spaces between particles. A layer of gravel below the mix does not remove that wet band. It takes away root volume and can raise the level at which the mix stays saturated, so it is not a drainage upgrade.
Use a commercial potting mix made from lighter materials rather than soil dug from a garden bed. Garden soil can settle into a dense mass in a pot, leaving less air around the roots and making the container slow to drain. A small fan on low, aimed across the plants rather than directly at them, helps still indoor air move around crowded foliage. Keep the fan gentle enough that leaves do not flap constantly.
Use a timer for supplemental light and follow the fixture’s distance instructions. For fruiting tomatoes and peppers, a roughly 12–16-hour lamp day is a reasonable starting range when the fixture is genuinely suitable for plant growth; the correct distance and intensity still matter. Before planting in a repurposed container, read food-safety guidance on containers, glazes, treated timber and materials used for edible crops. If you cannot establish what a timber treatment or glaze contains, choosing a known material is the better trade-off for food crops.
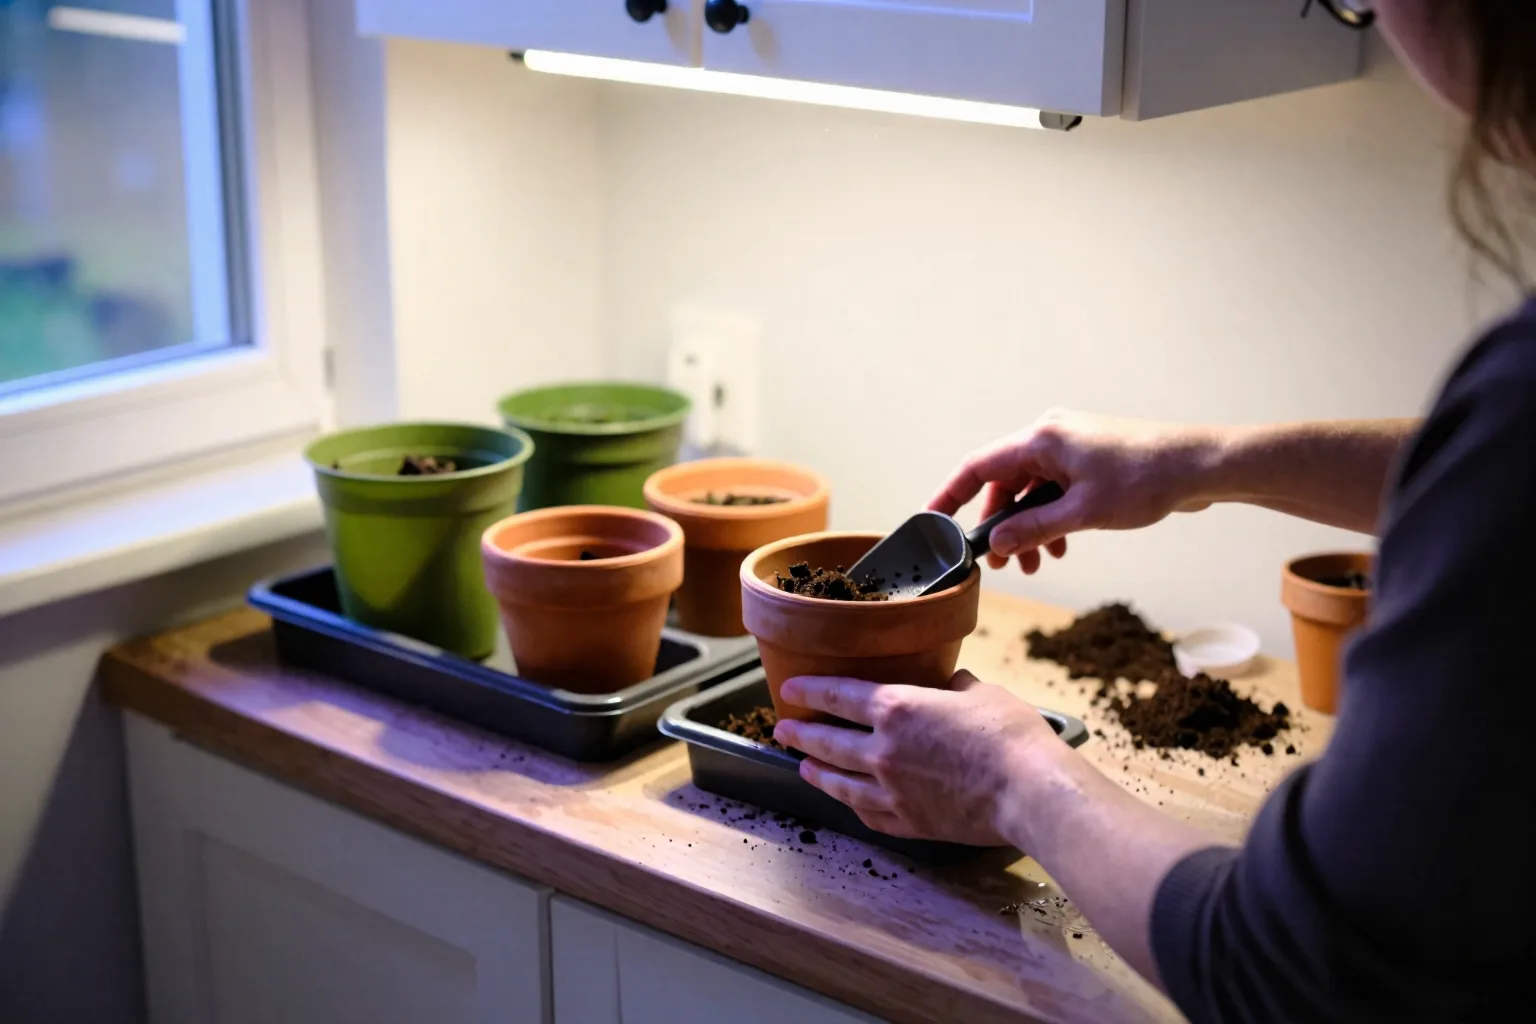
Four reliable leaf harvests: microgreens, lettuce, spinach and dwarf kale
1. Microgreens
Microgreens are the quickest way to test an indoor station because the plant is harvested young, before it needs a large root system. Fill a tray 5–8 cm (2–3 in) deep with damp mix, sow densely but evenly, cover seed according to the packet directions, and keep the surface from drying during germination. Bottom-watering is useful when practical: set the tray in a shallow layer of water long enough for the mix to draw moisture upward, then remove it.
Plan a 7–21-day harvest window, depending on the crop and the room conditions. Cut above the mix when the first true leaves begin to appear or when the stems reach the texture you want. A 30 × 20 cm (12 × 8 in) tray is better thought of as a garnish or a few handfuls for one meal than as a full salad supply. Sow a second tray about a week after the first if you want the harvest to continue.
2. Loose-leaf lettuce
Choose loose-leaf or baby-leaf lettuce rather than a variety that must form a large, tight head. Give it about 15–20 cm (6–8 in) of mix, sow thinly, and remove surplus seedlings while they are small. Crowding produces small, soft plants because each leaf competes for the same limited light and root volume. Harvest the outer leaves first and leave the centre growing point intact.
3. Baby spinach
Sow spinach directly into 15–25 cm (6–10 in) of mix and thin it to leave room around each plant. It prefers a cooler room than a sunny windowsill above a radiator. Pick the outside leaves once they are large enough to use. If the plant races to a tall central stem, the room may be too warm, the light may be weak, or the plant may simply be moving toward flowering; the leaves can become less tender as that shift begins.
4. Dwarf kale
A compact kale cultivar can keep producing small outer leaves from a 15–25 cm (6–10 in) pot. Start with one or a few plants per container rather than filling every centimetre with seedlings. Kale tolerates cooler indoor conditions better than a hot, dry spot, but it still needs enough light to keep the stems short. Harvest individual lower leaves and leave several healthy leaves around the crown.
For all four leaf crops, expect repeated handfuls from a well-managed pot, not an unlimited salad bowl. A leggy seedling has an elongated weak stem; a green film or fuzzy patch on the mix points to a surface that stays wet; a crowded tray shows thin stems and overlapping leaves. Increase usable light first, improve airflow and spacing second, and reach for fertilizer only after those checks.
Roots below the sill: radishes, scallions and short carrots
Root crops need an unobstructed column of mix below the seed, not simply a wide container. A shallow tub gives a radish room to swell but leaves a carrot taproot meeting the bottom; a hard obstruction then changes the shape of the harvest.
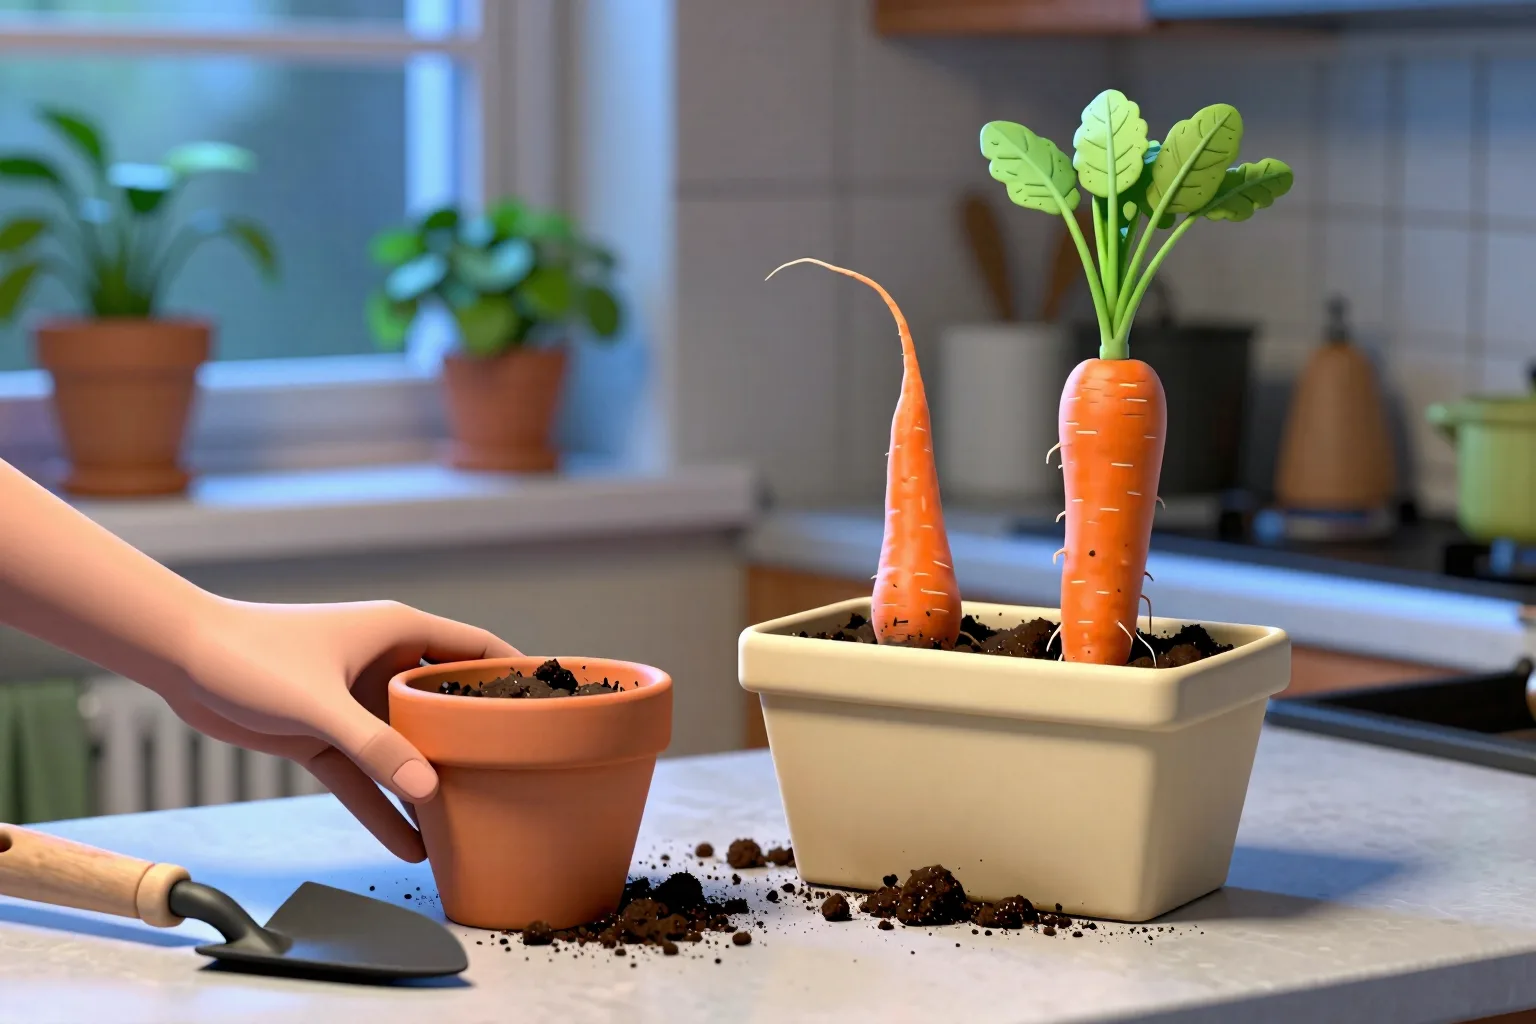
5. Radishes
Use a 15–20 cm (6–8 in) pot and sow radishes directly into their final mix. Thin the seedlings so the roots have roughly 3–5 cm (1–2 in) of space, depending on the mature size named on the packet. Sow a small row every week or two instead of filling one large pot at once. Under suitable light and even moisture, many small radishes are ready in about 25–45 days from sowing. The shoulders should feel firm and begin to show at the surface; pulling one test root is more reliable than waiting for a calendar date.
6. Scallions
Scallions are forgiving in a 15–20 cm (6–8 in) pot. Sow them directly and harvest the green leaves as needed, or space them farther apart if you want thicker stems. Regrowing the green leaves from a kitchen base is a different project from producing a new bulb: the base may push fresh leaves from stored energy, but it does not turn a glass of water into a full new onion. For a continuing supply, sow fresh seed at intervals.
7. Short or round carrots
Choose short, round or container-suited carrots and give them a straight 25–30 cm (10–12 in) column of fine mix. Sow directly because disturbing the young taproot can lead to forked or distorted roots. Remove stones, bark chunks and compacted clumps before sowing, then thin carefully so neighbouring roots are not forced to share the same narrow space.
Short carrots commonly need around 60–90 days under suitable conditions, with the packet’s maturity estimate treated as a guide rather than a guarantee. Harvest when the shoulder reaches the size promised for that cultivar and the colour has developed. Small, forked, split or hairy roots have different clues: crowding and obstacles distort shape, while uneven moisture can contribute to splitting as the root expands after a dry spell.
These are not difficult crops, but they punish shortcuts in the mix. A level surface, fine texture and steady moisture matter more than an expensive container.
Dwarf peas are a vertical crop, not a windowsill garnish
Dwarf peas need about 20–25 cm (8–10 in) of root depth and a roughly 5–10 L (1.3–2.6 US gal) container. They also need somewhere to climb. Secure a small trellis, bamboo frame or strings before the vines become tangled; adding support after tendrils have wrapped around neighbouring plants usually means pulling on fragile stems.
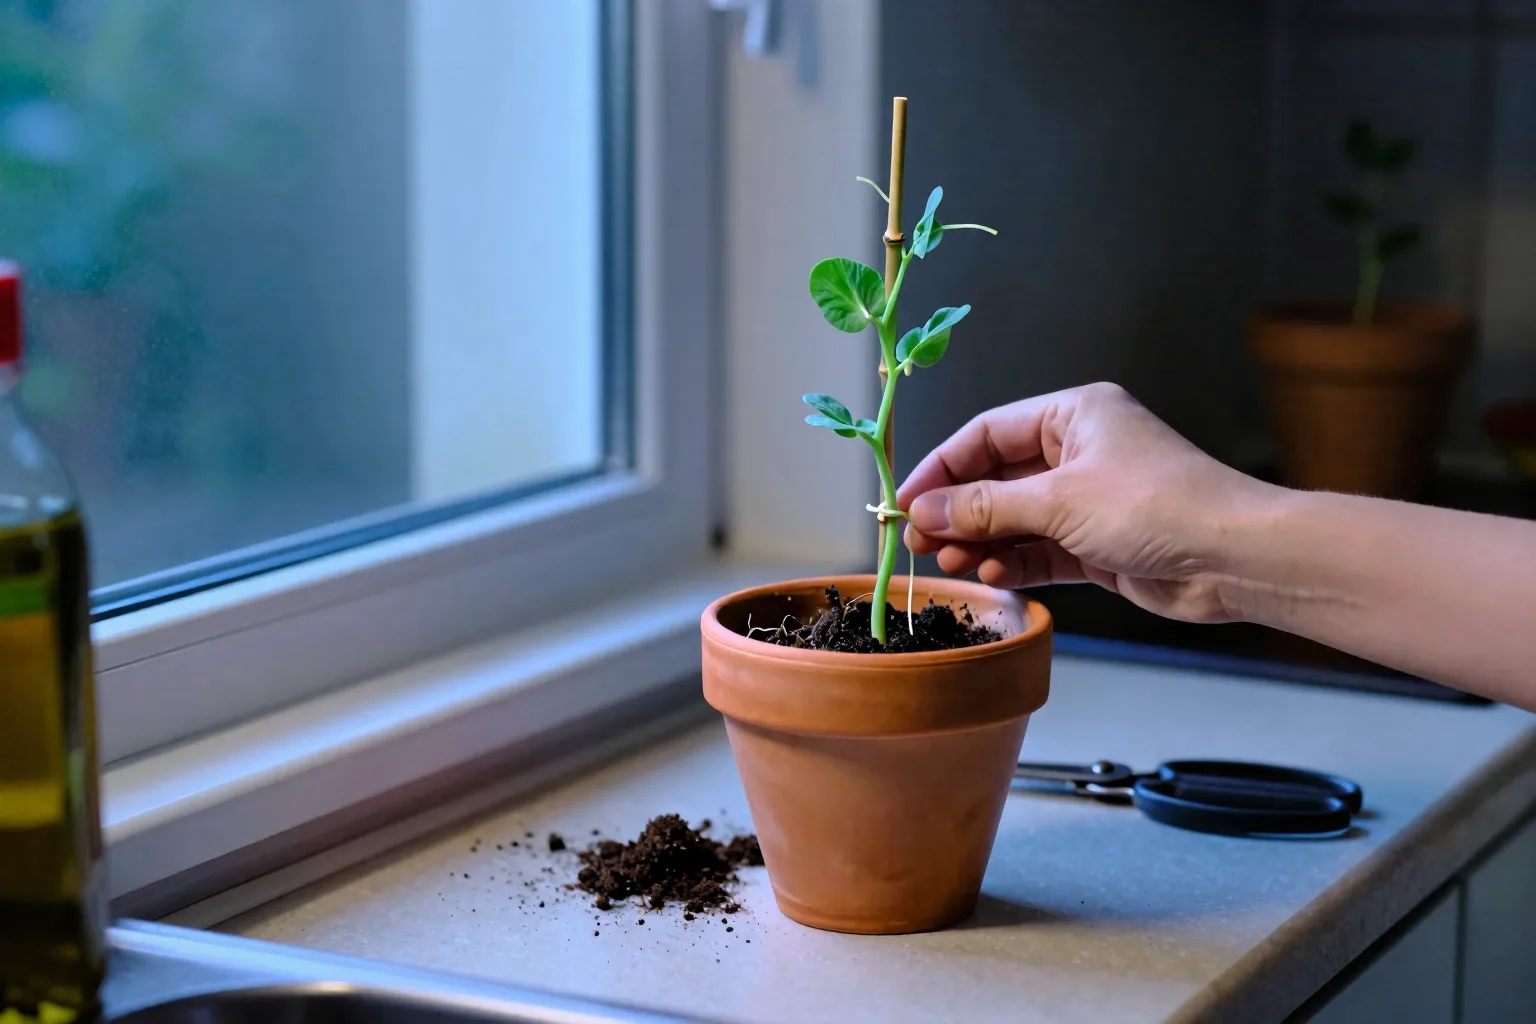
Pea shoots are the more dependable indoor harvest when space or light is limited. Sow directly, keep the mix evenly moist while the plants establish, and take young shoots before they become stringy. Pod production asks more of the room: stronger light, cooler conditions and patience while the flowers form. Peas are self-fertile, meaning pollen and the pollen-receiving part are present in the same flower, but still indoor air may not move the flower enough. Gently move the plant or tap the support while flowers are open.
Pick snow or sugar-snap pods while they are crisp and before the seeds swell hard. Expect a modest succession of shoots or pods from one pot, not a large bowl for a household. If pod production is the main goal, give the peas the brightest position available and start a second sowing rather than waiting for one tired vine to carry the whole harvest.
Tomatoes and chilli peppers change the rules
Tomatoes and peppers are possible indoors, but they are not beginner-level windowsill crops. A compact tomato can occupy 20–30 L (5–8 US gal) of mix and still need a stake or cage; a compact chilli pepper can work in roughly 10–15 L (2.5–4 US gal), with at least 20–25 cm (8–10 in) of root depth.
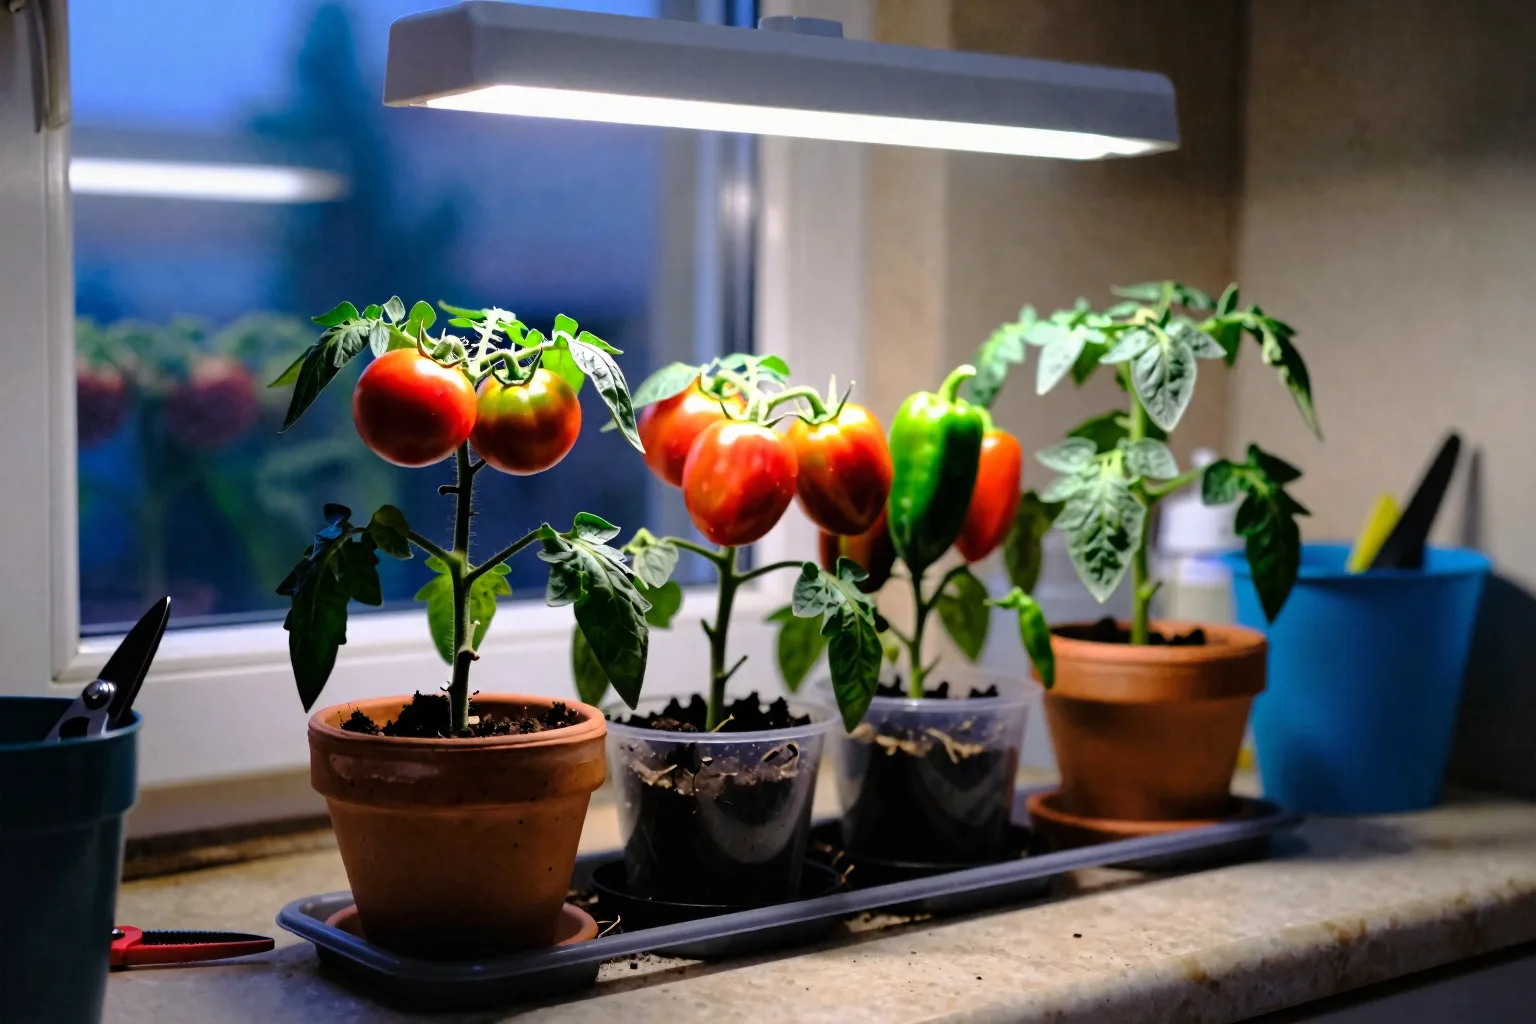
8. Compact cherry tomatoes
Choose a genuinely compact patio or determinate cherry tomato rather than a full-size indeterminate vine. Determinate plants tend to stop extending after a defined flowering and fruiting pattern, while indeterminate plants keep making a longer vine and demand more support and root volume. Check seed-packet and cultivar references for mature height, days to maturity and whether the variety is suited to containers.
Put one plant in its own 20–30 L (5–8 US gal) pot. Give it strong supplemental light on a timer for roughly 12–16 hours per day, using the fixture’s recommended distance rather than guessing from how bright the room appears. Once the plant is actively growing beyond the seedling stage, it will need regular nutrition; seedlings in fresh mix need a lighter approach. Keep moisture steady while fruit develops, but use the mix as your guide rather than watering by the date.
Tomato flowers often need a little indoor help because there are no outdoor breezes or visiting insects to shake pollen loose. When a flower is open, tap the support or gently vibrate the flower truss. Repeat while new flowers open. If the plant makes leaves but no flowers, inspect light and feeding before pruning harder: low light and excess nitrogen can both favour foliage over flowers. Flowers that drop without setting fruit can reflect heat, irregular moisture or incomplete pollination. Fruit that stays small points back toward light, root volume, variety and general plant stress.
9. Compact chilli peppers
Use one compact pepper plant in a 10–15 L (2.5–4 US gal) container with 20–25 cm (8–10 in) of mix. A small stake is useful once the plant carries fruit. Peppers are slower to repay the space than baby greens, so the variety matters: a compact, early pepper is a better indoor candidate than a tall plant bred for a long outdoor season.
Give the pepper the same serious light treatment as the tomato. Gently shake the plant or touch open flowers to help pollen move between the flower parts. Water thoroughly when the mix has dried to the point described in the next section, then allow excess to drain. Feed once established and actively growing, but do not try to correct a low-light plant with extra fertilizer. Lush foliage, dropped flowers and tiny fruit are signals to inspect light, heat, moisture and pollination in that order.
The honest harvest expectation is a modest run of cherry tomatoes or chilli pods indoors. Variety, lamp intensity, pollination, root volume and plant health can move the result substantially, so treat fruiting as a worthwhile project rather than a guaranteed return from one pot.
Keep the harvest moving: watering, feeding and indoor failure checks
Do not put these crops on one fixed watering calendar. Push a finger 2–3 cm (about 1 in) into the mix, or use a moisture probe consistently in the same part of the pot. The surface can look dry while the bottom remains wet, especially in a deep container; the reverse can happen in a small pot beside a heater.
When watering is needed, apply it slowly across the surface until a little drains from the hole. That wets the full root column rather than the top crust. Empty the saucer after drainage. In a small plastic pot in direct sun with warm, dry air, the next check may be needed daily; in a glazed pot in cooler part shade, it may be every few days. The actual interval depends on pot size, material, plant size, airflow and weather at the window. The full decision process is laid out in How to water vegetables in containers without overwatering.
Feed after repeated leaf harvests or once a fruiting plant is actively adding growth, following the label of the fertilizer you have chosen. Seedlings need less than established plants. Fertilizer cannot repair roots sitting in stagnant wet mix or leaves starved of usable light, and adding more can make those problems harder to read.
| What you see | Check first | Practical response |
|---|---|---|
| Tall, pale, weak growth | Light intensity, lamp distance and crowding | Increase usable light within the fixture instructions, space plants and rotate pots |
| Yellow leaves with persistently wet mix | Drainage hole, saucer and watering frequency | Pause watering until the upper mix has partly dried; do not add fertilizer as a first response |
| Crispy edges or sudden wilt | Dry root zone, radiator heat and direct hot glass | Water thoroughly if the mix is dry and move the pot away from the heat source |
| Green or fuzzy surface mould | Wet surface, still air and crowded sowing | Let the surface dry between checks, improve airflow and thin seedlings |
| Small flying insects near the mix | Persistently damp organic surface | Allow more surface drying, improve drainage and use traps for adults while correcting the moisture problem |
| Flowers form but fruit does not | Light, heat, moisture swings and pollination | Check the lamp and root moisture, then gently vibrate open tomato or pepper flowers |
Set a reminder for one week from now. Verify that the light timer is actually switching on, rotate each pot a quarter turn, lift the saucer to check the drainage path, and sow the next small batch of lettuce, radishes or microgreens. By then, compact seedlings should be reaching toward the light without long bare stems; if they are not, fix the station before buying another crop.