Container Gardening Soil: 3 Mixes That Actually Work
For most balcony vegetables, herbs, and strawberries, start with 2 parts pre-moistened peat or coir, 1 part perlite or pumice, and 1 part finished compost by volume. In a 10-litre batch, that is 5 L (1.32 US gal) of base, 2.5 L (0.66 US gal) of aeration material, and 2.5 L of compost.
That is Mix 1 below, not a universal answer. A small terracotta pot on a hot, windy balcony may need Mix 2, while a large container holding a dwarf citrus or perennial herb for several seasons is better served by Mix 3. The useful container gardening soil is the one that stays evenly moist without turning airless, and keeps its pore structure after repeated watering.
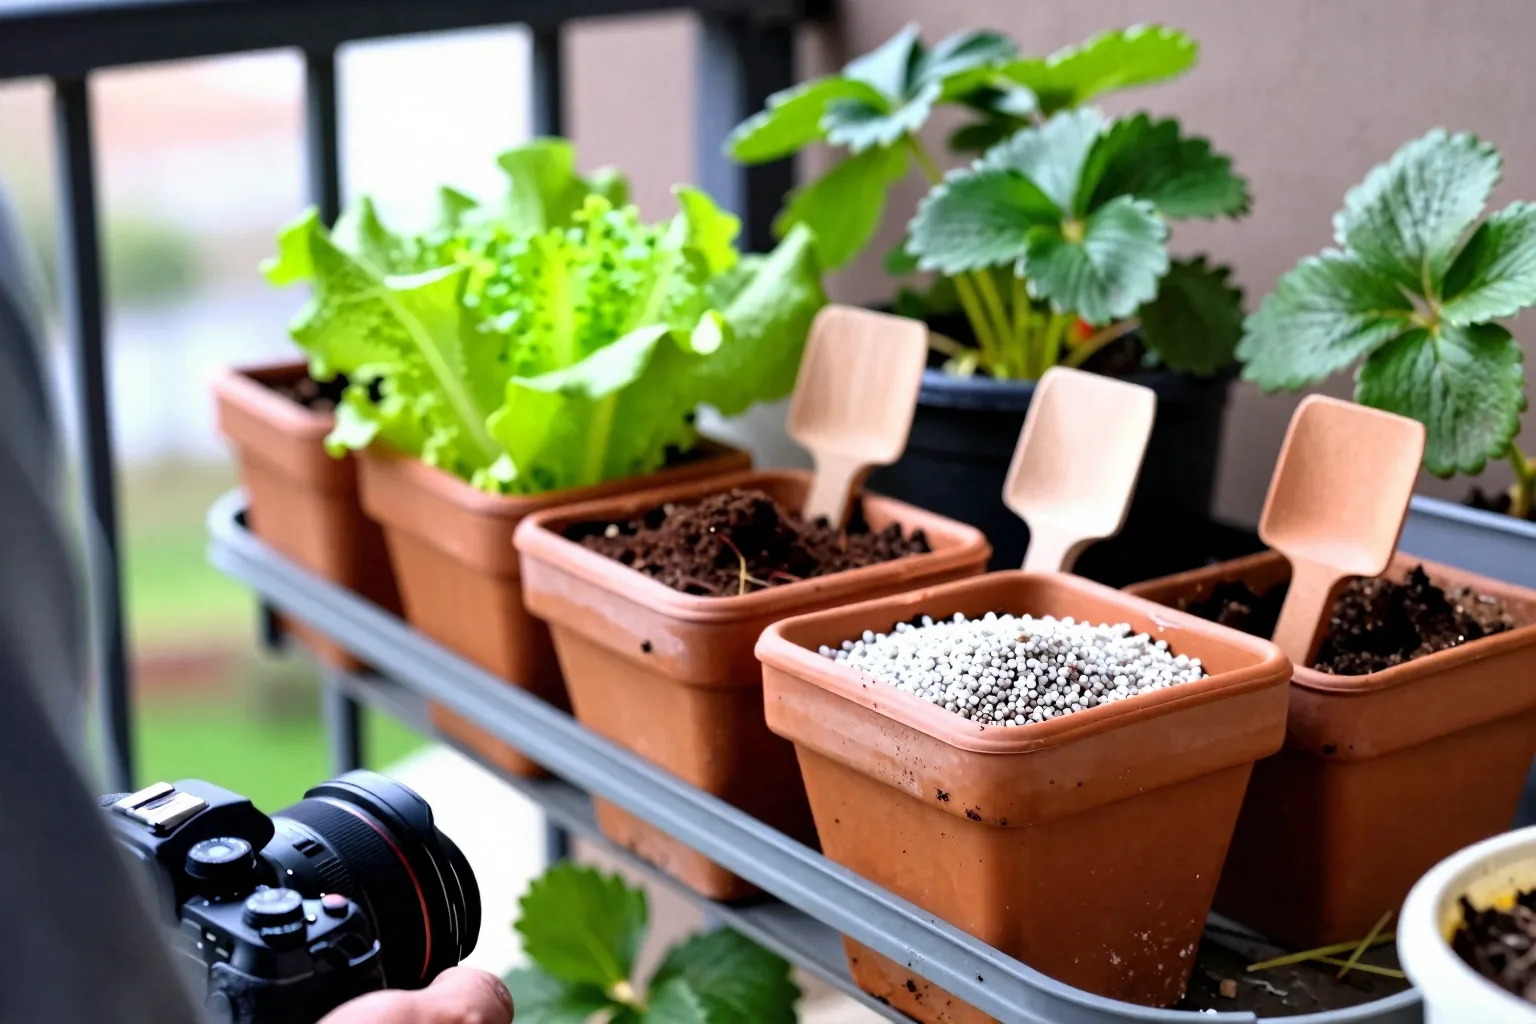
Start with the root zone, not the ingredient list
I treat a potting mix as a root-zone design rather than a shopping list. Roots need water, but they also need oxygen in the open spaces between particles. A mix that holds water in every gap can leave a plant looking thirsty even though the pot feels wet, because damaged or oxygen-starved roots cannot replace water efficiently.
A container has a much smaller root volume than a garden bed. Roots cannot keep travelling into a cooler, moister patch when the surface dries, and the plant has less stored water around it between visits from you. Sun on the pot wall, wind across the balcony, thin plastic, and unglazed terracotta all increase the speed at which that limited supply disappears. Drainage also carries away some dissolved nutrients, so a container mix normally needs a measured feeding plan rather than a one-time handful of fertiliser.
That is why I would not make ordinary garden soil the main ingredient in a balcony pot. Mineral garden soil can settle into a dense column, weigh more when wet, and drain differently from the open ground where it came from. A peat- or coir-based potting medium gives you more control over the balance between water-holding material and structural material. The word soil is still useful shorthand, but the physical job is different.
One term helps explain the drainage problem: the perched water table. In plain language, it is a saturated layer that remains at the bottom of a pot after the free water has drained from the hole. Fine particles hold water by capillary pull; the water does not automatically fall through simply because there is a coarse layer underneath. Roots sitting in that lower wet zone have less air around them.
A gravel layer therefore does not create a deeper drain. In a pot made from one fine-textured column above coarse gravel, the boundary can make the wet layer sit higher in the root zone, while the gravel also steals valuable root volume. If this is the question that brought you here, the full mechanism is covered in Does Gravel Improve Drainage in Pots? For a working mix, use a pot with open drainage holes and keep the soil column continuous instead.
The technical topic container media and air-filled pore space describes the same practical target: the gaps left full of air after excess water has drained. The recipe has to be matched to the pot, crop and exposure because those three things decide how quickly the mix loses water and how long its lower layers remain wet.
Three recipes, measured in litres—not handfuls
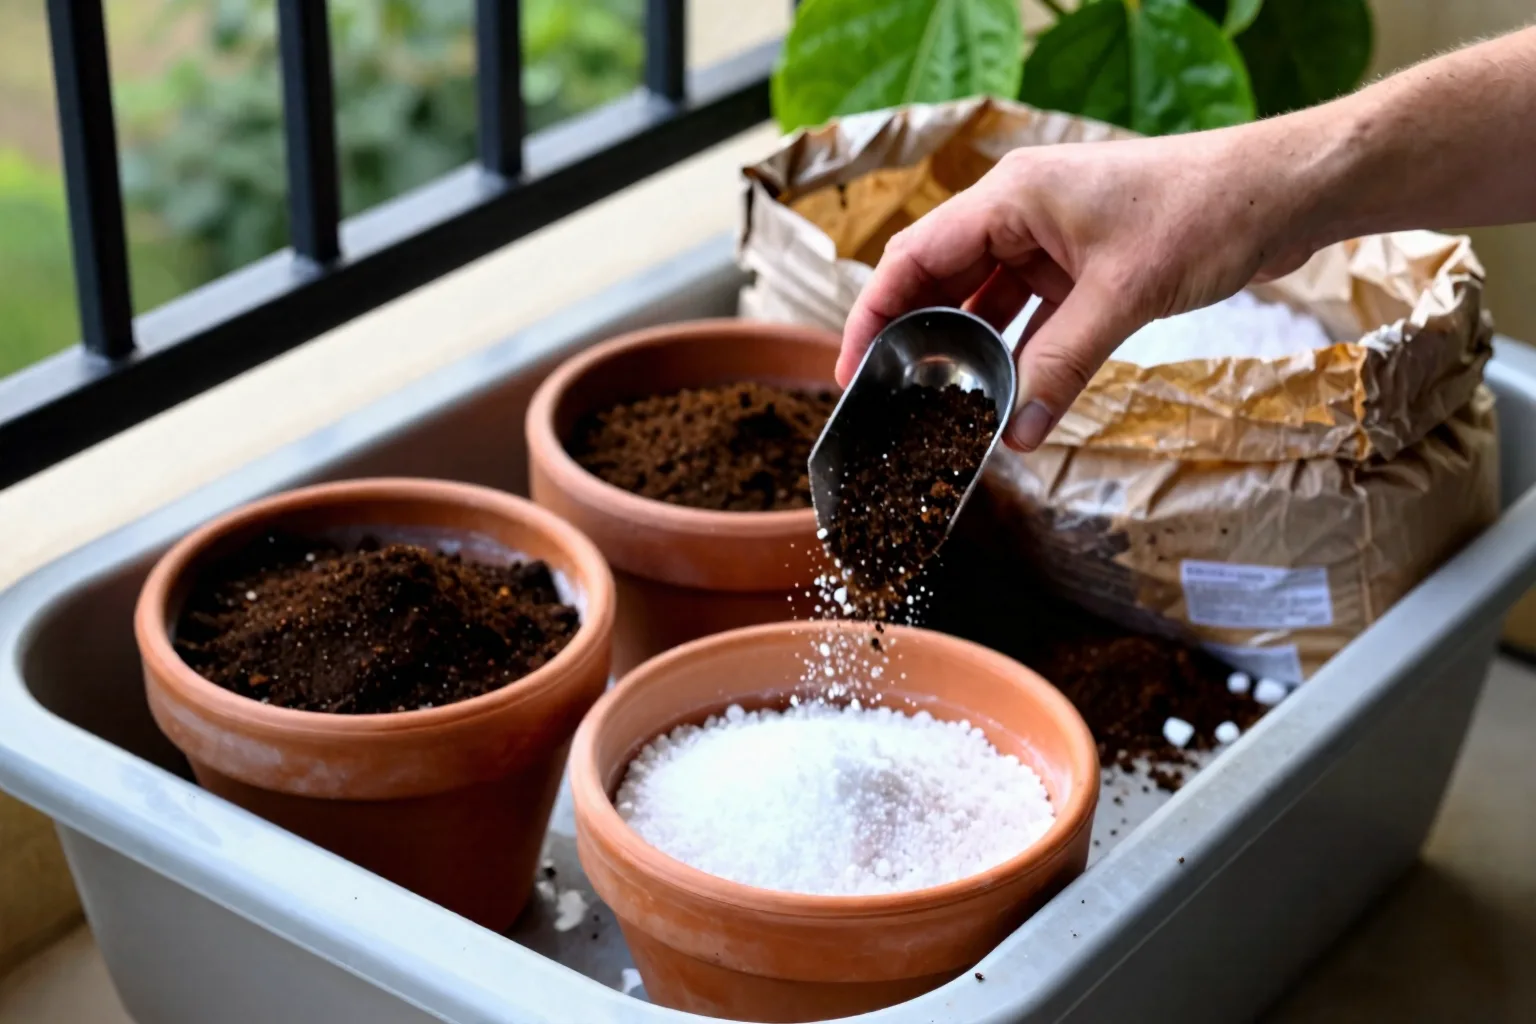
The three recipes below use separate ingredients and are measured by loose volume, not by weight. That distinction matters: a litre of damp compost and a litre of fluffed coir do not weigh the same, but each still occupies a litre in the blend.
| Mix | Batch recipe | Best starting use | Main limit |
|---|---|---|---|
| 1: Everyday | 5 L base + 2.5 L perlite or pumice + 2.5 L compost = 10 L (2.64 US gal) | Vegetables, herbs and strawberries | Can dry quickly in small exposed pots |
| 2: Water-buffered | 4 L base + 2 L perlite or pumice + 2 L vermiculite + 2 L compost = 10 L (2.64 US gal) | Small pots in hot, windy exposure | Can stay too wet in shade or poor drainage |
| 3: Bark-based | 4 L aged fine pine bark + 2 L base + 2 L pumice or perlite + 1 L compost = 9 L (2.38 US gal) | Large, long-lived containers | Needs properly aged, fine bark |
Mix 1: the dependable everyday blend
For one 10 L batch, use:
- 5 L (1.32 US gal) pre-moistened peat or coir
- 2.5 L (0.66 US gal) perlite or pumice
- 2.5 L (0.66 US gal) finished, screened compost
This is the blend I would put in the shopping trolley for a first season of lettuce, basil, parsley, chard, bush beans, peppers, compact tomatoes, or strawberries, provided the pot is large enough for the crop. Its 2:1:1 ratio gives the base enough volume to hold water, the mineral ingredient enough space to keep the mix open, and the compost a supporting role rather than making it the whole structure.
It is not a cure for an undersized pot. If a tomato is in an 8 L (2.1 US gal) container, adding extra compost to hold more water does not create the missing root volume. The plant still has a small reservoir, and the extra fine material may leave the centre wet while the surface looks dry. I would rather use Mix 1 in a correctly sized pot than make a richer but denser mix for a pot that cannot support the crop.
As a practical example, suppose your pot takes about 18 L (4.75 US gal) to the fill line. Two batches give you 20 L, leaving enough to fill below the rim and top up after the first watering. Do not assume the outside diameter tells you the volume. A tapered or thick-walled 30 cm (12-inch) pot can hold a different amount from a straight-sided one. How Much Soil Does a 12-Inch Pot Hold? is worth checking before you buy ingredients.
Mix 2: extra water buffering for exposed small pots
For one 10 L batch, use:
- 4 L (1.06 US gal) pre-moistened peat or coir
- 2 L (0.53 US gal) perlite or pumice
- 2 L (0.53 US gal) medium-grade vermiculite
- 2 L (0.53 US gal) finished compost
Vermiculite is the water-buffering part here. Its layered particles hold more moisture than a purely mineral aeration ingredient, while perlite or pumice keeps larger air spaces from disappearing altogether. That combination is useful when a small pot dries before you can water it again, especially on a balcony where sun and moving air reach the container from several directions.
There is a clear limit. I would not use Mix 2 for succulents, cool shade, or a pot with blocked holes. Those conditions already slow drying, so the added vermiculite can leave the root zone wet for too long. Nor can it rescue a pot that is tiny enough to need watering several times a day. In that case, moving up from a 5 L (1.3 US gal) pot to a 10 or 15 L (2.6 or 4 US gal) pot usually changes the water reserve more meaningfully than adding another scoop of moisture-holding ingredient.
If you are using unglazed terracotta, remember that the pot wall itself can draw moisture outward. Mix 2 can compensate for some of that loss, but it cannot cancel a full day of hot wind. A larger plastic or glazed pot may be the better fix if the plant repeatedly wilts while the mix is dry at root depth.
Mix 3: a more durable structure for permanent containers
For one 9 L (2.38 US gal) batch, use:
- 4 L (1.06 US gal) aged fine pine bark
- 2 L (0.53 US gal) peat or coir
- 2 L (0.53 US gal) pumice or perlite
- 1 L (0.26 US gal) finished compost
Use bark sold as aged fine bark or composted bark, not fresh chunky landscaping mulch. The fine bark contributes particles that resist rapid collapse better than a mix dominated by soft compost, while still leaving channels for air and water. The small amount of compost supplies organic matter without asking compost to carry the whole structure for several seasons.
Mix 3 is a sensible starting point for a large container holding a dwarf citrus, bay, rosemary, or another plant that will stay put for more than one growing season. It is also easier to refresh later: you can remove the upper layer, inspect the roots, and add new bark-based medium without replacing every litre at once. Long-lived plants still need repotting or root pruning eventually; a durable mix only slows the loss of structure.
Blueberries are the important exception. They need an acidic growing medium, so I would not put one into any of these general recipes without checking the required pH and choosing compatible ingredients. Avoid treating a general mix with random vinegar, lime, or wood ash. The useful reference topic is acidic growing media and pH management for container blueberries, but the practical decision is simple: use an acid-loving formulation and do not assume a handful of compost makes it suitable.
Measure the ingredients as they will sit in the pot
Peat and coir are often sold dry and compressed. Break up and hydrate coir fully, or loosen peat, then drain away free water and tease the material apart before measuring. A brick that looks like one small block is not a one-litre ingredient; its relevant volume is the loose, expanded material you actually blend. Measure it in a straight-sided bucket without pressing it down.
Screen compost before it goes into the mix. A simple 6 mm (one-quarter inch) screen removes woody chunks, stones and clumps that create uneven wet pockets. Finished compost should have a settled, earthy smell rather than a sharp sour or ammonia-like odour. For edible containers, I would also reject compost containing unknown treated timber, painted fragments, rubbish, or material whose source you cannot identify. A cheap ingredient is not useful if you cannot tell what went into it.
One more rule prevents a common shopping mistake: these recipes assume you bought the ingredients separately. If a commercial potting mix already contains peat or coir, perlite, bark and compost, do not add a full dose of every component again. Read the ingredient panel first. Otherwise, a recipe intended to produce an open 2:1:1 blend can become mostly fine material with extra compost layered on top of an already rich base.
Choose by balcony conditions: the same crop can need a different mix
A recipe is only half the decision. The same basil can need different handling in a glazed pot in part shade and an unglazed terracotta pot in full afternoon sun. Use the table as a starting point, then let the moisture check decide whether the mix is holding too much or too little water.
| Situation | Starting choice | Adjustment to watch |
|---|---|---|
| 15–30 L (4–8 US gal) plastic pot, full sun, annual vegetables | Mix 1 | Move to Mix 2 only if root-depth moisture is gone before the next practical watering |
| 5–10 L (1.3–2.6 US gal) pot, hot wind, unglazed terracotta | Mix 2 | First consider a larger pot; extra vermiculite is not a substitute for volume |
| 25–40 L (6.6–10.6 US gal) container, plant staying over one season | Mix 3 | Use fine aged bark, and expect to refresh the medium rather than ignore it |
| Glazed ceramic or plastic pot in part shade or cool wet weather | Mix 1, or a leaner version of it | Avoid adding water-retentive material until the lower mix actually dries |
| Blueberry in any container | Separate acid-loving formulation | Check pH and water quality rather than altering a general recipe by guesswork |
That second row is where people often over-tune the ingredients. A tiny pot has little water storage because it contains little medium. Vermiculite can slow the loss, but it cannot make 5 L behave like 15 L. If the plant is a thirsty tomato, cucumber, or fruiting pepper, I would check Best Pot Sizes for Tomatoes, Herbs, and Strawberries before buying a stronger moisture-retaining amendment.
The condition can reverse the choice. Mix 2 may be helpful in hot wind, but the same mix in a glazed pot in part shade can remain wet at the bottom for days. In a cool, wet climate, or during a week of dull weather, I would start with Mix 1 and inspect before adding anything that holds more water. A container that dries slowly needs more air, not automatically more moisture.
Pot details still come first. Check that the drainage holes are open, that the saucer is not holding standing water against them, and that the pot is deep enough for the crop's roots. If a plant has the wrong root volume, changing from perlite to pumice will not solve the underlying problem. Perlite and pumice alter the texture; they do not change the amount of room available to roots.
This is also why I prefer a moisture check over a calendar. Push a finger, wooden skewer, or narrow dibber into the medium near the root zone, not just the dry top centimetre. Then lift the pot if it is small enough, or compare its weight with the weight just after thorough watering. The more detailed routine is in How Often to Water Container Plants on a Sunny Balcony.
Mixing day: use the failure pattern to tune the recipe
Mixing order is not magic, but it prevents avoidable clumps and makes the proportions easier to judge. Set out a clean tub, a litre jug, the ingredients, and a spare bucket for leftovers. Wear a mask if dry compost or peat creates dust, and wet the material before mixing if dust is the problem.
- Pre-moisten the peat or coir. Add water in stages and turn it until the fibres are evenly damp, not dripping. Dry peat and very dry coir can resist the first splash, leaving a wet outside and dry centre. Pre-moistening makes the later watering test meaningful.
- Combine the structural ingredients first. For Mix 1 and Mix 2, turn the base with perlite or pumice. For Mix 3, distribute the fine bark and mineral ingredient through the base. Break apart compressed clumps with your fingers.
- Fold in compost last. This lets you see whether it is forming balls or ribbons and prevents one dense pocket from becoming the compost-heavy centre of a pot. Mix until the colour and texture look even, but do not grind the particles into paste.
- Fill without compressing. Put the loose mix into the pot and settle it with a light tap on the sides. Leave roughly two fingers, or 3–5 cm (1–2 inches), below the rim so watering does not spill over. Do not stamp it down.
- Water in slow passes. Wet the surface, pause for a few minutes, then water again until a thin stream exits the drainage holes. Let the pot drain fully. If the level drops substantially, top it up with the same mix rather than a layer of fine compost.
The first watering is a diagnostic, not just a chore. Water running down the inside wall while the centre stays dry points to a mix that has not wetted evenly, a badly shrunken root ball, or a dry base that is repelling water. Apply two or three slower passes, or stand a small pot in a shallow tray for a short period and then remove it so the lower holes are not left submerged. If the centre is already wet, more water is the wrong fix.
When the leaves and the pot disagree
Leaves yellow while the mix stays wet: look for a root-air problem before adding nitrogen. Fine compost, blocked holes, a saucer full of water, an oversized pot, or frequent watering can keep the lower root zone saturated. Slide the plant out if practical and inspect for roots that are brown, soft, or foul-smelling. Move the plant into an open, correctly sized container only after correcting the drainage cause.
The mix settles dramatically: suspect too much fine compost, fresh bark that is breaking down, or a large air gap created by chunky material. Top up with a screened version of the same recipe. Do not bury a stem or crown simply to hide the drop in level; add material around the existing planting depth.
The plant wilts at midday: do not automatically add compost. If the leaves recover in the evening and the mix is still damp at root depth, heat, wind, or leaf water loss may be exceeding the pot's short-term supply. If the root zone is dry, the pot may be too small, terracotta may be accelerating loss, or watering may be too shallow. If the root zone is wet and the plant remains limp, return to the root-air checks.
My troubleshooting order is deliberately boring: check the holes, check moisture at root depth, assess sun and wind, check pot size, then alter the recipe or feeding. Changing three ingredients at once hides the cause and makes the next watering harder to interpret. A pot tells you more through its lower moisture and root condition than through the appearance of its dry top layer.
Can I reuse container soil next year?
Usually, yes, if the previous plant was healthy and the medium still has a sound structure. Remove every old stem and as much of the root system as you can, break up compacted areas, and refresh the mix with new base material plus a measured nutrient source. Reuse is less attractive if the mix has collapsed into mud, developed a persistent sour odour, or formed a hard salt crust around the rim.
After serious or confirmed root disease, I recommend discarding the old mix rather than spreading it into another edible container. The reason is practical: diseased roots and contaminated particles can remain in the medium, while a balcony grower usually lacks a reliable way to sterilise a full pot without damaging the surrounding space. Do not put visibly diseased roots into ordinary home compost.
Can sand or rice hulls replace perlite?
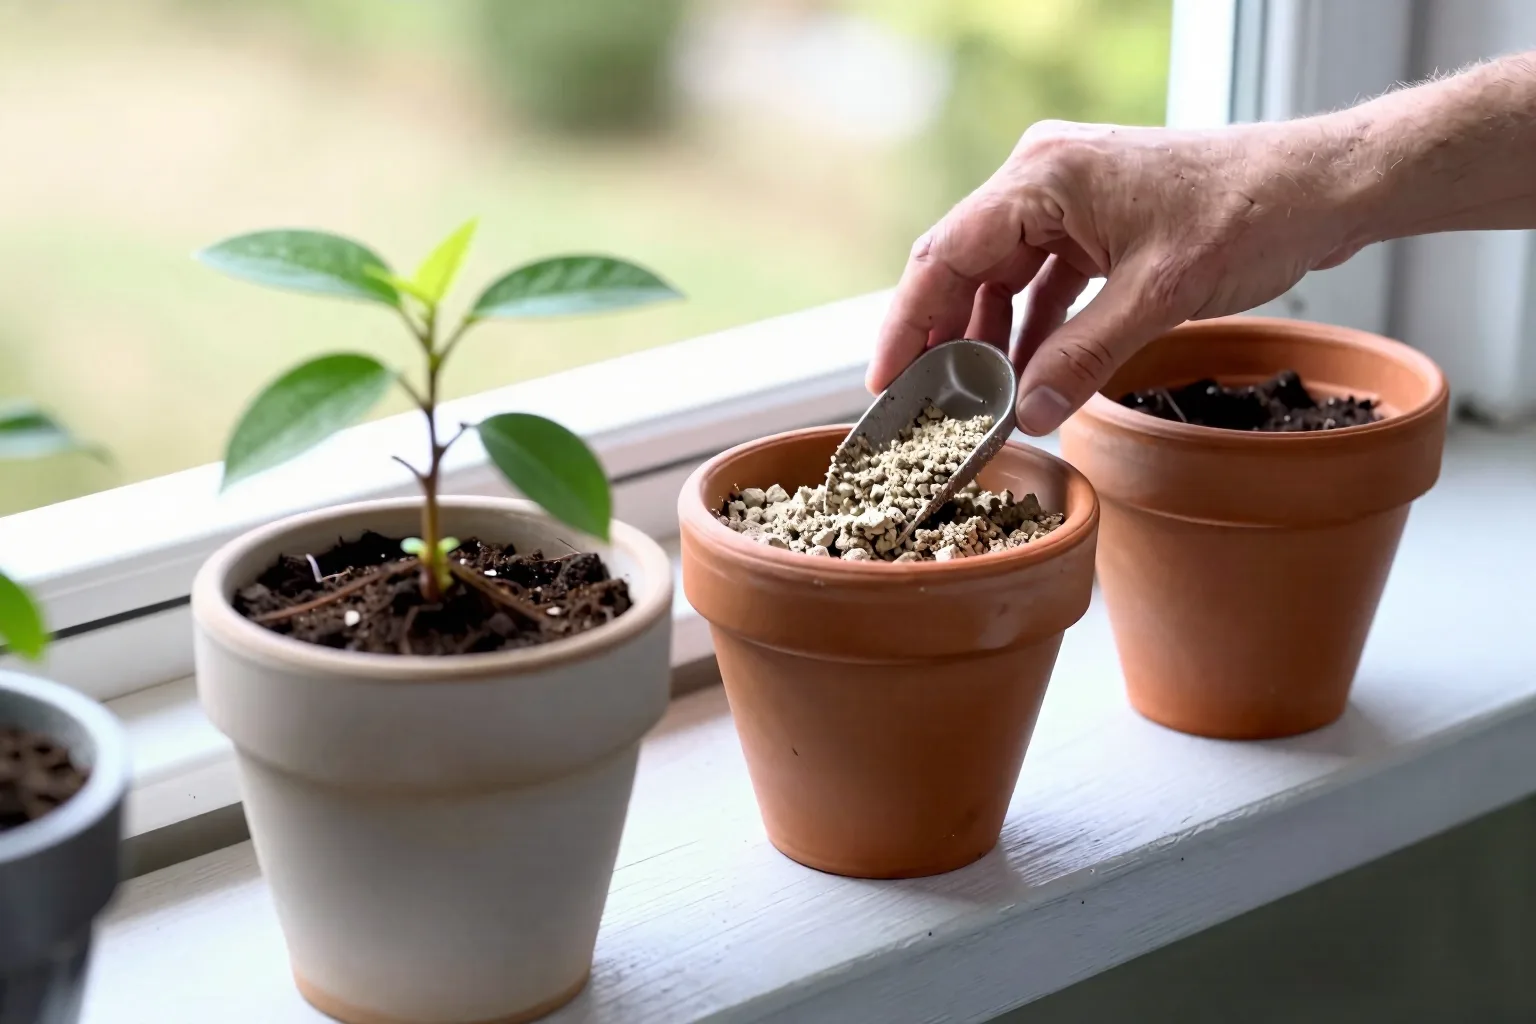
Coarse pumice can replace perlite by volume in these recipes, although the pot will be heavier and the water behaviour will not be identical. For the roles used here, 2 L of pumice can stand in for 2 L of perlite, so the ratio does not need to change.
Fine sand is a different material. Small grains can settle into the larger gaps between base particles, reducing the open pore space that roots need, and sand adds considerable weight to a balcony container. A small amount of coarse horticultural grit may have a specific use, but ordinary fine builder's sand is not my perlite substitute.
Rice hulls can improve initial aeration, but they are organic and can break down faster outdoors than mineral pumice. The rate depends on moisture, temperature, product processing, and how long the container remains outside. I would use rice hulls for a short-lived seasonal mix only when I was prepared for the structure to change; I would choose pumice or perlite for a long-lived container.
Are these mixes suitable for starting seeds?
They are not my first choice for sowing small seeds. A seed-starting mix is usually finer and lower in nutrients, which gives tiny roots a more even contact surface without asking a newly germinated seedling to manage a coarse, compost-rich container blend. Sow the seeds in that finer medium, keep it evenly moist, and transplant once the seedlings have developed their first true leaves.
The first leaves that emerge are seed leaves, not the plant's mature foliage. The first true leaves show that the seedling has moved beyond its initial stored-food stage, but transplant timing still depends on the crop and root strength. Lift by a leaf rather than the fragile stem, move the root ball with its medium intact, and water the new container mix gently.
For the next physical step, buy the ingredients for one 10 L batch rather than filling every pot at once. Mix it in a clean tub, fill one correctly sized container, and check the moisture at root depth after seven days of your actual balcony weather. If the centre is evenly damp and the plant is standing upright without repeated midday collapse, you have a useful starting point; if not, diagnose the pot and exposure before changing the recipe.
Frequently Asked Questions
Can I reuse container soil next year?
Usually, reuse mix from a healthy annual crop only after removing roots and refreshing its structure with new base material and a measured nutrient source. Do not reuse it after serious root disease, and check for salt crusts, severe settling, or unpleasant odour before planting again.
Can I use sand or rice hulls instead of perlite?
Coarse pumice can replace perlite by volume, but fine sand can add weight and reduce pore space. Rice hulls can improve aeration but decompose faster outdoors, so they are a less durable substitute for a long-lived container.
Are these mixes suitable for starting seeds?
Not as the first choice. Seed-starting mix is usually finer and lower in nutrients; sow seeds there, then transplant established seedlings into the appropriate container recipe once their roots and first true leaves have developed.