Drainage Holes in Pots: How Many Do You Really Need?
For an ordinary potting mix, start with 1–3 holes of 6–10 mm (1/4–3/8 in) in a 10–15 cm (4–6 in) pot, then increase the opening size and count as the base gets wider. The count isn’t magic: hole diameter, pot shape, mix texture and placement all change the answer. I recommend more holes for a wide pot because its wider base has more area to drain; distributing those openings across the base gives water multiple exits, so one blocked opening is less likely to stop the whole base from draining. Every opening needs to be clear and at the lowest usable point.
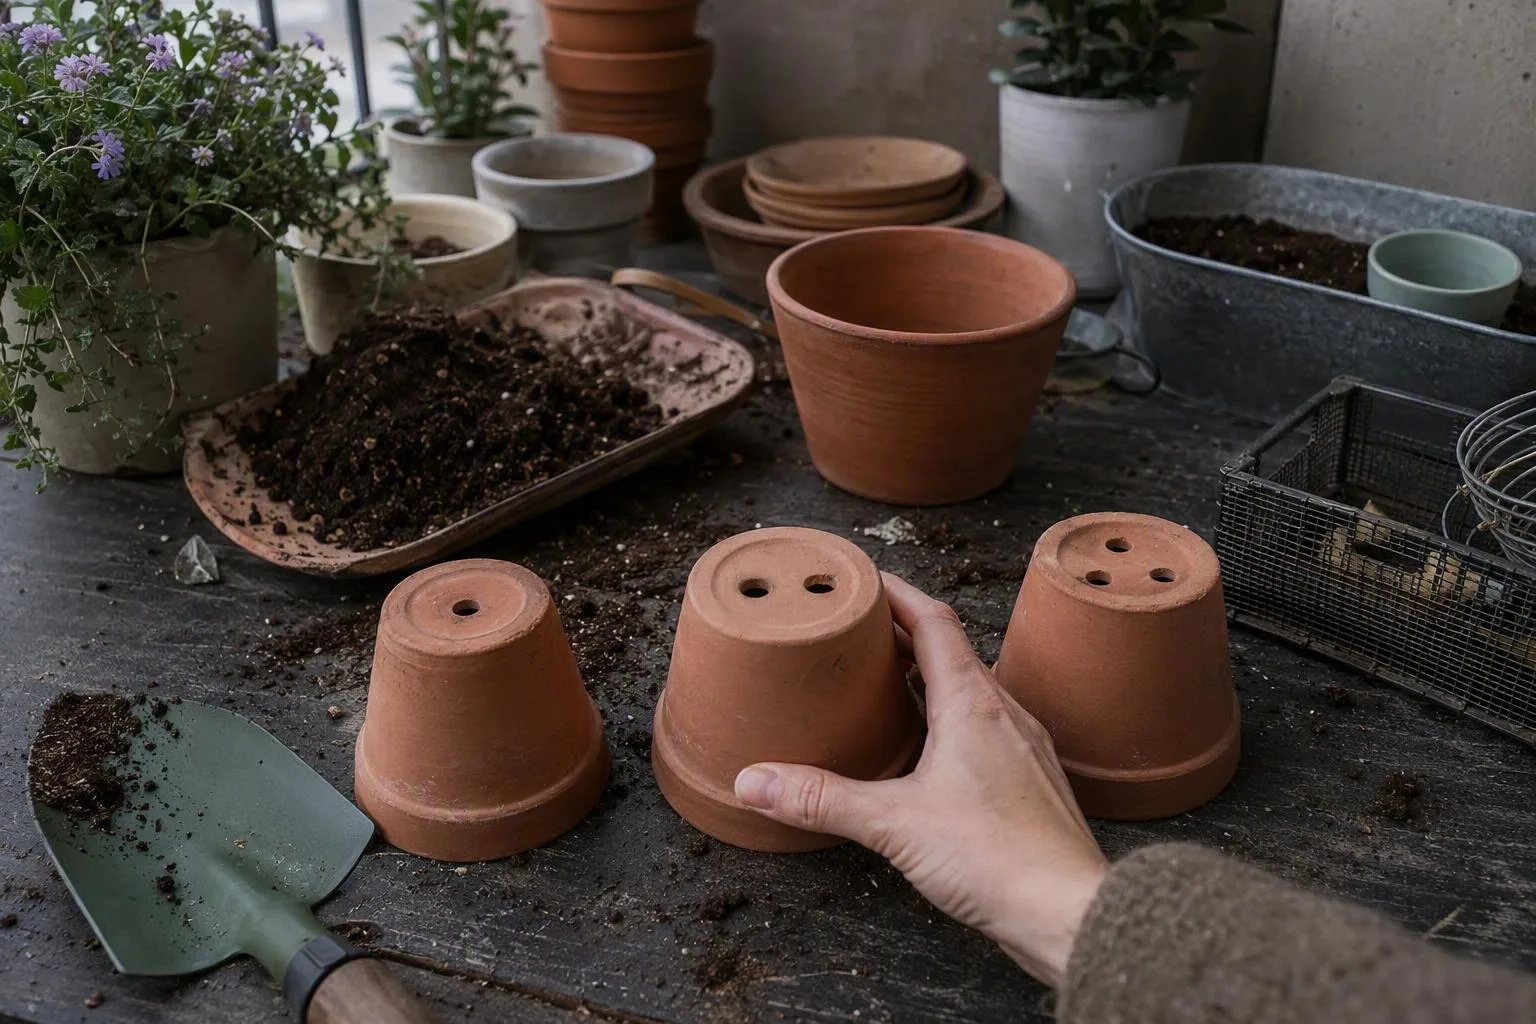
The short answer: no magic number, but these ranges are a sound start
Those figures are practical starting points for a normal container, not a horticultural standard stamped on every planter. By ordinary potting mix, I mean a loose mix sold for containers, rather than soil dug from a garden bed or a deliberately engineered reservoir system.
I’d use the lower end of each range for a narrow footprint and a freely draining mix. I’d move toward the upper end for a broad base, a fine or moisture-retentive mix, or a pot exposed to repeated rain. That is a judgement call, not a promise that the pot will dry at one fixed speed.
The useful rule is simple: provide enough open area for excess water to leave, spread that area across the base, and keep the exits above any standing water outside the pot. A pot with twelve tiny holes can still drain badly if the holes are blocked. A pot with one large opening can drain well until the mix plugs it or falls out.
Follow one drop of water through the pot
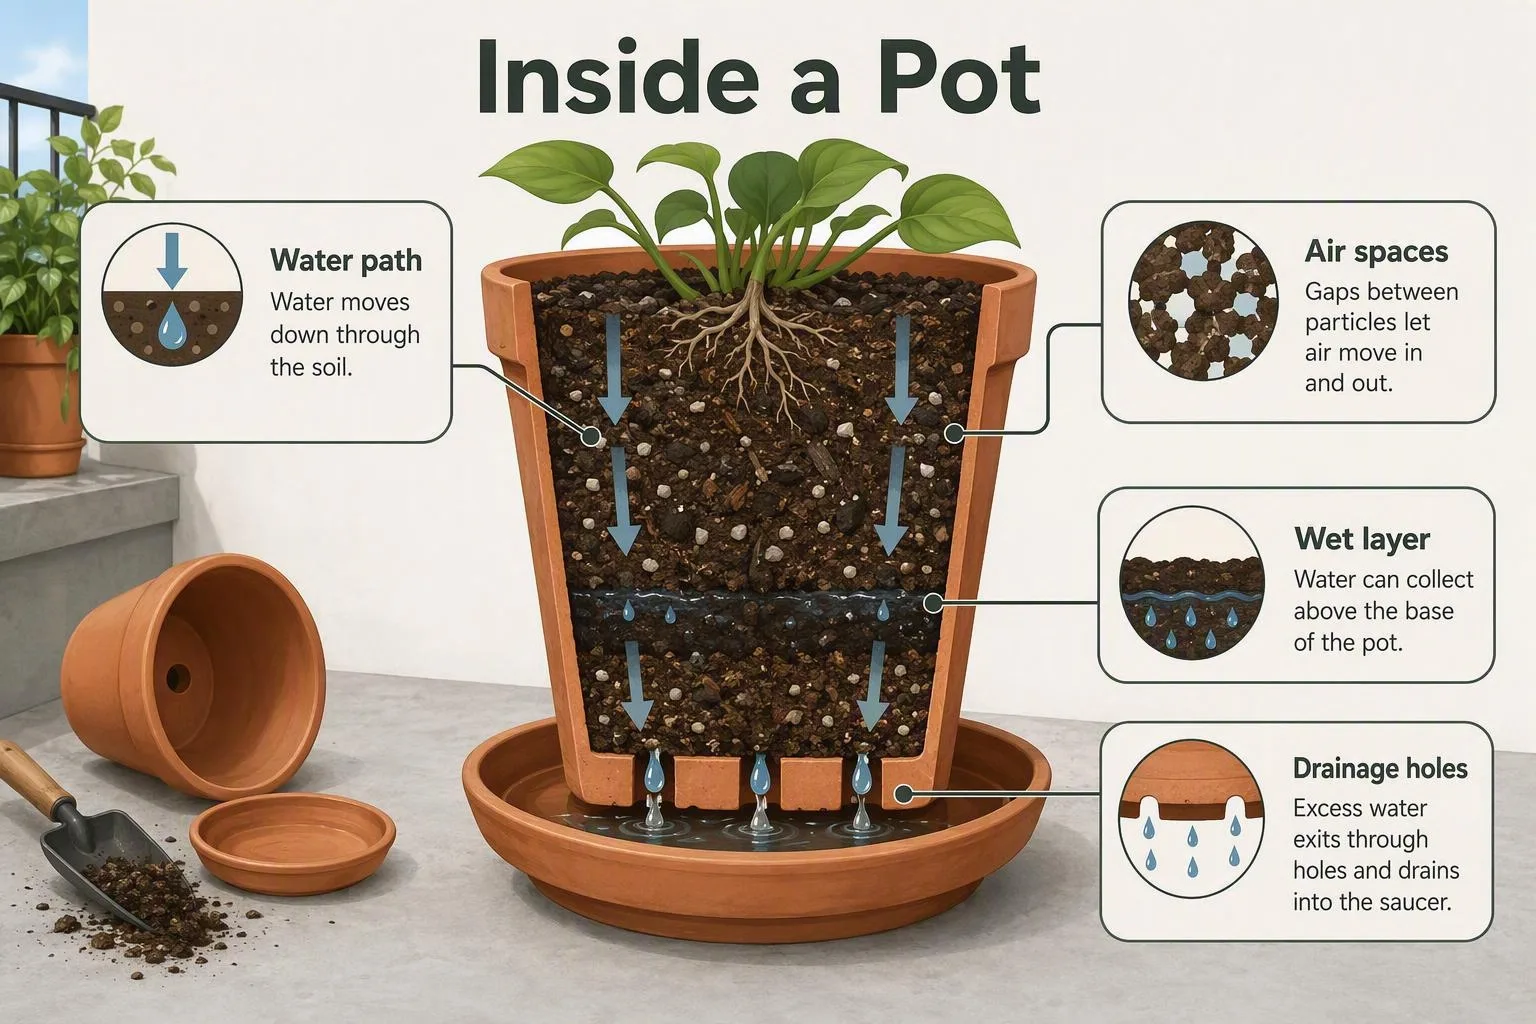
Think of a pot as a short, porous column. Water enters at the surface and moves downward under gravity, but some of it is held in the small spaces between particles by capillary forces — the same sticking and pulling forces that let a damp cloth retain water after it stops dripping.
At the bottom, that balance can leave a wet layer above the drainage opening. I use perched water table to mean this retained wet layer: water remains in the lower part of the mix because the fine pores hold it, even though free water can escape through the hole below. It isn’t a hidden tank of water sitting inside the gravel; it is a wet zone in the mix itself.
A hole lets excess water out and allows some of the emptied pore space to refill with air. It doesn’t pump water out of the root zone, and it doesn’t force every pore to dry. If the mix is very fine, compressed, or sitting in a pot with a blocked outlet, the layer above the hole can remain wet for a long time.
That is why a drainage hole is an exit, not a pump. If you want the technical language behind pore space and wet layers, look for university extension guidance on container-media pore space, drainage and perched water tables. The useful lesson is the mechanism, not a supposedly perfect hole count.
A shop-aisle chart for pot diameter and hole size
Here is the chart I’d use while holding an empty planter in a garden-centre aisle. The hole diameter means the clear opening, and the count assumes the openings are spread across the lowest usable part of the base.
| Pot or planter diameter | Suggested hole diameter | Starting count | What would change my choice |
|---|---|---|---|
| 10–15 cm (4–6 in) | 6–10 mm (1/4–3/8 in) | 1–3 | Use the upper end for a broad base or fine mix; a narrow pot may need less open area. |
| 20–25 cm (8–10 in) | 8–12 mm (3/8–1/2 in) | 3–5 | Use more distributed openings when the base is broad or the mix holds water. |
| 30–40 cm (12–16 in) | 8–12 mm (3/8–1/2 in) | 5–8 | Move upward for a wide planter, heavy rainfall exposure or a moisture-retentive mix. |
| 45–60 cm (18–24 in) | 10–15 mm (3/8–5/8 in) | 8–12 | Use the upper end for a broad, shallow base; a narrow footprint may need fewer openings. |
Two rows worth pinning to your shopping note are: 20–25 cm (8–10 in) planter: 8–12 mm holes, 3–5 count; and 45–60 cm (18–24 in) planter: 10–15 mm holes, 8–12 count.
A wide, shallow planter needs openings distributed across its base rather than clustered in the centre. A tall, narrow pot may need fewer holes than a shallow, wide planter of the same height because its base is smaller. The same height does not mean the same amount of base area or the same number of possible drainage paths.
This table is for ordinary pots. I would not apply it to self-watering containers, bog-plant pots, fabric pots or semi-hydro systems, because those designs manage water through a different layout.
If the pot is for vegetables, pair this check with How deep do containers need to be for vegetables? A pot can have excellent drainage and still be too shallow for the crop’s roots.
Count is a poor shortcut: compare total opening area
Hole count hides an important detail: diameter. The opening of a circle grows with the square of its radius, so doubling diameter does not merely double the open area.
Three 6 mm holes have a combined area of about 85 mm² (0.13 sq in). One 12 mm hole has an area of about 113 mm² (0.18 sq in). The calculation is π × radius × radius: three holes use three circles with a 3 mm radius, while the larger hole uses one circle with a 6 mm radius.
That comparison is useful for rejecting a bad shortcut, not for creating a universal ratio. Several openings spread drainage across the base and leave alternate routes if one becomes plugged. One larger opening is less fiddly to clear, but it gives coarse particles an easier way out. If the mix falls through, a thin piece of mesh over the opening can retain it without taking up a layer of root space.
I’d rather have three sensibly spaced openings than ten pinholes that fill with fine particles. Total area matters, but so do distribution, blockage and the size of the particles the pot must retain.
Put openings at the lowest point—and keep them off the floor
The check I rely on is unglamorous: I turn an empty pot upside down and trace the base with my fingertip. A molded ridge, a foot ring or a shallow inner pad can place the visible opening above the true low point, leaving a sealed pocket below it. A hole is useful only if water can reach it.
A pot placed flat on a balcony, saucer or paving can also seal its openings from underneath. The plastic or ceramic may have perfectly open holes, but the surface beneath them gives runoff nowhere to go. Pot feet, small spacers or a raised stand create an air gap and give water somewhere to move after it exits.
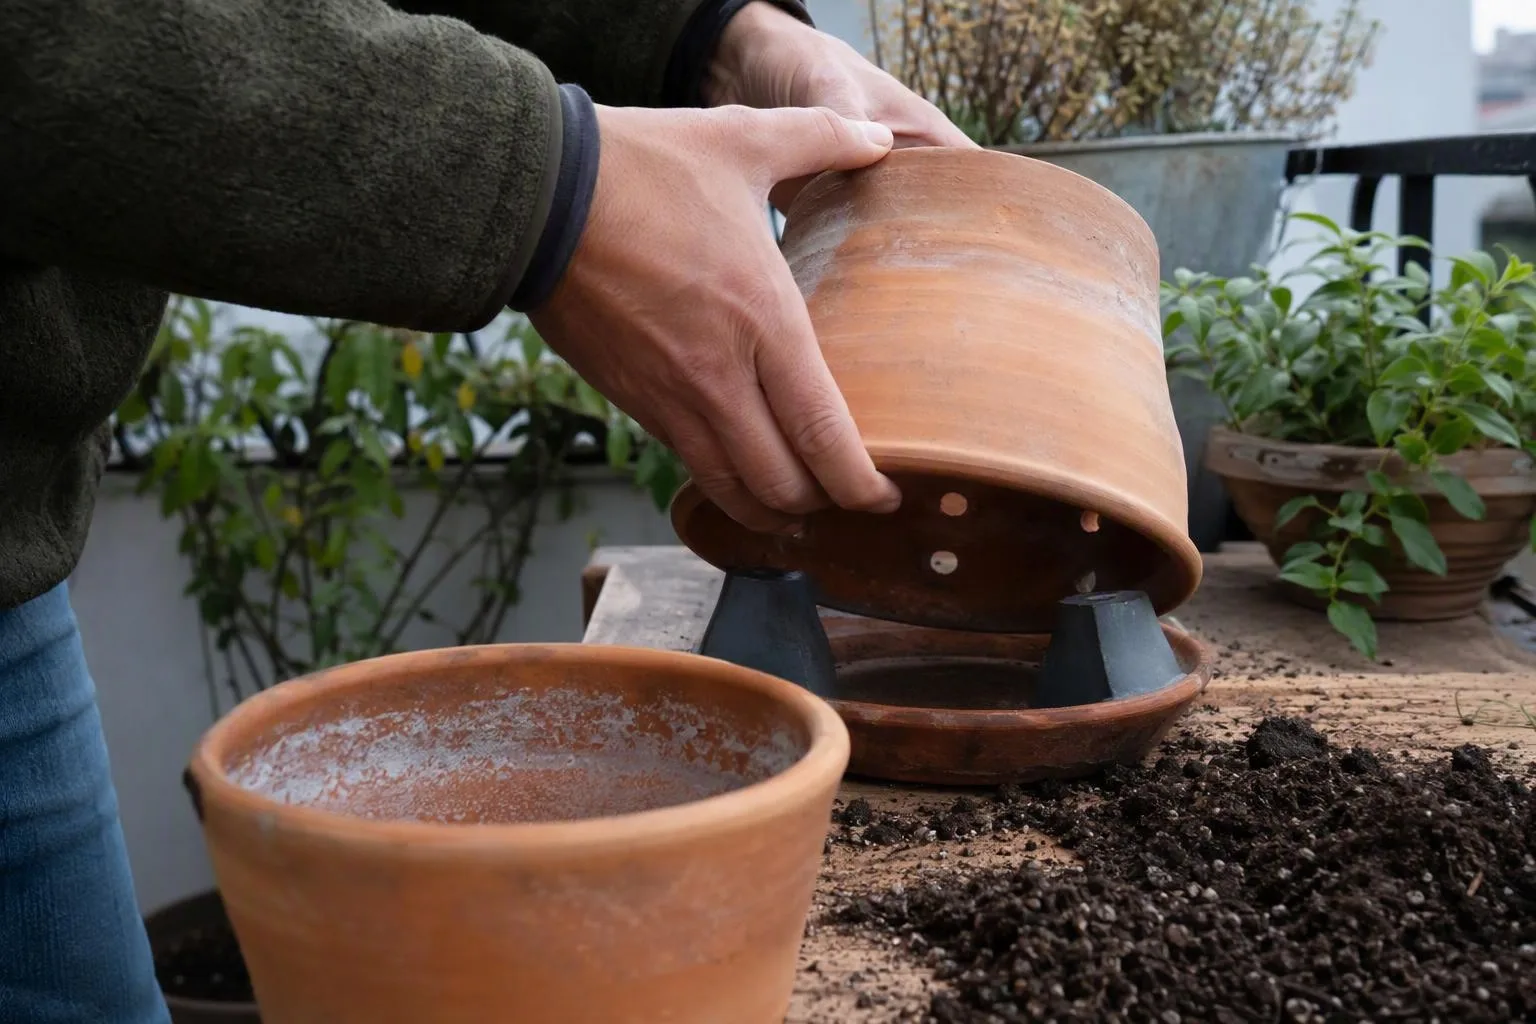
Low side holes are helpful as overflow or backup openings, especially in a deep container, but they are not equivalent to bottom drainage. If a side hole sits above the base, the mix below that height can remain wet because water has no lower exit. I treat side holes as an addition, not a substitute for openings at the lowest point.
Don’t let a saucer become a shallow pond. It can catch runoff, but the pot should not sit in collected water after the initial drainage has finished.
The gravel layer is not a drainage system
The gravel mistake starts with a reasonable-sounding idea: put coarse stones below fine mix and water will fall through the large spaces. In a fine potting mix over coarse gravel, the change in pore size can instead hold water at the boundary above the gravel. The root zone is not automatically drier just because the bottom looks rocky.
That boundary is another way to create a perched water table. Water drains freely only after the wet layer above the change in texture has filled enough for gravity to overcome the forces holding water in the smaller pores. A thick gravel layer can therefore use up valuable pot depth while leaving the mix above it wetter than you intended.
The better order is to choose container gardening soil suited to the plant, fill the pot through its full usable depth, and water the mix in place without compressing it into a brick. Fill to about two fingers below the rim so water can soak in rather than run over the edge. If you need to stop mix escaping, cover the hole with a thin piece of mesh; that is a retaining screen, not a thick drainage layer.
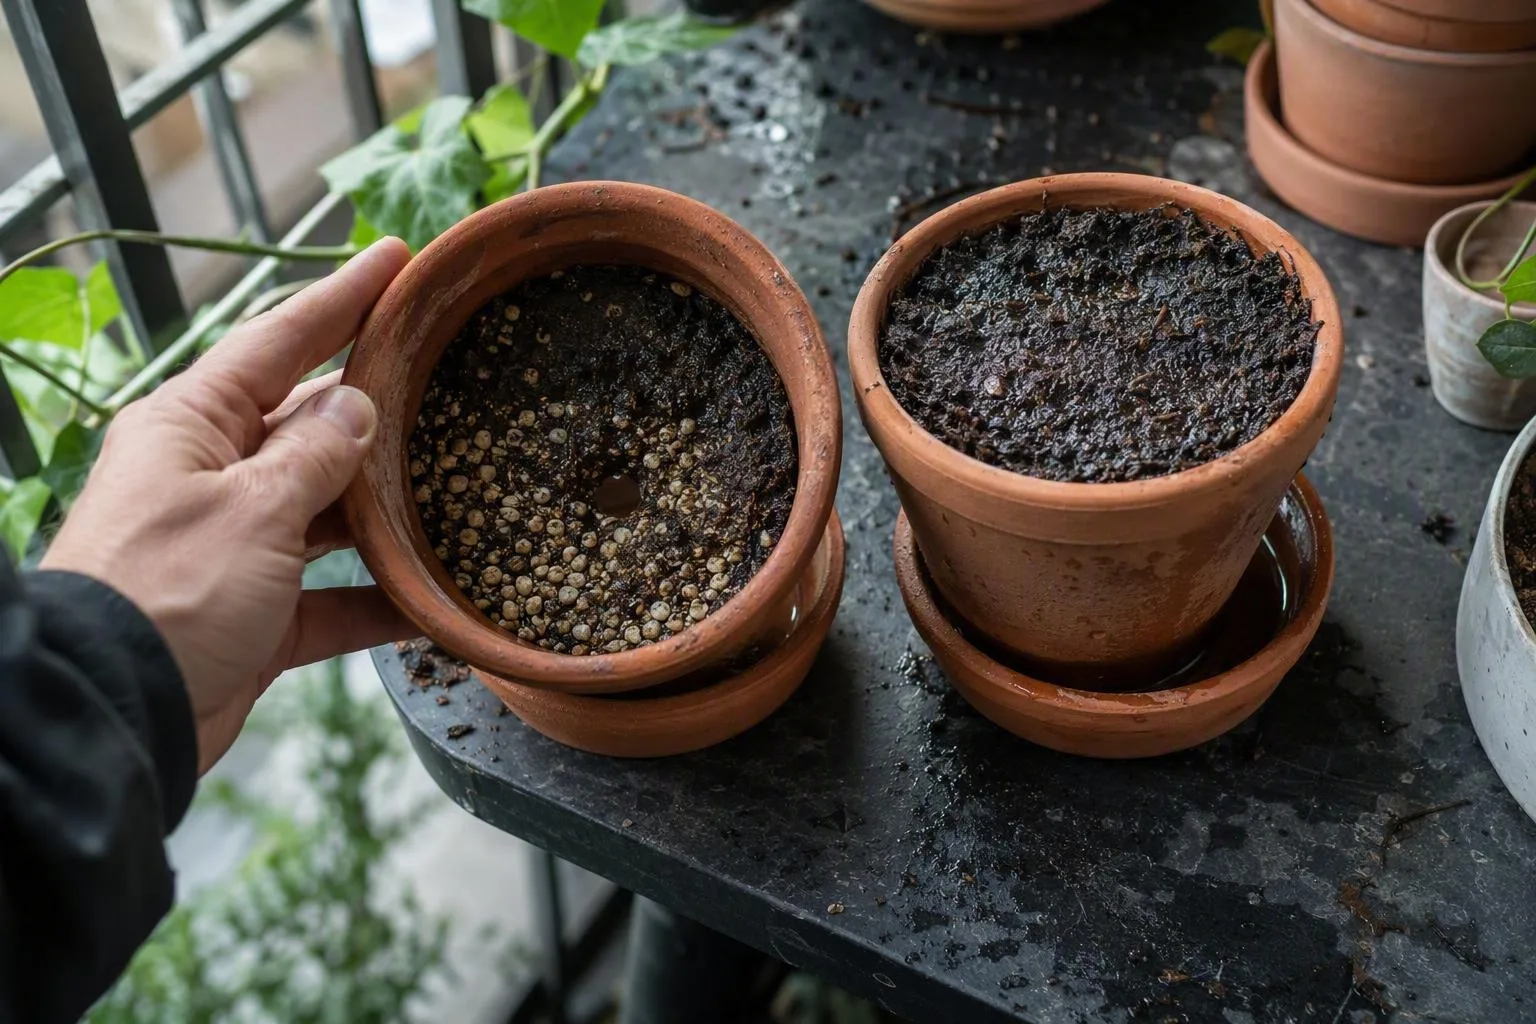
There is one useful distinction here. A few flat shards or a mesh square can keep mix from washing out during the first watering. They do not improve the physics of the mix above them. I would spend that lost depth on roots instead.
Your balcony conditions change drying rate, not the basic rule
Unglazed terracotta gives water another possible route out through the pot wall, so I treat it as a faster-drying case than a comparable plastic or glazed container. Plastic and glazed surfaces generally do not offer that same wall evaporation route. The drainage holes still need to be open in both cases.
Sun, wind, heat, pot volume, leaf canopy and mix texture then decide how quickly the container loses water. A small plastic pot on a sunny, windy balcony may need a moisture check every day. A large glazed pot in shade may still feel wet several days after watering. Those are checking intervals, not a watering timetable.
Take two 25 cm (10 in) pots with the same mix. Put one in full sun and wind with a leafy plant, and the other in sheltered shade with a small plant. I would expect the first to reach the dry-check point sooner because it has more heat, air movement and leaf demand; if both stay wet for the same length of time, that expectation is wrong and I’d inspect the mix and openings before drilling more holes.
The companion sizing question, how much soil do i need for a container, matters here too. A larger volume changes the time it takes the centre of the rootball to dry, even when the surface looks similar.
Extra holes are not a substitute for checking moisture. They can fix a blocked or undersized outlet, but they cannot compensate for a mix that is compacted or a pot that is kept in a full saucer.
Run the drainage test before planting
Test the empty container before you add a plant. The order matters because a planted pot is heavy, awkward to turn over and easy to damage while you investigate its base.
- Inspect every opening. Remove labels, packed mix, burrs of plastic or debris. Use a blunt stick to loosen a blockage rather than forcing a sharp object toward your hand.
- Raise the pot. Put it on pot feet, a rack or another stable support so the base is not pressed against the balcony floor or saucer.
- Pour water through the empty pot. Watch the underside and check whether water exits from more than one path where you expect it to.
- Add the intended mix. Fill the full depth without stamping it down. Water slowly in two or three passes instead of dumping a large volume onto dry mix.
- Check the wetted pot again. Confirm that water reaches the base, exits from the holes and does not pool under the container.
- Correct the bottleneck while empty. Clear, enlarge or add holes only now, before roots and wet mix make the job difficult.
Very dry mix can repel the first splash, especially if it has been stored dry or has a high proportion of fine organic material. In that case, several slow passes may be needed before water spreads through the whole rootball. Water running quickly down one side is not proof that the pot needs more holes; it may be a wetting problem inside the mix.
Indoors, pair the hole with a saucer or cachepot
For an indoor plant, a holed inner grow pot inside a decorative cachepot is the least confusing arrangement. Here, cachepot means a cover pot with no drainage opening. The inner pot lets excess water leave; the outer pot catches it without asking the decorative vessel to perform as a planter.
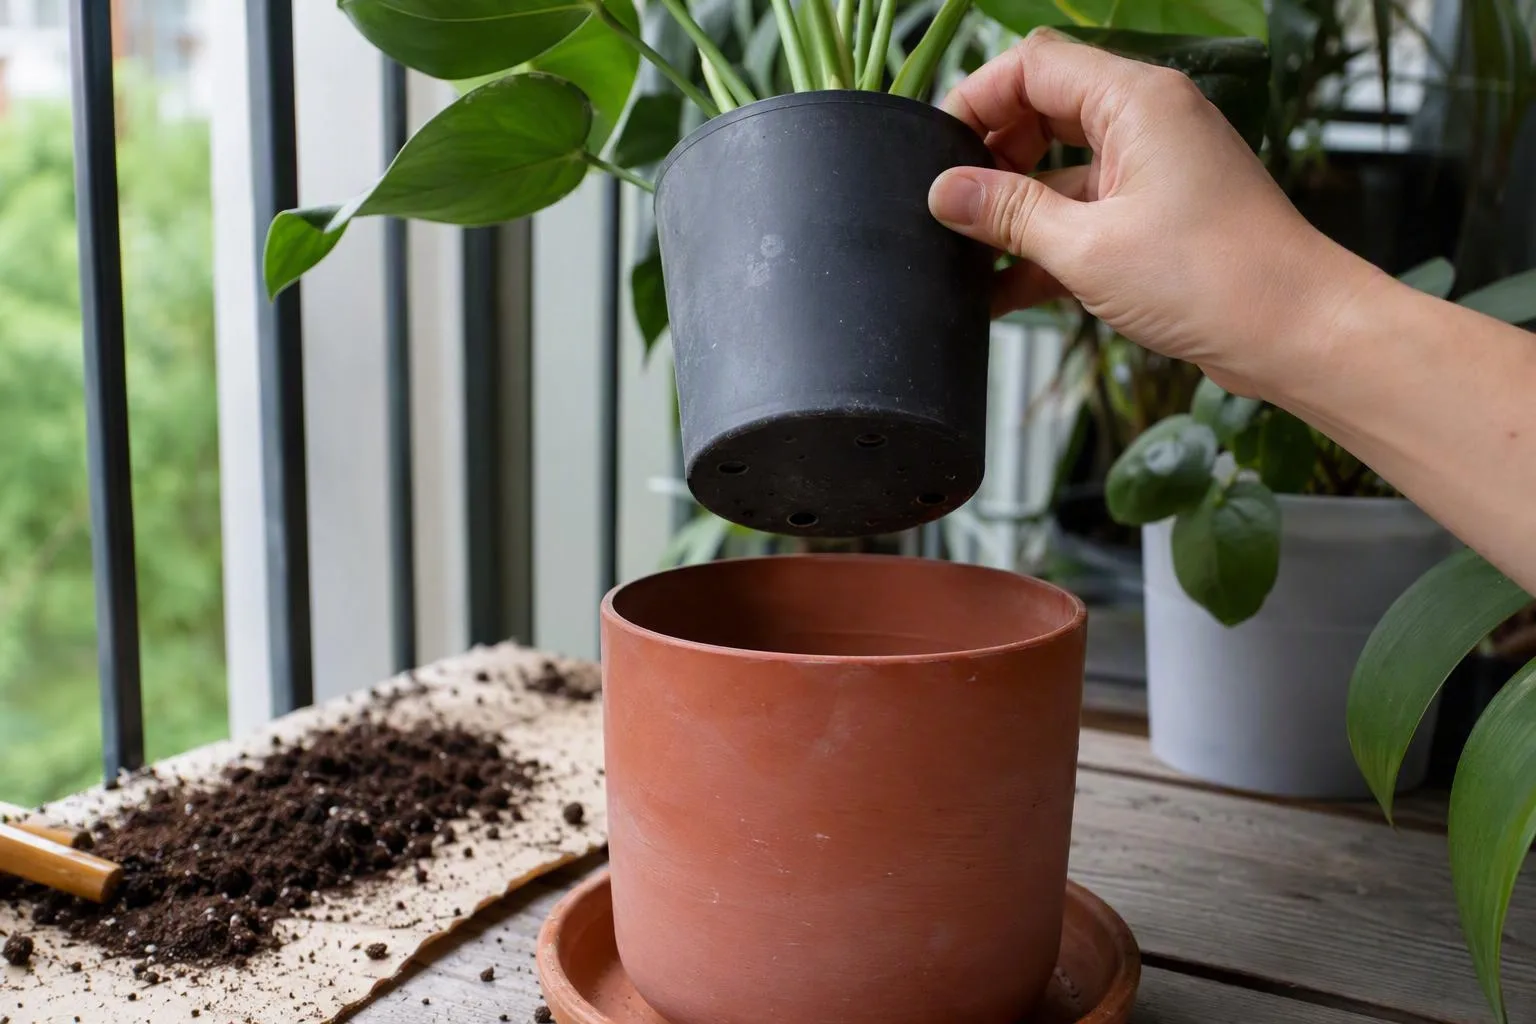
After watering, lift the inner pot and empty the cachepot or saucer if runoff remains. A saucer can protect a windowsill, but leaving the inner pot standing in collected water turns a working drainage hole into a route back to saturation.
If a decorative pot has no hole, I would normally use it as the outer container. Drilling it may be reasonable if the material and finish are suitable, but planting directly into a sealed vessel makes moisture much harder to inspect and correct.
Drill an empty pot, not a planted one
Adding holes is a repair, not the first answer. If a holed inner pot fits inside the decorative container, that is usually the cleaner option. If drilling is the sensible choice, empty the pot completely and support it before you start.
- Plastic: Mark the lowest usable points, support the base and use a sharp bit at low speed. Let the bit cut rather than forcing it. Clear the plastic burrs afterward so they do not reduce the opening.
- Terracotta or glazed ceramic: Use a suitable masonry or diamond bit, avoid hammer action and keep the bit cool with controlled pauses or an appropriate dampening method. Wear eye protection and support the pot so a sudden breakthrough does not crack the base.
- Metal: Drill slowly with a bit suited to the material, then smooth the sharp edge. A bare metal burr can damage a saucer, liner or your fingers during later cleaning.
Before working on masonry or ceramic, consult ceramic and masonry drilling safety guidance for the bit, support and dust controls appropriate to your material. Do not assume a decorative glaze becomes suitable for edible plants because you drilled through it. Drilling changes the hole; it does not establish that the glaze is food-contact rated. For vegetables or herbs, use a container or liner sold for that purpose when the glaze is unknown.
Rinse away dust, inspect the new opening and run the empty-pot test before adding mix. If the base flexes, flakes or develops a crack, stop using it as the direct planter and switch to a holed liner.
Self-watering and fabric pots are different systems
A self-watering pot is built around a reservoir. Its overflow opening is usually placed at a deliberate height so the lower reservoir can hold water while the upper mix remains supplied through a wick or another transfer path. Randomly drilling low holes can empty that reservoir and defeat the feature you bought the pot to provide.
Fabric pots are different again. Water can leave through the fabric along the sides and base, so counting discrete holes is the wrong measurement. Give the bag a breathable surface rather than sealing it against a solid tray, and expect an exposed fabric container to need closer moisture checks in wind and heat.
A sealed container can be intentional for a bog plant or a specialised semi-hydro arrangement, but that is a plant-and-system decision. It is not a general workaround for ordinary potting mix. If you are growing in a sealed design, follow the water level and substrate instructions for that system instead of borrowing the table above.
Read the symptom, then fix the actual bottleneck
When drainage looks wrong, I check the exit path before changing the plant or adding rocks. This quick table keeps the diagnosis in the order I find most useful.
| What you see | First place I’d check | Practical correction |
|---|---|---|
| Water never exits | Blocked holes, a flat floor or a full saucer | Empty the pot if necessary, clear the openings and raise the base. |
| Water exits through one opening only | Debris, packed mix or a base that funnels toward one path | Clear the inactive openings; add or enlarge holes only with the pot empty. |
| The pot stays heavy and wet | Compacted or overly fine mix, low evaporation or a perched wet layer | Check moisture below the surface, improve the mix at repotting and do not add gravel as a reflex. |
| Water runs down the sides while the rootball stays dry | Water-repellent or shrunken mix creating channels | Water slowly in passes and check whether the mix is becoming evenly wet before blaming the holes. |
| Mix washes out of a large opening | Opening too large for the particle size or no retaining screen | Add a thin mesh over the hole or use a holed inner pot with a better-matched opening. |
My order is deliberate: check blockage and elevation first, then investigate the mix. Drilling extra holes into a pot that is already draining freely can make it harder to retain mix without solving a wet root zone.
Before planting this week, set the empty pot on a raised surface outdoors, clear each opening and run water through it until every drainage path is working. Then add the intended mix, water it slowly and leave the container to drain completely before you bring it indoors or set in the plant.