Growing Green Beans in Containers: Pot Size, Support and Yield
A bush bean pot needs about 20–25 litres (5–7 gallons); a pole-bean pot is happier at 30–40 litres (8–10.5 gallons). That is the practical answer to growing green beans in containers: choose the crop shape and the root volume together, rather than planting into the smallest pot that happens to be empty.
If you have only one or two hours of direct sun, I wouldn’t spend a large container on green beans. Aim for 6–8 hours of unobstructed sunlight on a balcony, patio or rooftop, then decide whether your space suits a compact bush crop or a tall pole crop.
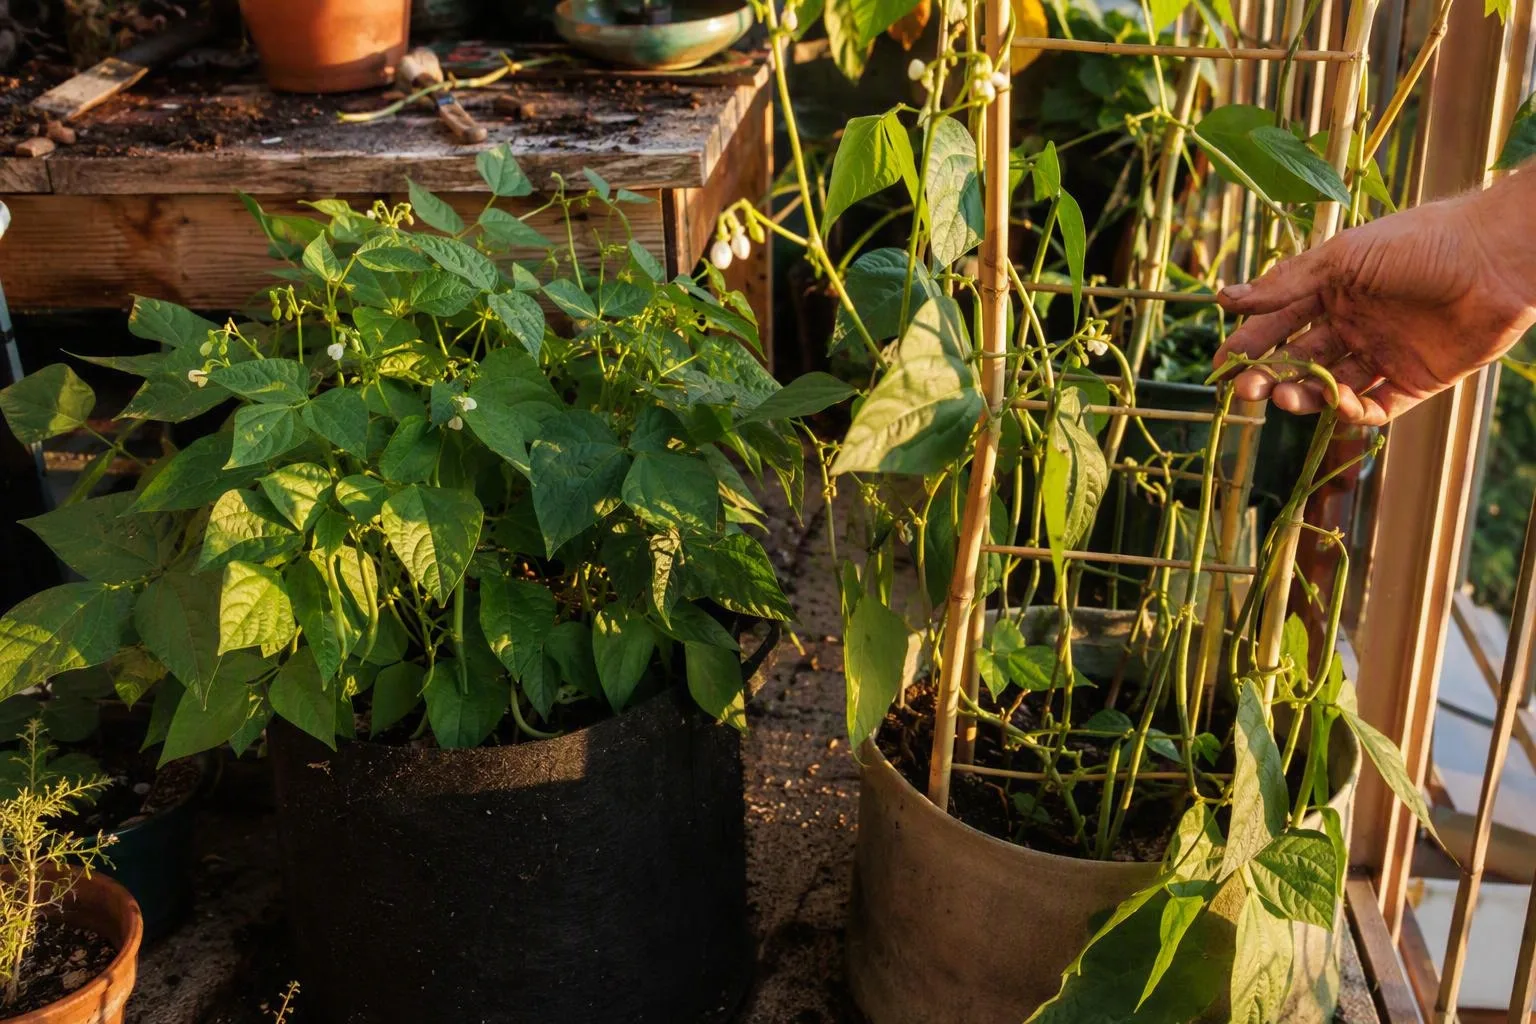
Bush or pole? Make that choice before you buy a container
I make the bush-versus-pole decision before I choose a seed packet, because the plant shape controls almost everything that follows. Bush snap beans form a relatively compact plant and tend to set a concentrated crop. Pole snap beans send climbing stems upward, need a frame, and can keep flowering and producing over a longer picking period when conditions remain favourable.
For planning, I allow roughly 45–60 days from sowing to the first picking for many bush varieties and about 55–75 days for many pole varieties. Those are calendar estimates, not promises. Warmth, sunlight, variety and the date you sow all move the first harvest. I use the seed-packet or cultivar data for days to maturity and bush versus pole growth habit as the final correction for the variety in my hand.
- Choose bush beans if your balcony has limited overhead clearance, a broad strip of floor, or a railing that would make a tall frame awkward. You’ll get a lower plant and a more concentrated harvest.
- Choose pole beans if you have secure vertical space, can reach the upper growth without leaning over a railing, and are willing to build support before the seedlings appear.
Wind changes that choice. A tall pole frame catches gusts like a small sail, especially when it stands beyond a balcony railing. A bush plant may sprawl across the pot instead, but it doesn’t put the same leverage on a support. If you’re new to edible plants, beans belong on the shortlist in Fast growing vegetables in pots for beginners, but they’re not a good use of space in a deeply shaded corner.
Bright shade can keep a bean plant green. It usually won’t provide the same energy for repeated flowering and pod filling as direct sun. On a balcony with only one or two usable sun hours, I’d choose a crop that tolerates lower light rather than trying to rescue a bean harvest with extra fertilizer.
The pot-size answer in litres, inches and plant counts
The table below is the shopping specification I’d use for a fresh planting. The plant counts are the final number of plants in the pot, not the number of seeds you scatter on sowing day.
| Bean type | Mix volume | Minimum depth | Useful width | Final plant count | Spacing |
|---|---|---|---|---|---|
| Bush | 20–25 L (5–7 gal) | 30 cm (12 in) | 30–40 cm (12–16 in) | 4–6 | 10–15 cm (4–6 in) |
| Pole | 30–40 L (8–10.5 gal) | 35–45 cm (14–18 in) | 35–45 cm (14–18 in) | 3–4 | 15–20 cm (6–8 in) |
Depth and width both matter. A wide pot gives several plants room to spread their roots without immediately competing at one crowded centre, while depth provides a larger reserve of damp mix between waterings. This is the same calculation behind best container size for vegetables: the labelled diameter is useful, but the litres of usable mix decide how forgiving the pot will be.
An 8–10 litre (2–3 gallon) pot can hold a young bean plant, but it gives you little margin once the leaves are large and the plant is making pods. In a small pot, the exposed surface dries quickly, the root zone heats more sharply, and there is less stored water available when a flowering plant transpires through a hot afternoon. Pole beans are especially unforgiving because the plant above the pot is large while the root volume below it is small.
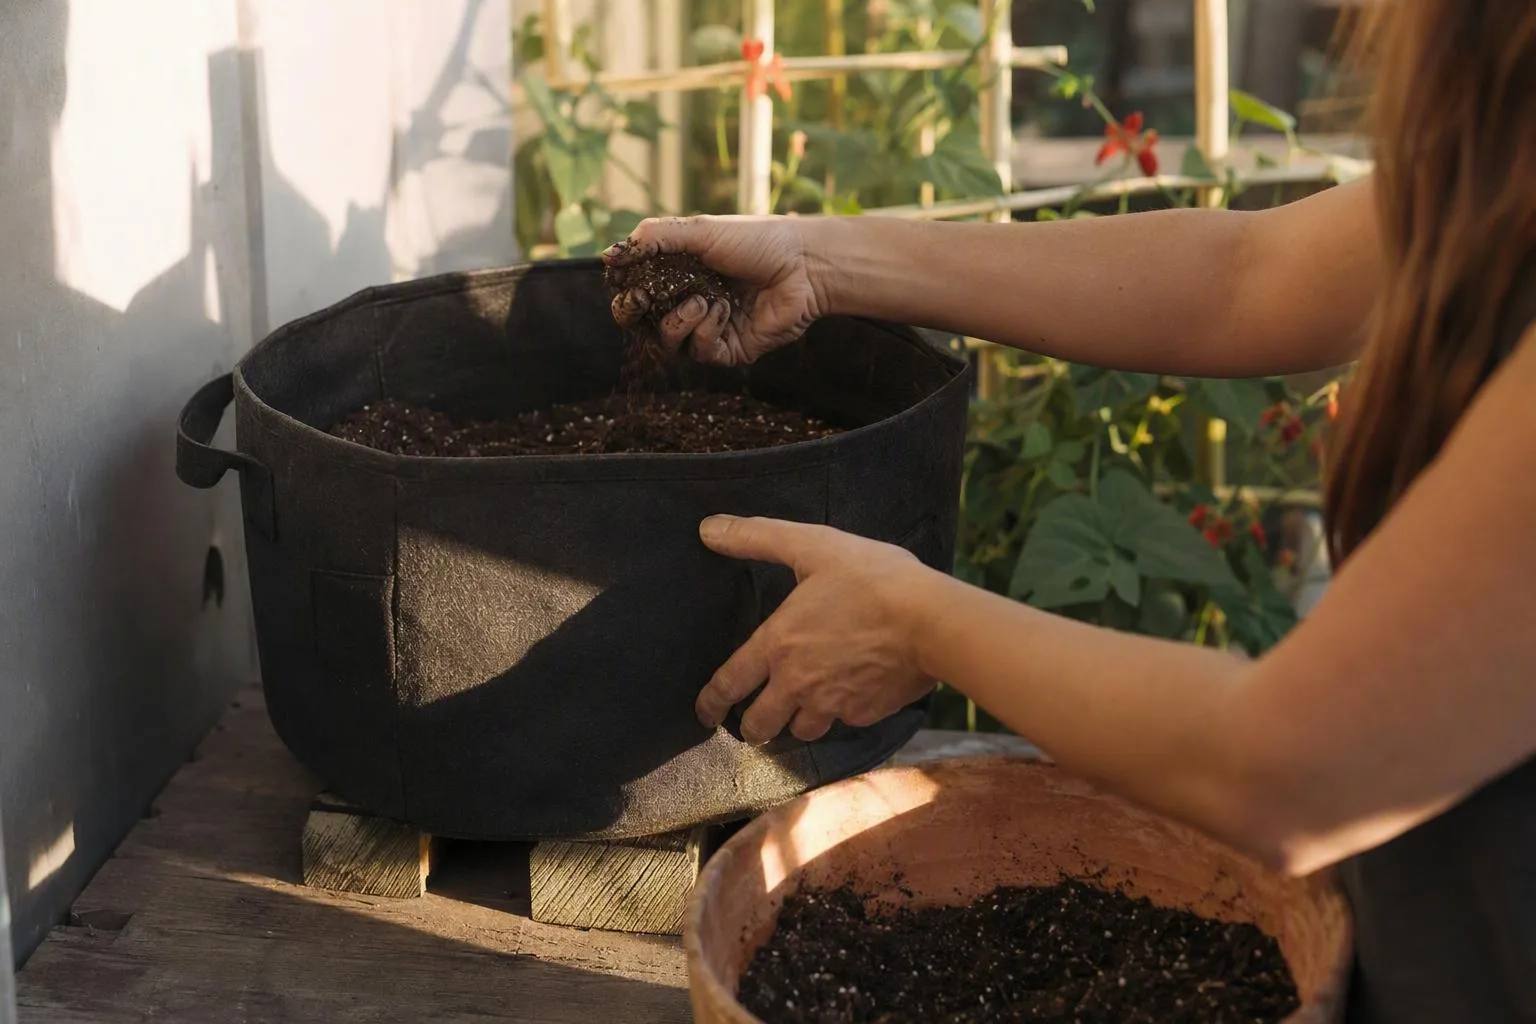
Use a lightweight commercial potting mix rather than soil dug from a garden bed. Container mix is made to keep air around roots while holding water; ordinary garden soil can settle into a dense layer in a pot and slow both drainage and root growth. Fill the container to within 2.5–5 cm (1–2 in) of the rim. That headspace gives you somewhere to pour without washing mix over the edge.
Make sure the pot has several open drainage holes. Don’t add gravel, broken crockery or stones as a bottom layer. A fine potting mix already holds water in its lower pores; when it meets a coarse layer, water can remain perched above that boundary instead of draining into the gravel. That saturated band takes away root air and also steals depth that could have held useful mix.
Water until the first drainage appears, then empty the saucer once the pot has finished dripping. A saucer is useful for protecting a balcony surface, but leaving the pot standing in water turns a drainage hole into a permanent reservoir. For a repurposed bucket, use one that held food or is clearly marked for food contact. I wouldn’t plant edible beans in a container with an unknown history or one that held paint, solvent or garden chemicals.
A pole-bean trellis needs 1.8–2.4 metres of height—and a wind plan
That stability problem is why I install the support before I sow. A pole-bean frame should be about 1.8–2.4 metres (6–8 feet) high, but height alone isn’t the specification: the base, tie points and wind exposure matter just as much.
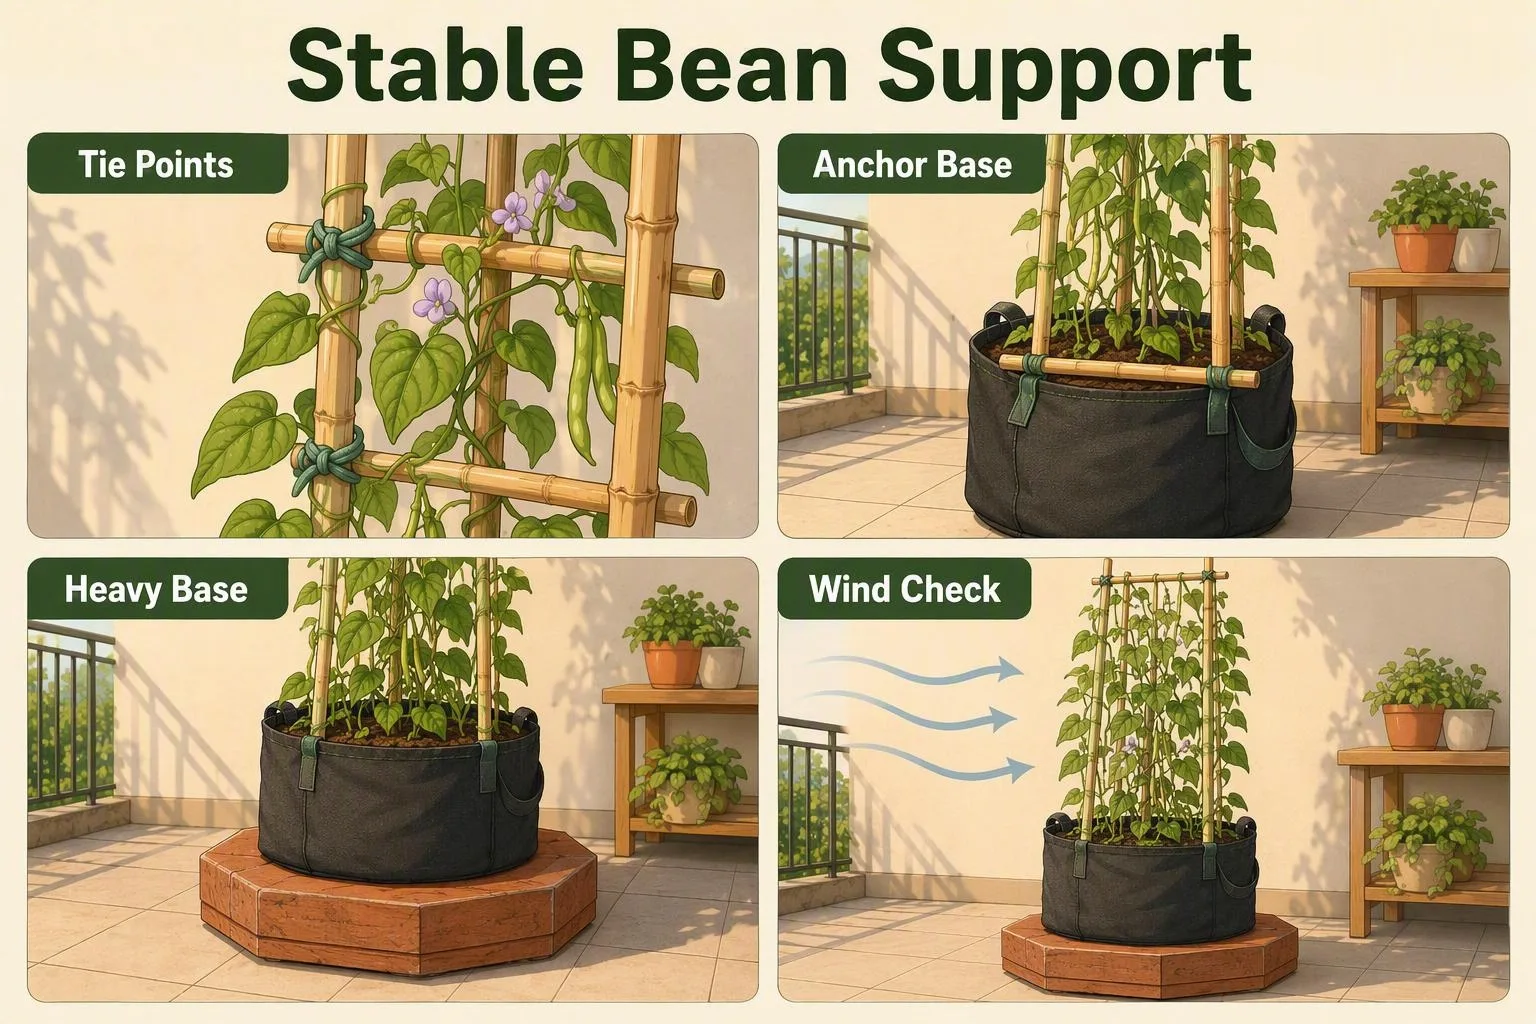
- Choose the final position first. Put the empty pot where it will receive sun and where you can pick from the safe side. Once filled, it will be heavy and awkward to drag around without damaging stems.
- Make the frame secure before the mix goes in. A teepee of canes can be pushed into the container, but a tall narrow frame should also be tied to a secure balcony structure or held by a broad, stable base. Don’t rely on a thin pot and a loose railing tie to resist a gust.
- Give the beans something they can wrap around. Bamboo canes, taut string and open mesh all work. Beans climb by twining around a narrow support, so a few vertical lines are often easier for young stems to use than a smooth, oversized pole.
- Keep the access route open. Leave enough space between the frame and wall or railing to see the stems and reach the pods. A support that produces a healthy wall of foliage but blocks your hand will lead to missed pods.
In my own balcony setup, I once pushed three bamboo canes into a full pot and tied their tops together without adding a second tie point. The first strong gust leaned the frame toward the open side, and I ended up holding the pot with one hand during every picking session. The beans themselves were fine, but the arrangement was irritating and unstable. I moved the pot against a more sheltered wall and added a fixed upper tie; the lesson was simple: the support needs an anchor before it needs a plant.
For a high balcony or rooftop, check your building rules and the relevant balcony and rooftop structural-load guidance for wet containers and wind-exposed trellises before fixing anything to a wall or railing. A wet container weighs more than an empty one, and a trellis adds a force that a still photograph of the pot won’t show.
Bush beans don’t usually require a tall frame. If a loaded plant starts sprawling over the mix or across the walkway, add a 60–90 cm (2–3 foot) stake or short cage. Support is optional for a small bush plant, but useful once the pod weight pulls stems outward.
Sow beans where they will grow: timing, depth and spacing
Beans are warm-season plants, and I sow them directly into the finished container rather than transplanting them. The order matters: the pot should be in its final place, the mix should be evenly damp, and the support should already be standing before a seed goes in.
- Place the finished pot. Check the sun at the actual planting position, not from the middle of the room. A railing, nearby wall or seasonal tree canopy can remove an hour or more of direct light.
- Fill and pre-moisten the mix. Leave 2.5–5 cm (1–2 in) below the rim. Pour water slowly until the mix is damp throughout and a little water exits the holes. Pre-moistening prevents a later heavy watering from shifting dry seed into a corner.
- Sow at the right temperature. Wait until the mix is about 16°C (60°F) or warmer, frost risk has passed, and nights are consistently above roughly 10°C (50°F). A cheap probe thermometer can check the top few centimetres of the pot; otherwise, use the reliable warm spell in your local season rather than the first mild afternoon.
- Set the seed at 2.5–4 cm (1–1.5 in) deep. Cover it firmly but lightly. Use 10–15 cm (4–6 in) spacing for bush beans and 15–20 cm (6–8 in) for pole beans. In a wide pot, arrange the plants around the centre rather than making one crowded line against the rim.
- Water gently and protect the surface. Keep the seed zone from drying while you wait. A newly sown pot can lose moisture from its top layer faster than a pot covered by mature leaves, particularly in wind. Water with a gentle rose or in two passes so the seed stays put.
- Thin after emergence. I wait until the seedlings are upright and established, then remove extras at soil level if more came up than the final count. Pulling a spare seedling can disturb the roots I intend to keep. I allow roughly 7–14 days for emergence under suitable warmth; cold, wet mix can delay it or rot the seed before it appears.
If the growing season is long enough, sow a second pot or a fresh row 2–3 weeks after the first. Succession sowing spreads the work and avoids having every plant reach the end of its useful harvest in the same week. It only makes sense if there is still enough warm weather left for the later sowing to flower and fill pods.
If the pot is part of a larger balcony plan, the broader guide to growing vegetables in pots on balcony is useful for checking sun, wind and weight before you add another container.
The pod-filling weeks: moisture, feeding and the yellow-leaf clues
Touch the mix before you reach for the watering can
Check the top 2.5–5 cm (1–2 in) of mix with a finger before watering. If that layer is dry and the pot feels noticeably lighter, water slowly over the whole surface until drainage begins. A fast splash down the centre can leave the outer root zone dry while water escapes through a channel.
In a plastic pot in full sun and wind, that check may lead to daily watering during hot weather. In a glazed pot in part shade, the same plant may go two or three days between waterings. Those are conditions, not a schedule. Pot material, wind, plant size and the amount of root-filled mix all change the rate of drying.
I pay closest attention during flowering and pod fill. A brief dry-out at this stage can make the plant conserve water instead of continuing to support flowers and swelling pods. If very dry mix repels water, wet it in one slow pass, wait a few minutes, then water again. The pause gives moisture time to move into the mix instead of running down the gap between pot and root ball.
Feed modestly, then read the whole plant
Beans are legumes, so their roots can work with associated bacteria to obtain some nitrogen, the nutrient most associated with leafy growth. That doesn’t make a container nutritionally self-sufficient. Every thorough watering can carry soluble nutrients out of the pot, and the mix still needs to supply the rest of what a fruiting plant uses.
Choose either a controlled-release fertiliser or a mild liquid feed used according to its label. I prefer one simple feeding programme rather than adding repeated high-nitrogen doses whenever a leaf looks pale. Excess nitrogen can make a bean plant produce impressive foliage while delaying the shift toward flowers and pods.
- Lush leaves with few pods: check nitrogen first, then light and heat. A green plant can still be short of the energy or temperature range needed for good flowering.
- Flowers dropping: check for a dry root zone and recent heat around 32°C (90°F) or above. Don’t start by blaming a lack of bees; beans are generally self-pollinating.
- Yellow leaves in wet mix: look for root stress from poor drainage or prolonged saturation before adding more fertiliser. Roots need air as well as water.
- Crisp brown edges: check drying, wind and salt accumulation from repeated fertiliser use. Feel the mix before deciding which cause fits.
This symptom order is more useful than treating every yellow leaf as hunger. A dry pot and a waterlogged pot can both produce tired-looking leaves, but the cure is opposite: one needs a thorough drink, while the other needs the root zone to drain and breathe.
Yield is a harvest routine: what one pot can actually give you
Use the scale of a pot honestly
Container yield means the total weight of fresh pods picked over the crop, not the handful you can see on one day. With 6–8 hours of direct sun, steady moisture and picking every day or two, I’d use these broad planning bands:
- Bush beans: about 0.5–1.5 kg (1–3 lb) from one 20–25 litre (5–7 gallon) pot holding 4–6 plants, usually over a concentrated 2–4 week period.
- Pole beans: about 1–3 kg (2–6 lb) from one 30–40 litre (8–10.5 gallon) pot holding 3–4 plants, potentially spread over roughly 4–8 weeks.
Those are planning estimates, not guaranteed yields and not results from a measured trial on my balcony. Variety, heat, root volume, wind, light and picking frequency can move the result lower or higher. I wouldn’t buy a larger pot solely for the upper end of the range; I’d buy it because the extra mix makes watering and support more forgiving.
Pick before the plant changes jobs
A harvest-ready pod should be firm, smooth and free of visibly swollen seeds. I pick at roughly 8–15 cm (3–6 in) long as a practical cue, while remembering that exact size varies by variety and by whether the bean is a slender filet type or a fuller snap bean.
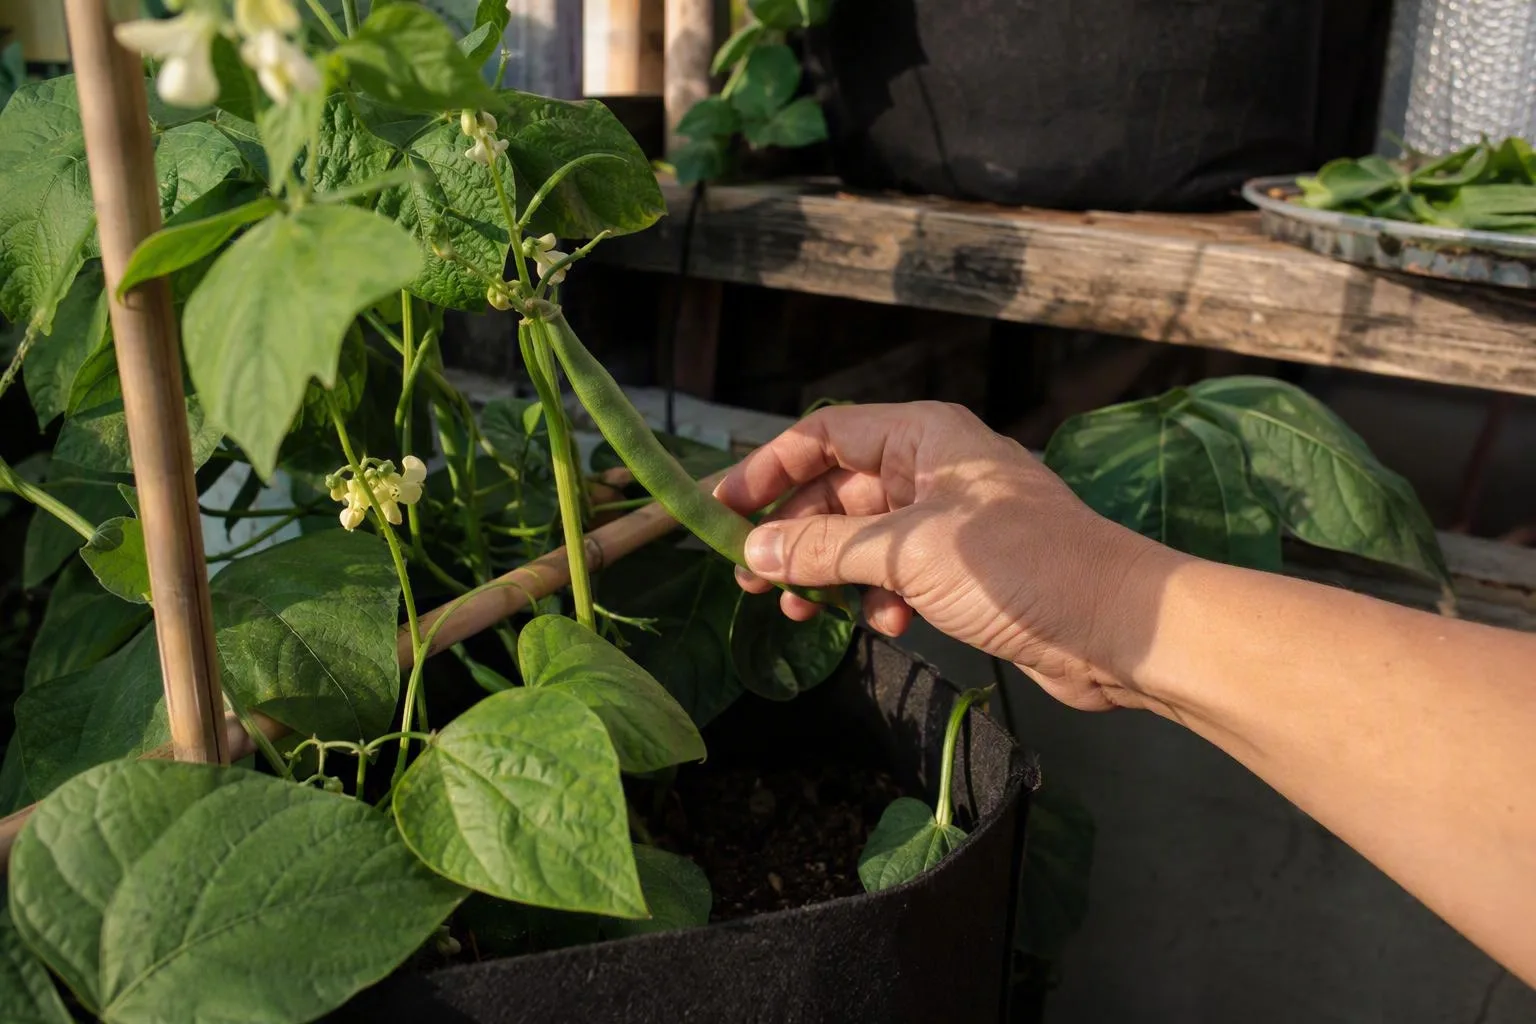
Pick every day or two once production starts. Removing mature pods redirects the plant’s available resources toward new flowers and young pods rather than allowing every older pod to finish its seeds. In practical terms, a pod left hanging too long becomes tough and signals the plant to complete that seed-bearing job; regular picking keeps the plant in harvest mode for as long as warmth, light and water allow.
Before the weekend, buy the pot, lightweight mix and support as one kit. After sowing, check the container in a week: the frame should still be secure, the surface should not be crusted or bone-dry, and the seedlings should be emerging evenly rather than leaning toward a hidden patch of light.