How to Test Soil pH at Home: 3 Reliable Methods Explained
A lab test is the strongest reference when you’re deciding whether to amend a container mix; a color-change kit is a quick screening tool, and a calibrated digital meter is useful for repeat checks. On the familiar soil pH scale, 7 is neutral, values below 7 are acidic, and values above 7 are alkaline; a one-unit difference represents a tenfold change in hydrogen-ion activity.
For any of the three methods, the sample matters as much as the tool. Test the mix around the roots, keep different pots or potting mixes separate, and follow the chosen method’s instructions for preparing the sample. A result from garden soil may not translate to a soilless container mix if the test method wasn’t designed for that material.
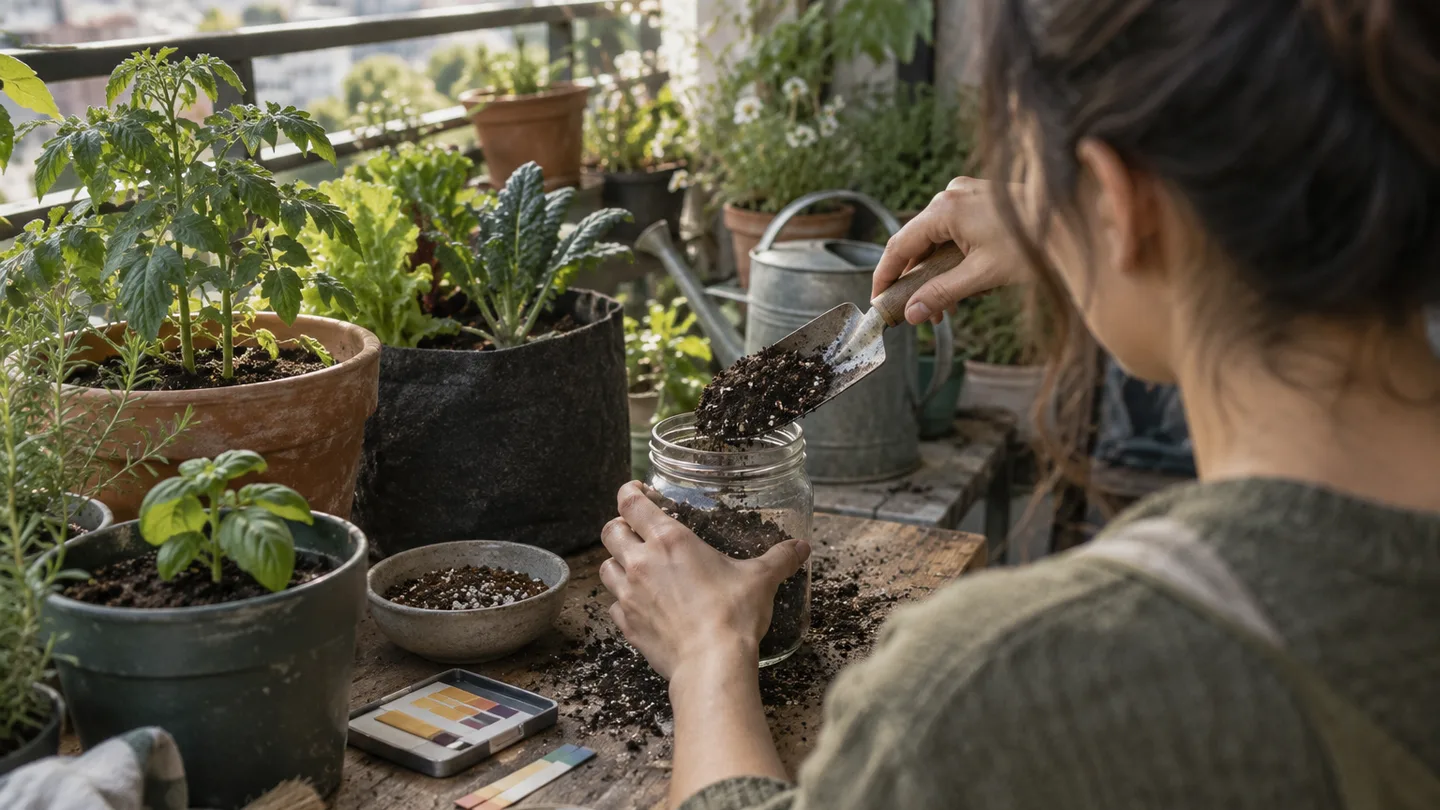
The sample matters as much as the test: pH 7 is neutral, but not every potting mix is garden soil
Container pH testing has a small but consequential trap: the test doesn’t necessarily measure a scoop of damp mix in the same way you imagine it does. Many methods prepare a sample with water or a supplied solution, then read the liquid or a reaction from that prepared sample. The ratio, water quality, waiting time and type of growing medium can all affect what the result means. So first check that the lab, kit or meter instructions allow your specific mix, especially if it’s a peat-, coir- or bark-based potting medium rather than mineral garden soil.
Take the sample from the active root zone, not from a crust on top or a spot where fertilizer granules have collected. In a wide planter, gather small portions from several places where roots are growing and combine them in a clean container. In a small individual pot, sample a few root-zone spots without scraping the pot wall. Don’t combine a blueberry pot with a tomato pot just to make one larger sample: different crops, mixes and amendments can leave you with a result that represents neither one.
Remove loose mulch or surface debris, but don’t wash the mix or add extra water unless the directions call for it. A lab may ask for a particular amount or preparation; a home kit may prescribe its own soil-to-solution ratio; a meter maker may specify a slurry or another substrate method. Follow that method rather than borrowing a recipe from a different test. If you want broader context on collecting a representative sample, check your local university extension’s soil-sampling guidance, then confirm that it applies to container media.
My practical rule is to choose the test based on the decision you need to make, not on which device looks most technical. If the result will determine a meaningful change to the mix, use a method that can explain what it measured. If you only need a rough check before deciding whether to investigate further, a properly used kit may be enough. A meter earns its place when you’ll use it repeatedly and will maintain it properly.
Mail-in lab test: the best reference when you need to choose an amendment
With a mail-in test, your at-home job is careful sampling and accurate labelling; the lab does the measurement. Before sending anything, ask whether it accepts potting mix, greenhouse substrate or other container media. Some services are set up for mineral garden soil, and a report from an unsuitable sample type can look precise while answering the wrong question. The lab’s current submission instructions should also settle how much to send, whether to dry or prepare the sample, and how it should be packed.
When the report arrives, look beyond the pH number. Check the stated method, the sample type the lab recorded, and any interpretation that relates to your crop. If the report includes nutrient levels or a lime-requirement recommendation, treat those as separate pieces of information: pH alone does not tell you every nutrient condition, and the same pH reading doesn’t automatically call for the same amendment in every mix.
The extra detail is most useful when a crop is struggling and you’re considering a substantial correction, or when you need more than a screening result. It’s less compelling if you’re simply checking a newly opened bag of mix before planting and would act the same way regardless of a small reading difference. Turnaround, sample quantity and price are lab-specific; check the lab’s current terms rather than planning around a generic estimate.
Here’s the comparison I’d use before choosing. These are cost shapes, not quotes: providers and products vary, so check the current instructions and price before buying.
| Method | Relative cost shape | Turnaround | Best use |
|---|---|---|---|
| Mail-in lab | Potentially highest spend per sample | Use the lab’s stated window | An amendment decision or a result with added soil information |
| Color-change kit | Lower entry cost; consumables may be needed | Same session, following the kit’s wait time | A quick screening check with a visible comparison scale |
| Digital pH meter | Higher upfront spend; reusable if maintained | Same session once calibrated and the reading stabilizes | Repeat checks across pots or through a growing season |
If the report suggests a change, don’t rush to add lime or an acidifying product to the whole pot. Confirm that the test was intended for your medium, compare the result with crop-specific guidance, and work out whether a small correction or replacing the mix makes more sense. A container has a finite volume: an amendment that is hard to reverse can turn a manageable question into a second one.
Color-change kits: check the scale before trusting the shade
A chemical kit can be a useful home screen, but the result depends on following its own procedure. Some kits mix soil with a supplied liquid or reagent; others use a different preparation. Measure the mix and solution as directed, use the specified waiting time, and don’t substitute tap water or a different ratio unless the instructions permit it. The directions are part of the test, not fussy packaging.
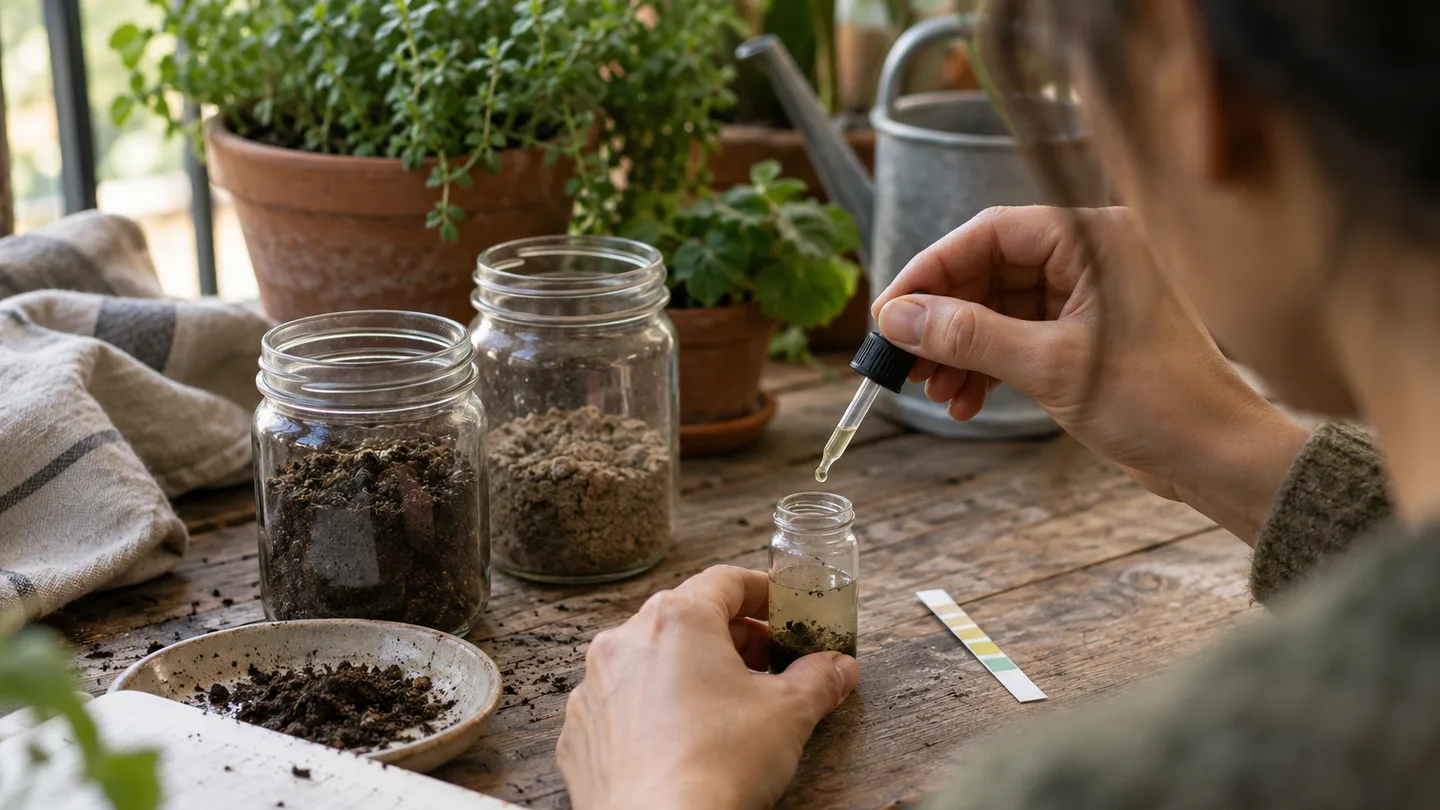
Read the scale before you buy. A kit that prints half-unit steps offers finer categories than one marked only in whole units, but that doesn’t make a color match equivalent to a laboratory measurement. Your eye still has to compare a sample shade with printed blocks, and the answer may sit between two colors. Treat the printed increments as the kit’s reporting steps, not as a promise of that level of accuracy in every potting medium.
Compare the developed color under neutral daylight or another consistent, neutral light. A strongly colored lamp can change how you perceive a shade. Use a clean, unstained cup, and avoid carrying soil residue or a previous reagent into the new sample. Old or poorly stored reagents can also make a result difficult to interpret, so check their condition and any expiry guidance on the package.
Before using a kit on container mix, check whether its instructions include potting media or specify only garden soil. If a color result is close to the range you’re trying to reach, don’t pick an amendment based on a marginal shade difference. Repeat the test with a fresh sample prepared exactly as directed, or use a lab that accepts the medium. That’s a sensible point to pay for a clearer answer, especially before changing a crop’s root environment.
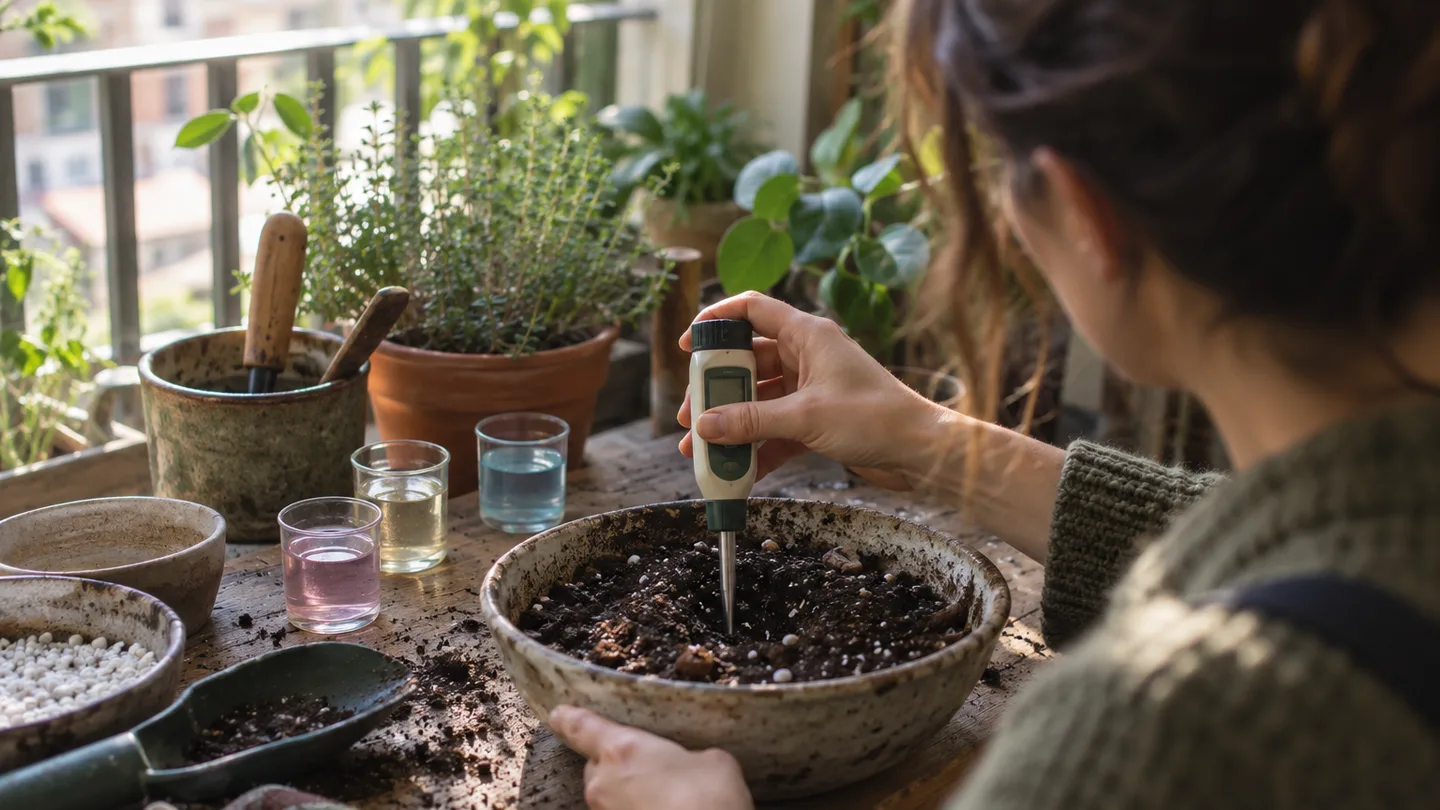
Digital meters: calibrate with the right buffers, then test the root-zone sample
A digital pH meter can give a useful number, but the word “digital” doesn’t guarantee that a device is a proper pH meter. Look for a model that explicitly measures pH and provides a calibration procedure. A probe marketed mainly for moisture or light may not offer the same calibration or measurement method. Check the manufacturer’s instructions for the electrode, buffer solutions and suitable way to test potting media.
Don’t push a probe into dry, coarse potting mix and assume the display has settled on the mix’s pH. A probe needs a suitable contact environment, and inconsistent moisture or poor contact can make readings wander. Instead, prepare a sample with the ratio and method the meter maker specifies, whether that is a slurry or another substrate procedure. Use the same preparation each time if you want to compare readings across pots.
Calibrate before testing. For an expected acidic-to-neutral sample, the usual two-point setup uses pH 4.00 and 7.00 buffers; for a sample expected to be alkaline, follow the meter guidance on using pH 7.00 and 10.00 buffers. Use fresh buffers as directed, rinse the electrode between solutions and samples, and don’t pour used buffer back into its bottle. Let the display stabilize. If the value keeps drifting, repeat the preparation and check the electrode-care instructions rather than recording the first number that flashes up.
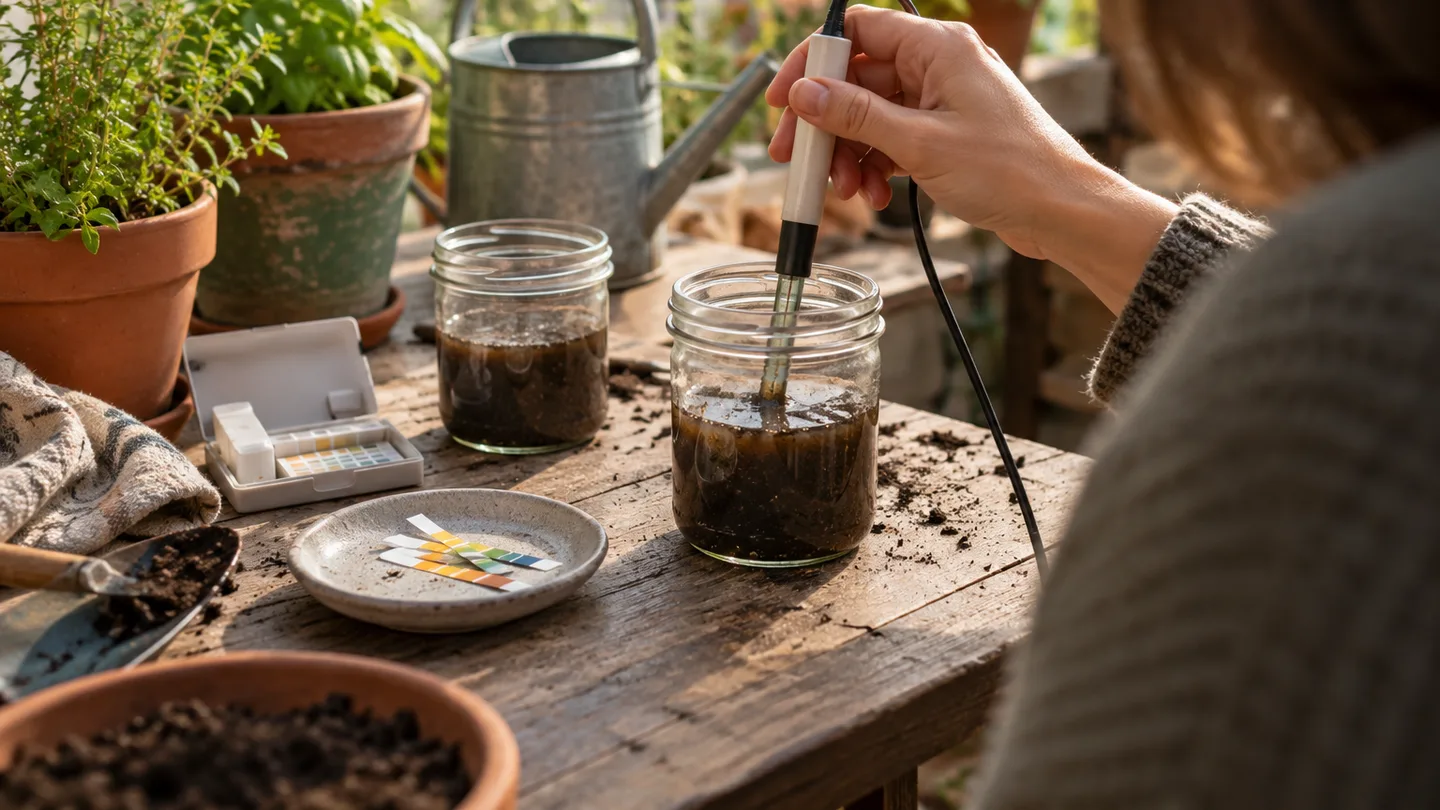
Then compare the reading with the range given for the crop and growing medium. Blueberries, for example, call for a more acidic growing environment than many common vegetables; that makes them a crop where a meaningful mismatch deserves confirmation before you try to correct it. A single reading is not a diagnosis of every problem in the pot. Poor growth can have other causes, and a meter result doesn’t reveal nutrient levels or root health on its own.
If you’re deciding whether to test or replace a used mix, the guide to can you reuse potting soil is relevant; pH is only one part of that decision. And don’t confuse a crop’s root-depth needs with pH: How deep do containers need to be for vegetables? covers the separate question of how much room roots have.
My preference is to treat a meter as a repeat-check tool, not a shortcut around reading instructions. Before testing, check the meter manual, gather the correct buffers and decide which container you’re sampling. That small setup step is more useful than collecting a string of numbers you can’t compare.
Questions people ask about home pH tests
Can vinegar and baking soda tell me my soil’s pH?
No. Fizzing can show that a reaction is happening, but it doesn’t give you a numeric pH or a dependable amendment recommendation. Use a method with a defined sample procedure and scale instead.
Do pH test strips work in potting mix?
Only use them if the strip and extraction procedure are intended for that growing medium. A strip reads the prepared liquid, not the dry mix directly, and its color scale may give only a broad estimate.
How often should I retest container soil?
Retest when a crop gives you a reason to investigate, after a meaningful pH amendment has had time to act, or when you replace the growing medium. Follow the lab or product’s timing guidance; there isn’t one interval that fits every pot and method.
This week, choose one pot that has a clear reason for a pH check, read the test instructions before collecting anything, and keep that sample separate from the rest.
Frequently Asked Questions
Can vinegar and baking soda tell me my soil’s pH?
No. Fizzing may suggest a reaction with strongly acidic or alkaline material, but it does not produce a numeric pH or a dependable amendment recommendation.
Do pH test strips work in potting mix?
Only if the strip-and-extraction procedure is intended for that kind of growing medium; strips measure the prepared liquid, not the mix directly, and usually give a broad estimate.
How often should I retest container soil?
Retest when a crop shows a reason to check, after a meaningful pH amendment has had time to act, or when the growing medium is replaced; use the lab or product’s guidance for timing.