Can You Reuse Potting Soil? The 3 Checks I Use First
Yes, you can reuse potting soil—but I make it pass three gates first
A 20 L (5.3 gal) pot of used mix can be worth keeping, but I don’t scoop it straight into the next crop. I reuse potting soil when the previous plant finished healthy, the mix still drains and holds air, and any salt or crop-fit problem can be corrected.
I call those three checks plant health, physical structure, and chemical condition. They lead to one of three outcomes: reuse the old potting soil as-is, refresh it with new ingredients, or retire it from edible containers.
In the shop aisle, potting soil and potting mix are often used for the same bagged product. In practical terms, a soilless potting mix is a manufactured growing medium built from materials such as peat, coir, bark, composted ingredients and particles that create air space; it isn’t the same thing as digging garden soil into a pot. That distinction matters because a container has less room for poor structure to correct itself.
My opinion is that age alone is a weak reason to throw mix away. A recently used mix can be a poor choice if it stayed wet and compacted, while older mix can be useful if its history is clean and its texture is still springy. I care more about what happened in the pot than how many months the bag has been open.
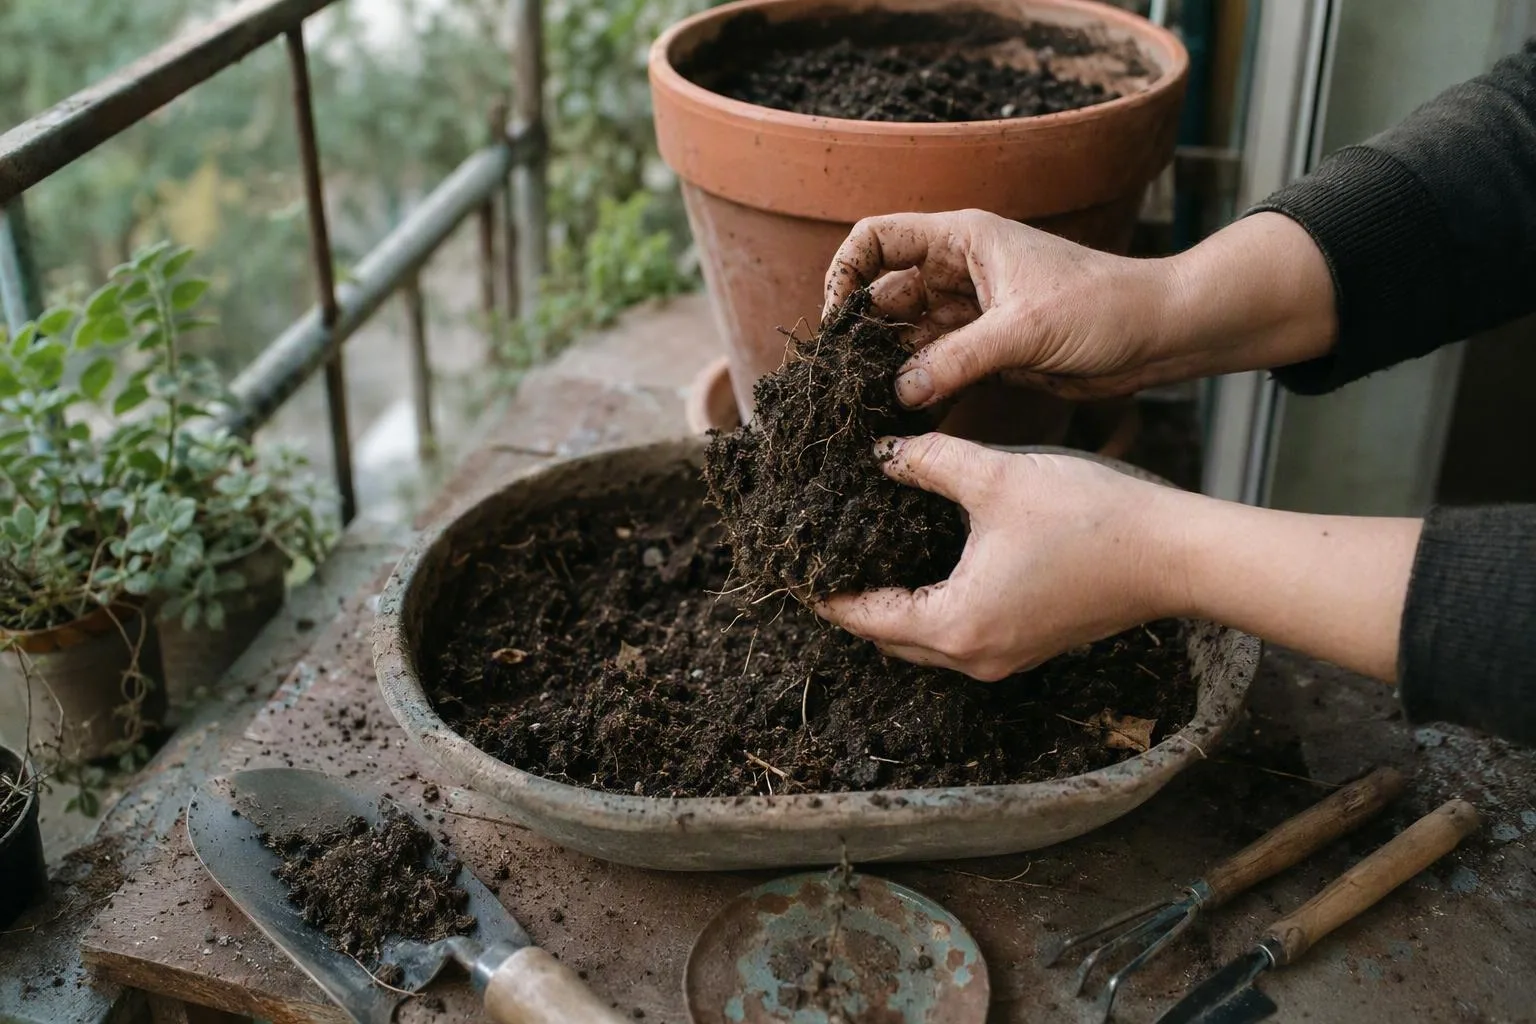
Gate 1: what happened to the last plant?
I start with history, not how dark the mix looks. A dark brown potting medium can still carry a root-zone problem, and a pale, tired-looking medium may simply need fresh organic matter and nutrients.
An aphid infestation, sun scorch or a leaf-only nutrient problem doesn’t by itself prove that the root medium is unsafe. Those problems are visible on foliage or in the plant’s feeding pattern, whereas the more serious reuse question is what happened below the surface.
The signs that change my answer are a sour or swampy smell, black or brown mushy roots, a slimy root ball, visible larvae, sudden wilt even though the mix is moist, or a young plant that collapsed at the soil line. Damping-off is the plain-language name many growers use for that sudden seedling collapse. Root-knot nematodes are microscopic pests that can leave distinct swellings or galls on roots.
- Sour smell: the root zone may have stayed short of oxygen for too long.
- Soft, dark roots: healthy roots are not normally a wet, collapsing smear between your fingers.
- Unexplained wilt: a plant can wilt in wet mix when damaged roots can no longer move water properly.
- Galls, larvae or repeated collapse: I isolate the material instead of spreading the problem to another edible pot.
On my own balcony, I don’t make this call while the pot is still full. I set the container on cardboard, pull away the stem and tip the root ball out where I can see it. If the centre is sour, slick and full of decaying roots, I bag that mix for disposal rather than work it into the herb pots. The point of the routine is not to diagnose a particular pathogen; it is to avoid making an unknown root problem everyone else’s problem.
My order is simple:
- Remove the spent plant, including the thickest roots and woody stems.
- Keep suspect mix in a separate tub or bag while you inspect it.
- Brush old material from the container, wash the pot and saucer, rinse them, and let them dry.
- Only then decide whether the remaining mix deserves the structure and salt checks.
If the last plant died from an unexplained collapse, I don’t direct-reuse that medium for another edible crop. A conservative balcony decision is sensible here because the cost of replacing a few litres of mix is usually smaller than losing a second crop in the same container.
Fertilizer can replace nutrients, but it cannot erase a disease history, remove pest eggs or turn damaged roots into healthy ones. That is why adding a scoop of feed is not a repair strategy. If you’re unsure about the symptoms, the phrase what does root rot look like is a useful checklist before you make the call.
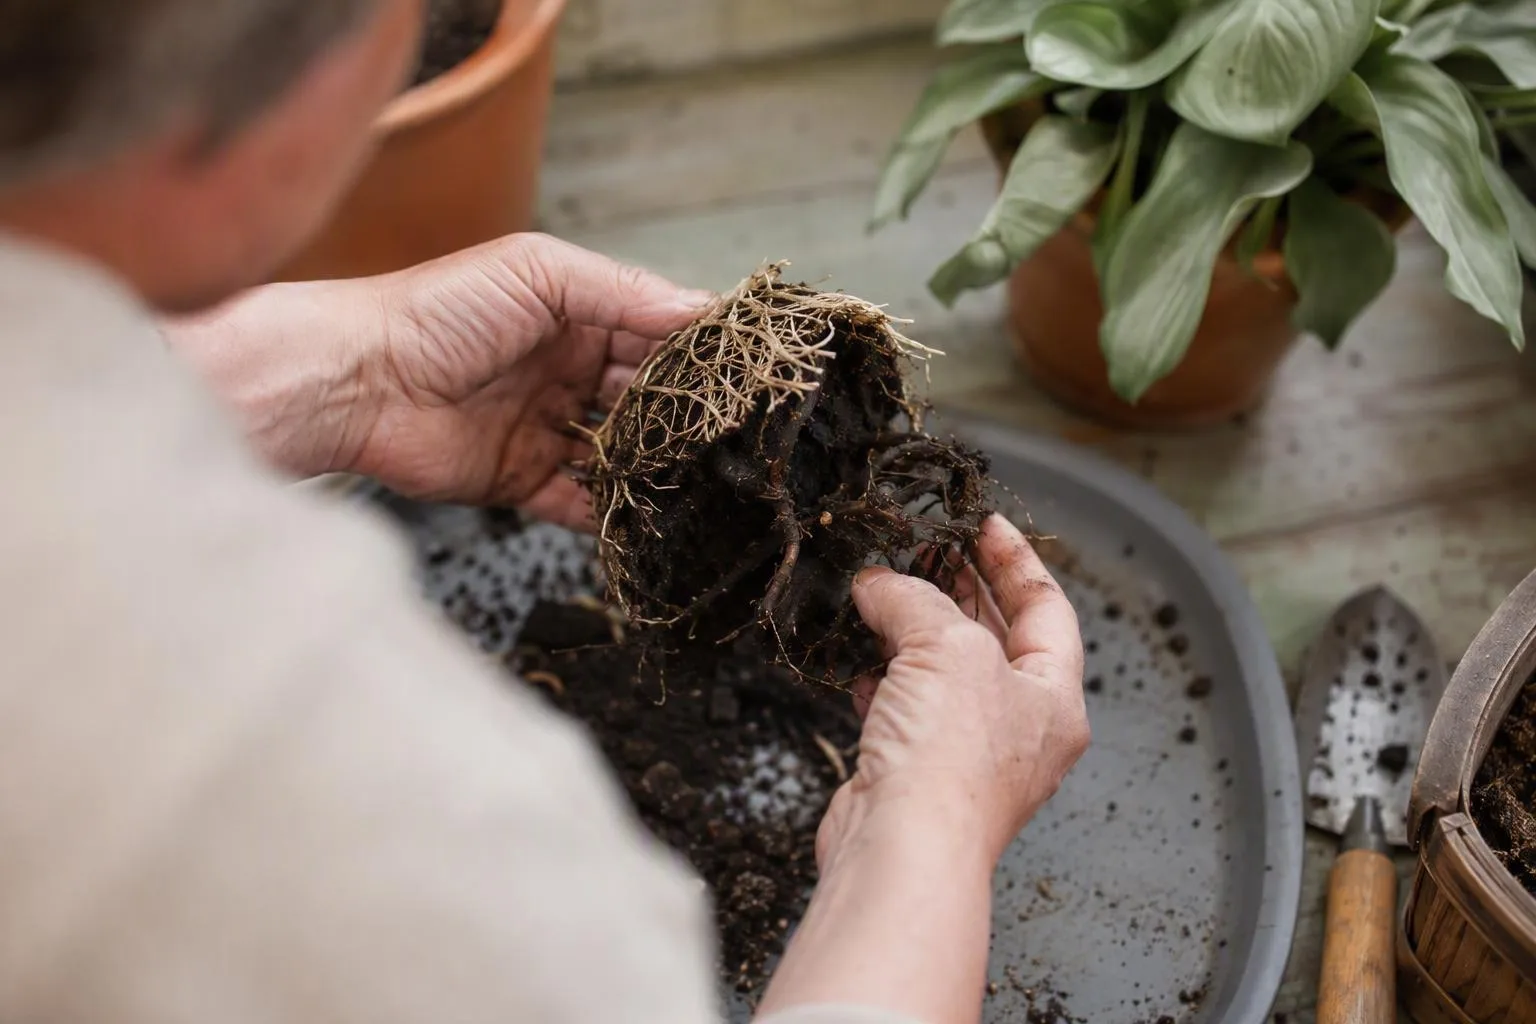
Gate 2: does the mix still make room for water and air?
A mix can look brown and respectable and still be physically worn out. The useful question in potting soil drainage is not simply whether water can escape through the hole; it is whether the root zone keeps enough open space for both water movement and air after the pot has been watered several times.
Peat, coir, bark and other organic ingredients change as they decompose. Repeated watering, root growth and the weight of a filled container also press particles together. As the larger particles break down, fine particles can fill the gaps that previously held air. The result is collapsed potting mix: it packs hard, stays wet at the bottom, or dries into a dense block that water runs around instead of through.
The perched water table in pots is the wet layer that remains above a drainage opening after the free water has drained away. Fine-textured mix can hold water against gravity at the lower part of the container, so the bottom of a 25–30 cm (10–12 in) pot may remain wetter than the surface suggests. Roots sitting in that band have less air available.
That is why gravel in the bottom doesn’t turn a poor mix into a good one. The gravel may create a sharper boundary beneath the finer medium, but it doesn’t create useful root space inside the mix above it. It also raises the level at which roots meet the wettest part of the pot. I’d rather use the full container for a well-structured medium and keep the drainage opening clear.
A dry mix can fail this check for two different reasons. It may be temporarily water-repellent because peat dried hard, or it may be permanently collapsed and muddy. Those look similar during the first splash of water, so I test the mix after it has been rewetted evenly.
I test structure in the following order:
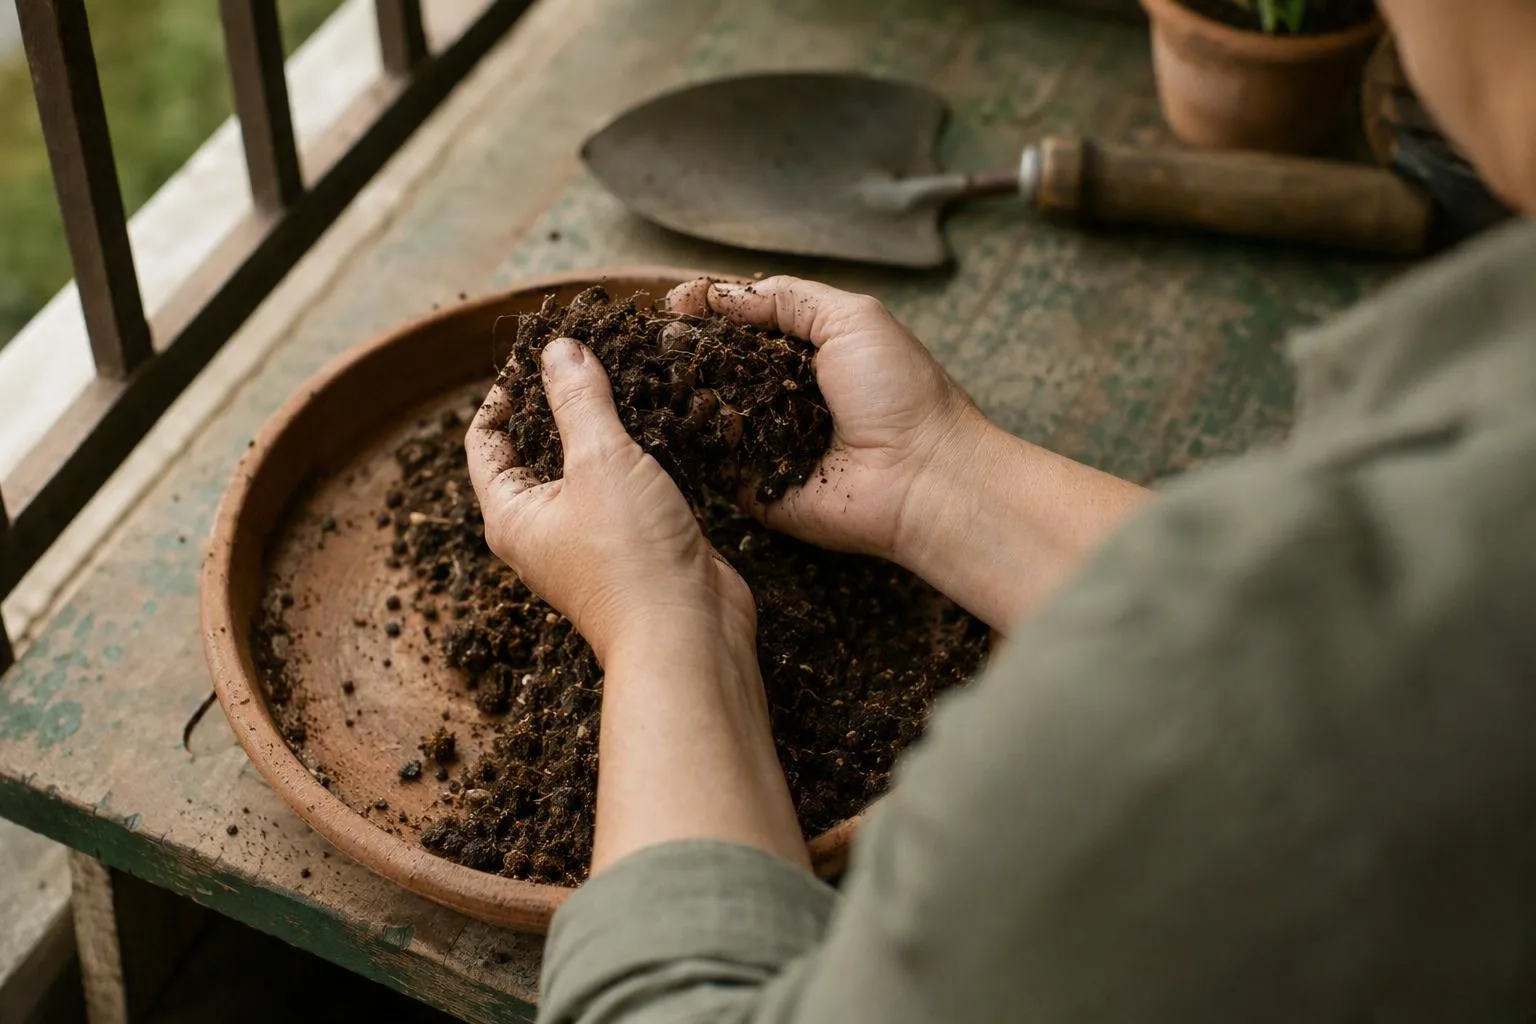
- Break it up gently. Remove roots and clods with your fingers rather than pulverising the whole batch. I want to see whether the ingredients still have different textures.
- Rewet a dry sample slowly. If water beads and runs down the side of the tub, add a small amount, stir, wait a few minutes, then repeat. Slow wetting gives dried peat or coir time to absorb water instead of letting it flow around a dry core.
- Clear the pot’s holes. A blocked opening can make sound mix appear defective. The guide to drainage holes in pots is useful if you’re unsure whether the container itself is causing the slow drainage.
- Run a full-pot test. Put the evenly moist mix in a clean pot without pressing it down hard. Water slowly until runoff appears, pause, and water again. Watch whether the surface accepts water and whether the pot drains without remaining glossy and sodden for an extended period.
A handful that clumps lightly and then breaks apart with a finger is giving me a better signal than a handful that smears like clay. I’m not looking for a perfectly fluffy product; I’m looking for a mix that has some spring, some visible coarse material and enough cohesion to hold a root ball without sealing shut.
The full-pot test matters because a single handful can be misleading. A sample may feel loose while fine particles have settled into a dense layer at the bottom. If the pot drains sluggishly after normal watering, or if it becomes heavy and wet for days in the same conditions where a fresh mix would have begun to lighten, I retire the batch or use only a small proportion of it in a larger fresh blend.
Temporary hydrophobicity is fixable; permanent collapse is not fixed by poking a few holes into the surface. In the first case, slow rewetting restores contact between the dry material and water. In the second, the pore structure has changed, so adding fresh coarse material or replacing most of the medium is the more reliable choice.
Gate 3: is that white crust salt, and is the mix still fit for the next crop?
A hard white crust around the rim or on the surface can be a sign of salt buildup in potting soil. Soluble fertilizer residues and minerals left behind as water evaporates can concentrate at those edges. A crust is a reason to inspect and possibly leach the mix, not an automatic discard signal if the previous plant was healthy and the structure passed.
Fuzzy white growth is a different sight. Cottony or web-like material on damp organic matter is more consistent with surface fungal growth than with a hard mineral crust. Fine white threads can also be decomposing organic material. I don’t use the colour alone as a verdict; I check the smell, root condition, texture and drainage alongside it.
Used mix can be both nutrient-depleted and salt-loaded. Nutrients may have been taken up by the old crop or washed out through the drainage holes, while repeated feeding can leave some dissolved salts behind. That combination is why I don’t automatically add fertilizer just because a plant has finished. More feed may increase the salt problem before it solves the nutrient problem.
To leach container soil, I first scrape away visible crust, confirm that the drainage holes are open, and place the pot where runoff can be collected safely. My working rate is roughly two to three times the container’s volume, applied in several slow passes. The water needs to travel through the whole root zone and leave the pot; pouring quickly onto a blocked or sealed container is not leaching.
For a 20 L (5.3 gal) pot, that working rate means about 40–60 L (10.6–15.9 gal) of water in total. That is a lot for a balcony. I would do it only where the pot is stable, the extra weight is safe for the surface, and the runoff can be managed without staining a neighbour’s space or sending concentrated water into a drain that cannot handle it. If those conditions aren’t available, replacing the mix is the cleaner decision.
Crop fit is the other half of this gate. Fresh seed-starting mix is my first choice for seedlings because young roots are small and less forgiving of coarse chunks, disease history or excess salts. A generic reused mix is also a poor substitute for the acidic medium used by blueberries; the crop’s preferred acidity is part of the growing system, not a detail to correct automatically at the end.
A pH test gives an indication of acidity or alkalinity, while an EC test estimates the amount of dissolved material that conducts electricity and can act as a rough salt signal. I treat both as aids rather than universal verdicts because the right result depends on the crop, the test method and whether the sample was taken from the root zone or a dry bag. If you want to cross-check the reasoning, I would compare it with extension guidance on reused container media and extension guidance on leaching salts from container media, while still inspecting the actual pot in front of me.
The rebuild decision: a 20 L pot, a 1:1 refresh, and the point where I retire it
Once the mix passes the three gates, this is how to refresh potting soil without turning the recipe into guesswork. I remove the old root ball, clean the container and measure what I actually have before adding anything. The final volume matters more than the number of scoops because scoops change size, and a loosely filled bucket is not the same volume as a compressed pot.
My starting blend is one part old mix to one part fresh potting mix. It is a deliberately cautious dilution: the old material contributes whatever structure remains, while the fresh portion supplies new pore space and reduces the proportion of any unresolved salt or texture problem. I don’t treat 1:1 as a magic formula. If the old mix is only slightly tired, I can use more of it; if it is borderline compacted, I use less.
Finished compost is optional, not a cure-all. If I add it, I keep it to about 10–20% of the final volume by replacing part of the old-and-fresh blend, rather than piling compost on top. Compost is decomposed organic material, and too much fine material can make a container mix hold water longer and leave fewer air spaces.
| Final fill | Basic 1:1 blend | 10% compost option | 20% compost option |
|---|---|---|---|
| 10 L (2.6 gal) | 5 L old + 5 L fresh | 4.5 L old + 4.5 L fresh + 1 L compost | 4 L old + 4 L fresh + 2 L compost |
| 20 L (5.3 gal) | 10 L old + 10 L fresh | 9 L old + 9 L fresh + 2 L compost | 8 L old + 8 L fresh + 4 L compost |
| 30 L (7.9 gal) | 15 L old + 15 L fresh | 13.5 L old + 13.5 L fresh + 3 L compost | 12 L old + 12 L fresh + 6 L compost |
The table is simple volume arithmetic, but it prevents a common mistake: adding 2 L of compost to a 20 L pot and assuming the final blend is still 20 L when the pot was already full. In the 20 L example, 9 L old plus 9 L fresh plus 2 L compost equals the final 20 L. For a 20% compost blend, 8 L plus 8 L plus 4 L also equals 20 L.
These volumes assume the ingredients are loose when measured. I mix them in a tub, lift and turn the material rather than compressing it, then fill the container to about two fingers below the rim. For the volume maths behind a different pot, I keep how much soil do i need for a container nearby and calculate from the container’s actual internal volume.
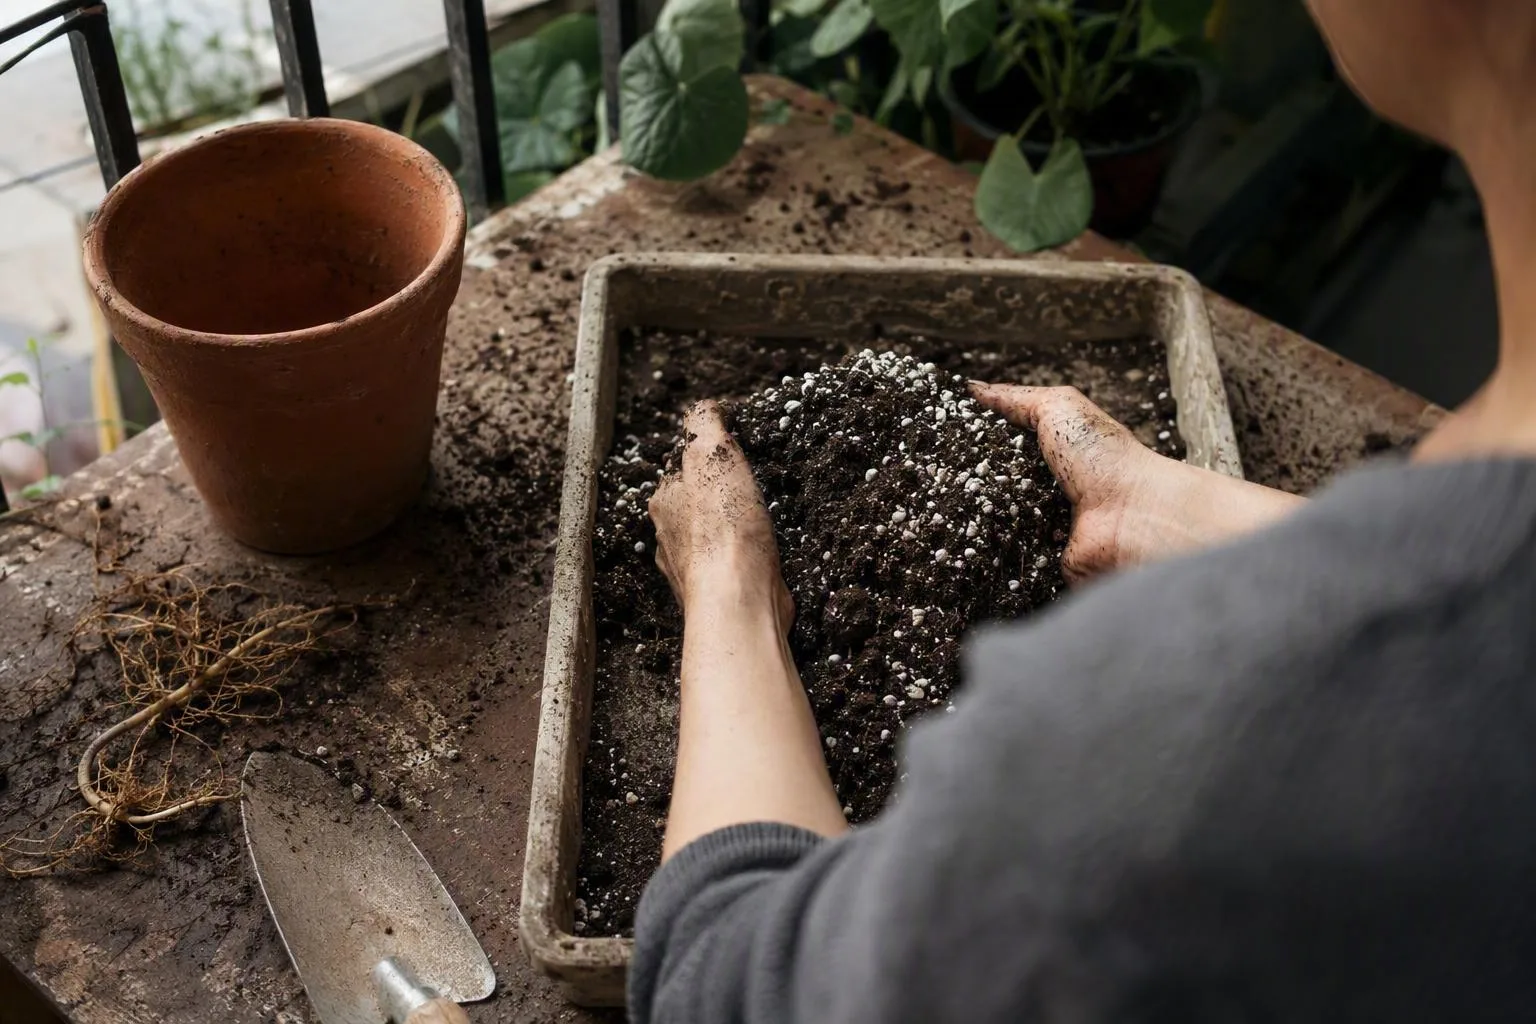
Garden soil is a poor shortcut for this rebuild because its fine mineral particles can add density and close the air spaces that make containers work. It also makes a filled balcony pot heavier. If you want a soil-volume refresher before buying bags, check the container size first rather than guessing from the label.
Automatic liming is another shortcut I avoid. Lime changes acidity, and the correct amount depends on the starting material and the next crop. Adding it without a reason can move the mix away from the target rather than making it generally healthier.
A second full dose of controlled-release or soluble fertilizer can create the same problem from the chemical side. If the reused material already contains residual salts, doubling the feed increases the dissolved load before the plant has roots large enough to use it. I prefer to plant into the refreshed mix, water it thoroughly, and begin feeding according to the new crop’s growth rather than the old crop’s label instructions.
I match the refreshed mix to the plant that will actually live in it:
- Seedlings: use fresh, fine-textured, low-salt seed-starting mix whenever possible. A reused tomato mix is not my first choice for tiny roots.
- Herbs and leafy greens: use a moderate-fertility blend and avoid turning the pot into a compost-heavy, slow-draining sponge.
- Tomatoes and peppers: give the refreshed mix renewed fertility, then follow a crop-specific feeding rhythm rather than feeding heavily on day one. The container gardening tomatoes guide is useful for that next step.
- Blueberries: use a dedicated acidic medium instead of trying to convert generic old mix with an automatic scoop of lime or sulphur.
The age of the mix is not the decision; its history and texture are. That is my main counterpoint to the advice that treats every used bag as exhausted. I would rather refresh a healthy, well-drained old mix than throw it away, but I would also rather retire a compacted, sour batch than dilute it through several pots and hope the problem disappears.
I retire mix from edible containers when it stays compacted after rewetting, drains poorly after the pot holes are cleared, smells sour, has lost its fibrous structure, or came from a plant with an unexplained root-zone collapse. Clean old mix can be added to compost or outdoor soil in small amounts, but it contributes bulk more reliably than fertility. Suspect or contaminated material should not be spread where it can meet another edible crop.
Three side questions at the potting bench
Can I reuse potting soil for seedlings?
I don’t make ordinary reused container mix my first choice for seedlings. A fresh seed-starting medium gives small roots a fine, clean and relatively low-salt starting environment. If you have no alternative, screen out roots and woody pieces, inspect the history carefully, and use only mix that passes the health, structure and salt checks.
Do I need to sterilize reused potting soil?
Healthy old mix does not need an improvised home sterilising project in my routine. A suspected disease or pest history is the stronger reason to use fresh mix rather than rely on an oven treatment or chemical product that may be unsafe, ineffective or unsuitable around food crops.
Can old potting soil go in the compost bin?
Small amounts of clean, root-free old mix can go into compost or outdoor soil as a dry organic and mineral bulk ingredient. I keep material from root rot, damping-off, root-knot nematodes, visible pests or unexplained collapse out of that stream so I’m not distributing a problem.
Before the weekend, choose one used pot and make the decision on a sheet of cardboard: inspect the old plant’s roots, squeeze a rewetted handful, and look for salt crust after the drainage holes are clear. If it passes, buy enough fresh mix for the 1:1 row that matches your pot. A week after replanting, lift the container, check that water still enters and exits normally, and smell the mix at the surface; those physical checks will tell you more than the date printed on the old bag.
Frequently Asked Questions
Can I reuse potting soil for seedlings?
Usually not as a first choice: seedlings need a clean, fine-textured, low-salt medium, so fresh seed-starting mix is safer than ordinary reused container mix.
Do I need to sterilize reused potting soil?
Healthy old mix does not normally need home sterilizing; a suspected disease or pest history is a reason to use fresh mix rather than rely on an improvised oven or chemical treatment.
Can old potting soil go in the compost bin?
Small amounts of clean old mix can be added to compost or outdoor soil, but diseased or contaminated material should not be spread, and old potting mix contributes bulk more than fertility.