Powdery Mildew on Zucchini: 5 Fixes for Potted Plants
Powdery mildew on zucchini is not fixed by one dramatic spray. I’d start with five practical moves: confirm the diagnosis, remove the worst leaves, give the canopy more direct sun and moving air, stabilise watering at the root ball, then use a product labelled for edible cucurbits if early mildew is still spreading.
A potted zucchini can recover enough to keep flowering, but the useful test is new growth rather than old leaves. The white marks already on a leaf may stay there; what I want to see over the next seven days is clean or cleaner young foliage.
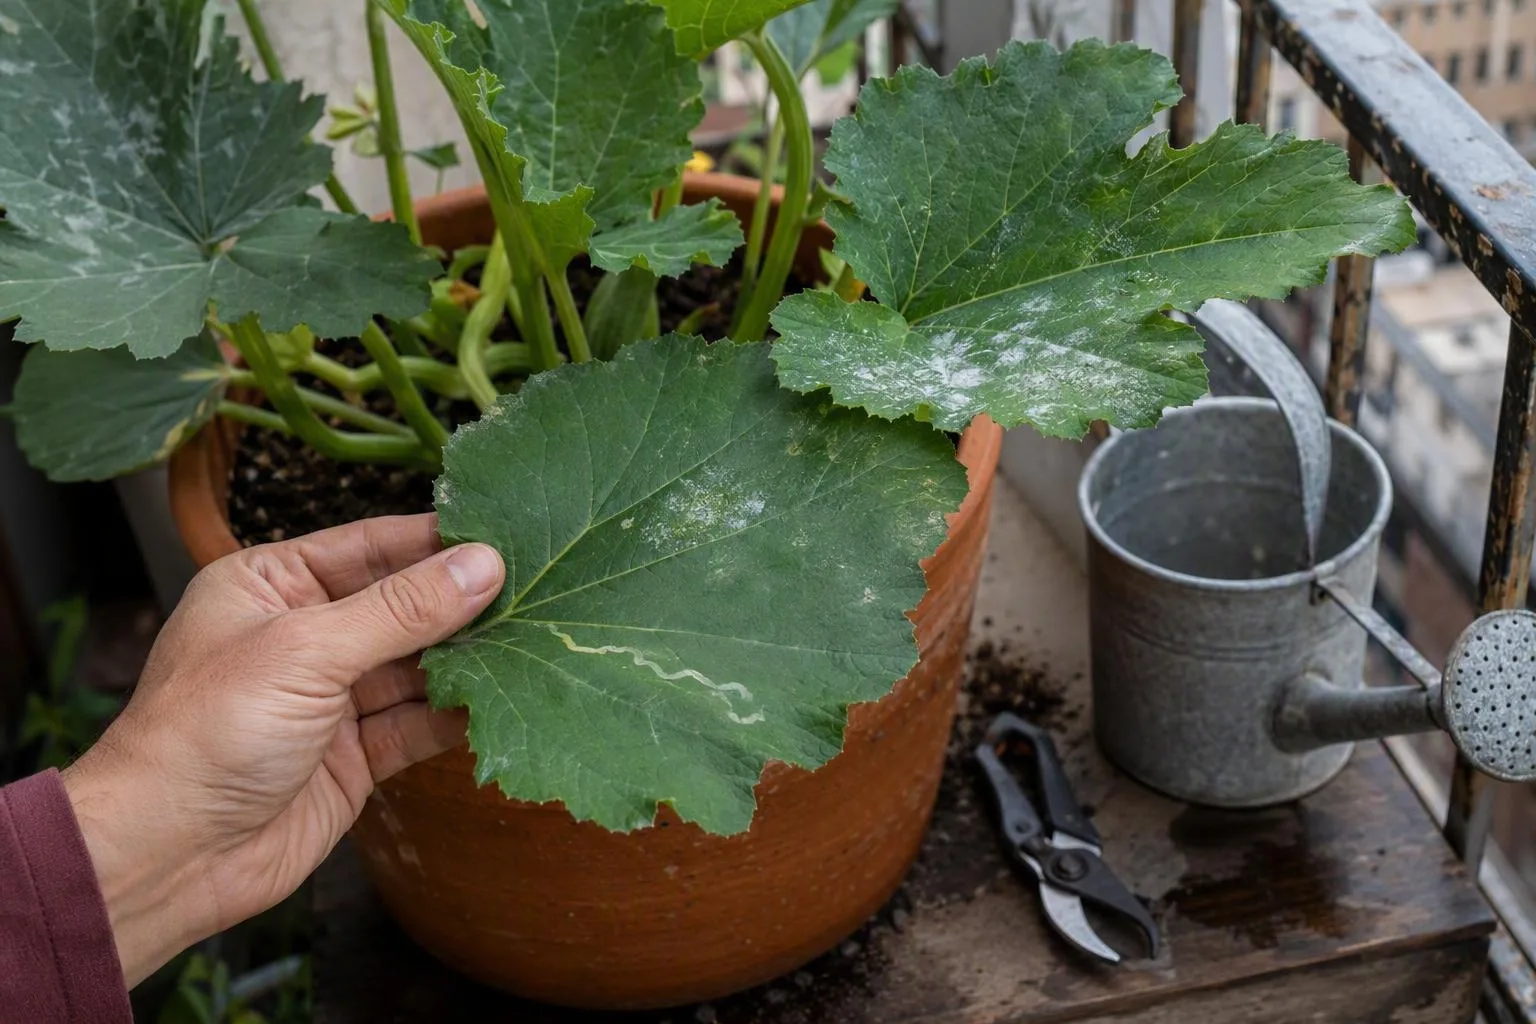
White powder, yellow spots, or spray residue? Confirm powdery mildew first
Before you prune, turn the plant so you can inspect it in good light. Powdery mildew usually looks like a raised, flour-like coating sitting on the leaf surface. It may begin as separate white patches and join into a larger dusty area across the upper surface, lower surface, stems or leaf stalks.
That appearance matters because zucchini can have natural silver markings that look alarming in a quick balcony inspection. Varieties with silver mottling have flat, built-in colour changes in the leaf tissue. The pattern stays part of the leaf rather than sitting on top as a powder, and it does not keep expanding from one small patch in the way an active infection can.
Powdery mildew vs downy mildew is another useful distinction. Downy mildew is more likely to show angular yellow or pale-green lesions that stop at leaf veins, with darker grey, brown or violet growth underneath when conditions are humid. Powdery mildew tends to look like surface flour; downy mildew tends to look like damaged leaf tissue with growth below it. The two diseases need different management decisions, so don’t rely on the word mildew alone.
Hard-water deposits and dried foliar-feed residue sit in a third category. A deposit is often crusty or granular and concentrated where droplets dried. On a small, inconspicuous area, a damp cloth may soften or lift it. A persistent raised patch that returns or expands after wiping deserves a closer disease inspection rather than another dose of feed.
Check both sides of several leaves, not just the most visible one. Look along the stems and petioles, then inspect nearby cucumber, squash and melon plants. If only one old leaf has a flat, stable pattern, pruning may be unnecessary. If fresh leaves on several cucurbits are acquiring raised white patches, move on to sanitation and site correction promptly.
Fix 1 — Remove the worst leaves without stripping the plant bare
Start with sanitation, not a haircut. Removing heavily coated or yellowing leaves lowers the amount of infected tissue beside the remaining canopy, but it cannot remove airborne spores already reaching the plant. That is why pruning works best as the first step in a wider correction rather than as the entire treatment.
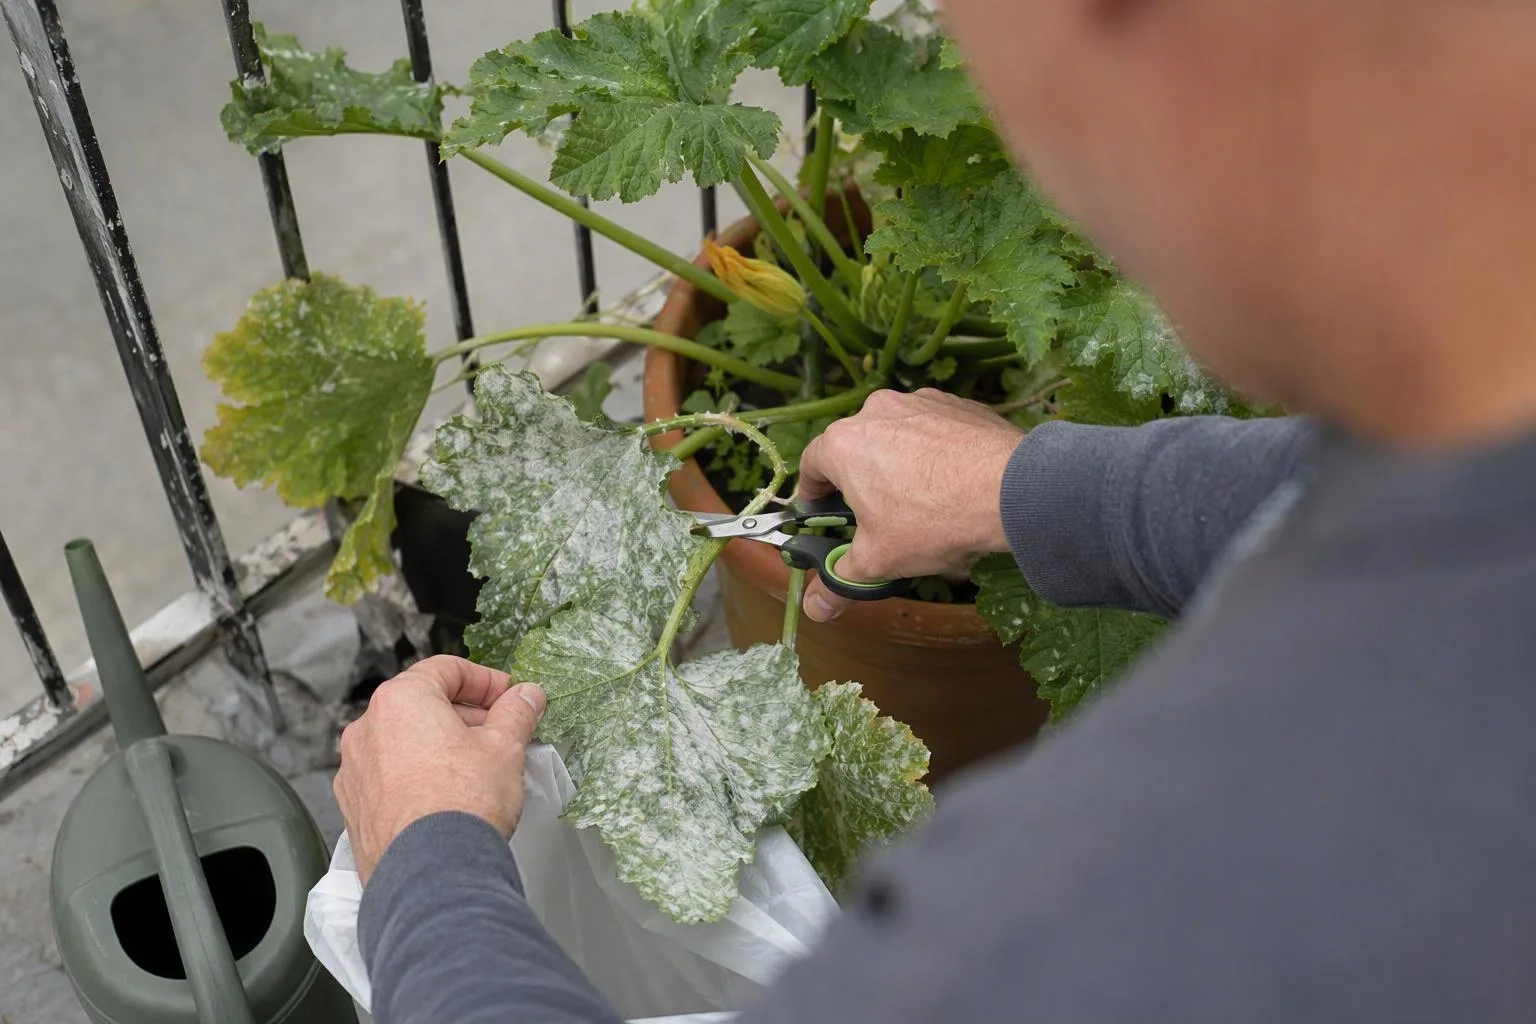
- Choose the leaves that have stopped earning their space. Prioritise leaves with broad powdery coverage, yellowing, collapse or extensive damage. A small isolated mark on an otherwise useful green leaf is not the same as a leaf that is mostly coated.
- Work when the foliage is dry. Dry tissue is easier to handle, and dry debris is less likely to smear across your hands and tools. If the plant is wilted from drought, water the root zone first and prune once the plant has regained some firmness.
- Cut at the petiole. Use clean, sharp pruners to remove the whole affected leaf where its stalk joins the main stem. Don’t tear the leaf away or scrape the white growth across neighbouring leaves. Leave the main stem and nearby healthy petioles intact.
- Contain the material. Put removed leaves and fallen debris in a bag or household bin unless you know your composting system reliably breaks down diseased plant material. A small, cool home compost pile is not a dependable sanitation step, so I wouldn’t use it as a place to hide the problem.
- Clean the tool before another plant. Wipe or disinfect the pruners according to the disinfectant’s directions, especially before moving to another zucchini, cucumber or squash. Wash your hands after handling the plant.
Keep enough healthy green canopy to support developing fruit. Leaves are the plant’s working solar panels: removing every spotted leaf can leave fruit exposed, slow new growth and make the remaining plant work from too little green tissue. I don’t follow a fixed percentage rule because a small bush plant with eight leaves and a vigorous plant with twenty leaves do not have the same margin. Remove the worst leaves first, then reassess the balance.
Fix 2 — Give the canopy 6–8 hours of sun and a clear air gap
Zucchini generally needs about 6–8 hours of direct sun for a strong container crop. Count the hours when a direct beam reaches the leaves, not the whole period when the balcony looks bright. A site that receives only 1–2 usable hours is a poor match for fruiting zucchini, and a fungicide cannot turn deep shade into a productive growing position.
For more context on the constraints of growing vegetables in pots on balcony spaces, look at the light pattern at three points in the day: morning, midday and late afternoon. A wall, roofline or neighbouring building may leave a pot bright at breakfast but shaded by lunch. If the only sunny patch is near the balcony edge, check the railing, wind and weight limits before moving a large container there.
Give the leaves room to breathe. Move the pot out of a stagnant corner and, where the balcony allows, aim for roughly 30–60 cm (12–24 in) of open space between the foliage and a wall or neighbouring foliage. This is not a magical mildew boundary. It is a practical gap that lets air move around the leaves instead of leaving a damp, still layer pressed against them.
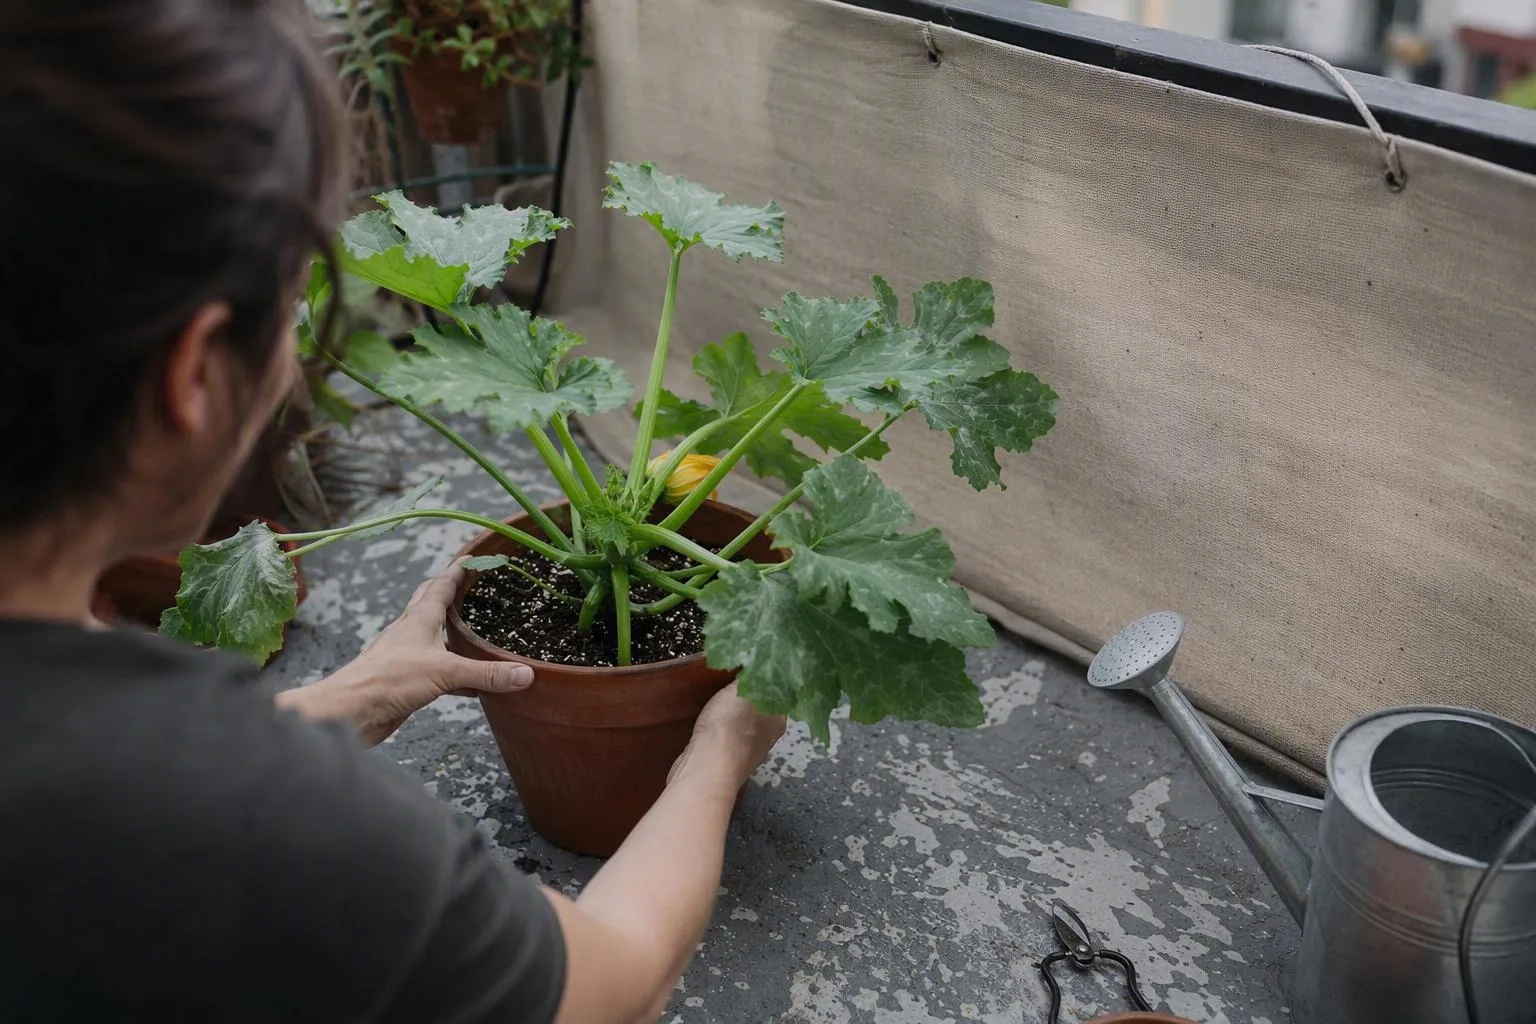
There is a trade-off. Airflow helps the canopy shed humid air, but a relentless wind tunnel can shred large zucchini leaves and pull water from the pot faster than the roots can replace it. I prefer a bright, sheltered position: open on at least one side, protected from the strongest gusts, and not wedged between two solid walls.
If the plant is a sprawling type, its leaves may simply outgrow the safe space available. A compact or bush cultivar described as powdery-mildew resistant can be a better next purchase, but the label describes reduced susceptibility, not immunity. Site choice still matters.
Fix 3 — Water the root ball on its dry-down, not the leaves on a schedule
Powdery mildew does not need wet leaves to infect a zucchini plant, so spraying the foliage on a calendar is not the main cure. The more useful watering question is whether the root ball is becoming repeatedly dry, then being flooded after the plant wilts.
Push a finger or a plain wooden stick 2.5–5 cm (1–2 in) into the potting mix. If that depth still feels cool and damp, wait and check again later. If it feels dry, water at the soil line. Pour slowly around the root zone until water begins to leave the drainage holes, then empty the saucer or outer cachepot. A severely dry mix can repel the first splash, so give it one modest pass, allow it to soak in, and make a second pass rather than watching water run down the gap at the pot wall.
Container watering has to follow conditions, not a universal timetable. A plastic pot in full sun may need a daily moisture check and, during hot weather, daily watering. A glazed pot in cooler part shade may go two or three days between checks. Wind, pot colour, plant size and the amount of exposed mix can change the answer within the same week.
Compact bush zucchini is more forgiving in roughly 19–30 L (5–8 gal) of potting mix per plant than in a small decorative pot. More root volume gives the plant a larger moisture buffer, while zucchini’s broad canopy can pull water quickly on a sunny day. For the sizing logic behind that recommendation, compare the best container size for vegetables before buying a pot that looks roomy but holds little mix.
Wilt has two common-looking paths. With underwatering, the mix is dry, the pot feels unusually light and leaves may firm up after a thorough soak. With overwatering, the mix stays wet for too long, leaves may become soft or yellow, and the pot can smell sour as roots lose access to air. Neither symptom is a diagnosis by itself; check the mix before adding more water.
My rule is simple: water the roots because the roots are dry, not because white powder has appeared. Keep water off the leaves where practical, but don’t panic over an occasional splash. The important correction is a root zone that alternates between suitable moisture and drainage rather than repeated drought followed by saturation.
Fix 4 — Treat early mildew with a product labelled for zucchini
A spray is a decision, not a reflex. Choose by active ingredient and label, not by a familiar brand name or a recipe copied from a social post. Formulations and permitted crops vary by jurisdiction, so a product that is suitable for one edible crop or country may not be suitable for your zucchini.
| Active ingredient or category | Where it fits | What I would check first |
|---|---|---|
| Potassium bicarbonate | Early surface suppression when the crop and disease are listed | Mixing rate, coverage instructions, repeat interval and crop listing |
| Sulfur | Protective treatment where the label permits use on zucchini or cucurbits | Heat warnings, flower and pollinator directions, and compatibility with recent oil applications |
| Horticultural oil or biological product | Only when the label includes the edible crop and the target disease | Temperature limits, plant-safety cautions, coverage and pre-harvest interval |
Potassium bicarbonate and sodium bicarbonate are not the same ingredient. Sodium bicarbonate is ordinary baking soda. A home baking-soda recipe can vary with the amount applied, the water and any added soap or oil; it also leaves you without dependable crop-specific label directions and a clear pre-harvest interval. I would use a labelled potassium bicarbonate product instead of trying to turn a kitchen ingredient into an untested pesticide.
Sulfur deserves extra caution in hot weather. If the product label warns against application at or around 32°C (90°F) or hotter, treat that warning as a stop sign. Sulfur can also injure foliage when used too close to some oils, so don’t invent a spray sequence from separate products. Check the exact label for compatibility and the required interval.
A biological product or horticultural oil may be a reasonable option, but only when its label includes zucchini or the relevant edible cucurbit and powdery mildew. A product being described as gentle, natural or suitable for ornamentals does not establish that it is legal or safe for fruit you plan to eat.
Here is the order I use:
- Prune the worst leaves and clear fallen debris.
- Correct obvious drought stress and confirm that the pot drains.
- Wait until the leaves are dry and the temperature and weather fit the label.
- Read the crop, disease, rate, protective-equipment and harvest directions before mixing.
- Cover the surfaces named on the label. For a leafy zucchini canopy, that may include upper and lower surfaces, but the product directions control.
- Repeat only at the stated interval. Don’t add extra applications because an old patch still looks white.
The pre-harvest interval, or PHI, is the number of days the label requires between the final application and harvest. It is not an estimate I can safely replace with a general rule. If you need a second check, use university extension guidance on identifying and managing powdery mildew on cucurbits for diagnosis, then use the product label and your national pesticide-regulator guidance on pre-harvest intervals for the legal harvest instruction.
Milk sprays and other home remedies have mixed grower reports. That uncertainty is exactly the problem for an edible crop: you may not have a dependable rate, crop approval or PHI. If the product is working, old white patches may remain because damaged leaf tissue does not turn green again. The sign I want is slower expansion and cleaner new leaves.
Fix 5 — Protect the next leaves, then decide whether this pot is worth saving
Inspect fresh leaves every 3–4 days while the disease is actively spreading. Look at the newest fully opened leaves as well as the tips still unfolding. A plant can have ugly old foliage and still be moving in the right direction if the new leaves are clean and the white coating is no longer expanding.
On a small balcony pot I worked with, I initially left a few marked leaves in place because the zucchini was still flowering. A few days later, the old leaves still looked bad, but the newest growth gave the useful answer: it showed whether the problem had slowed or was appearing on fresh tissue. I now photograph one new leaf before pruning or spraying, because the photo gives me a fixed comparison instead of asking memory to judge two slightly different leaves.
Continue a treatment only at the label interval. If every new leaf develops mildew after you have correctly followed the label, or if nearly all useful canopy is coated or collapsing, removal may be the practical choice. A zucchini with too little healthy leaf area cannot maintain fruit for long, and keeping a failing plant can expose nearby cucurbits without offering much harvest in return.
For a failed plant, remove it and bag or bin the foliage, collect fallen leaves, then wash the pot, ties and supports before the next planting. Powdery mildew is carried through the air and grows on living plant surfaces, so the presence of mildew does not automatically mean every litre of potting mix must be thrown away. I would still avoid immediately reusing exhausted mix for another cucurbit without refreshing its structure and nutrients, and I would investigate separately if the plant also had foul-smelling, waterlogged roots.
For next time, choose a compact cultivar described as resistant when one suits your space. Resistant means less susceptible under the conditions described by the breeder or seller; it does not mean a crowded, shaded, drought-stressed plant cannot develop mildew.
Harvest and spray safety: what infected leaves mean for the zucchini
Leaf infection does not automatically make a firm, unaffected zucchini fruit inedible. The disease is on the foliage, while fruit safety still depends on the fruit’s own condition and on anything applied to the plant. I would discard fruit with fuzzy growth, soft rot, leaking tissue or an off smell rather than trying to cut around a questionable patch.
Wash sound zucchini under clean running water before cutting it. If you have sprayed, obey the exact PHI on the product label, even if the fruit looks ready. If a product is not labelled for zucchini or edible cucurbits in your jurisdiction, don’t use it on fruit you intend to eat. Internet recipes cannot supply a missing label.
Zucchini often flowers while treatment is needed. Read the directions around open flowers, bees and other pollinators before spraying, and avoid applying a product in a way the label restricts. The label’s timing and precautions take priority over my general recommendation to treat early.
The seven-day balcony check that shows whether the fix is working
By day one, make the comparison repeatable rather than relying on a quick glance.
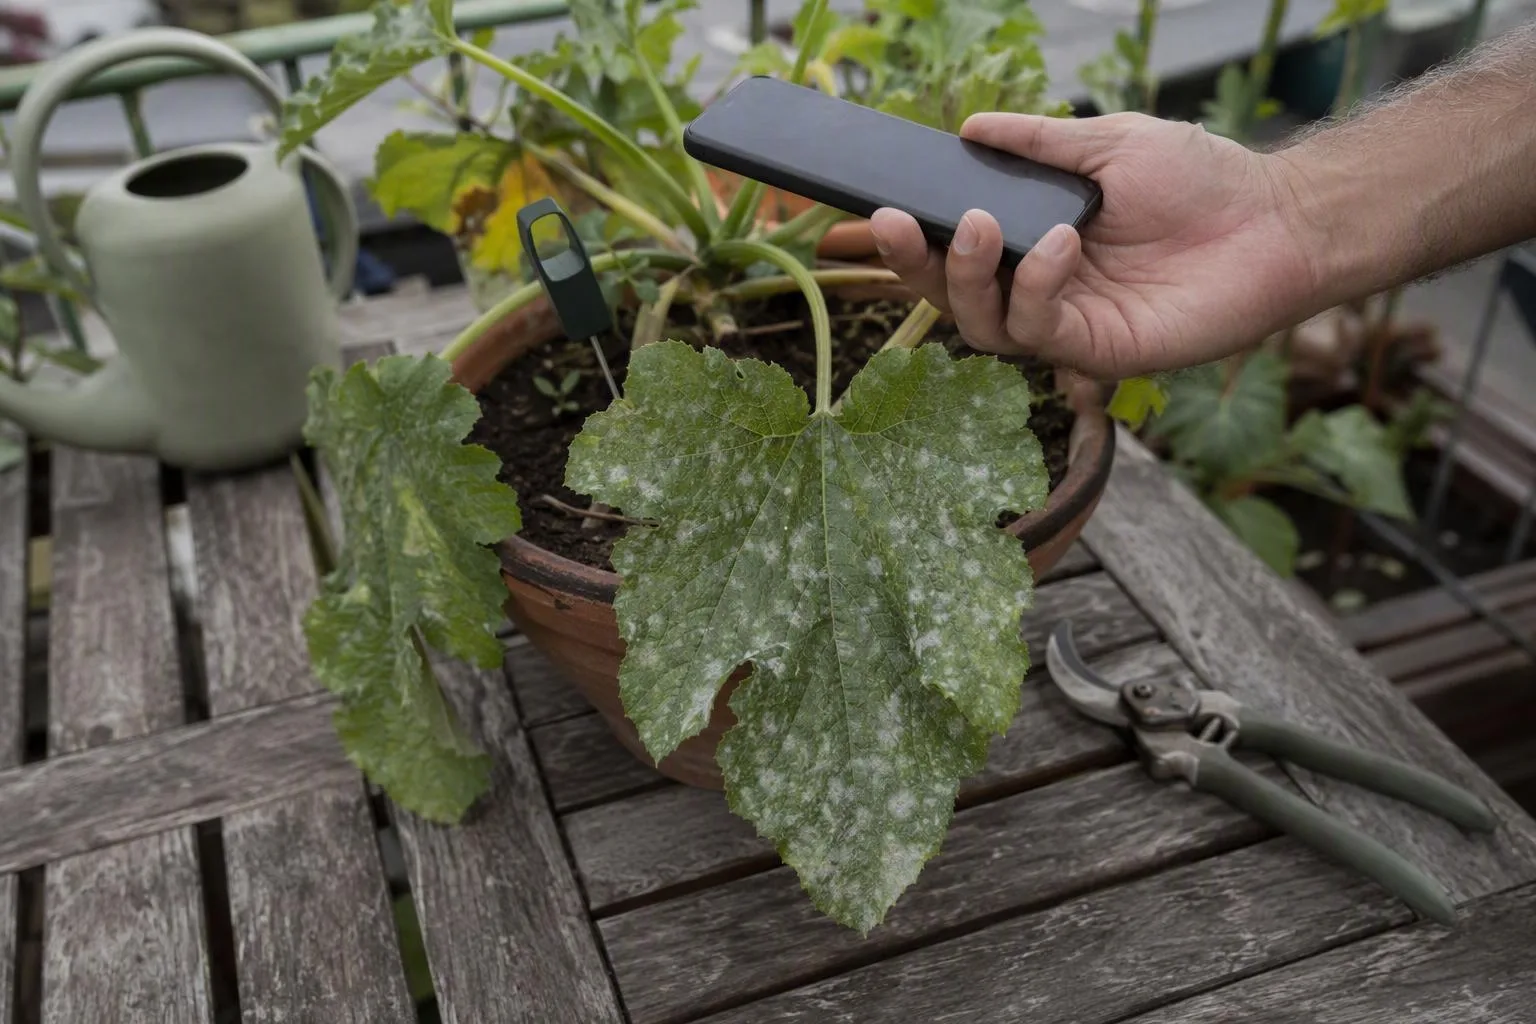
- Today: Photograph one new leaf, inspect both sides, remove the worst foliage and clear the pot surface. Count the direct-sun opportunity, look for a bright sheltered position and check 2.5–5 cm (1–2 in) into the mix before watering.
- Day three or four: Inspect the same plant’s fresh growth and check nearby cucumber, squash and melon plants. If the mix is dry at the checking depth, water thoroughly at the soil line. If a new white patch is appearing, revisit the diagnosis and the site rather than automatically repeating a spray.
- Day seven: Compare the photograph with the same leaf area. Clean new leaves and no fresh expansion are encouraging signs; old white marks staying visible does not, by itself, prove failure.
If fresh leaves are still affected, work back through the four pressure points: diagnosis, airflow and light, root-zone moisture, and the product label. Check whether the pot is so small that it dries before you notice, whether a wall is trapping still air, or whether a supposed mildew patch is actually angular downy-mildew damage or residue. If the plant has lost most of its useful canopy, choose removal over an endless treatment loop.
Take the first photograph and inspect one new leaf today. Put your finger 2.5–5 cm (1–2 in) into the potting mix at the same time. In a week, compare that leaf area and the moisture reading with what you recorded; those two observations will tell you more than whether the old leaves still look white.