Root Bound Plants Repotting: 7 Signs It’s Time for a Bigger Pot
A plant can be root-bound without a single root poking through the drainage hole. The strongest sign is a dense mat of roots circling the outside and bottom of the root ball; one exposed root by itself is only a clue.
For root bound plants repotting, I use the table below as a triage tool. The first three signs tell me to inspect the plant, while a root ball that holds the old pot shape and contains very little loose mix gives me a much firmer reason to move it.
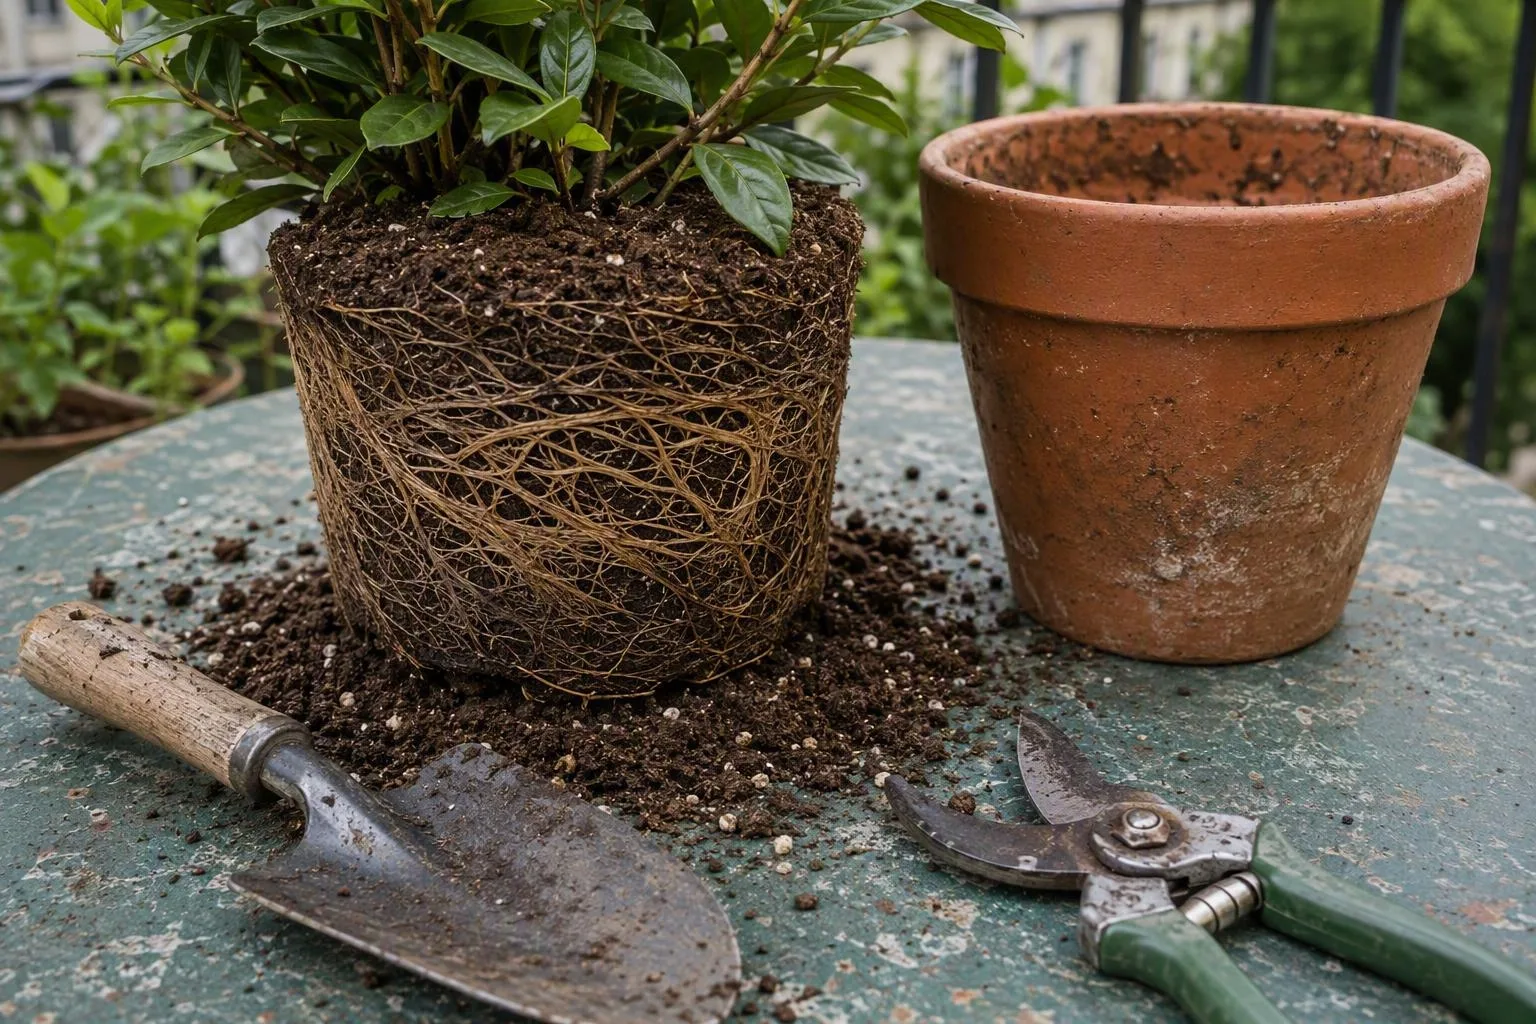
Root-bound plants repotting: the seven signs at a glance
| Sign | How much weight I give it | What to look for |
|---|---|---|
| 1. The pot dries much faster | Supporting symptom | The change happens under similar light, weather and watering. |
| 2. Water bypasses the root ball | Supporting symptom | Water runs down the sides or straight out while the centre remains dry. |
| 3. Wilting returns soon after watering | Supporting symptom | The plant droops again after a slow, thorough watering. |
| 4. Roots appear at drainage holes | Useful clue | There are roots outside the pot, but the rest of the root ball still needs checking. |
| 5. Roots form a dense circling mat | Strongest sign | Roots wrap around most of the outside and bottom, leaving little loose mix. |
| 6. New growth stalls or changes size | Supporting symptom | New leaves are smaller or growth pauses, but low light, pests and feeding problems can look similar. |
| 7. The plant lifts or becomes unstable | Supporting symptom | The root mass has pushed upward, or the leafy top is too large for the anchored root ball. |
The useful question isn’t simply, “Has this plant been in its pot for a year?” It’s, “Has the plant’s water behaviour changed, and what does the root ball show me?” That distinction prevents a yellow leaf or a windy-day wilt from sending a healthy plant into an unnecessarily large, slow-drying pot.
Signs 1–3 are about water, not the calendar
Roots occupy space that potting mix would otherwise use to store water and air. As a container fills with roots, there may be less loose mix between waterings. A tightly packed root ball can also become difficult to wet: water follows cracks and the narrow gap beside the pot, then exits before the centre has absorbed much.
That mechanism explains the first three signs, but only when you compare like with like. A 20 cm (8 in) plastic pot that used to last three or four days but now dries within 24–48 hours under similar light, temperature and wind deserves an inspection. A 20 cm terracotta pot on an exposed, sunny balcony may need water every day even when its roots have plenty of room. Pot material, wind and weather can change the interval before root crowding does.
1. You’re watering much more often
Keep a short note for a week: the date you water, whether the pot feels light, and whether the top 2–5 cm (1–2 in) is dry. The warning is a sustained change from the plant’s own pattern, not a single hot afternoon. If the plant is drinking quickly but new growth remains healthy, it may simply be using the available mix efficiently. If the shorter interval arrives with quick wilting or a root mat, the case for repotting strengthens.
2. Water runs straight through
First, slow down. Pour a small amount over the surface, wait for it to spread, and repeat until the root ball is wet rather than flooding the pot in one go. If water immediately appears at the bottom while the centre remains dry, the mix may have shrunk from the sides, become water-repellent after drying, or developed channels through a dense root mass. A pot with a blocked or badly positioned drainage hole can create a different problem, so don’t call this root-bound from the runoff alone.
3. Wilting returns after a thorough watering
If leaves recover after watering and droop again unusually soon, check the root ball rather than watering repeatedly by reflex. Crowded roots can leave too little evenly distributed mix to supply the leaves between drinks. Heat, strong wind, a damaged stem, pests or root rot can produce the same pattern, though. Repeated wilt is a prompt to inspect, not permission to jump straight to a bigger pot.
My practical rule is to compare the plant with itself. Daily watering in full sun and wind may be normal; a sudden shift from every third day to daily in the same glazed pot and weather is more informative. The calendar tells me when the plant was potted. The drying interval tells me what has changed.
Signs 4–7 show up in the roots, leaves and balance
A few roots at a drainage hole are easy to notice and easy to overinterpret. Roots explore openings because that is where moisture, air and light conditions change; their presence does not prove that the whole container is crowded. I give much more weight to roots that form a continuous layer around the outer wall and underside.
The convincing root-bound root ball has three features: roots circle densely around the outside, little loose potting mix remains between them, and the mass holds the shape of the old container when you slide it out. The roots may be white, cream or tan and firm. That colour range is not a diagnosis by itself, but firm living roots combined with the dense pattern support moving up a pot size.
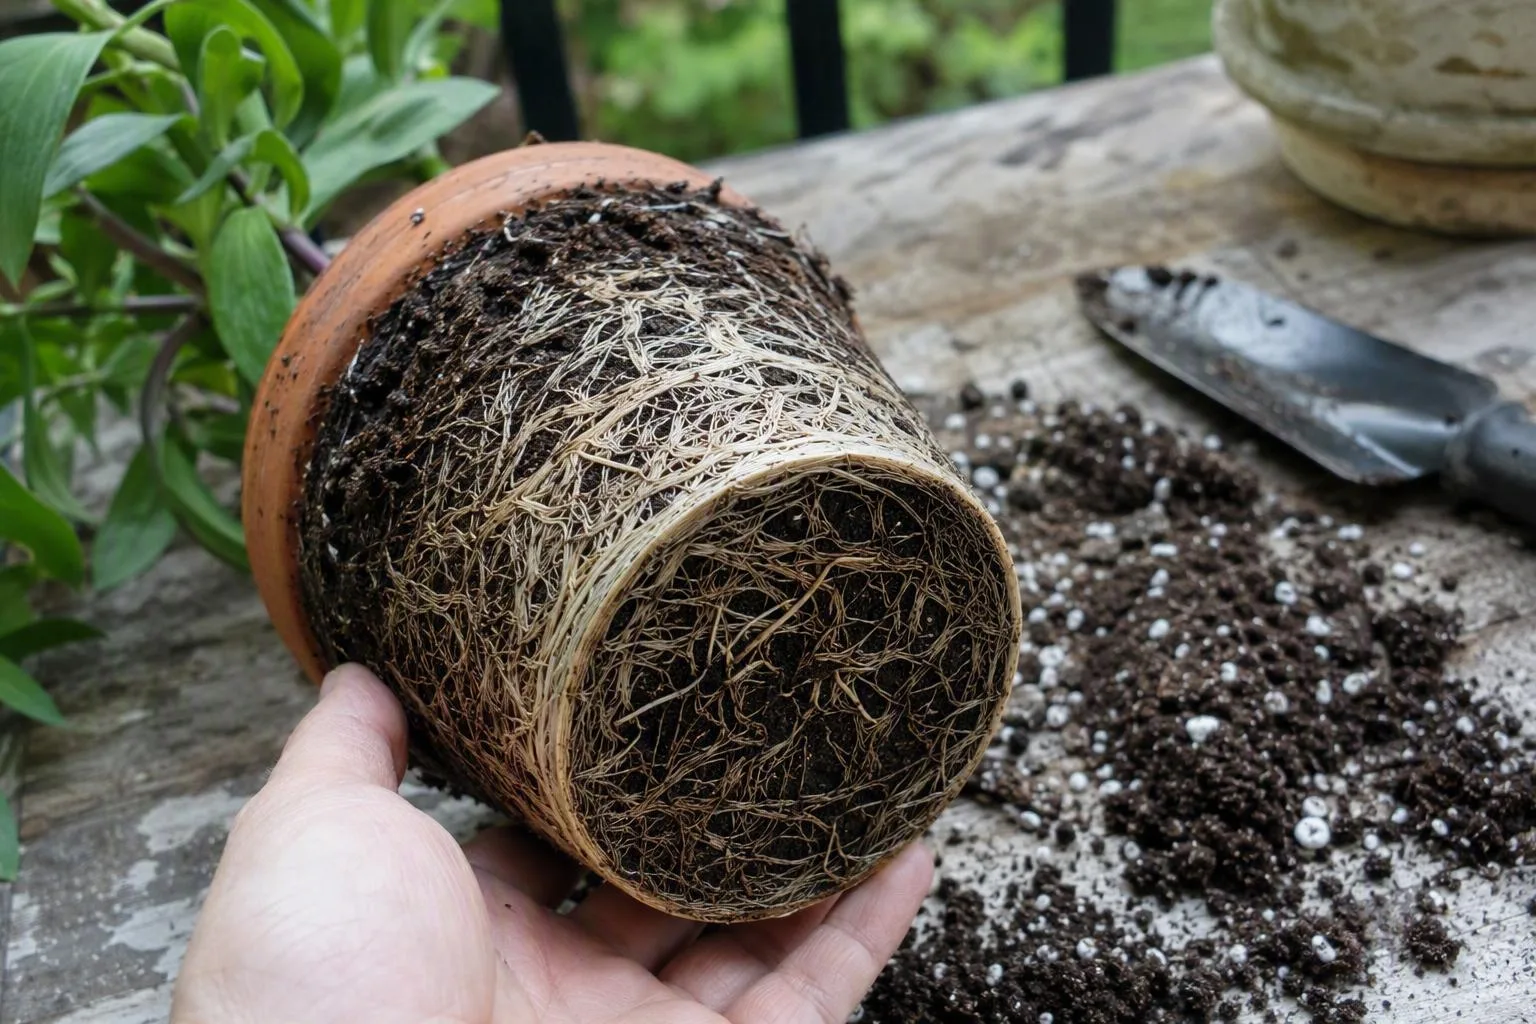
6. New growth is smaller or has stopped
Watch the new leaves, not just the oldest leaves at the base. A plant that keeps producing smaller leaves, shorter stems or no new growth may have limited root space, but the same appearance can come from low light, cold, pests, overwatering or depleted mix. Yellowing alone is weak evidence. If the plant has good light, no visible pests, sensible moisture and a dense root mat, repotting becomes a reasonable part of the fix. If the root ball is loose and healthy, changing the pot may only hide the real problem.
7. The plant lifts, rises or tips
Sometimes the plant seems to be climbing out of its container. The root mass has pushed upward, the stem base sits higher than it did, or the top has become too large for the small anchored mass. This is useful supporting evidence on a balcony, where wind repeatedly rocks the pot, but instability can also come from a narrow, lightweight container or an unbalanced canopy. A heavier pot may solve the tipping without giving the roots much more room, so inspect before buying the largest planter you can carry.
On my own balcony, I once treated pale lower leaves on a basil plant as proof that it was root-bound. It came out of a roughly 15 cm (6 in) plastic pot with a few roots near the drainage hole but plenty of loose mix inside. I moved it into a roughly 25 cm (10 in) pot anyway, and the larger wet zone stayed damp much longer while the basil slowed down. That mistake changed my rule: I don’t count the roots I can see; I judge how much loose mix the root ball still has.
Before buying a pot, perform the root-ball check
Here’s the decision tree I use before repotting:
- Check moisture first. Push a finger into the upper mix and lift the pot if it is small enough. If the surface is dry but the lower mix is wet, wilting may be a drainage or root-health problem rather than a shortage of space.
- Check whether water can enter. If dry mix pulls away from the pot wall and water races down the gap, rewet it slowly in several passes. If the mix becomes evenly damp and the plant recovers, hydrophobic, dried-out mix was a better explanation than root crowding.
- Check the drainage path. Make sure the hole is open and the pot is not sitting in water. A blocked hole can keep roots oxygen-starved; clearing the hole may be the correct repair.
- Support the soil at the stem and slide the plant out. Turn a small pot on its side, hold the root ball rather than pulling the stem, and ease the container away. Work when the mix is slightly moist so the ball holds together. Saturated mix collapses easily, while bone-dry mix can crumble or cling to the pot.
- Inspect the outside and bottom. A dense, pale-to-tan, firm network around most of the ball supports repotting. Brown, black or mushy roots, a sour smell, and wet mix point toward root damage and poor aeration; that is a rescue job, not a simple move to a bigger pot.
- Look for competing explanations. Check leaf undersides for pests, stems for sun or wind damage, and the plant’s light before deciding that more soil is the answer.
This matches what I check first in my own containers: moisture, drainage, then the physical root ball. If you want a second description of the same inspection, university extension guidance on identifying pot-bound roots and handling root pruning is a useful comparison point, but I still make the root ball—not a calendar—my decision.
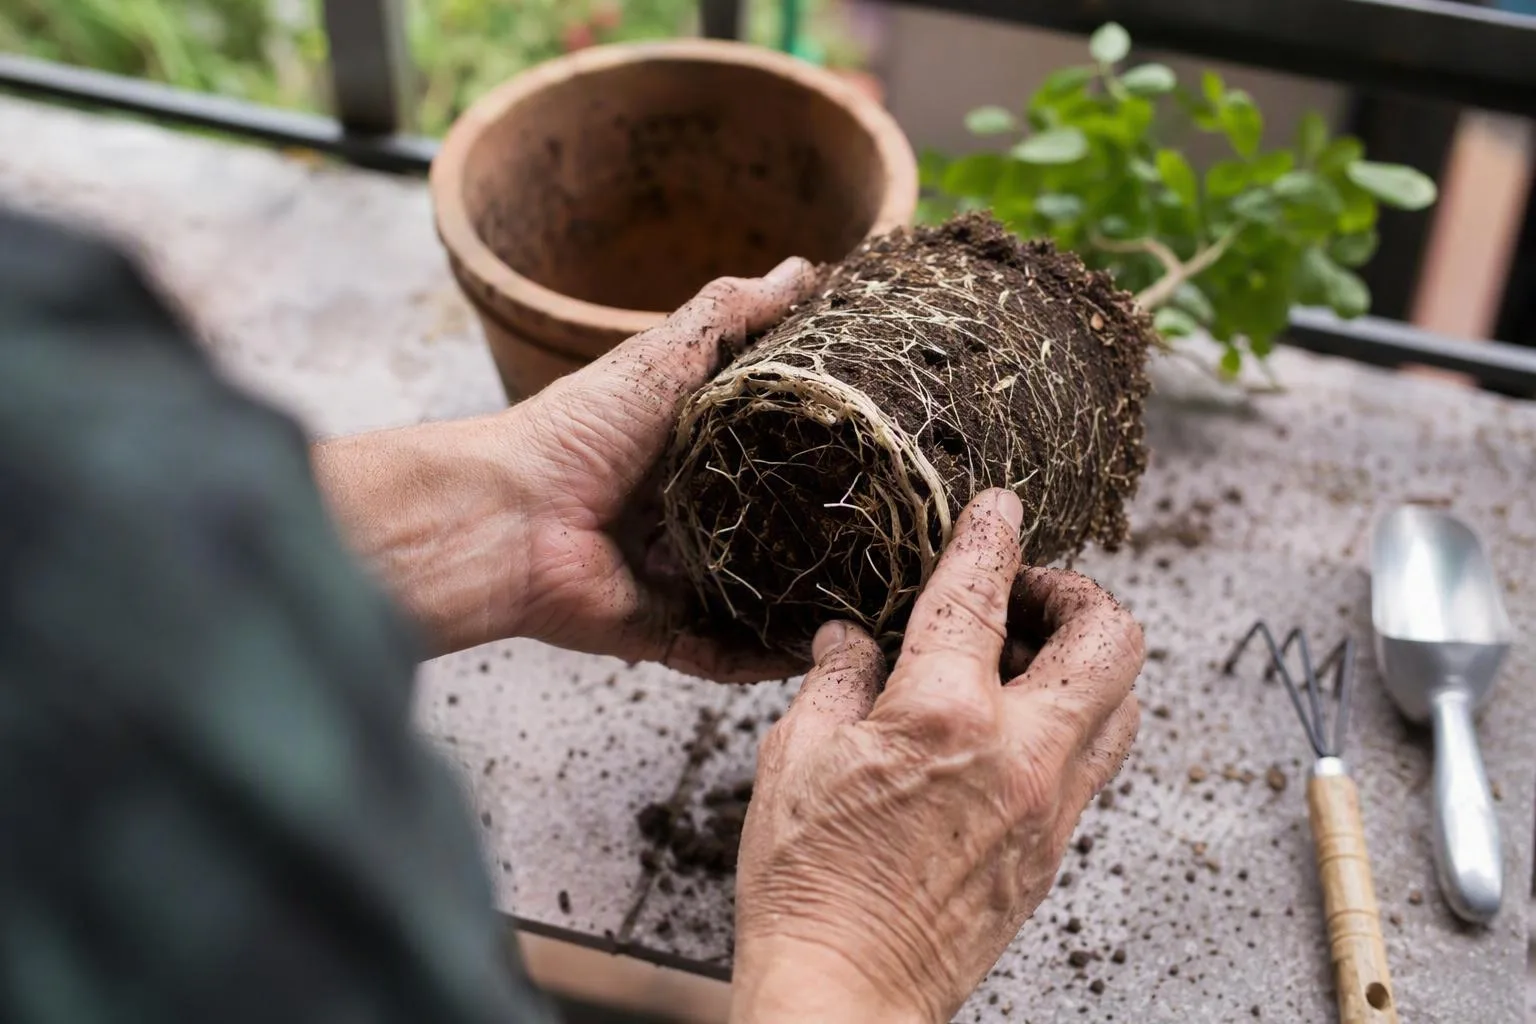
Size the replacement pot by 2–5 cm (1–2 in), not by guesswork
Measure the root ball after it comes out. For many houseplants and compact container plants, I choose a replacement whose inside diameter is about 2–5 cm (1–2 in) wider than the current root ball, with enough depth for the roots that are already present. I don’t size from the plant’s height or from the old nursery-pot label.
Use this as a starting table, not a promise for every species:
| Current root-ball width | Typical next inside diameter | Why |
|---|---|---|
| 10 cm (4 in) | 12–15 cm (5–6 in) | Allows fresh mix around the roots without creating a deep wet reservoir. |
| 15 cm (6 in) | 17–20 cm (7–8 in) | Gives moderate lateral room while keeping the change manageable. |
| 20 cm (8 in) | 22–25 cm (9–10 in) | Provides a useful step up for an actively growing plant. |
| 25 cm (10 in) | 27–30 cm (10½–12 in) | Moves the plant up without surrounding the root mass with excessive unused mix. |
A shallow-rooted plant may need width more than depth. Conversely, if the root ball is deep and roots fill the lower portion, a wider but shallow bowl may leave the bottom roots cramped. A very large pot holds more wet mix than a small root system can dry, so the outside of the root ball can remain saturated while the leaves still look thirsty. That is how a well-intentioned upgrade turns into root stress.
For a quick sense of volume, a straight-sided cylinder measuring 15 × 15 cm (6 × 6 in) holds about 2.7 L (0.7 US gal), 20 × 20 cm (8 × 8 in) holds about 6.3 L (1.7 US gal), and 25 × 25 cm (10 × 10 in) holds about 12.3 L (3.2 US gal). Those figures come from multiplying the cylinder’s base area by its height; tapered pots hold less than the matching cylinder, and a pot’s usable fill is lower once you leave space below the rim.
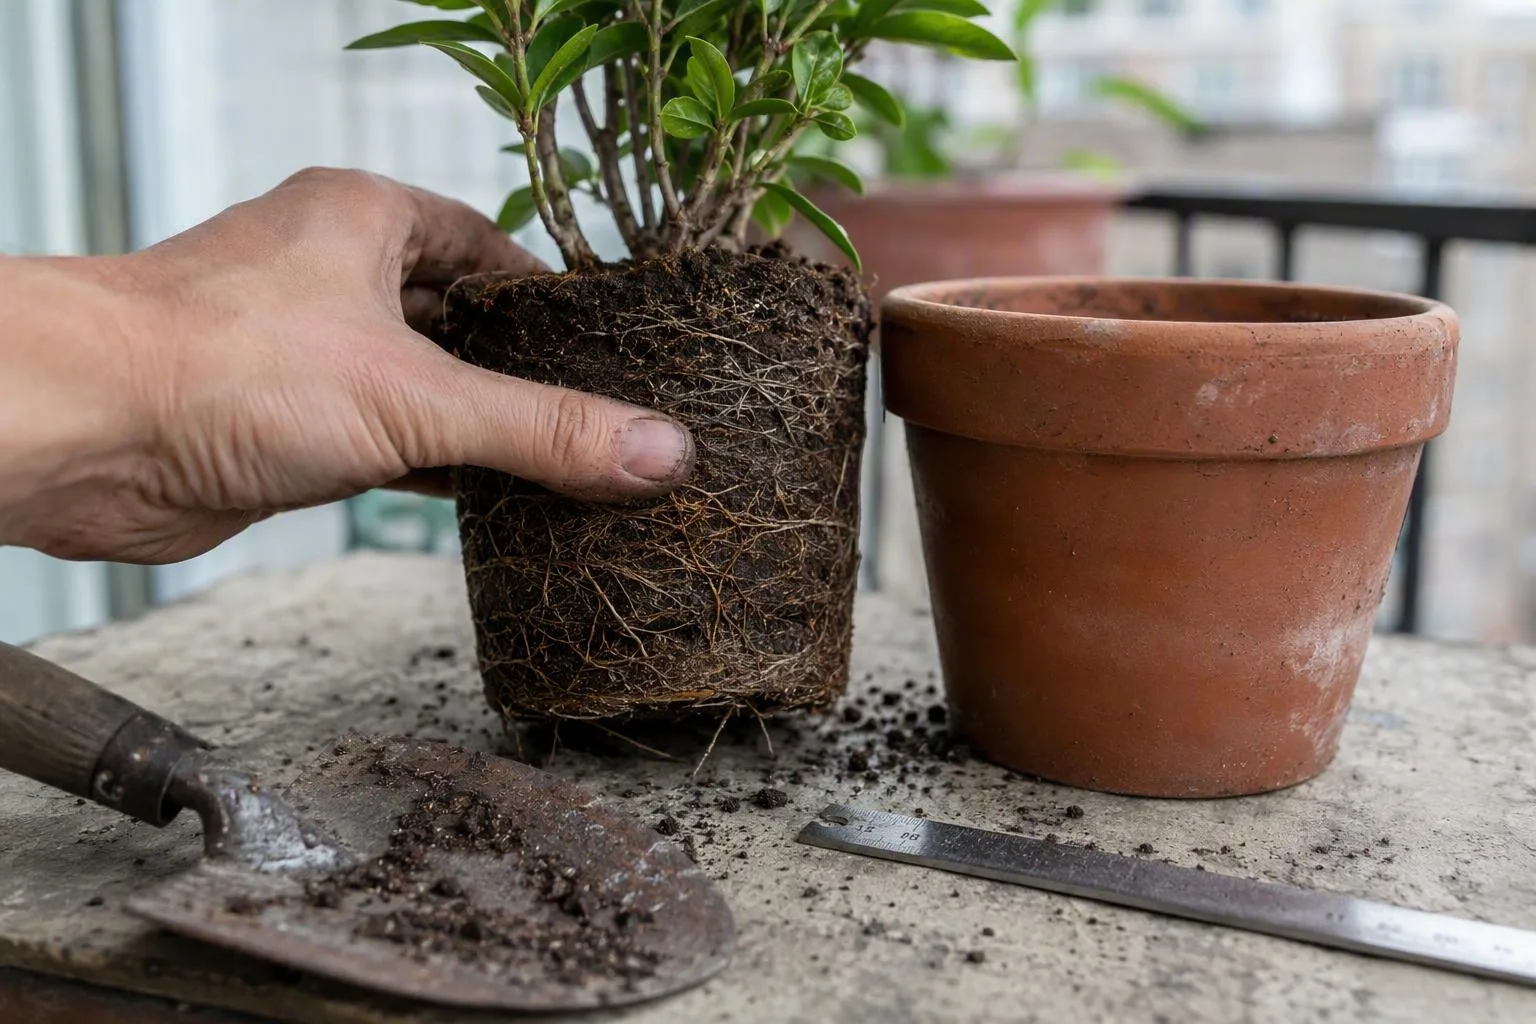
If you are repotting a vegetable into its final container, use the crop’s mature root requirement rather than moving up by a small increment forever. Compare the crop with best container size for vegetables before choosing the final planter. The calculation in how much soil do i need for a container helps with a custom box, while container gardening soil is the better place to start when the mix itself is the weak point.
Repot in six stages: moist root ball, loose edges, level crown
The order matters because each stage protects the next one. I prepare the new container before disturbing the plant, and I keep the root ball at the same height so fresh mix doesn’t bury the stem base.
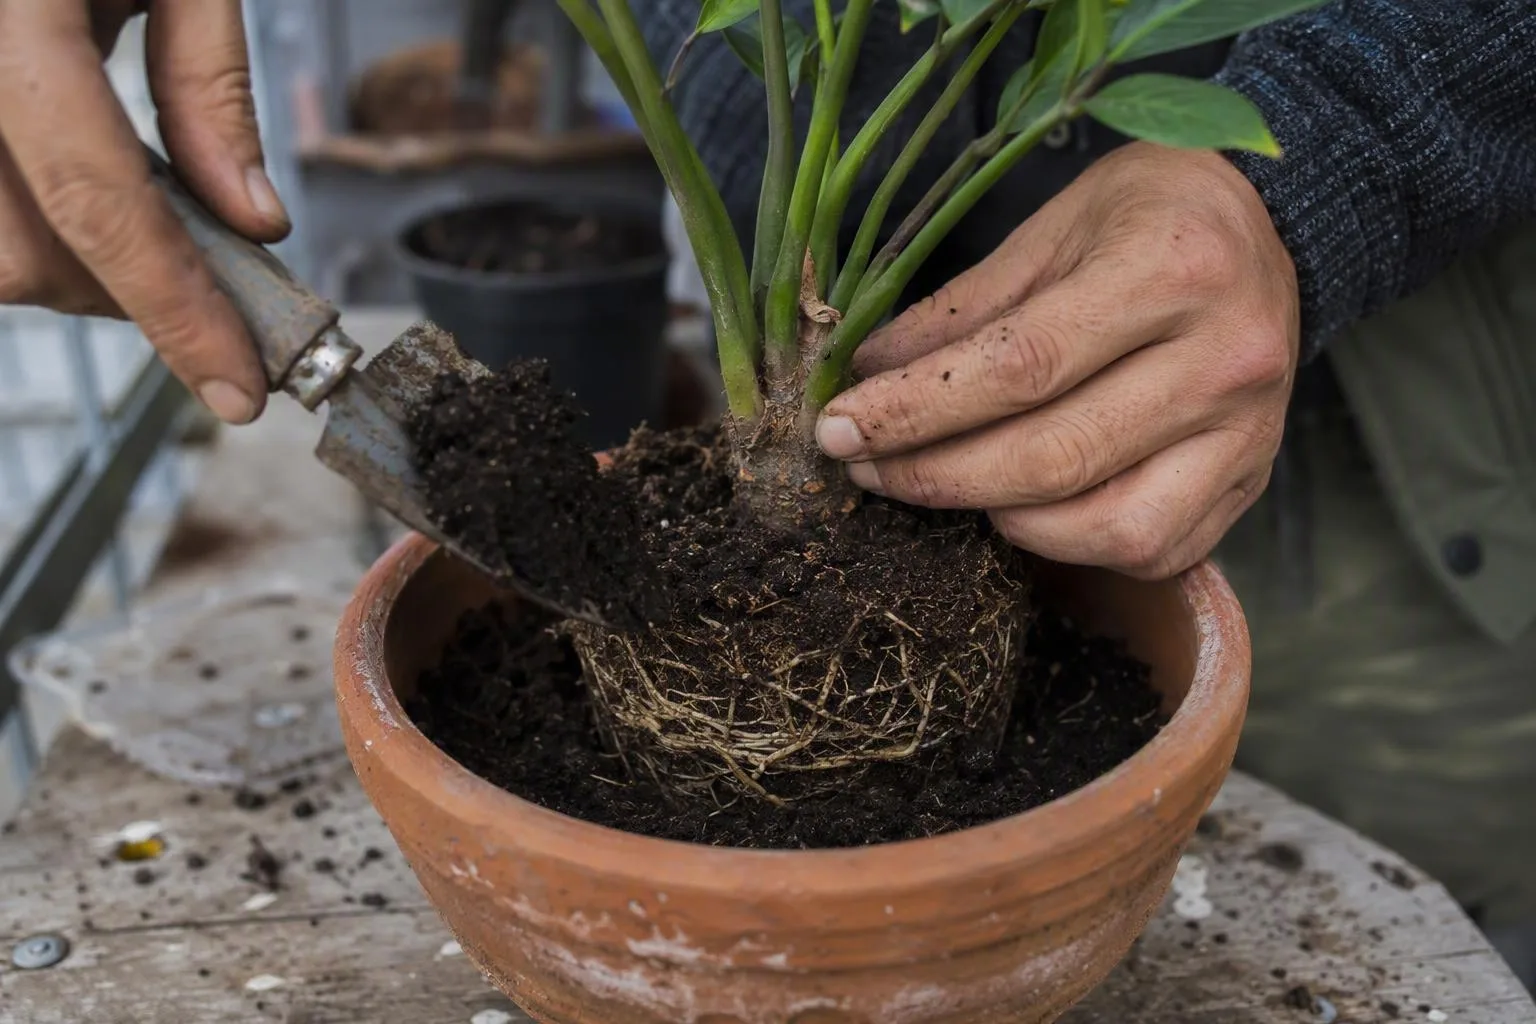
- Prepare the pot and mix. Choose a clean container with an open drainage hole and a plant-appropriate potting mix. Put a saucer underneath if runoff could stain a balcony or patio, but don’t let the pot sit in collected water. For the drainage principle, the separate explanation of drainage holes in pots is useful; a hole only works if excess water has somewhere to go.
- Moisten the plant in advance. If the root ball is dry, water it roughly 12–24 hours before the move. The aim is slightly moist, cohesive mix—not saturated mud. Cacti and succulents need a drier handling approach because holding them in wet mix while roots are disturbed adds avoidable risk.
- Remove the plant without pulling the stem. Tip the pot sideways, support the soil around the stem, and tap or squeeze the container. If the plant will not release, run a blunt tool around the inside edge rather than tugging upward on the foliage.
- Loosen only what needs loosening. Tease a few circling roots at the outer surface with your fingers. Remove roots that are dead, hollow or mushy with a clean blade. Don’t shred a healthy root ball just to make it look loose; the aim is to help new roots leave the old outline, not to turn every root into a wound.
- Set the soil line correctly. Add enough mix that the root ball sits at its original level. Keep the crown—the point where the stem or stems meet the roots—above the mix. Leave about 2–3 cm (around 1 in) below the rim for watering.
- Fill gaps, water slowly and drain the saucer. Add mix around the sides, tap the pot gently to settle it, and resist packing it down hard. Water in several passes until the mix is evenly wet and a little drains from the hole. This first watering reveals large air gaps; add a small amount of mix if one appears, then empty the saucer.
Skip the gravel layer at the bottom of an ordinary pot. A perched water table is a zone of water that remains held above the drainage boundary instead of instantly falling into the coarse material below. Coarse gravel under fine potting mix does not create extra root volume or guarantee faster drainage; it can move the wet zone higher into the pot. The technical background is covered by horticultural substrate guidance explaining water movement and the perched water table in containers, but the balcony version is simple: use a pot with a hole and fill it with the right mix from top to bottom.
For the next 14 days, protect the new root space—and know when to wait
Repotting changes the plant’s water balance even when the move goes well. Some fine roots are disturbed, and the fresh mix may hold water differently from the old mix. I use a short aftercare timeline rather than a fixed watering schedule.
- First 48–72 hours: Keep the plant out of harsh midday sun and strong wind while it settles. Bright light is usually preferable to a dark corner, but reduce the immediate stress of heat and leaf movement.
- Days 4–14: If wilting isn’t worsening, return the plant to its normal light gradually. Check the upper 2–5 cm (1–2 in) of mix and the pot’s weight before watering. Don’t water every day merely because the plant looks briefly limp after its roots were disturbed.
- Feeding: My rule is to pause fertiliser for roughly 2–4 weeks when I’ve used fresh, pre-fed mix. That mix often carries starter nutrients, so I see no reason to add a second dose immediately; it isn’t a universal schedule, and a plain or inert mix changes the decision.
- Re-inspection: I put a roughly 7–14 day check on my calendar. I’m looking for a sour smell, persistently wet mix, worsening yellowing, repeated wilt after thorough watering or a pot that is clearly far too large. Those signs justify checking drainage, roots and pot size again.
- Weeks 4–6: Under similar light and weather, I’d expect the new growth and watering interval to start settling. The plant may not look dramatically bigger, but the newest leaves should stop getting progressively smaller if root crowding was the main constraint.
Waiting is safer when the plant has only one exposed root, remains stable, is dormant, or is in peak flowering and not drying dangerously fast. Repot sooner if the pot is cracked, water can no longer reach the root ball, or inspection finds disease. A plant that is merely flowering and otherwise stable can usually finish that display before the disturbance.
Should I repot a root-bound plant while it is flowering?
If the root ball is holding moisture normally and the plant is stable, I prefer to wait until flowering finishes. Moving it sooner makes sense if the plant wilts repeatedly, the container has broken, or watering no longer reaches the centre of the root ball. In those cases, keeping the old pot for the sake of the calendar can create more stress than the repot.
Can I keep a root-bound plant in the same pot by pruning its roots?
Same-pot root pruning is an advanced, species-dependent choice, not my default. It can make sense for a plant that has reached its intended size and has a container worth cleaning and refreshing, but healthy roots should not be cut casually. For a plant still growing, moving up 2–5 cm (1–2 in) is the simpler way to add space without removing a large part of the working root system.
Is it safe to repot a root-bound plant in winter?
Active growth is usually the gentler time because the plant can replace disturbed roots more readily. Severe drying, a damaged pot or root disease can override that preference. If you must repot during a quiet season, keep the plant in suitable light, water less frequently as growth slows, and wait to feed until new growth resumes.
My next-action checklist: Lift the pot, note how quickly it dries, and inspect the drainage hole. If two or more water symptoms have appeared under unchanged conditions, slide the plant out when the mix is slightly moist. Buy a clean pot only after measuring the root ball; choose one about 2–5 cm (1–2 in) wider, fresh mix, and a saucer. In roughly 7–14 days, check the moisture interval and the newest leaves, then adjust watering rather than reaching for another pot automatically.
Frequently Asked Questions
Should I repot a root-bound plant while it is flowering?
If the plant is stable and the root ball is not drying dangerously fast, wait until flowering finishes to reduce stress; repot sooner if it wilts repeatedly, the pot is broken or watering can no longer reach the roots.
Can I keep a root-bound plant in the same pot by pruning its roots?
Same-pot root pruning is an advanced, species-dependent option rather than the default. Explain when cleaning and refreshing the old pot is reasonable, why healthy roots should not be cut casually, and when moving up 2–5 cm (1–2 in) is the safer choice.
Is it safe to repot a root-bound plant in winter?
Active growth is usually the gentler timing, but severe drying, a damaged pot or root disease can justify repotting outside the usual season. Reduce watering and avoid feeding until growth resumes.