Grow Pomegranate From Seed: The Steps That Actually Matter
You can grow a pomegranate from seed, but it’s a long experiment, not a reliable way to copy the fruit you bought. A seedling may take around 3–5 years or longer to fruit, and if your balcony gets only 1–2 hours of direct sun, it may grow without giving you a dependable crop.
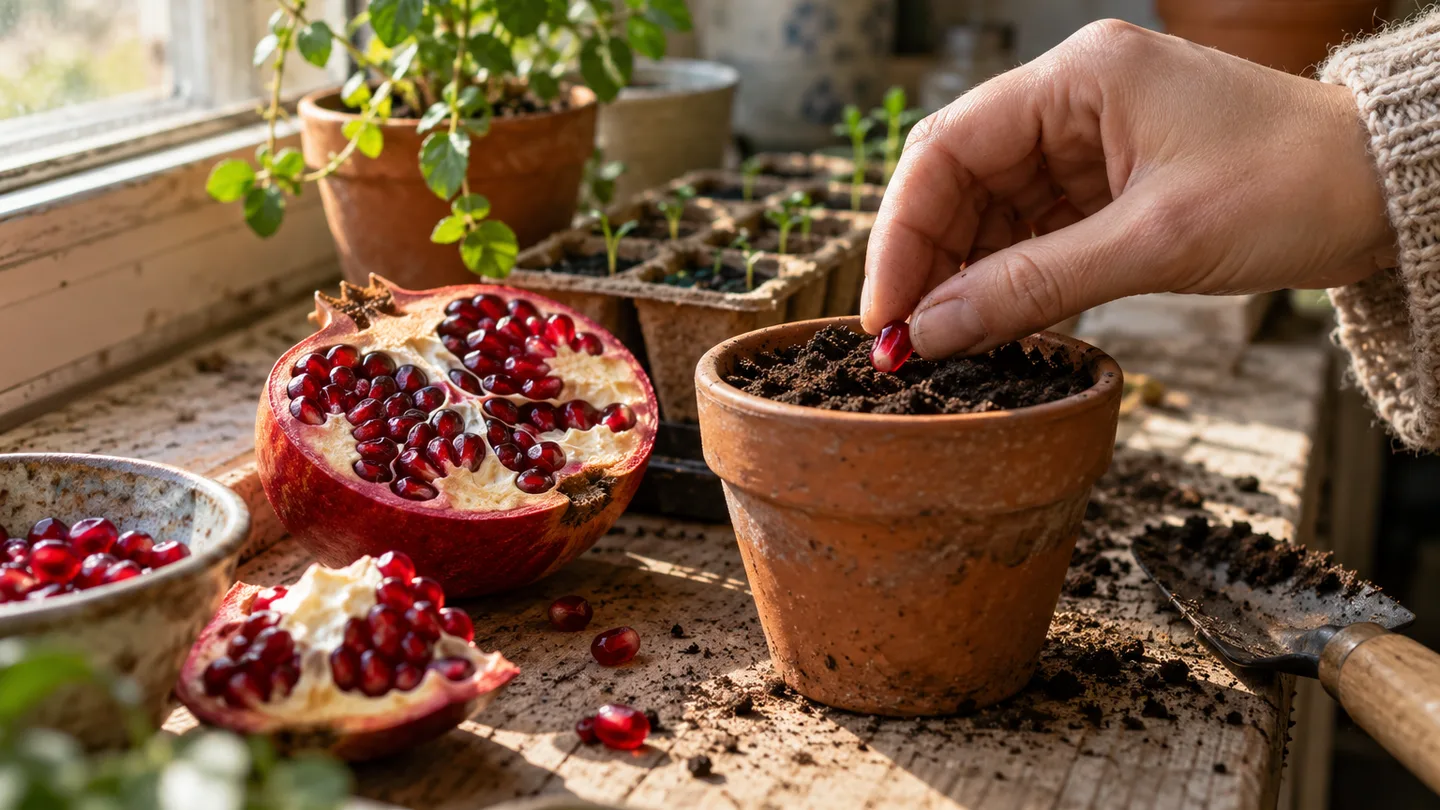
That doesn’t make it a bad project. It means you should start with the right question: do you want to watch a pomegranate grow, or do you need fruit from limited sunny space? I’d choose a seed for curiosity and a known, suitable plant for a fruit-first plan.
Start with the trade-off: a seedling won’t be a copy of its parent
A pomegranate seed can sprout into a tree, but the fruit’s parentage doesn’t promise a matching result. Seed-grown plants can differ from the fruit they came from, including in fruit quality and how long they take to mature. If you have a particularly sweet, soft-seeded, or otherwise appealing pomegranate, the seed is not a dependable way to reproduce those traits.
There’s a second trade-off: time and light. Think in terms of several years before a seedling might fruit, with roughly 3–5 years or longer as a practical expectation, not a deadline. Strong fruiting generally calls for about 6–8 hours of direct sun. A plant can survive in less, but a shaded balcony is a poor bet if fruit is the main goal.
My call: treat seed-grown pomegranate as a rewarding long game, not a compact balcony harvest plan. If you’re comparing seed-grown fruit trees, the same question comes up with grow lemon tree from seed: is the fun of raising it worth more to you than knowing what fruit you’ll get?
Remove the juicy pulp, then sow several seeds
Choose a ripe pomegranate and take seeds from the juicy flesh, not the pale inner membranes. Separate the seeds and rinse them in a small sieve, rubbing gently until the slick red pulp is mostly gone. The pulp itself isn’t a useful part of the seed-starting mix; left around seeds in damp conditions, it can encourage mould.
Fresh seeds from a grocery-store fruit can sprout. Their eventual growth and fruit traits are still uncertain, so don’t spend extra money on fruit just because its label sounds special. If you already have one, it’s reasonable to try.
Use several seeds rather than building your plan around one. Germination isn’t guaranteed, and sowing a small batch gives you a choice if more than one comes up. A concrete starter batch: rinse six seeds, put one in each of six small cells, and label the date and fruit source. That gives you room to keep the strongest seedling without assuming all six will emerge.
I can’t honestly offer a personal balcony germination log or claim a result I haven’t recorded. My practical recommendation is to label a small batch and judge it by what actually emerges, rather than treating one seed’s failure as a verdict on the whole project.
Warmth—not a cold spell—is the germination cue
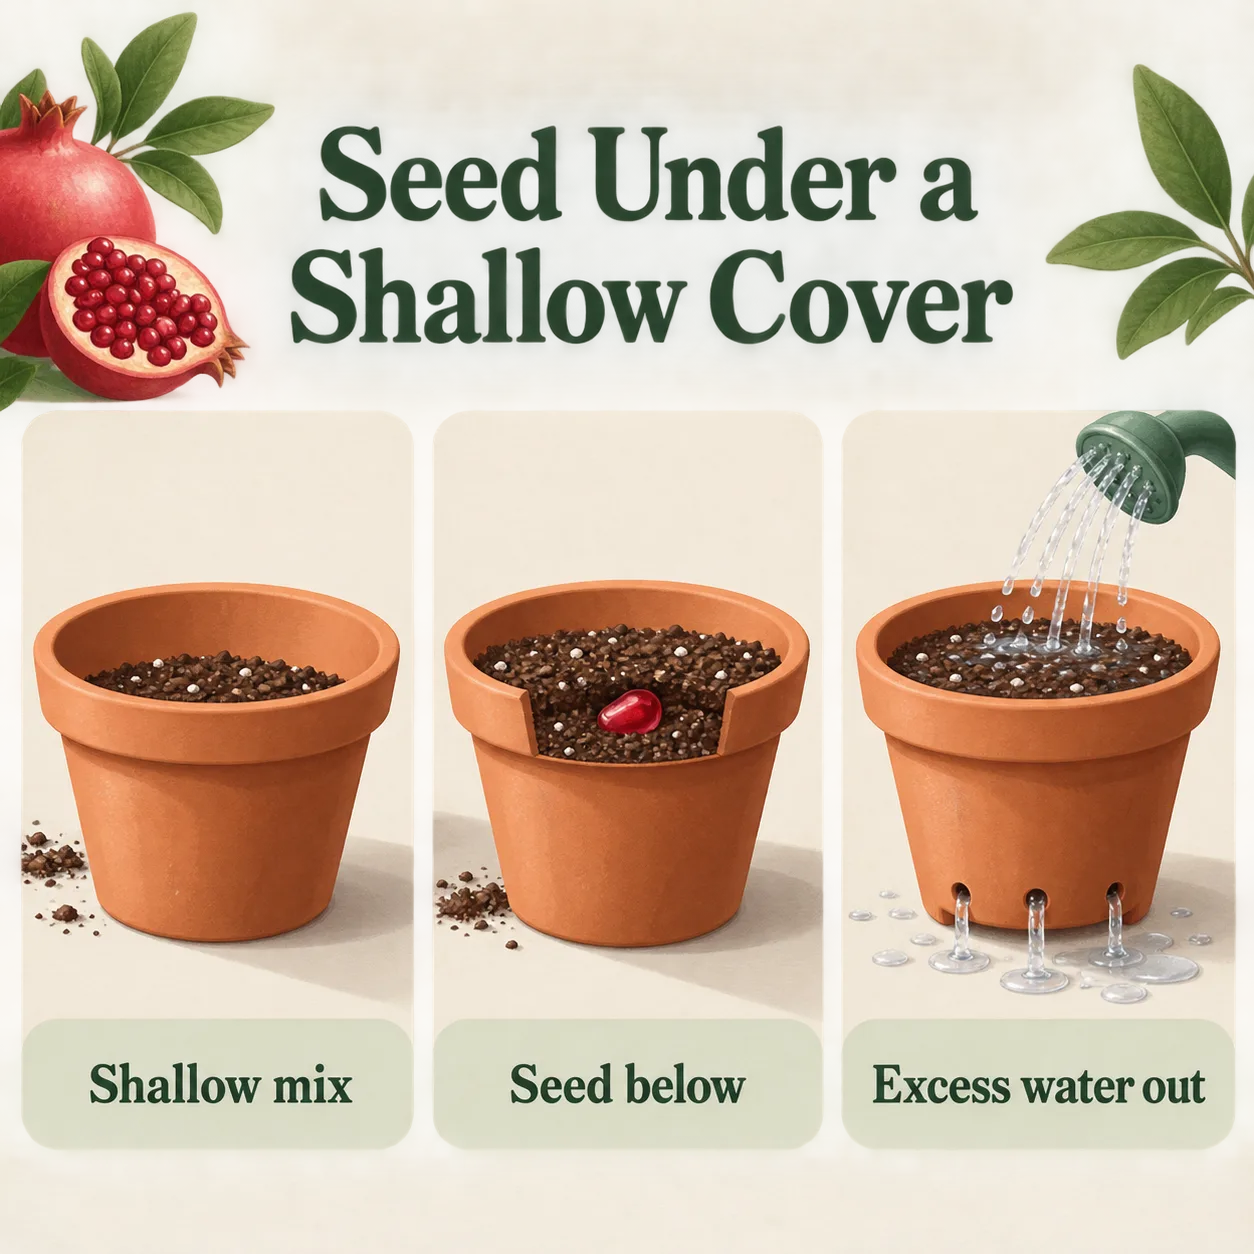
Sow each cleaned seed about 1/4 inch (6 mm) deep in a seed-starting mix that is damp but not soggy. A useful working temperature range is about 70–85°F (21–29°C). Under suitable conditions, allow roughly 2–6 weeks for germination; some seeds may take longer or fail to sprout.
For a small batch, fill your cells with pre-moistened mix, set a seed on the surface, cover it lightly, then water gently so the seed stays in place. The goal is even contact with moist mix, not a saturated cell. If water pools on the surface or the tray stays heavy and wet, let excess drain and ease off. If the surface dries between checks, moisten it before the seedling has emerged.
You generally don’t need to chill pomegranate seeds before sowing. I’d spend effort on warmth and steady moisture instead of adding a cold-stratification step. “Stratification” means giving seeds a period of cold, moist conditions to help break certain kinds of dormancy. For this sowing plan, it’s an unnecessary complication unless you have a specific seed source or growing instruction that calls for it.
A loose cover can slow surface drying, especially in a warm room. Check under it rather than watering by the calendar. Remove the cover once a seedling emerges: leaving it in place keeps humidity high around tender growth when the plant needs air and light.
Keep the tray somewhere warm and bright, but don’t set a covered tray in harsh direct sun where it may heat up quickly. If you use a heat mat, follow its instructions and check the mix; a warm tray still needs drainage and careful moisture control.
After emergence, give the seedlings light before fertilizer
Once green shoots appear, give them a bright position. A sunny window may work, though indoor light can be weaker than it looks. Under a grow light, a practical starting schedule is about 12–16 hours of light a day, with darkness overnight. Keep the light close enough to serve the seedlings but follow the fixture’s guidance so leaves aren’t overheated.
A leggy seedling has a stretched, thin stem and may lean toward the brightest side. That’s a cue to improve light or move the light closer according to its instructions. A short seedling with a sturdy stem may simply be young; don’t try to correct normal early growth with fertilizer.
Wait to feed until seedlings are actively growing and have begun making new leaves. If your seed-starting mix contains fertilizer, adding more early can be unnecessary. When you do feed, use a fertilizer labelled for edible plants and follow its directions; stronger or more frequent feeding isn’t a shortcut to a sturdy tree.
Pot up when roots hold the mix, not on a fixed date
Don’t transplant because a certain number of days has passed. Look for roots at the cell’s edge or a plug that holds together when you ease it out. Two or three sets of true leaves—the leaves that follow the first seed leaves—are a useful readiness cue, but the roots and the plant’s condition matter more than a calendar.
Move each ready seedling into its own pot about 3–4 inches (7.5–10 cm) wide, with drainage holes. Hold it by a leaf or the root ball rather than pinching the stem. Set it at about the same depth it was growing before, firm the mix gently around it, then water enough to settle the roots and let extra drain away.
A huge pot can make a tiny seedling harder to manage. The plant uses little water while its root system is small, so a large volume of mix may stay wet for longer after watering. Moving up in stages gives you a smaller root zone to check and makes it easier to respond if the mix is drying too quickly or staying damp.
The long-term container: think 15–25 gallons, not a decorative pot
If you intend to keep a pomegranate in a container as it grows, think in the neighborhood of 15–25 gallons (57–95 L), not a small decorative pot. The right choice depends on the plant’s eventual size, cultivar, pruning, and growing conditions. A smaller nursery pot is useful while a seedling is young; it isn’t automatically a suitable permanent home.
Choose a sturdy container with open drainage holes. Use a free-draining potting mix rather than dense garden soil, which can compact in a pot. Don’t add a layer of gravel to the bottom as a supposed drainage fix. Water has to move through the mix and out of the holes; a coarse layer beneath finer mix can leave the saturated zone higher in the pot rather than making the root area drier.
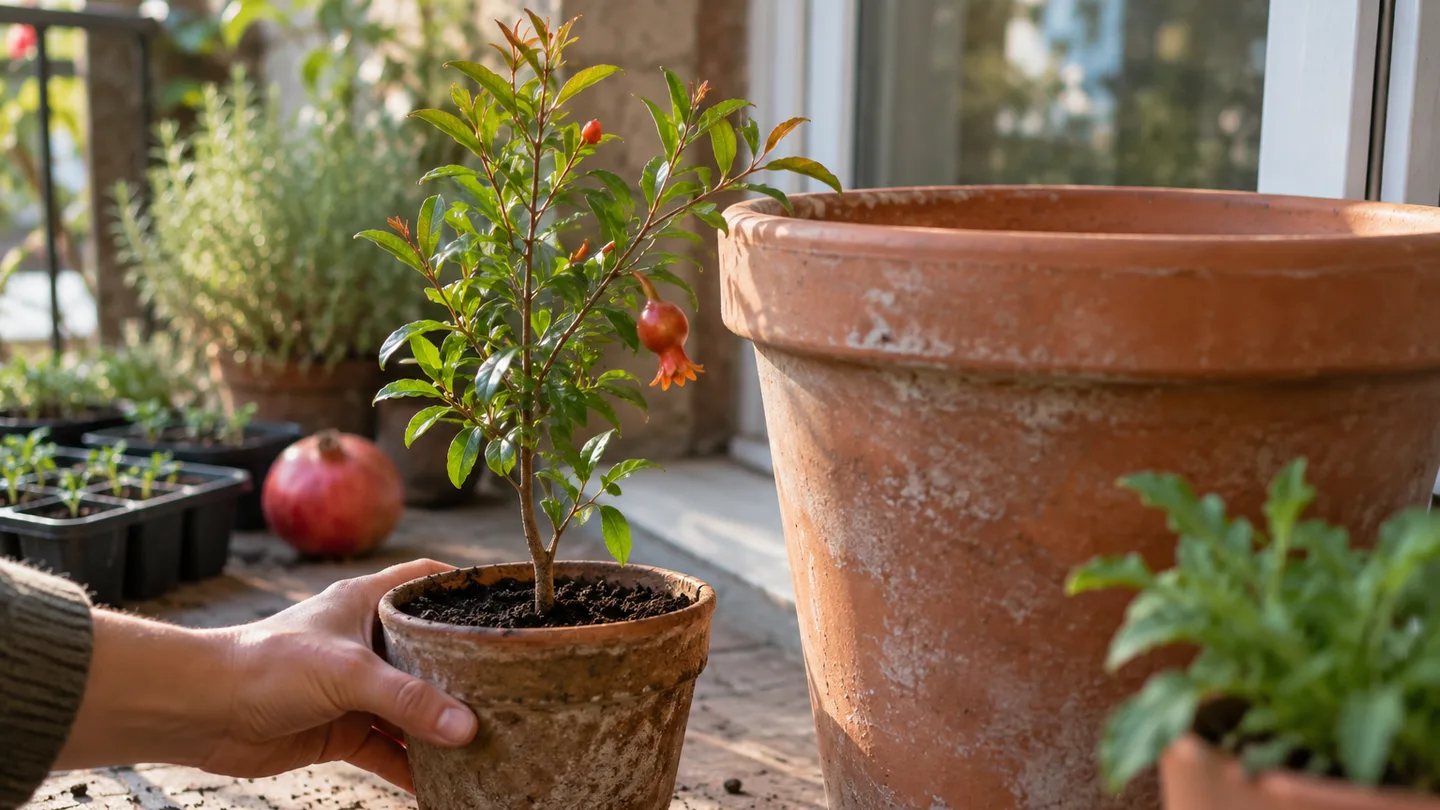
Think through the filled pot before you buy it. A large container of damp mix is heavy, and a balcony has real load limits; check your building’s guidance if you’re unsure. Also consider whether you can move it. A pot that is impossible to shift becomes a problem when you need to adjust the plant’s sun exposure or shelter it from harsh weather.
For the same reason, don’t size up just to avoid ever repotting. My preference is a container that gives the roots room while remaining practical to water and place. If you’re planning a different fruit tree in a pot, growing citrus in containers is a useful comparison for thinking about container weight, drainage, and winter placement.
Outdoor sun and winter protection are the balcony bottlenecks
Before you commit to growing for fruit, track direct sun where the pot will actually sit. Check at different times of day for about a week; a bright-looking balcony can still lose direct sun to a neighbouring building, roof, or railing. If the spot only gets 1–2 hours of direct light, expect a tougher path to fruit than in a position with roughly 6–8 hours.
When a seedling raised indoors is ready to go outside, harden it off over about 7–10 days. “Hardening off” means gradually getting a plant used to outdoor sun, wind, and temperature changes. Start with a sheltered, shaded period outdoors, then increase exposure bit by bit. Bring it back in or give it protection if the weather turns harsh. A sudden move from indoors to full sun can scorch leaves that weren’t acclimated.
Balcony wind can dry pots and buffet small plants. Place the container where it has some shelter without blocking the sunlight you’re trying to capture. Don’t rely on a single universal frost number for overwintering: cold tolerance varies with the plant and local conditions, and a container exposes roots to more cold than surrounding ground does. Look for region-specific advice, including local extension guidance on overwintering container fruit trees, before deciding whether the plant can stay outdoors.
If your balcony’s sun is limited, you can still raise a seedling for foliage and the experience. I wouldn’t count on a fruit crop from a spot that misses most of the day’s direct light.
Water by the pot’s condition; feed during active growth
Skip a fixed “every Tuesday” watering rule. Touch the top inch (about 2.5 cm) of mix and lift the pot if you can safely do so. Those checks help you distinguish a surface that has dried from a container that is still holding plenty of moisture below.
When the mix feels dry near the surface and the pot feels lighter, water thoroughly until excess drains from the bottom. Empty any saucer rather than letting the pot sit in standing water. If the mix is still damp and the container feels heavy, wait and check again. Heat, wind, pot size, and material change how quickly the mix dries, so a small plastic pot in a hot, exposed spot may need attention sooner than a larger glazed pot in shelter.
Wilt by itself doesn’t tell you whether the plant is too dry or too wet. Check the mix before watering. A dry root zone points toward thirst; persistently wet mix suggests the roots may be short of air or drainage. Adding water to already saturated soil can worsen the second problem, while leaving a genuinely dry plant without water prolongs the first.
As the plant grows actively, follow the fertilizer label and watch the plant rather than trying to force speed. Pale or stalled growth can have more than one cause, including inadequate light, water stress, or poor root conditions. Fix the growing condition you can see before assuming the plant needs more feed.
If you’re starting other seeds in pots at the same time, grow mango from seed also makes a useful comparison for the basic routine: a warm start, careful moisture, and a plan for giving seedlings enough light.
Fruit is possible; the seed does not promise a named variety
A seed-grown pomegranate may eventually flower and fruit, but roughly 3–5 years or longer is a sensible expectation to keep in mind. That’s not a promise that every seedling will fruit on that schedule. The plant has to mature, grow in suitable conditions, and receive the conditions needed for fruit to set. Sunlight matters, and pollination can matter too; adding a second tree is not a guarantee of fruit.
Even if fruit appears, it may not taste or perform like the pomegranate that supplied the seed. That’s the central bargain: you get to raise a tree from a seed you chose, but you give up certainty about the mature plant. For a region-specific second opinion, look for university extension guidance on pomegranate climate, pollination, and fruiting.
To make the experiment useful, label your sowing date, seed source, and each pot. After a week, check that the tray is still lightly moist and warm; don’t dig up seeds to see whether they’ve changed. Then check again on a regular schedule while you wait through the possible germination window. This weekend, rinse several seeds, set up a labelled tray, and write down how many hours of direct sun your intended pot location actually gets.