Growing Carrots in Containers: Use a 30cm Deep Pot
A 30 cm (12 in) deep pot is the sensible starting point for growing carrots in containers—but measure 30 cm of usable mix, not the outside of the pot. Fill to 2–3 cm (about 1 in) below the rim, so a planter labelled 30 cm tall can be too shallow once its base and headspace are counted. A pot 25–30 cm (10–12 in) wide then gives one carrot planting area with enough depth for short to medium roots, although it can’t guarantee a harvest.
The useful rule is simple: depth decides whether a carrot can lengthen; surface area decides how many carrots you can finish. Here’s how I’d choose, fill, sow and manage that pot on a balcony or patio.
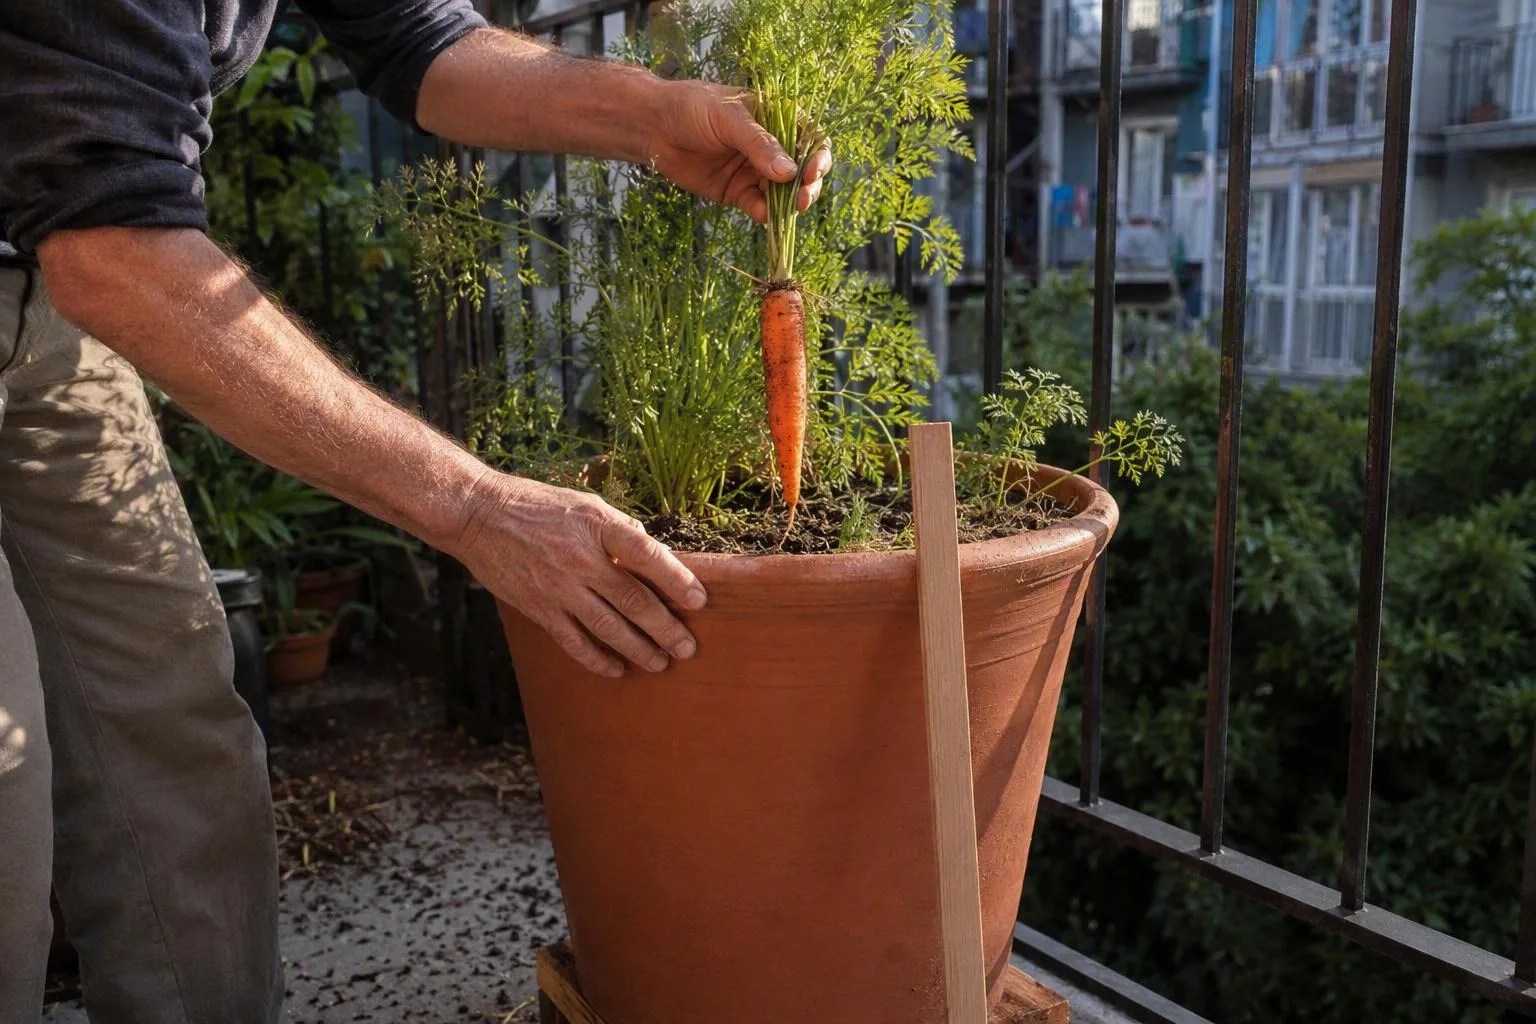
Start with the root, not the pot: what 30 cm (12 in) actually buys you
Usable depth runs from the final soil surface down to the inside bottom of the container. It does not run from the outside rim to the ground. A pot may lose several centimetres to a thick base, a recessed interior, or a tapered shape that narrows toward the bottom.
Leave 2–3 cm below the rim as headspace. That shallow gap gives you somewhere to water without immediately washing mix over the edge, and it prevents a mulch layer or the exposed carrot shoulders from sitting above the rim. If the planter’s internal height is only 30 cm, the actual mix depth will be closer to 27–28 cm once you leave that gap. For a true 30 cm planting depth, look for a little more than 30 cm of internal height.
A 25–30 cm diameter makes a practical single-pot footprint because it gives enough room for a useful group of roots without becoming awkward to move. A wide tray that is only 15 cm deep may hold more surface area, but its carrot roots will meet the bottom sooner. A narrow 30 cm tube can provide depth but waste the space between roots. In container gardening, the shape of the root zone matters more than the label on the front of the pot.
Think of 30 cm as a reliable starting specification, not a promise. The variety, light, moisture, seedling spacing and quality of the mix still decide whether the roots are straight and edible.
A 30 cm pot can still grow the wrong carrot
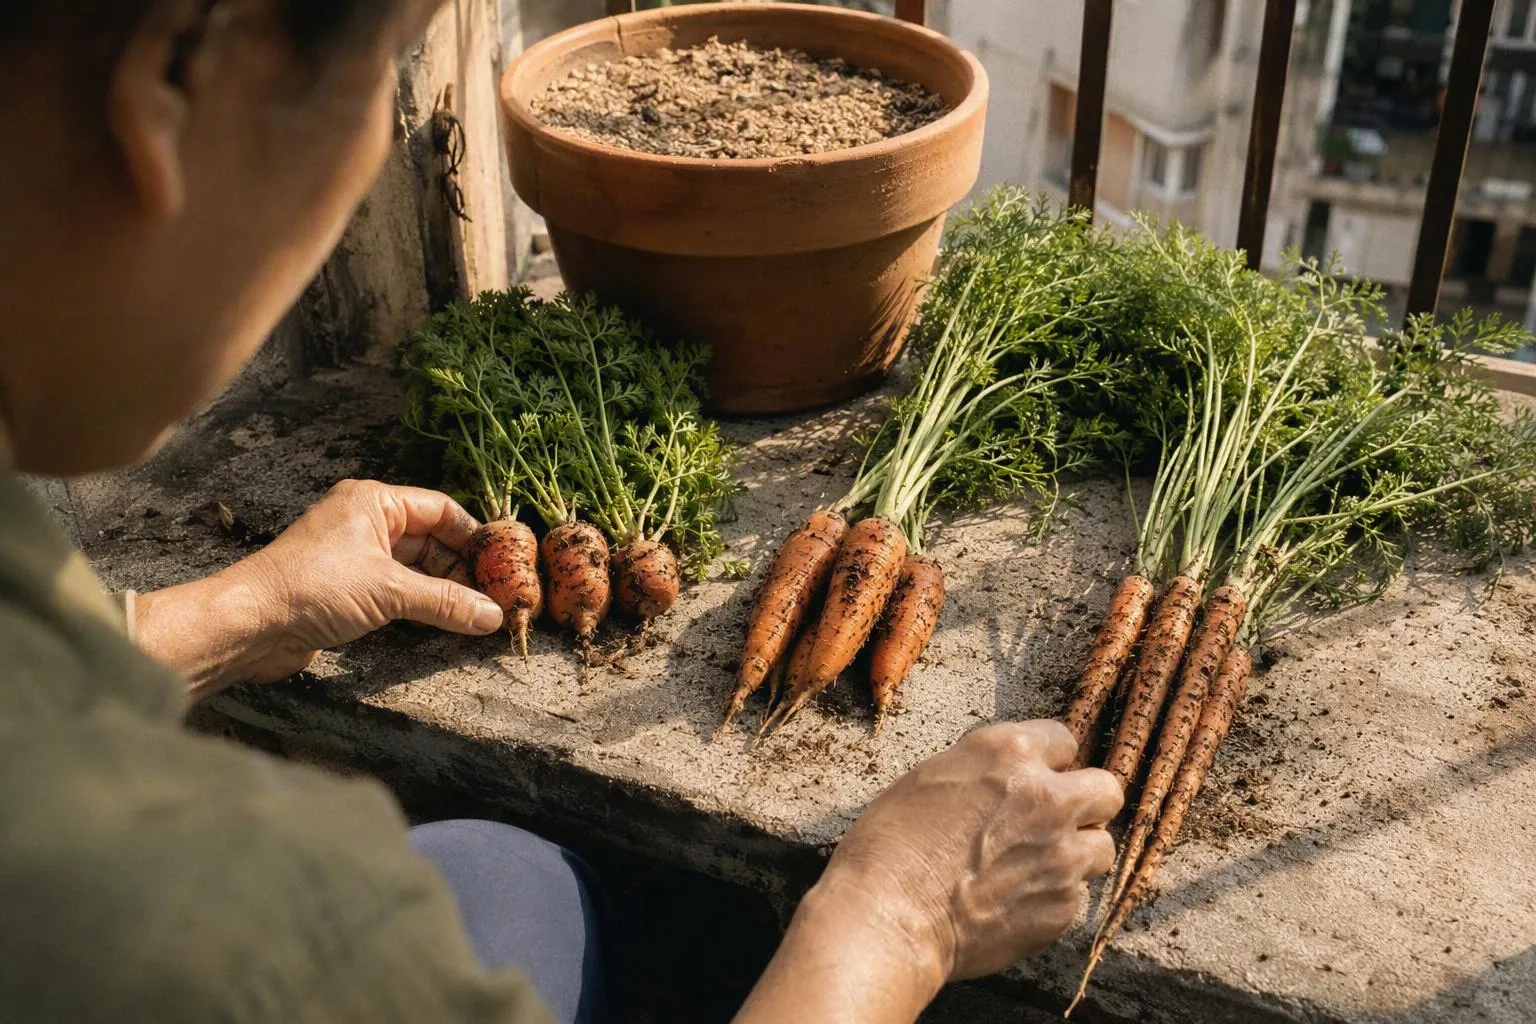
Carrot names are not just a seed-buying detail. They describe the root shape you’re asking a finite container to produce. Broadly, I’d match them like this:
| Carrot type | Approximate mature root length | Fit in a 30 cm usable-depth pot |
|---|---|---|
| Round or ball | 5–10 cm (2–4 in) | Easy fit, with plenty of spare depth |
| Chantenay | 10–15 cm (4–6 in) | Comfortable fit for a deep container |
| Nantes | 15–20 cm (6–8 in) | Good fit if the mix is loose and deep |
| Imperator and other long types | 20–30 cm (8–12 in) | Possible only when the full root length fits without a hard base |
These are useful planning ranges, not replacements for the packet. The official seed-packet or cultivar descriptions should override a broad class name, particularly if the packet gives a mature length or recommends a specific harvest size. A carrot described as 30 cm long has no useful spare depth in a 30 cm mix column once the tip reaches the bottom. I prefer to leave several centimetres of spare depth rather than choose a root that exactly fills the pot.
Maximum root length and container capacity are separate questions. A 20 cm Nantes root may fit easily, but the pot might hold only a few roots if you space them generously. Conversely, small round carrots may allow more plants across the same surface. The first decision is therefore root length; the second is the number of roots the top of the pot can support.
Build the container as one continuous reservoir of mix
For a round pot, the volume calculation is the area of the circle multiplied by depth. A 30 cm internal diameter gives a 15 cm radius, so π × 15² × 30 works out at about 21,200 cubic centimetres, or 21.2 litres (5.6 US gallons), before headspace and wall thickness. A 30 cm cube is 30 × 30 × 30 cm, which gives 27 litres (7.1 US gallons). The cube holds more because all of its corners contribute volume; a round pot leaves those corners out.
| Container shape | Internal dimensions | Full geometric volume |
|---|---|---|
| Round | 30 cm diameter × 30 cm deep | About 21.2 L (5.6 US gal) |
| Cube | 30 cm × 30 cm × 30 cm | About 27 L (7.1 US gal) |
Those are buying figures, not the amount you will actually heap to the rim. Subtract the headspace, and expect a tapered pot or thick-walled planter to hold less than the simple outside measurements suggest. If you’re comparing pots for several crops, best container size for vegetables is a useful way to think in litres rather than trusting diameter alone.
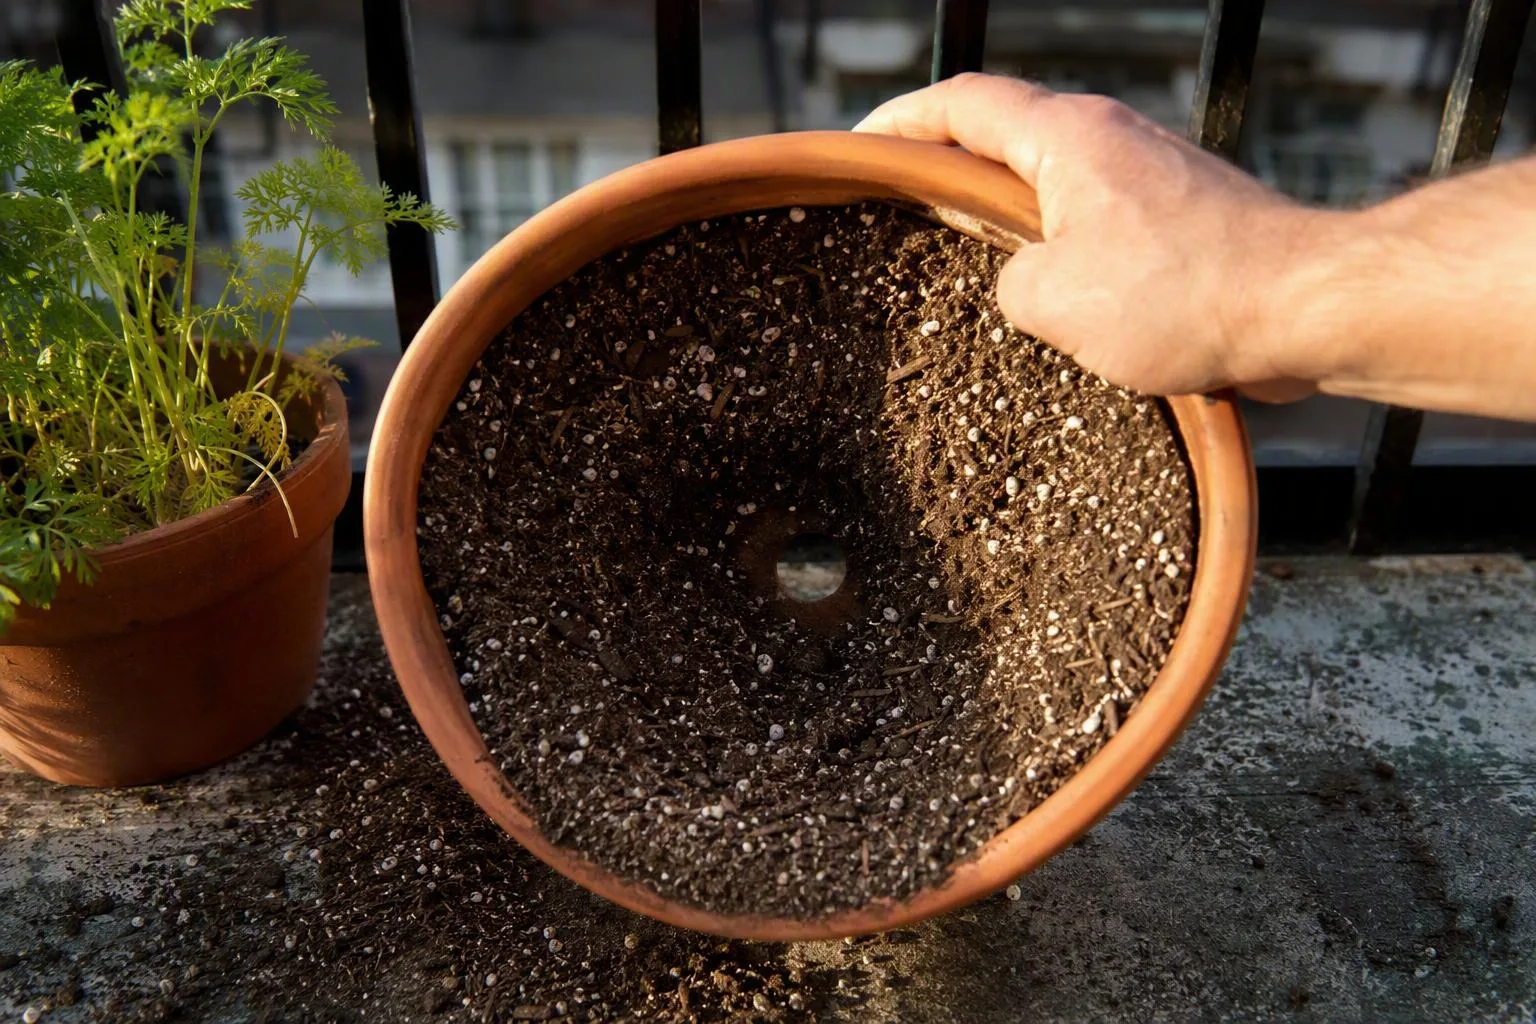
Use a loose, stone-free potting mix with enough fine material to hold moisture and enough coarse pore space for air and drainage. Garden soil on its own is risky in a container because its structure can settle under repeated watering, reducing the air-filled spaces around the roots. Fresh manure and unfinished compost can bring coarse pieces, concentrated salts and uneven decomposition into a root zone that needs to be smooth. A carrot tip that meets a stone or compacted clump can fork around it instead of growing straight.
Skip the gravel layer at the bottom. The problem is a perched water table, which is simply a zone of wet mix that can remain above a coarse layer rather than draining freely through it. Water moves through the fine potting mix until it meets the gravel boundary; the change in pore size can make water sit higher in the mix. Gravel also takes away root volume. It does not turn a badly draining pot into a well-draining one.
Choose a container with several unobstructed holes at its lowest point. Set it on feet or a surface that doesn’t seal those holes, use a saucer to catch runoff, and empty the saucer after the pot has drained. Twenty to 27 litres of wet mix is a substantial load on a balcony or rooftop. Check your building’s load rules and place the container where you intend to keep it before filling it, because moving it afterward is a different job.
On my own balcony, I once filled a narrow box with a garden-soil blend and sowed carrots before checking how many hard lumps were in the mix. The seedlings emerged unevenly, and when I pulled a few later, their roots were short and split around compacted pieces. I didn’t count or weigh that crop, so I won’t pretend it was a trial, but it changed my order of priorities: for carrots, I prepare a smooth root zone before I spend money on unusual seed.
For the underlying mechanics, an authoritative guide to container potting media and drainage is worth consulting alongside the practical specifications above.
Sow thinly, then thin to the final spacing
Carrots are best sown where they will grow. Their main root is disturbed easily, so transplanting a crowded tray can produce bent or forked roots even when the final pot is deep enough. I’d prepare the final container first, then sow directly into it.
- Fill and settle the mix. Put the pot in its final position, fill to 2–3 cm below the rim, remove visible stones and level the surface. Moisten the mix with a gentle shower before sowing if it is dry; pre-moistening reduces the temptation to flood the seeds afterward.
- Sow shallowly. Make a shallow line or individual holes 0.5–1 cm deep (about ¼–⅜ in). Place the seed, cover it lightly and press the surface just enough to give seed-to-mix contact.
- Give seedlings room to start. Sow initial seeds roughly 2–3 cm (¾–1¼ in) apart. If you use rows, leave about 5–8 cm (2–3 in) between rows. Carrot germination is uneven enough that sowing a little closer at first can prevent an empty section, but it creates a thinning job later.
- Keep the surface calm. Use a fine spray or a watering can with a gentle rose. A hard stream can bury seed, expose it, or wash several seeds into one clump.
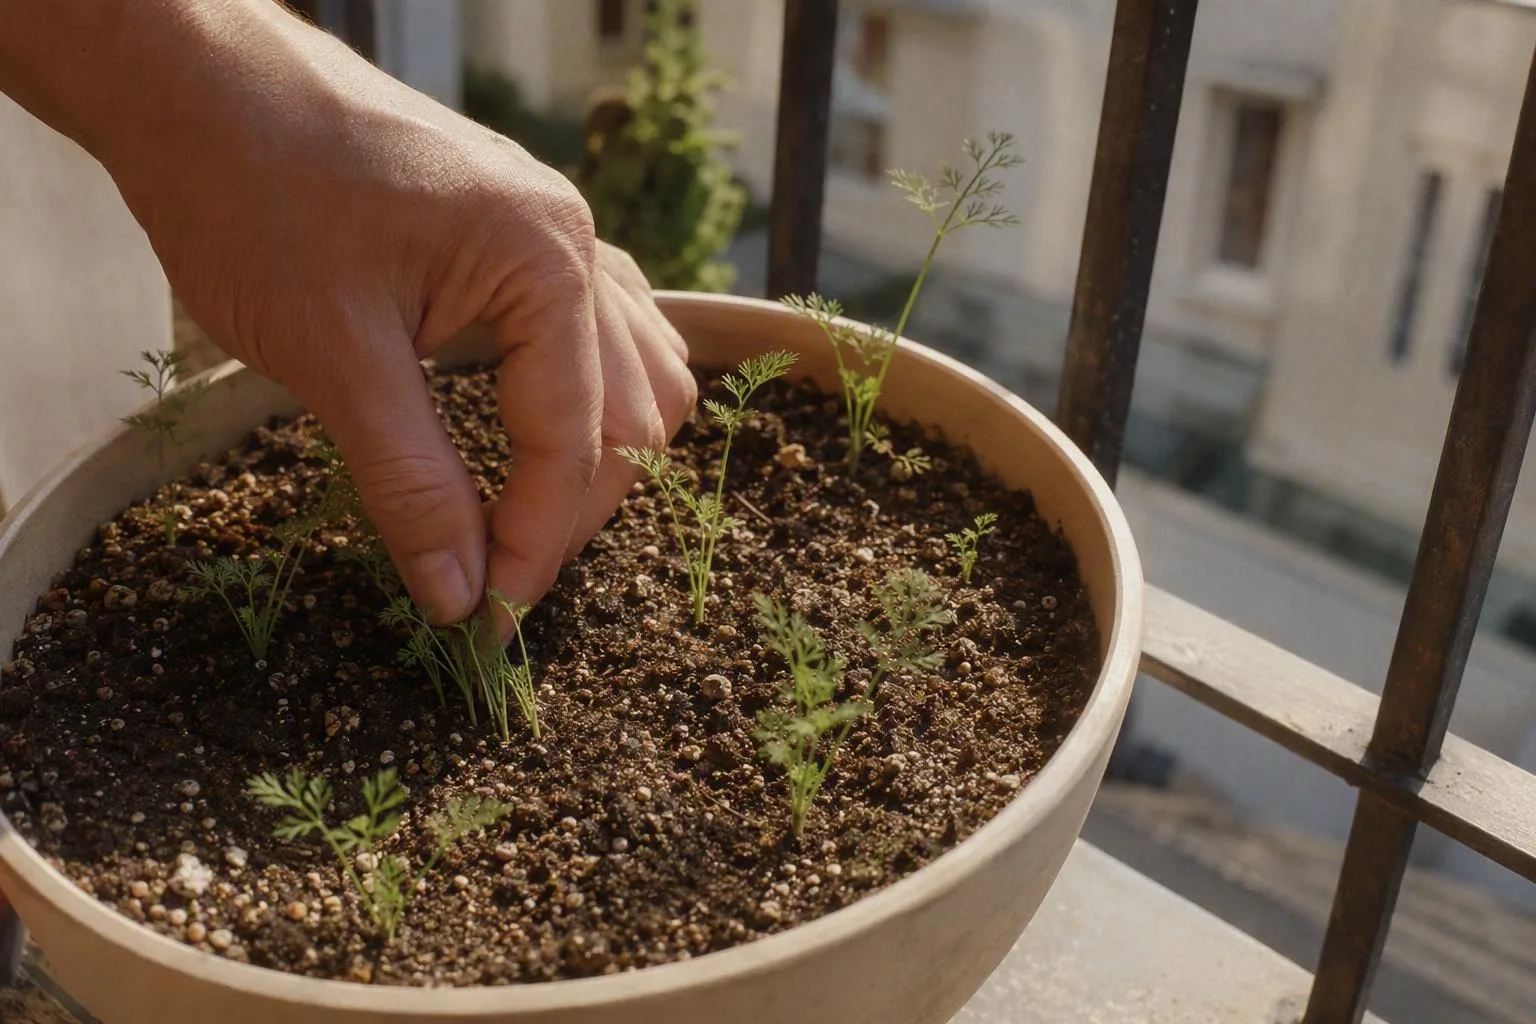
- Thin in stages. Once the seedlings are visible, remove extras gradually until the final plants are 3–5 cm (1–2 in) apart. Use the narrower spacing for small, early roots and the wider spacing for larger varieties. Snipping an unwanted seedling at the surface disturbs its neighbour less than pulling through the mix.
Thinning is not wasted effort. In a bed, a crowded patch can sometimes expand into surrounding soil; in a pot, every root is competing inside the same limited column of mix. Crowding can leave you with thin roots, uneven shoulders and misshapen sides even when the foliage looks vigorous.
For a longer harvest, make a second sowing 2–3 weeks after the first, preferably in another container or a clear section of a wide planter. Mark each sowing date. That gives you a useful stagger without asking one mature group of carrots to share its final spacing with new seedlings.
Top-down spacing check: picture the pot as a circle, not a square grid. Keep each seedling’s centre far enough from its neighbours that the expected root widths do not overlap, and accept that the curved edge will leave a few awkward gaps. Filling every visible patch is how a promising pot becomes crowded.
Use a sunlight audit before you spend on seed
I treat 4–6 hours of direct sun as a practical target for useful carrot roots. Three to four hours can work, but growth is likely to be slower and roots may stay smaller. One or two hours is a marginal use of balcony space for carrots: you may get foliage and a delayed root, but I’d usually give that spot to leafy herbs instead.
Audit direct sun rather than brightness. On a clear day, look at the pot in the morning, around midday and later afternoon, and note when sunlight actually lands on the mix. Bright reflected light from a wall is not the same as a beam of direct sun. Nearby buildings, railings and summer foliage can change the result, so repeat the check when the surrounding shadows are typical for the growing season.
A movable pot is one of the few advantages of growing vegetables in pots on balcony space. You can shift it toward the brighter edge as the sun moves, but move the empty or recently watered container before it becomes too heavy. My judgement is that a smaller pot in a genuinely sunny position beats a larger pot stranded in bright shade.
Keep the top layer damp until the seedlings appear
Carrot seed is small, and the first failure often happens before there is anything visible to diagnose. Keep the top layer evenly moist through the usual 10–21 day germination window. That does not mean keeping the whole pot saturated; it means preventing the shallow seed zone from forming a dry crust between waterings.
Check the surface twice a day during warm, windy weather. If it looks pale and dry, use a fine spray. A thin piece of breathable fabric or a light cover can slow evaporation, but remove it as soon as seedlings appear so the emerging stems have air and light. Don’t use a strong jet to compensate for a dry surface.
After emergence, check two places: the upper 2–3 cm (about 1 in), where evaporation is fastest, and the mix around 5 cm (2 in) down, where the developing roots are working. A plastic pot in full sun and wind may need checking daily and watering close to daily. A glazed pot in part shade may stretch toward every third day. Those are starting points for inspection, not a calendar.
When watering, wet the entire root zone until a little drains from the holes, then let the pot drain fully. Frequent sips can leave the deeper mix dry while the surface looks damp. Leaving the pot standing in runoff reverses the drainage work you just did.
A dry carrot pot usually gives you a dry surface and limp foliage that improves after thorough watering. Yellow or limp foliage with persistently wet mix points me first toward poor drainage or stressed roots, not thirst. Leaves alone can look similar in both cases, so put a finger into the mix before adding water.
Feed for roots without making a forest of leaves
Check the potting-mix label before adding anything. Many mixes contain an initial nutrient charge, so feeding on sowing day can stack more fertiliser into a small root zone than the seedlings need. If that initial feed is likely to be exhausted, begin a light, label-rate vegetable feed around 4–6 weeks after sowing, adjusting for the product’s instructions and the plant’s appearance.
Carrots need foliage to power the root, but excessive nitrogen can push the balance toward a large leafy top without a proportionate storage root. If the leaves are lush and the carrots are thin, I check spacing, light and moisture before reaching for more feed. Adding fertiliser cannot create root room that crowding has removed.
Keep fresh manure and large amounts of unfinished compost out of this pot. They can create coarse obstructions, uneven moisture pockets or excess salts. A mature, fine-textured container mix is the less exciting choice, and it is the one I’d make for a crop whose edible part is growing underground.
Harvest when the shoulder tells you, not when the calendar does
Use the seed packet’s stated maturity range as a starting window. Many carrot descriptions land somewhere around 50–80 days, but variety, temperature, light and final size change the timing. A date on the packet tells you when to begin checking; it does not tell you that every root in the pot is ready on that day.
The shoulder is the top of the root where it meets the leaves. Look for it at the mix surface and compare its visible width with the packet’s description. A diameter around 1.5–3 cm (½–1¼ in) is a common harvest size for many carrots, but a baby-carrot variety and a full-size Nantes carrot have different standards. If the shoulder is hidden, brush a little mix aside rather than pulling the plant to inspect it.
Water the pot first if the mix is dry. Then loosen around the root with a narrow dibber or plant label and pull steadily from the base of the leaves. Dry, compacted mix grips a carrot tightly; yanking can snap the top and leave the root below the surface.
A capacity estimate helps set expectations. A 30 cm round pot has an area of π × 15², or about 707 cm². At 5 cm spacing, dividing 707 by the 25 cm² footprint of each spacing square gives about 28 theoretical positions. At 4 cm spacing, dividing 707 by 16 gives about 44 theoretical positions. Those are paper calculations, not a planting promise: the curved edge wastes some space, seedlings need room to be thinned, and germination is never perfectly even. After allowing for edge loss and thinning room, I’d recommend roughly 20–30 final plants in that pot, with the actual edible count set by the variety and when you harvest.
That is why I would not fill a deep pot with long carrots just to chase a larger number. Short roots harvested young may make better use of the surface, while long roots need more room around each plant and more care at harvest.
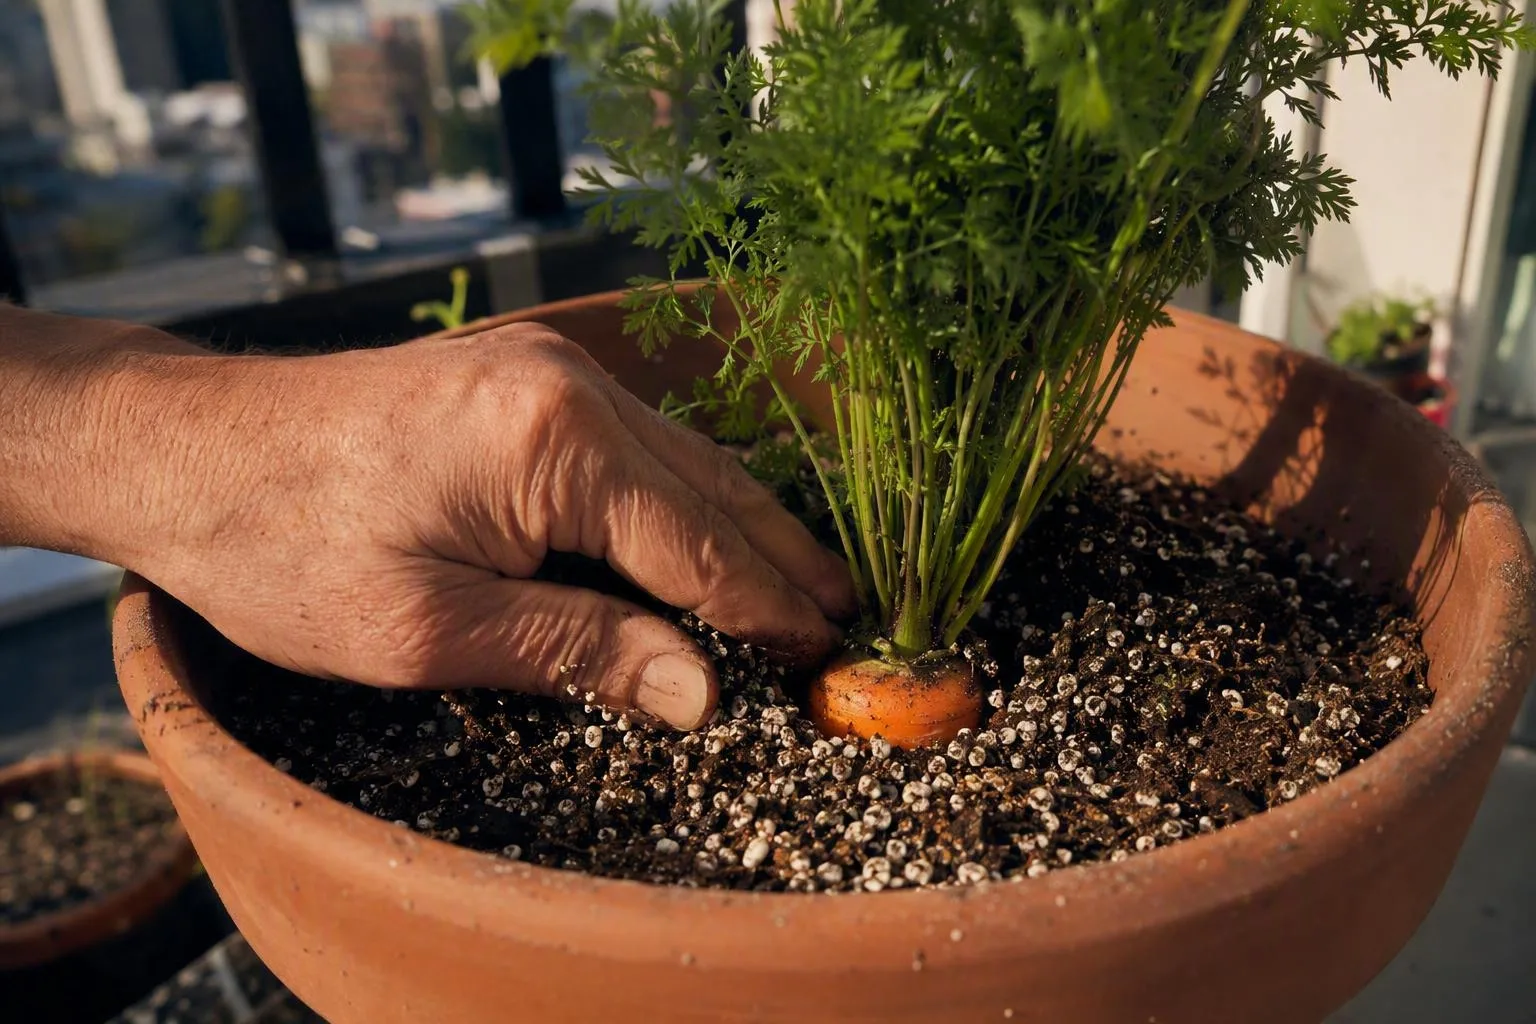
For a broader comparison of edible crops, the site’s growing vegetables in pots guide can help you decide whether another crop repays the same container space.
The failure map: small, forked, cracked, or missing roots
Use the symptom to choose the first check. Don’t add fertiliser simply because the roots are small; the cause may be spacing, light or inconsistent moisture.
| What you see | Check first | Fix or next decision |
|---|---|---|
| No seedlings after the expected 10–21 day window | The surface dried, seed was buried, or seed was old | Keep the seed zone evenly damp and sow a fresh patch if the original was lost. Avoid digging through the whole pot. |
| Lots of leaves but tiny roots | Crowding, low light or excess nitrogen | Thin to final spacing, move toward direct sun if possible, and don’t make feed the first remedy. |
| Forked or branched roots | Stones, compacted mix, a hard base or coarse fresh material | Remove obstructions for the next sowing and rebuild the mix as one loose, continuous root zone. A formed forked root will not straighten in place. |
| Cracked roots | The pot repeatedly dried hard and then received a heavy soaking | Check moisture 5 cm down more often and water thoroughly before the mix becomes bone dry. |
| Green shoulders | The top of the root was exposed to light | Brush a little fine mix over the shoulder while keeping the crown and leaves clear. |
| Yellow or limp foliage in wet mix | Blocked holes, a saucer full of water or roots stressed by saturation | Clear the drainage path, empty the saucer and let the mix drain. More water is the wrong fix until the root zone has air again. |
Before the week is out, take three physical checks: measure from the intended soil surface to the inside bottom, push a finger 5 cm into the mix to assess moisture, and thin any seedlings still closer than 3 cm (1 in). If the depth is short, change the container before you sow another line of seed; that is cheaper than asking a full-grown carrot to negotiate a shallow pot.