Growing Ginger in Containers: Pot Size, Timing and Harvest
A single ginger seed piece doesn’t need a tall barrel: give it 15–20 L (4–5.3 US gal) of potting mix in a container about 30–40 cm (12–16 in) wide and at least 25–30 cm (10–12 in) deep. Ginger expands sideways through a warm, evenly moist root zone, so width and moisture control matter more than extra depth.
That is the practical starting point for growing ginger in containers. You can harvest tender baby ginger sooner, but mature storage ginger occupies the pot for most of a warm growing season. On a balcony with only one or two usable hours of sun, I’d expect foliage and a smaller rhizome harvest rather than plan around a full crop.
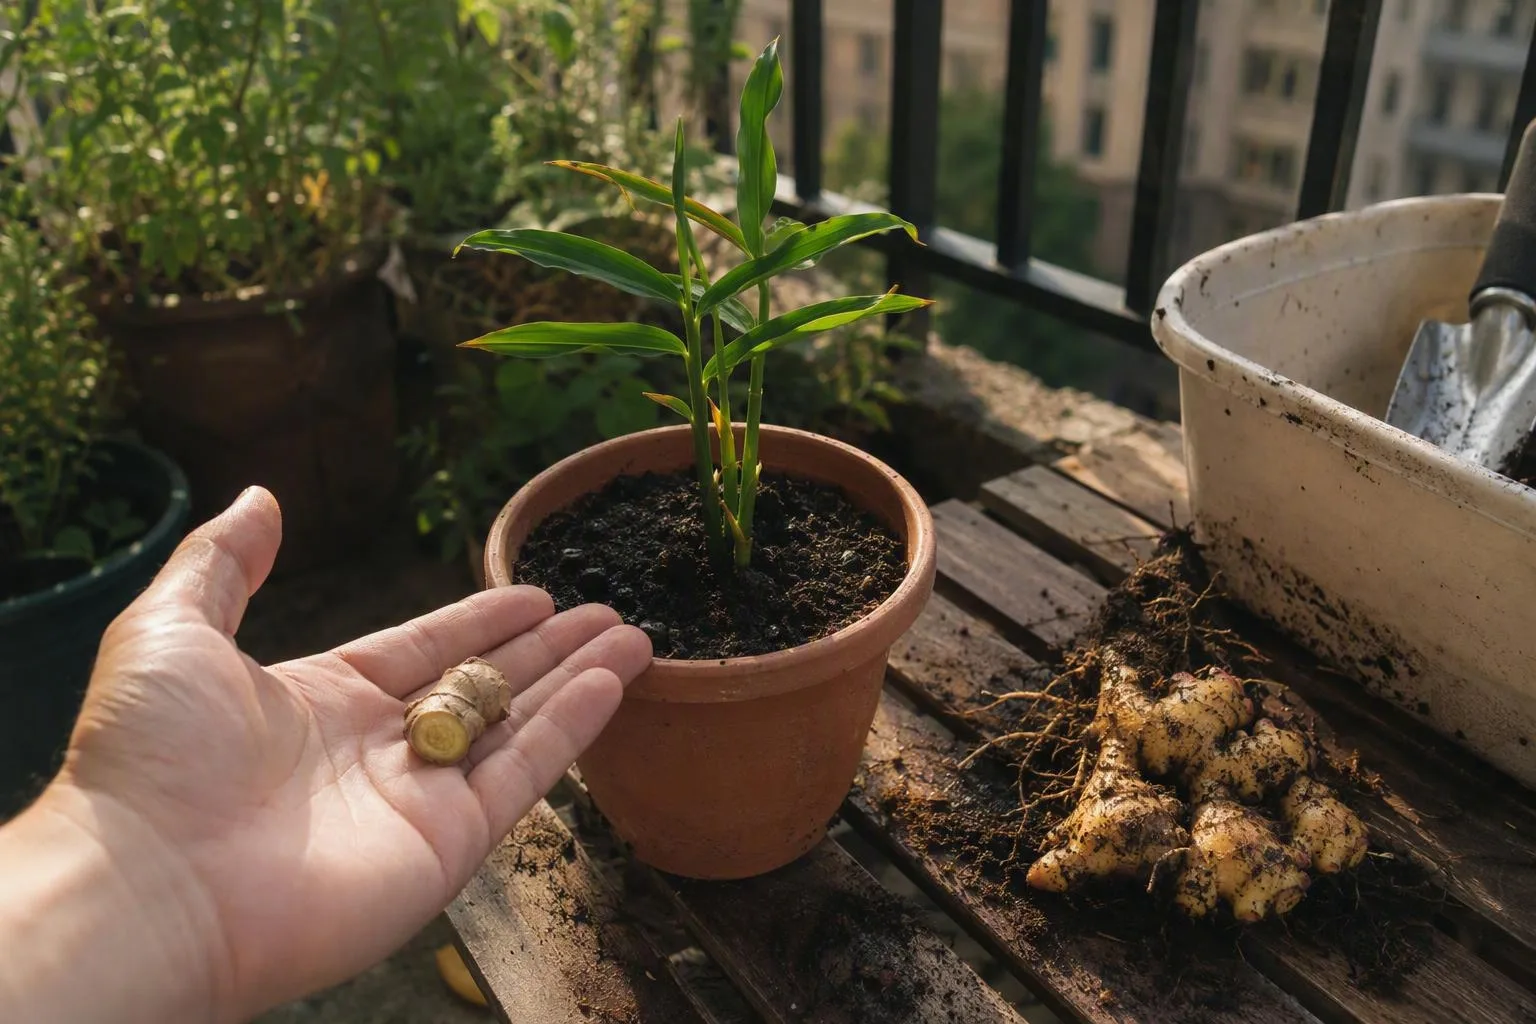
The quick answer: one ginger piece needs a wide 15–20 L pot
For one piece of ginger, choose a pot with roughly 15–20 L (4–5.3 US gal) of usable interior volume. A container 30–40 cm (12–16 in) across and 25–30 cm (10–12 in) deep is a sensible target. By usable volume, I mean the space that will actually hold potting mix, not the decorative outer measurement or the empty space below a false base.
A smaller 10 L (2.6 US gal) pot can grow a trial piece, especially if you want to harvest it as baby ginger. It gives you less buffer against heat and missed watering. A broad 25–30 L (6.6–7.9 US gal) container is more forgiving, or lets you plant several pieces, provided you leave room between them and can safely support the wet weight.
Think of the 15–20 L range as a useful buying decision, not a promise of yield. Warmth, starting-piece quality, light and the length of your season can matter just as much as the pot.
Decide whether you want tender baby ginger or mature storage ginger
The rhizome is the swollen underground stem you harvest. It is not a true root, even though grocery labels often call it ginger root. New shoots rise from buds on that rhizome, while fresh sections develop horizontally through the mix.
Baby ginger is the earlier endpoint. Under consistently warm conditions, I’d plan on roughly 4–6 months for a harvest of pale, thin-skinned pieces with a fresh texture. It usually needs less time than a mature crop, making it the better choice for a short summer or a late start.
Mature ginger is firmer, more fibrous and better suited to keeping. A planning range of about 8–10 months is more realistic for a fully developed rhizome, and that assumes the plant gets a long, warm growing period rather than sitting cold in autumn. If frost is approaching, harvesting smaller ginger is a sounder decision than leaving the pot outside in falling temperatures while hoping it finishes.
My judgment is simple: choose baby ginger if the novelty is the harvest itself or your season is short. Choose mature ginger only if you have a warm indoor finishing space, a long growing season, or patience for a pot that will look rather uneventful for months.
Pick a plump rhizome with buds that can actually grow
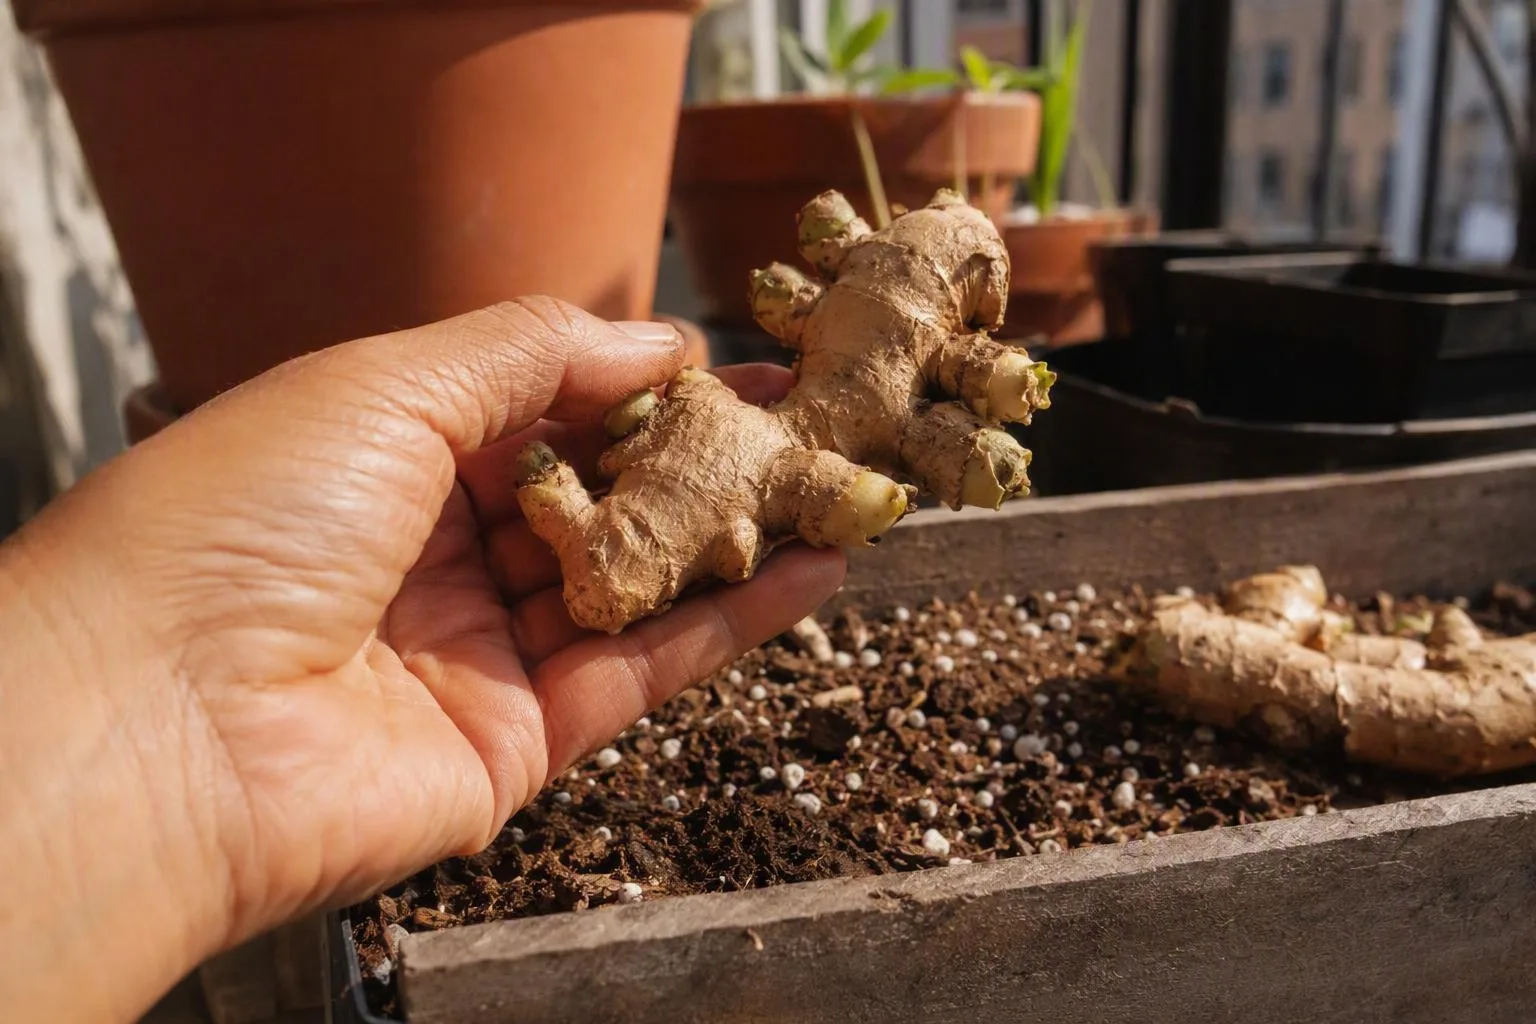
Choose a firm, unshrivelled piece with several raised buds, sometimes called eyes. The piece should feel solid when pressed and should not have leaking fluid, widespread mould or dark, collapsing tissue. A few dry marks are less useful than a clear bud and firm flesh.
Ginger sold for planting by a garden supplier is usually the more dependable starting point because it is selected and handled for propagation. Grocery-store ginger can sprout, and plenty of growers report success with it, but shop-bought pieces may have been treated to slow sprouting or may have spent long enough in storage to lose vigour. Treat it as a worthwhile experiment, not a guaranteed shortcut.
Use a small piece whole if it already has one or two strong buds. Divide a large rhizome only when each section can keep at least one healthy bud and a substantial amount of firm tissue around it. Cutting a large piece into many tiny fragments saves no space if the fragments struggle to establish.
My hands-on selection routine is blunt: I rinse the piece, pat it dry, and press each section with my thumb before I reach for a pot. If the knife meets soft or brown tissue, I cut that tissue away and keep only a firm, budded section. I don’t bury a failing section deeper and hope the soil will repair it.
The pot is a width problem first, a depth problem second
Ginger does not need a narrow, deep root-run in the way a carrot does. The harvested rhizome spreads close to the surface, so a broad container gives each piece somewhere to extend. Use the table as a shopping guide, then check the inside dimensions because container labels often describe the outside.
| Usable mix volume | Planting plan | What I’d expect |
|---|---|---|
| About 10 L (2.6 US gal) | One small trial piece | More frequent moisture checks and a sensible baby-ginger project |
| 15–20 L (4–5.3 US gal) | One good-sized piece | The practical all-round range for a balcony pot |
| 25–30 L (6.6–7.9 US gal) | Several pieces, or one piece in a hot exposed position | More mix to buffer drying and room for horizontal growth |
For several pieces, I use 15–20 cm (6–8 in) between pieces as a practical spacing judgment. It leaves a useful patch of mix around each budded section without pretending that ginger has a precise underground boundary. In a 25–30 L container, place the pieces in a loose triangle or around the centre rather than pressing them against the wall.
The broader buying logic is the same as the best container size for vegetables: litres tell you more than a label saying large. A wide plastic pot is easier to move and usually less stressful on a balcony than a tall ceramic one. Still, wet mix, the pot itself and a mature plant add considerable load. Keep containers near a supported wall, distribute them rather than clustering every heavy pot at one edge, and check your building or landlord rules before using a rooftop or projecting balcony.
Build a mix that drains without turning dry by lunchtime
Use a commercial potting mix intended for containers, not soil dug from a garden bed. Garden soil can settle into a dense mass in a pot, leaving less air around the rhizome and making watering uneven. If you’re comparing bags in a shop, my container gardening soil rule is to squeeze a handful: it should hold together briefly, then break apart when you tap it. A muddy smear or a dusty heap is a warning sign.
The mix has three jobs:
- An organic base such as coir, peat substitute or composted bark holds moisture and nutrients.
- Perlite, pumice or coarse bark creates air spaces so excess water can move away from the rhizome.
- A limited amount of finished compost adds body, but fine, compost-heavy mix can collapse and remain wet after repeated watering.
Here is the part that causes confusion. A perched water table is the saturated band that remains at the bottom of a container above its drainage holes. It forms because water moving through fine mix meets the abrupt change to open air at the hole. Adding gravel underneath does not remove that saturated band; it raises the level at which the fine mix stays wet and steals root space.
Choose a pot with several open drainage holes in the base. Covering a hole with a loose shard can stop mix escaping without sealing the opening, but don’t line the bottom with a thick layer of stones. Set the pot on feet or a shallow saucer that you empty after heavy watering. Fill to about two fingers below the rim so you can water slowly without washing mix over the edge.
Plant when the root zone is warm, not when the calendar says spring
Ginger is a warm-season crop in a container. I’d move it outdoors only after frost risk has passed, nights are reliably above about 10°C (50°F), and the potting mix is closer to 18–21°C (65–70°F) or warmer. The air can feel pleasant while the mix inside a shaded pot remains too cold for quick sprouting.
For a short season, start the rhizome indoors roughly 6–8 weeks before the outdoor move. Give it warmth and bright light, then harden it off by placing it outside for progressively longer periods over several days. Hardening off means gradually adjusting an indoor plant to outdoor light, wind and temperature rather than moving it straight into a harsher position.
Use official local frost dates and growing-season climate normals as a planning aid, but check the actual forecast before moving a ginger pot. A late start can still make sense for baby ginger. It is a poor fit for mature ginger if the remaining warm season is short enough that the plant will spend its final weeks cold and wet.
Cut, callus, and pre-sprout in that order
Preparation is a sequence, and the order matters:
- Use a clean, sharp knife to divide a large rhizome into sections with one or more visible buds.
- Place the cut pieces somewhere clean and dry for roughly 24–48 hours.
- Optionally pre-sprout them in barely moist potting mix before the outdoor planting date.
The drying period lets the cut surface form a drier protective skin. That gives a freshly cut section less exposed, wet tissue to defend while it begins growing. Don’t confuse callusing with letting the rhizome shrivel for a week; the aim is a dry surface, not dehydration.
Pre-sprouting is useful when spring is short or your outdoor pot is expensive to keep warm. Put the piece on barely moist mix with its buds facing up, then wait for a small shoot or roots before transplanting carefully. It is optional. An overnight soak is also optional, but I wouldn’t use it as a cure for soft tissue, poor buds or cold mix.
If a section is soft or brown, discard that tissue and save only firm sections with viable buds. Don’t make a planting piece from the soft centre simply because it is the largest part.
Set the buds upward under just 2–5 cm of mix
Plant ginger horizontally rather than standing it on end. The buds should face upward, and the rhizome should sit close enough to the surface that new shoots do not have a thick column of mix to push through.
- Fill the container with mix that is evenly damp, not dripping wet.
- Make a shallow depression and lay the piece flat with the buds uppermost.
- Cover it with approximately 2–5 cm (1–2 in) of mix.
- Water once until excess runs from the drainage holes, then let the pot drain fully.
Deep burial can delay emergence and keeps the dormant section surrounded by wet mix for longer. Tightly packing several pieces creates competition for the same root volume and makes it harder to inspect a problem. Don’t keep adding thick layers of mix unless the rhizome becomes exposed; a light top-up is enough if watering has washed the surface down.
For the first month, warmth matters more than fertilizer
The waiting period is where many container attempts go wrong. Ginger can take several weeks to produce an obvious shoot, so a leafless pot does not automatically need more water. The dormant rhizome is using little moisture, while the container may still be holding water below the surface.
Keep the pot warm and in bright light, with filtered light or gentle morning sun preferred to a heat-trapping afternoon window. A clear plastic cover can hold humidity, but it also traps heat and condensation; remove it or ventilate it if the mix stays wet or the surface becomes mouldy.
Check the upper 2–3 cm (about 1 in) with a finger and lift the pot when you can. I write the planting date on a piece of tape and inspect rather than water on a calendar. If the top layer has dried slightly and the pot feels lighter, water modestly around the piece. If it remains cool and heavy, wait. Begin feeding only after active green shoots are clearly growing.
Once shoots are up, feed and water for a steady canopy
When the plant is leafy, water thoroughly when the upper mix has dried slightly, then allow excess to drain. The correct interval changes with the container material, wind, heat and exposure. In a plastic pot in full sun, I’d check daily and might water close to daily during a hot spell. In a glazed pot in part shade, the same mix may need checking every third day instead. Those are checking examples, not a fixed timetable.
Water slowly enough that the whole root zone is wetted. A quick splash across the surface can run down a gap at the pot wall while the centre stays dry. Empty the saucer after the pot has finished draining. Constantly standing in water is a poor trade for a plant whose rhizome is underground and difficult to inspect.
For feeding, use a balanced liquid fertiliser at the label rate roughly every 3–4 weeks during active growth. If the potting mix already contains controlled-release fertiliser, wait longer and follow that product’s instructions rather than stacking feeds. Fertiliser cannot compensate for cold roots, poor light or waterlogged mix, and adding it to a stressed plant can increase salt build-up.
During a heatwave, move the pot away from reflected glass or hot masonry, water in the morning and give it temporary afternoon shade if the leaves wilt repeatedly. During prolonged rain, move it under cover while keeping bright light, and make sure the drainage holes remain clear. For a holiday, arrange a tested wick or drip setup and place the pot in a bright, sheltered position; don’t install an untested reservoir the day before leaving.
The balcony version of this routine is much like growing vegetables in pots on balcony: check the plant’s actual exposure and the pot’s weight, not just the weather app for your postcode.
Yellow leaves mean dormancy only late in the season
Late-season yellowing can be normal when the plant has had a long warm run and the leaves gradually fade, brown and collapse. Yellow leaves early in the season need a different reading. I check moisture and the stem base before reaching for fertiliser.
Use this order:
- Lift the pot. A very light pot, shrunken mix and crisp leaf edges point toward drought or repeated drying.
- Inspect the mix. A heavy pot that stays wet, especially in cool weather, points toward poor drainage or overwatering.
- Check the stem base. Collapsing stems and a soft or brown rhizome suggest rot. A sour smell may be present, but its absence doesn’t clear the plant.
- Correct the root zone. Improve drainage, move the pot to warmth, or water more thoroughly but less often, depending on what you found.
- Consider nutrition last. If the mix is appropriately moist and the plant is actively growing, pale overall foliage may justify a label-rate feed.
Early yellow leaves can therefore come from waterlogged mix, cold roots, rot, drought or insufficient nutrition. The symptoms overlap because damaged roots cannot supply the leaves properly whether the cause is too much water or too little. Pulling the stems to test the plant can tear the remaining roots, so inspect at the surface first and tip out the root ball only when the evidence points to a serious problem.
Harvest by sampling one rhizome, then cure what you keep
Baby ginger can be sampled without emptying the pot. Scrape back mix at the edge and feel for an enlarged rhizome. If it is large enough for your intended use, remove one section with your fingers or a narrow hand fork, then cover the remaining piece again. This is less disruptive than lifting the entire root ball.
For mature ginger, wait until the foliage has yellowed, browned and died back after a long warm season. Reduce watering as the plant finishes, but don’t leave a dormant pot saturated. Loosen the mix around the outside first, work underneath the root ball, and lift the rhizomes gently. Avoid pulling the stems; they can detach while the rhizome remains buried.
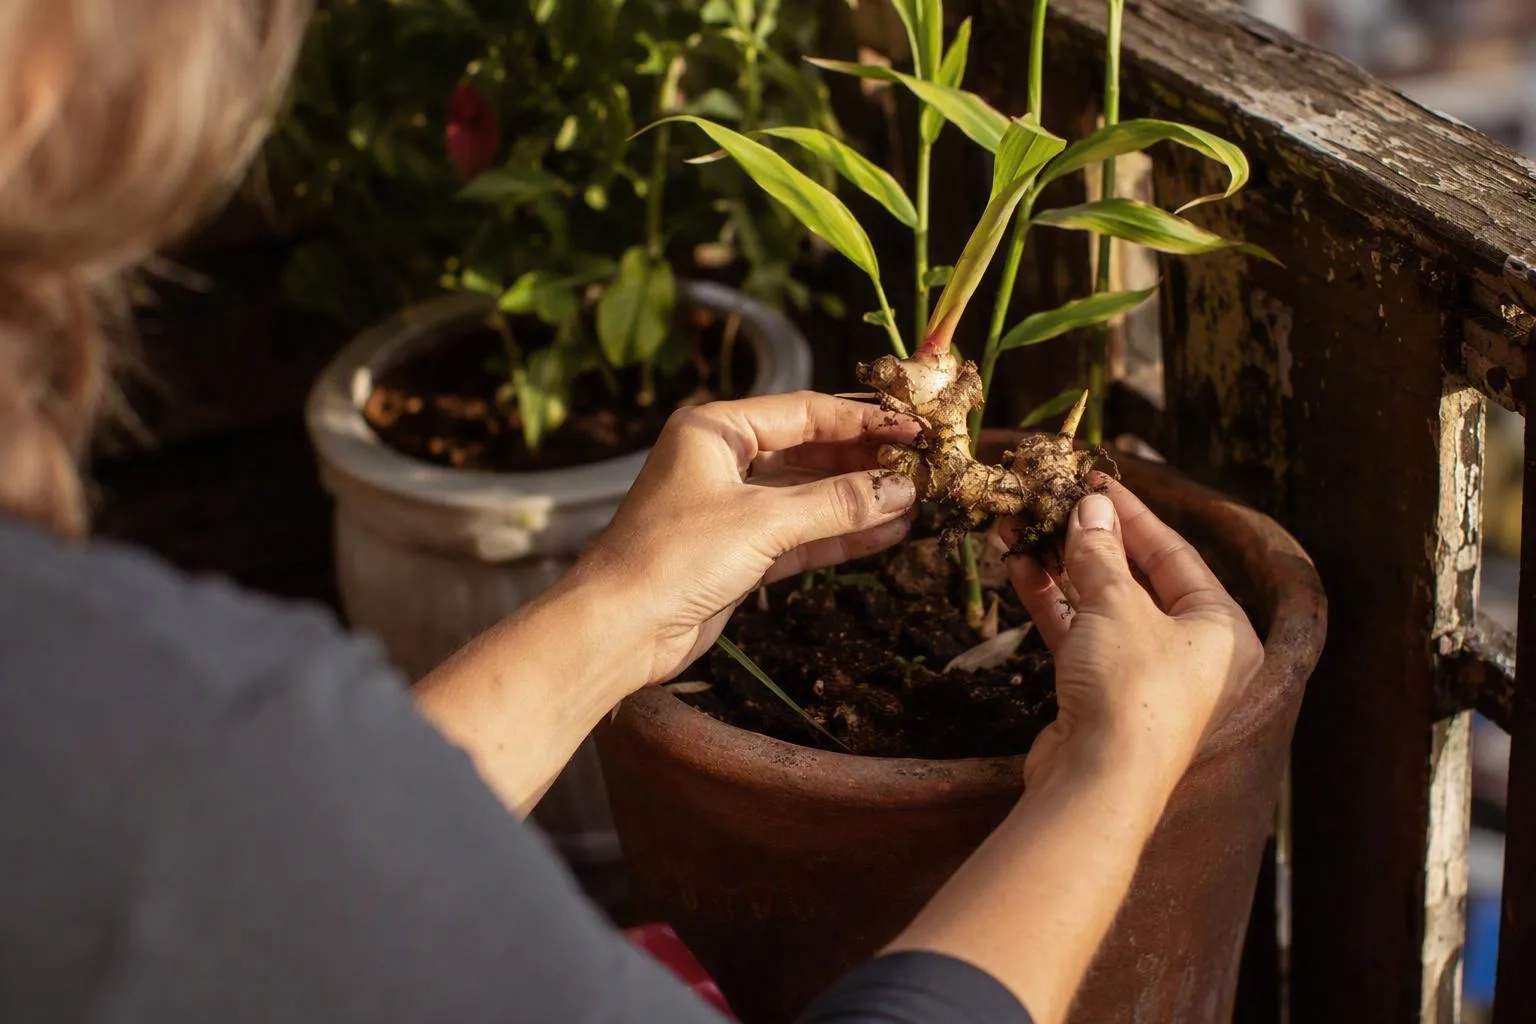
Baby ginger has thin skin and a high-moisture, fresh texture, so wash it gently and refrigerate it for relatively prompt use. Mature ginger has firmer, more tan skin. Rinse away loose mix, let the surface dry in a warm, airy, shaded place, and store only pieces whose skin is dry rather than wet or damaged. Follow food-safety and storage guidance for washing, curing and refrigerating fresh ginger if you plan to keep a large harvest.
Don’t attach a fixed yield to one pot. The amount you lift depends on the starting piece, the number of viable buds, warmth, light, moisture consistency and how long the plant stays active. A 15–20 L container can produce a satisfying harvest, but it can also produce mostly foliage if the balcony is dim or the season ends early.
Before the weekend, measure the inside of the pot you plan to use, confirm that it has open drainage holes, and buy enough mix to reach at least 15 L (4 US gal) after settling. Once planted, mark the date. In a week, check the top 2–3 cm and lift the container instead of watering by habit; the piece should still feel firm, and the mix should be lightly moist rather than cold and saturated.