Growing Herbs in Containers: 8 Mistakes That Shrink Harvests
A 15 cm (6 in) pot holds roughly 2–3 L (0.5–0.8 US gal) of mix: enough for a small thyme, but a cramped starting point for a full basil or mint. The eight mistakes below shrink herb harvests for predictable reasons: too little root volume, mismatched moisture, blocked drainage, weak light, shallow watering, depleted feed and timid cutting.
That’s useful news. Each problem leaves a physical clue in the pot, so you can correct the setup instead of replacing the plant and hoping the next one behaves differently.
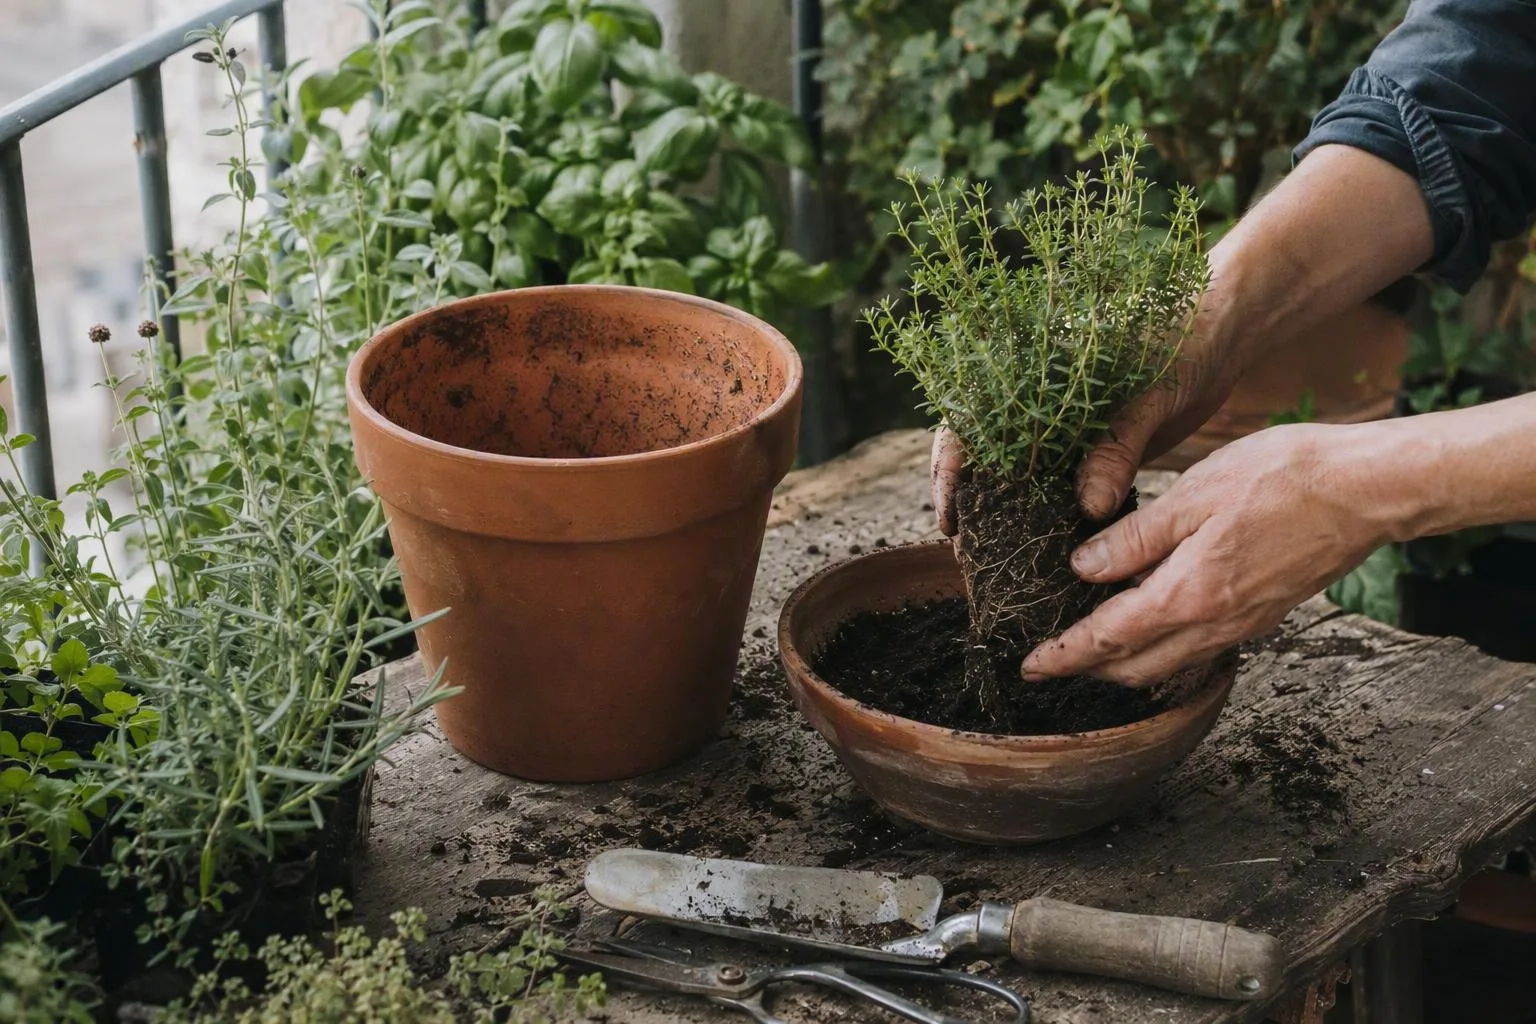
Mistake 1: Choosing a pot before choosing the herb
A pot is part of the growing system, not just a container you happen to have. Its mix is the plant’s water store, nutrient store and root space. Once those reserves are used, the herb can’t reach sideways into surrounding soil as it would in a garden bed.
Use the figures below as starting volumes for one established plant. They aren’t universal capacities: a wide pot, a tall pot and a pot packed with several nursery plants behave differently even when their labels show the same diameter.
| Herb | Starting container volume | Practical note |
|---|---|---|
| Thyme | 3–5 L (0.8–1.3 US gal) | Works well as one compact plant. |
| Parsley | 3–5 L (0.8–1.3 US gal) | Use more room for a dense, long harvest. |
| Basil | 5–10 L (1.3–2.6 US gal) | Give a full plant room for roots and branching. |
| Mint | 5–10 L (1.3–2.6 US gal) | Plant it alone because its roots fill space quickly. |
| Rosemary | 8–15 L (2.1–4 US gal) | A better range for keeping one plant beyond a short season. |
A 15 cm (6 in) pot may hold 2–3 L (0.5–0.8 US gal), but its usable reserve is smaller if you fill it with several basil seedlings. A supermarket basil left in its crowded nursery plug and watered only on the surface can wilt by afternoon. Moving it into a roomier pot and soaking the mix thoroughly typically gives the roots a deeper reserve to draw on before the next moisture check. That’s a general container pattern, not a report of a specific trial or a claim about every supermarket plant.
The root-bound pattern commonly reported by container growers includes roots circling densely around the pot wall, a dry centre that resists rewetting, and growth that stalls soon after watering. I’m using that as a working diagnosis rather than attributing a frequency to a particular study. If you pull the plant out and see a tight mat of roots with little loose mix remaining, move it up one useful pot size and tease only the outermost circling roots apart.
For a second check before you buy, use the container size chart for vegetables as a volume reference, then apply the same maths to herbs. On a balcony, remember that a larger wet pot is heavier than an empty one. Choose a stable position and check your building’s rules or load guidance before creating a row of large containers near an edge.
Mistake 2: Crowding herbs with opposite watering needs
A mixed herb planter can look thoughtfully arranged and still fail because the roots are sharing one moisture regime. Basil, parsley, mint and coriander/cilantro are more comfortable with a mix that stays moderately and evenly moist. Rosemary, sage, thyme and oregano are better matched with a mix that dries more between waterings.
The best companion-planting rule for potted herbs isn’t flavour. It’s how quickly the pot should dry.
That makes a Mediterranean pot of rosemary, sage and thyme a more sensible grouping than a “kitchen herbs” box containing all of those plus basil. The dry-side plants can develop root stress if you keep watering to satisfy basil. If you hold back the water, basil can wilt while the woody herbs look fine.
Mint deserves its own 5–10 L (1.3–2.6 US gal) pot in most small-space setups. It produces a vigorous network of roots and stems, so it can crowd parsley or a young herb in the same planter. A separate pot also lets you give mint the more consistent moisture it prefers without turning rosemary’s pot into a swamp.
If you want one shared box, group plants by moisture tolerance and similar growth speed rather than by cuisine. Put the pot where you can reach it from every side; crowded foliage dries slowly after watering, while an exposed pot dries quickly at the rim.
Mistake 3: Filling the container with garden soil
Garden soil has support from the ground around it. In a pot, that same soil is lifted into a shallow column and repeatedly compressed by watering and handling. Fine particles settle into the gaps, air movement around roots falls, and the mix can stay wet after the surface looks ready for another drink.
Use a commercial potting mix or a homemade medium designed for containers. Adding a little garden soil to compost doesn’t automatically create a container mix; compost supplies organic matter, but it may also settle, hold too much water or vary in texture. A loose, open-textured mix gives excess water somewhere to move while preserving air-filled spaces around the roots. The plain-language guide to container gardening soil is a useful companion if you’re comparing bags in a garden centre.
For a fresh container, do the jobs in this order:
- Check the mix before filling. If it is completely dry and dusty, moisten it in a bucket until water spreads through it rather than running off the top.
- Fill the pot loosely. Don’t tamp it down with your fist; settle it later with water.
- Set the herb at the same depth it was growing before. Burying a soft stem can encourage rot, while leaving a root ball perched above the mix exposes it to rapid drying.
- Fill around the roots, then water slowly so the mix settles into contact with the root ball.
- Leave about 2–5 cm (1–2 in) below the rim. That gap is watering space, not wasted capacity.
After the first watering, look for an even wetting pattern. If water races down one side and appears at the hole while the centre remains dry, the mix was either too dry to rewet evenly or compressed around the root ball. Break up only loose surface crust, then use two slow watering passes rather than flooding the pot once.
For a reference from a public horticulture source, the university extension guidance on container potting media is the kind of material I’d consult before mixing a large batch for edible plants.
Mistake 4: Trying to repair drainage with a gravel layer
Drainage needs an open route out of the pot, not a layer of stones underneath the roots. Use a container with an unobstructed hole, keep the potting medium open-textured, and place a saucer beneath it only to catch runoff that you can empty.
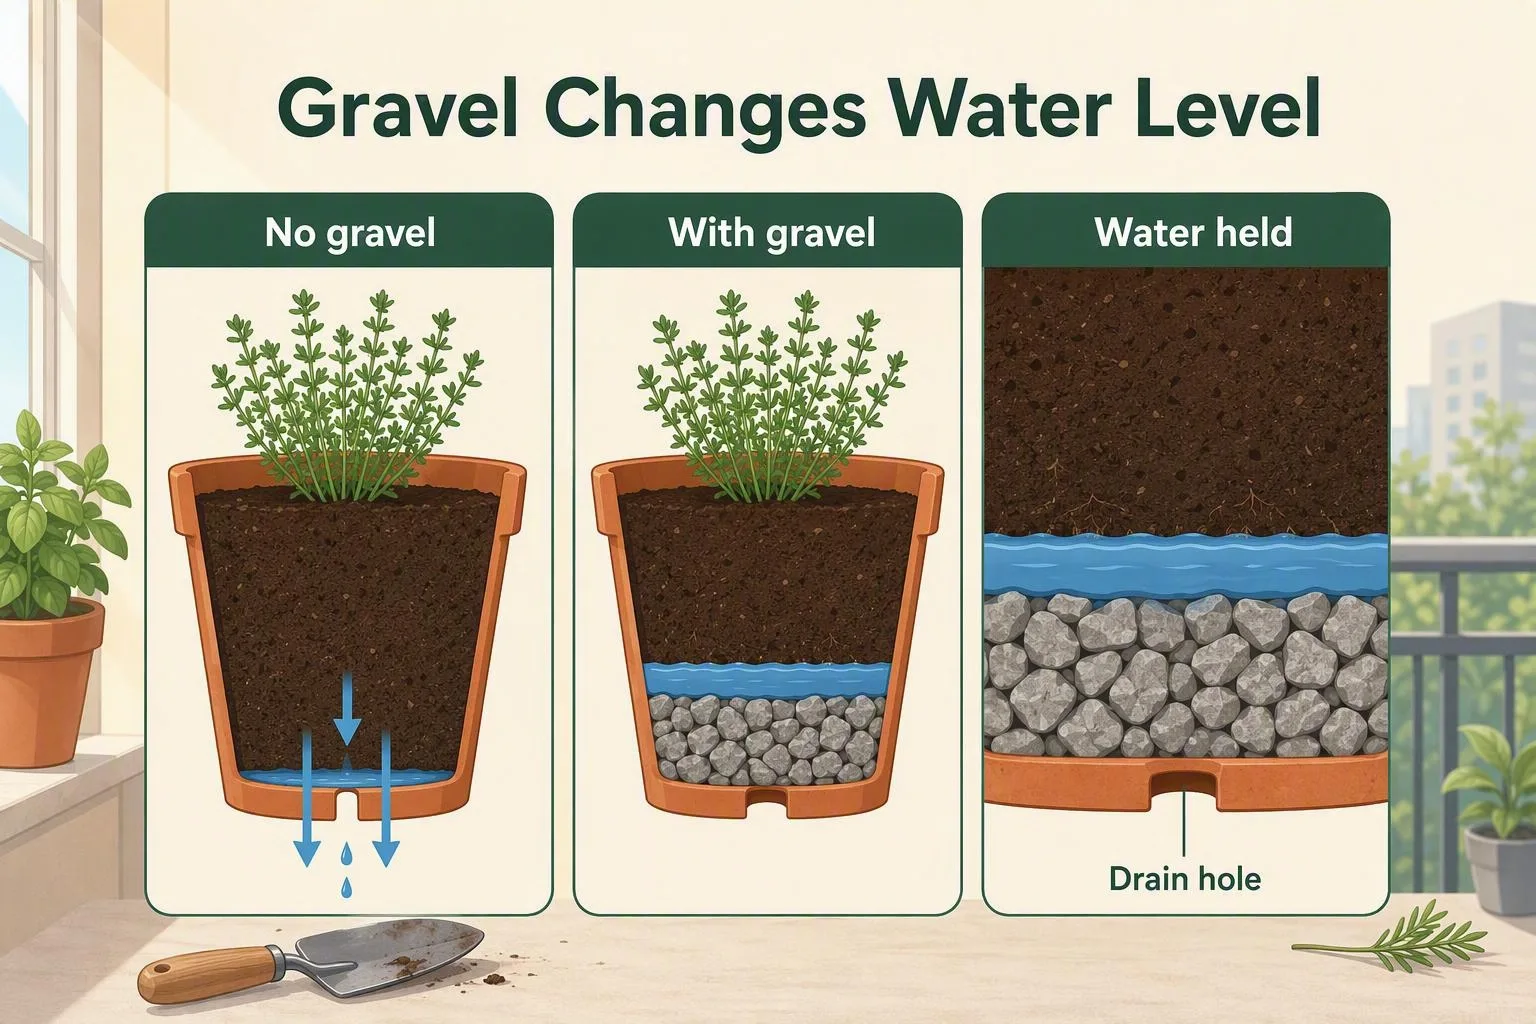
A gravel layer changes the location of the wettest part; it doesn’t create a larger reservoir or make water leave faster. The perched water table is simply a band of water that remains held above a coarse layer or a restricted outlet instead of draining freely. In a pot filled with fine mix over gravel, the upper mix can stay saturated until enough water accumulates to cross that boundary. Roots then occupy a wetter zone while the gardener assumes the stones have improved drainage.
Start with a physical inspection:
- Run a finger around the outside of the hole and remove roots, labels or compacted mix blocking it.
- Lift the growing pot out of a decorative cachepot after watering. The outer pot may have no hole and can hide standing water.
- Make sure the pot is not sitting directly in a puddle on a balcony or patio.
- Empty the saucer once the excess has finished draining. Don’t leave the base submerged.
A mesh screen over a large hole can stop mix escaping without forming a deep barrier. I’d choose that small fix, or a pot with a better-sized hole, before sacrificing several centimetres of root space to gravel.
Mistake 5: Calling a bright balcony sunny enough
“Bright” describes how a spot feels to your eyes, not how much direct light reaches the leaves. A pale wall can make a balcony look luminous while a railing, roof overhang or neighbouring building blocks the useful beam for most of the day.
I audit light on the actual growing spot by watching one clear day and writing down when direct sun lands on the pot, not merely on the wall behind it. Check again as the season changes if the balcony is shaded by a low winter sun or a taller summer canopy. A south-facing label is a starting clue, not a measurement.
As a practical target, basil, rosemary, sage, thyme and oregano usually make denser, more productive growth with roughly 4–6 or more hours of direct light. Parsley, mint and coriander/cilantro can tolerate less direct sun, but the trade-off may be slower growth, thinner stems or a smaller harvest. If your balcony offers only one or two useful hours, begin with parsley, mint or chives and treat basil as a trial rather than the main crop.
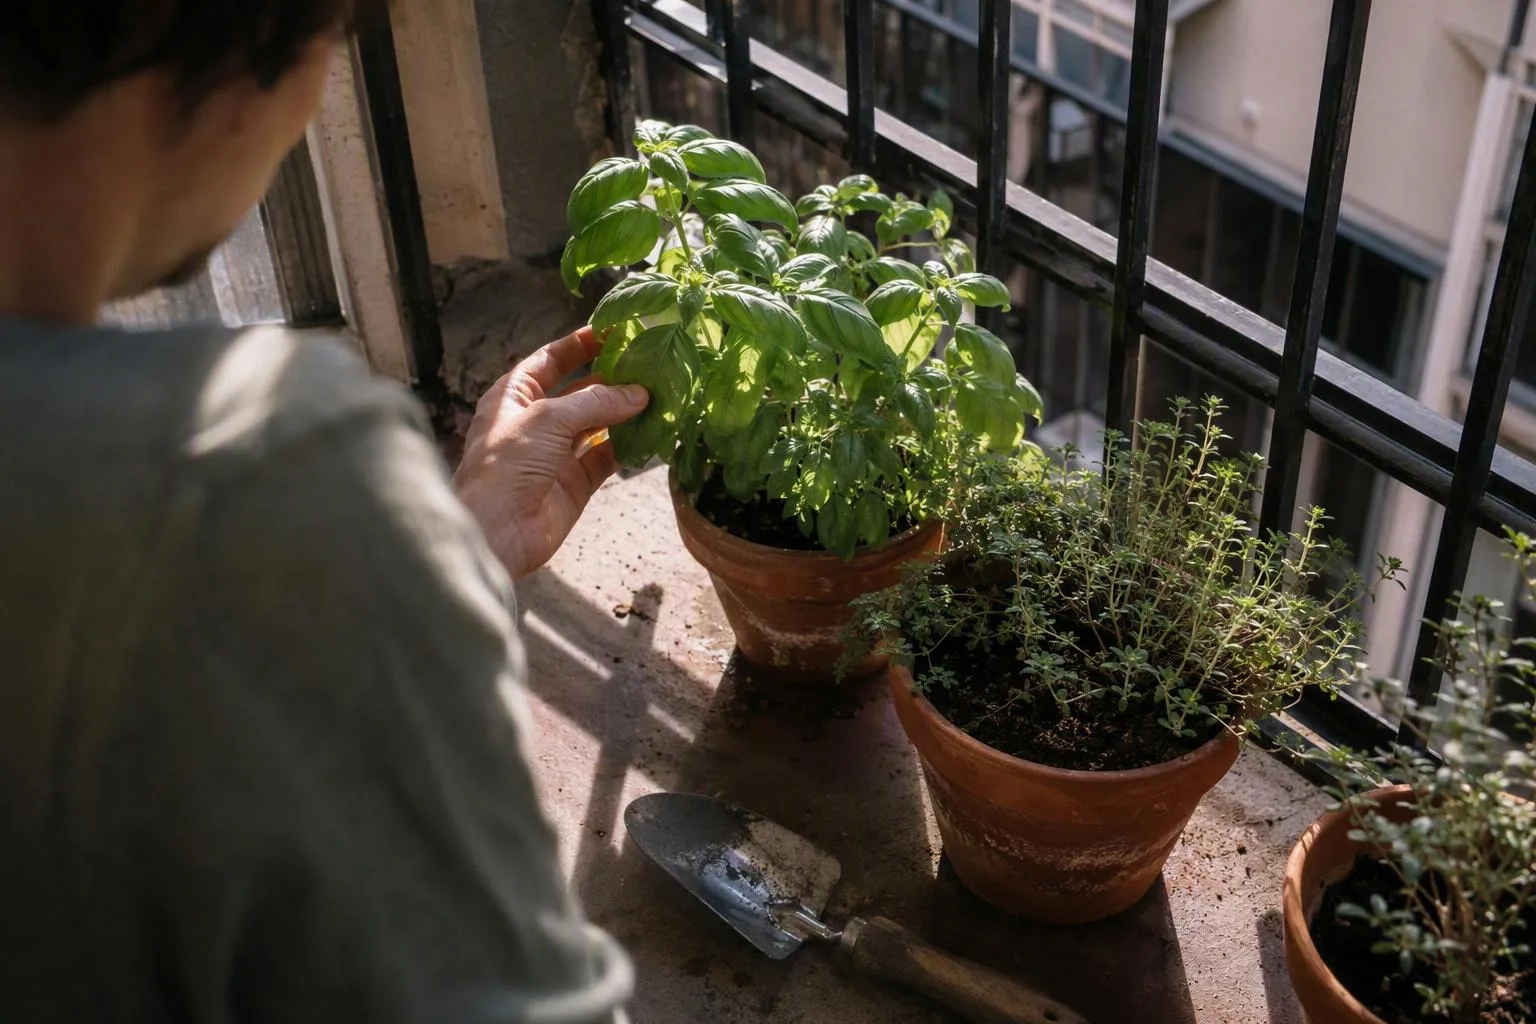
Look at the stems, not just the leaves. Long gaps between leaf pairs, small new leaves and a plant leaning hard toward one direction point to insufficient light. Move the pot toward the brightest safe position, then turn it a quarter turn every few days so one side doesn’t do all the work. Containers give you that mobility advantage; a garden bed can’t chase the sun.
Use the growing vegetables in pots on balcony guide for the same obstruction audit if your herb area shares space with taller crops. For plant-specific reading, the RHS guidance on herb light requirements is a useful place to compare the light preferences of individual herbs.
Wind changes the calculation. A sunny, exposed railing position can dry a small pot faster than a sheltered spot with the same hours of light. Move tender stems away from the strongest gusts without hiding them behind a solid barrier that cuts off the light you were trying to gain.
Mistake 6: Watering by the calendar—or only wetting the surface
“Water every Tuesday” is a poor rule for a container because the pot’s drying speed changes with volume, material, wind, heat, plant size and shade. A small black plastic pot in full sun and wind may need a daily moisture check during hot weather; a larger glazed pot in part shade may still be damp several days after watering.
I keep a plain wooden skewer beside the watering can. I push it into the root zone, not just the top crust, and read the darkened section when I pull it out. That small habit stops me treating a damp surface as proof that the whole pot is watered.
Use this sequence:
- Feel below the surface with a finger or skewer. The top few centimetres can dry while the lower mix remains wet, especially in a deep pot.
- Lift the pot if it is safe to do so. A noticeably light container supports the dry reading; a heavy one deserves another check lower down.
- Water slowly over the surface until a little runs from the drainage hole. This confirms that water has travelled through the root zone rather than wetting one patch.
- If the mix has become water-repellent, pause for a few minutes and water again. The first pass softens dry pockets; the second can spread moisture through them.
- Empty the saucer after drainage stops.
Wilt is a symptom, not a diagnosis. Wilted leaves with a bone-dry, light pot point first toward underwatering. Wilt with persistently wet mix points toward root stress, poor drainage or damaged roots, so adding more water is the wrong rescue. Inspect the hole and the root ball before changing the watering schedule.
Basil and parsley generally need more even moisture than rosemary, thyme and sage. That doesn’t mean keeping basil in mud or allowing a Mediterranean herb to become dust-dry for days. It means checking each pot against its own tolerance instead of making every herb obey the thirstiest plant.
When I check a pot, I use a short decision path rather than a calendar:
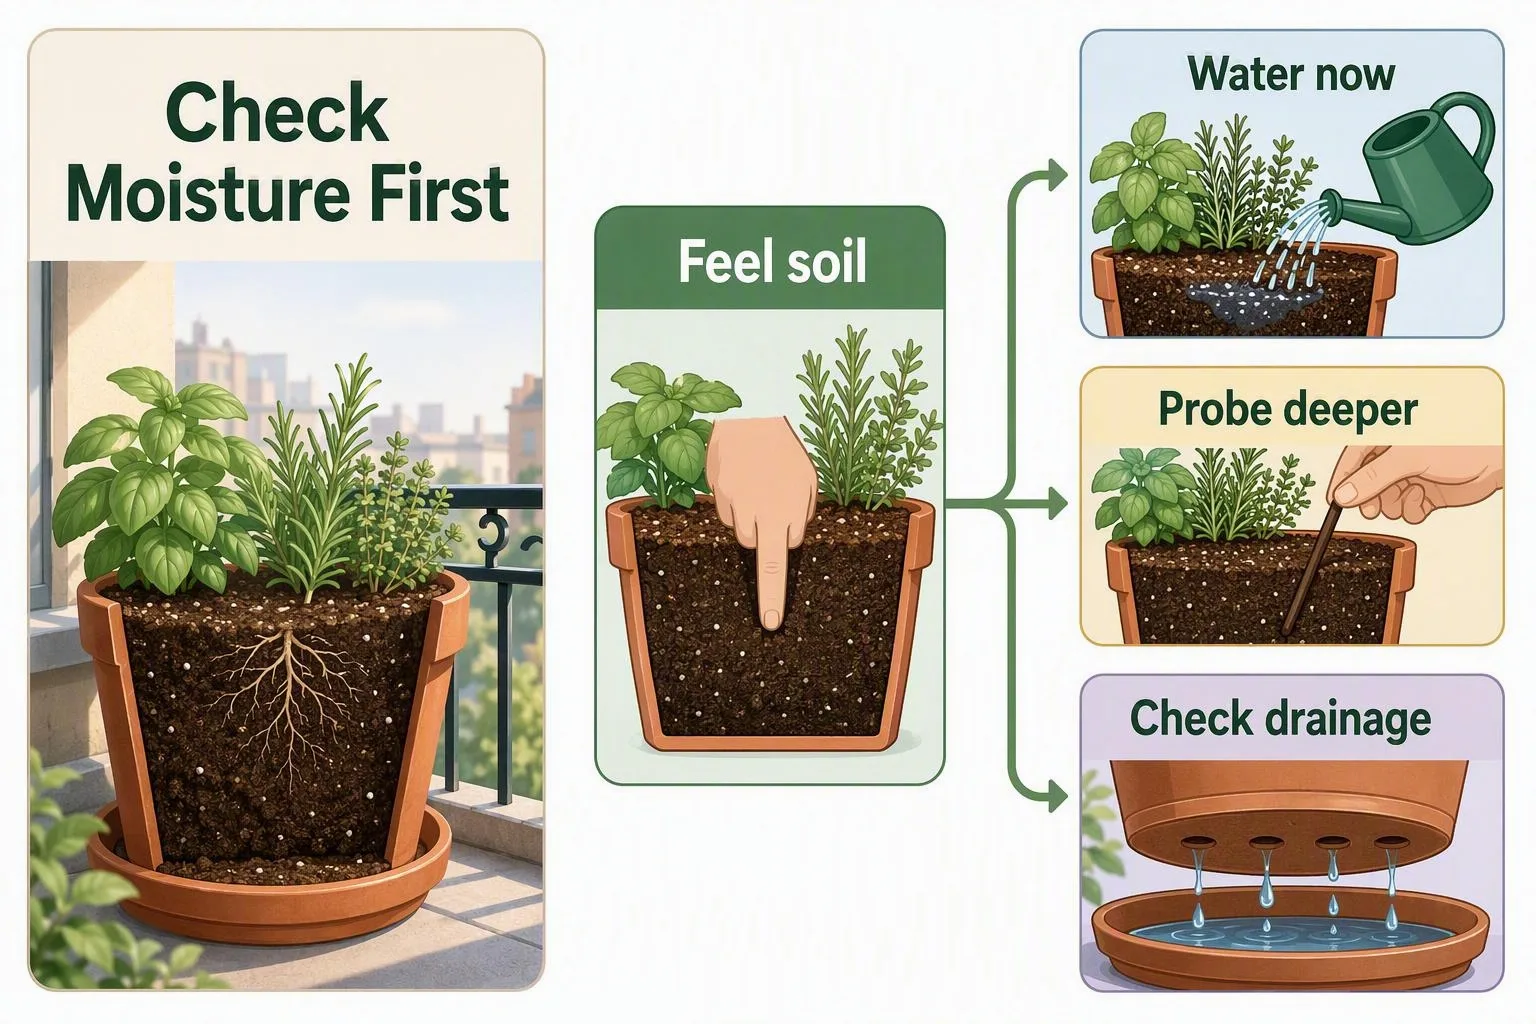
- Dry mix and a light pot: water deeply and reassess after the pot has drained.
- Damp mix and limp leaves: hold the water, check drainage and move the plant out of harsh heat while you inspect it.
- Dry top but heavy pot: probe deeper before watering.
- Water running around the root ball: rewet in two passes and check whether the mix has shrunk from the pot wall.
That last case explains why surface watering is so deceptive. The top looks dark, but the roots lower down remain dry. The plant then wilts again, and the gardener repeats a shallow drink that never restores the root-zone reserve.
Mistake 7: Expecting the original potting mix to feed a full season
Fresh potting mix can support strong early growth and still run short of nutrients later. Some mixes contain a starter charge intended to last for a period stated on the label; every watering can also carry soluble nutrients out through the drainage hole. A rapidly growing basil harvested often has a different demand from a slow rosemary plant.
Read the bag first. Once the initial charge is likely to be depleted, often around 4–6 weeks for products that specify a similar period, use either a complete liquid fertiliser at the label rate or a controlled-release fertiliser intended for edible containers. Controlled-release fertiliser means granules that release nutrients gradually as they are watered; it isn’t a reason to add extra feed on top of the label recommendation.
Pale older leaves, slow new growth and short stems can fit a nutrient shortage, but they can also follow weak light or damaged roots. Check light and moisture before reaching for fertiliser. At the other extreme, repeated heavy feeding can produce soft, overly lush growth and a pale crust of accumulated salts on the mix surface.
If the mix is completely dry, water it normally before applying liquid fertiliser. Fertiliser salts in a dry root zone can create a sharper concentration around the roots, while pre-wetting spreads the solution more evenly. If a crust returns, stop adding feed until you’ve checked the label rate and confirmed that excess water can actually leave the pot.
Mistake 8: Waiting for a recipe before harvesting
Harvesting is not a final exam; it is part of how a leafy herb stays useful. Waiting until you need a large bunch often leaves a leggy plant with old stems, while taking one leaf at a time can remove too little to change the plant’s shape.
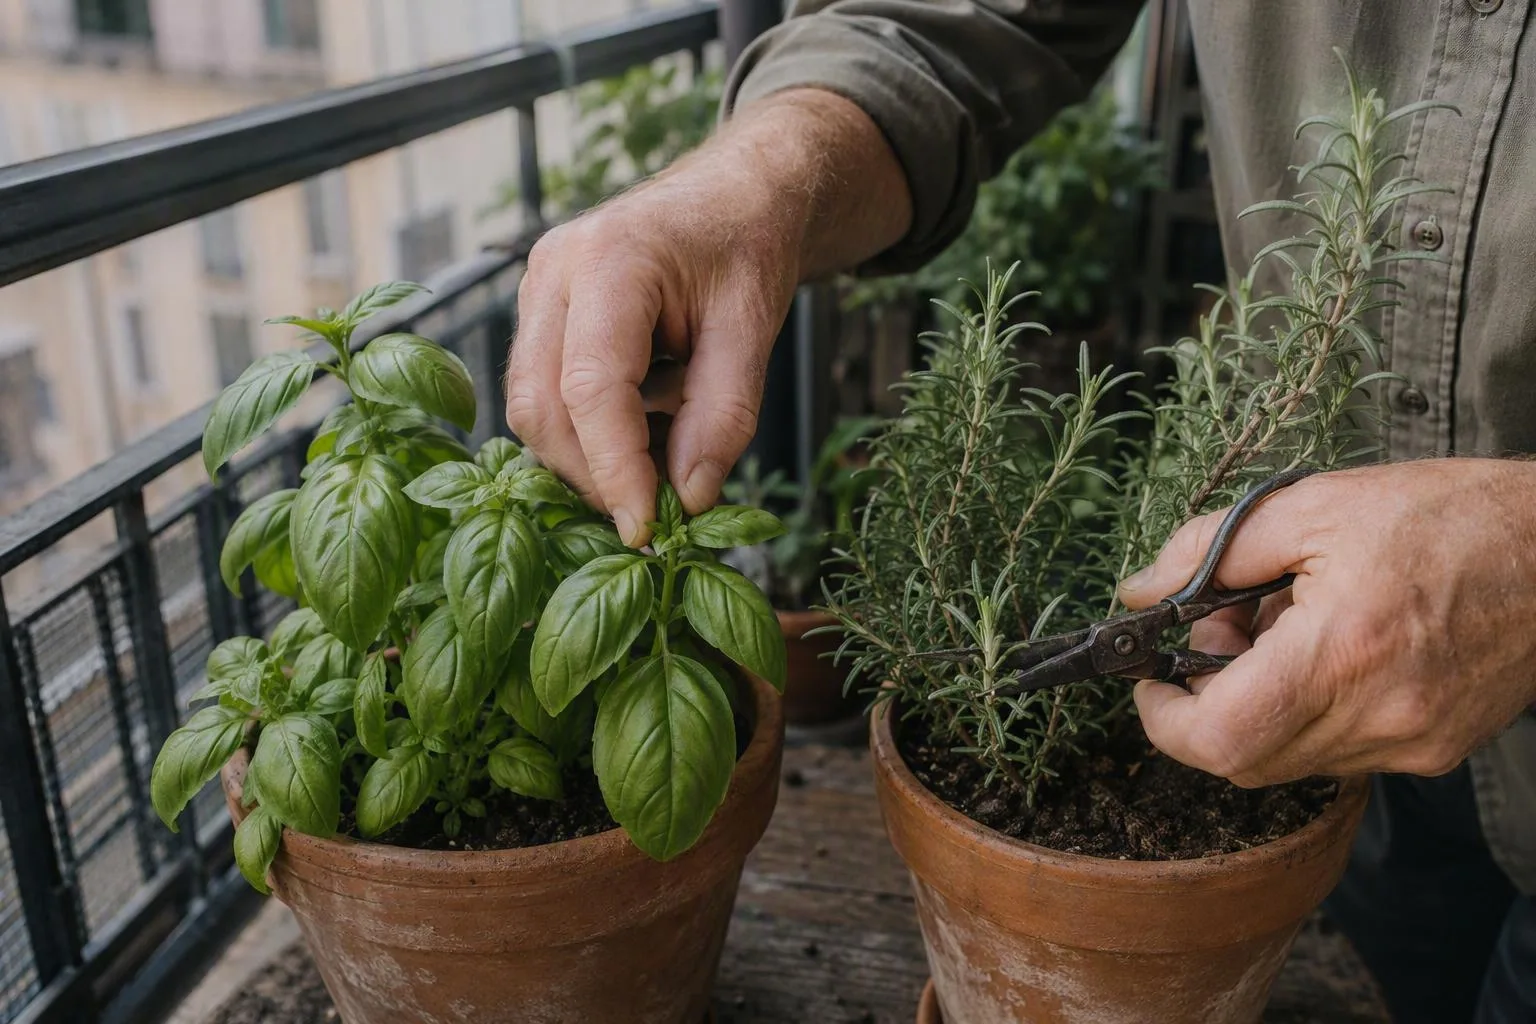
For basil, pinch or snip just above a pair of leaves. That leaves two growing points below the cut and keeps the plant branching instead of making one tall stem. Take mint tips regularly, cutting above a leaf joint. For parsley, remove the oldest outer stems at the base rather than shaving the tops off every stalk.
Rosemary and thyme need a lighter touch. Trim green, leafy tips, but avoid cutting deeply into bare old wood. A woody stem with no green buds has fewer obvious places to restart, so repeated hard cuts can leave a container plant with a permanent bald patch.
Flowering needs a measured response. Basil generally shifts away from producing the most tender leaf growth once it begins flowering, so remove flower buds if leaves are your priority. Coriander/cilantro is naturally short-lived as a leafy crop in hot conditions; it turns toward flowers and seed rather than staying in its soft-leaf stage indefinitely. Letting some plants flower for seed or pollinators is a choice, not evidence that you made a watering mistake.
As a conservative working limit, remove no more than about one-third of a leafy plant in one harvest. The exact safe cut depends on how much foliage remains, how much light the plant receives and whether it is already stressed. If a plant is pale, wilted or recently repotted, take a small harvest and fix the growing conditions first.
Here’s the seven-day reset I’d use for a struggling collection:
- Today: check the root-zone moisture and empty every saucer.
- Tomorrow: rotate the pots and move the leggier herbs toward the brightest safe position.
- Within the week: remove damaged leaves, inspect blocked drainage holes and make a light, correct harvest.
- Seven days from now: check whether new tips look firm, whether the mix dries at a sensible pace for that herb and whether the plant is leaning toward the light.
Label each pot with the herb and the date of the reset before you walk away. Then buy or repot only what the diagnosis calls for: a larger container, a better mix, a clearer drain hole, a brighter position or a steadier watering check. That is how growing herbs in containers becomes a repeatable balcony routine rather than a cycle of replacing plants.