Growing Mint in Containers: Start With a 20 cm (8 in) Pot
For growing mint in containers, a 20 cm (8 in) pot is the sensible starting point: one rooted plant, at least 15 cm (6 in) deep, and roughly 4–6 litres (1–1.6 gallons) of potting mix. Go smaller and the pot dries and crowds quickly; go much larger and you buy extra weight and slower drying before the plant can use the root room.
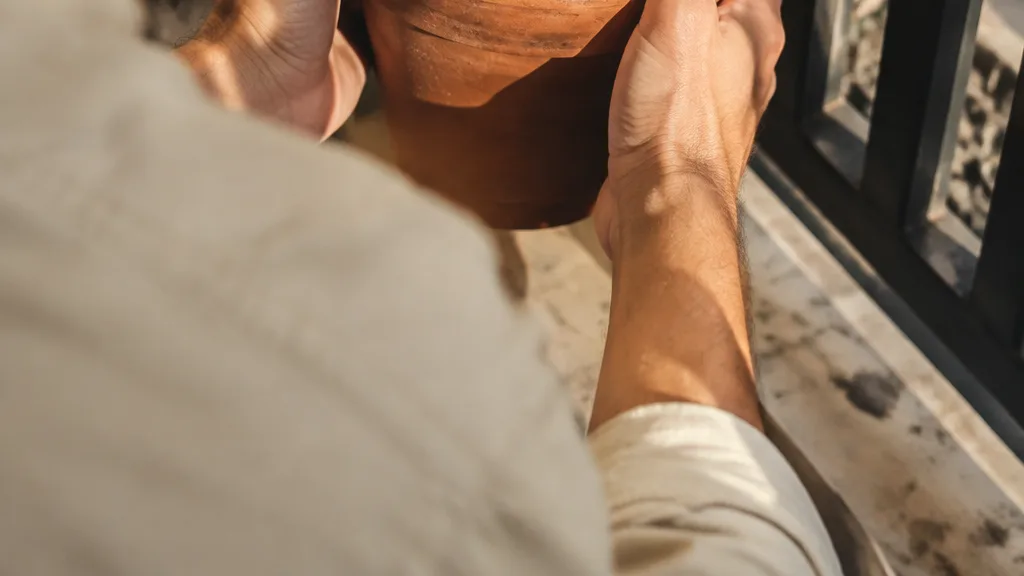
That answer assumes the container has open drainage holes and the mint is planted at its original soil level. Mint is forgiving above ground, but a small pot gives you less room for watering mistakes, so the pot, mix and planting depth matter more than the label on the plant.
The 20 cm (8 in) pot: the right starting size for one mint plant
A 20 cm pot works because it gives one young mint plant enough room to establish without turning into a heavy, slow-drying container. I treat the figures below as shopping-aisle estimates rather than exact capacities. A tapered pot holds less than a straight-sided cylinder, and the space below the rim is not filled to the brim.
| Pot size | Approximate mix capacity | How I would use it |
|---|---|---|
| 15 cm (6 in) | About 2–3 L (0.5–0.8 gal) | Temporary starter for a small plant; expect faster drying |
| 20 cm (8 in) | About 4–6 L (1–1.6 gal) | Best starting size for one plant or one divided clump |
| 25–30 cm (10–12 in) | About 8–15 L (2.1–4 gal) | Longer-term container or a divided plant with more room |
Depth matters as much as diameter. A wide, shallow bowl can have the same measurement across the top as a deeper pot but still offer less usable root volume. For a first mint plant, I would rather have a plain 20 cm pot that is 15 cm deep than a decorative bowl that is wide but shallow.
A larger container is not automatically kinder to mint. More mix means more weight after watering, which matters on a balcony, and a larger wet root zone can stay damp for longer after cool weather or several cloudy days. I move up only when the plant is genuinely crowded or drying too quickly, not because an oversized pot looks more generous.
Choose one mint plant before you choose extra space
Choose the mint you will actually use. Spearmint gives the familiar sweet, fresh flavour for drinks and cooking; peppermint has a sharper cooling character. Other named mints can be worthwhile if you like their scent or want to experiment, but I would not let the variety name persuade me to overplant a small container.
Mint spreads with underground stems called rhizomes. In plain terms, those are stems that travel through the mix and produce new roots and shoots. That is why one rooted plant or one divided clump is a sensible load for a 20 cm pot. A single plant can fill the container over time; several vigorous runners begin the season already competing for the same finite root space.
A young nursery plant gives you an established root ball. A division is a piece split from an existing plant, usually with roots and shoots already attached. A cutting is a stem that still has to make roots. All three can work, but I would plant one nursery plant, one division or a small group of cuttings treated as one clump, not several unrelated rooted runners.
In my own balcony setup, I once tucked three rooted mint pieces into one 20 cm pot because the surface looked bare. It looked full at first. After a stretch of warm weather, the stems crowded the centre and watering became harder to read: the outside roots dried quickly while the middle stayed damp. I divided it back to one manageable clump, and the pot became easier to water and harvest.
Mint is a crop for repeated leafy harvest, not a compact display that stays exactly where you put it. If you want more plants, add another small pot rather than treating every runner as a reason to fill the first one.
Build the root zone: drainage holes, mix and the missing gravel layer
The pot must not sit in a puddle. Use a container with several unobstructed drainage holes, and place it on feet or a surface that leaves those holes open. If potting mix falls through a large hole, cover it with a small piece of mesh or a clean pot shard, but do not pack the opening with material.
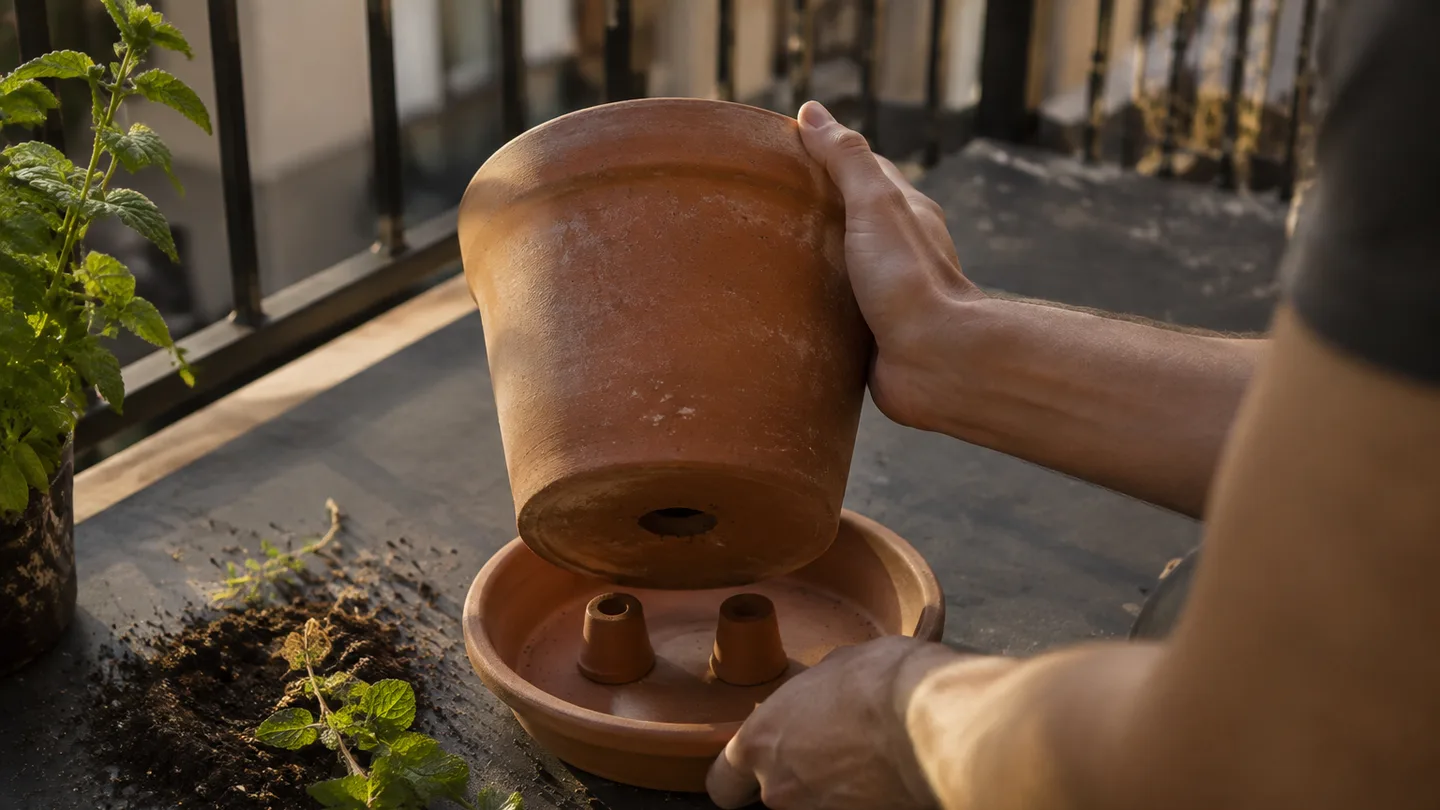
My default is a peat-free multipurpose mix. That is a preference rather than a rule: I like starting with a fresh, consistent medium instead of trying to correct heavy soil after it has gone into the pot. If the bagged mix feels dense or stays clumped when wet, I loosen it with some perlite or fine bark so water can move through while the mix still holds enough moisture for mint.
The useful target is a loose, moisture-retentive medium around pH 6–7. Mint does not need a specialist ericaceous mix, and garden soil is usually a poor shortcut in a small pot because it can compact and leave fewer air spaces around the roots. You want the mix to hold water after a thorough soak, then release excess water through the holes.
This is also why I leave gravel out of the bottom. A perched water table is a saturated layer that can remain above the drainage boundary after watering. Coarse gravel underneath the mix does not make water jump across that boundary; it can move the boundary higher and reduce the depth of useful mix. The drainage hole, the structure of the potting mix and the space around the pot do the practical work.
For a crop-specific second opinion, I would compare this setup with Royal Horticultural Society guidance on growing and containing mint, then adapt it to your pot material and local weather rather than copying a calendar.
Planting day: keep the crown high and water the whole pot
Planting depth is worth getting right because mint likes a consistently moist root zone. The crown, meaning the point where the stems meet the roots, should sit at the same level it occupied in the nursery pot or divided clump.
- Set the empty pot where it will live, because a wet container is heavier and awkward to move. Cover a large drainage hole with mesh if needed, without sealing it.
- Fill with mix until the root ball will sit a few centimetres below the rim. Leaving that gap gives you room to water without washing mix over the edge.
- Slide the mint out, loosen only visibly circling outer roots, and set the root ball in the centre. Keep the crown at its original soil level.
- Backfill around the sides without pressing the mix into a hard block. Do not bury the crown or pack mix tightly around the stems.
- Water slowly until a little drains from the base. This settles the mix around the roots and reveals whether the drainage path is actually open.
Use one nursery plant or one divided clump in a 20 cm pot. If the mix settles after the first watering, top it up around the outside of the root ball, but do not pile it over the crown. Check again after a week for exposed roots, a sunken surface or a plant that has tilted as the mix settled.
Sun and water are a moving target, not a calendar reminder
Mint generally performs well with about 3–6 hours of direct sun, especially where the light arrives in the morning. In a very hot location, strong afternoon sun can heat the container and dry the outer root zone faster than the leaves can replace water. A bright position with some protection from the fiercest afternoon exposure can be more useful than an all-day blast against a heat-reflecting wall.
Mint likes bright light, but a balcony plant needs a moisture check more than it needs a fixed watering day.
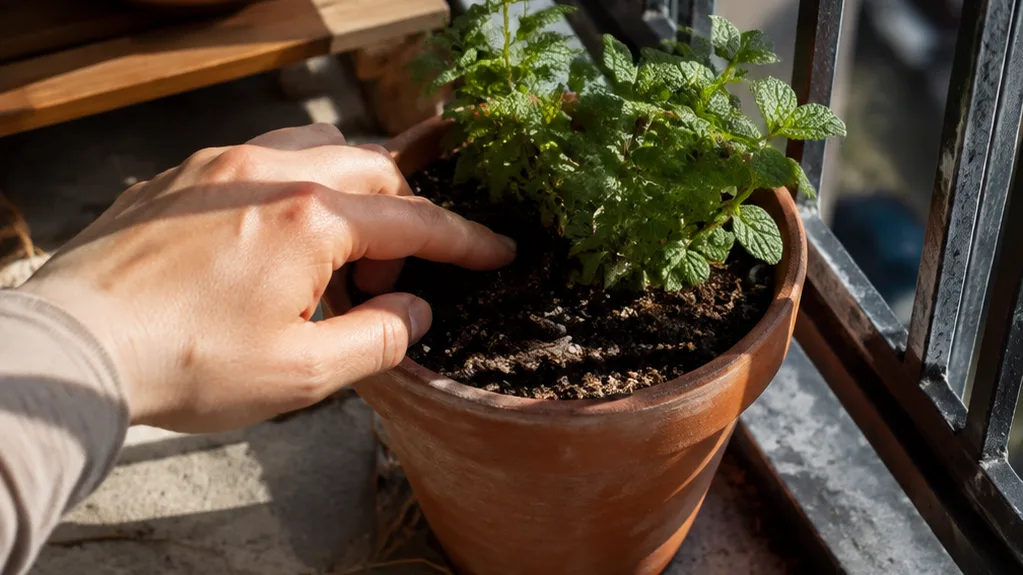
Read the mix, not the calendar.
- Press a finger 2–3 cm (about 1 in) into the mix near the edge of the pot. The surface can look dry while the lower root zone is still damp, so feel below the crust.
- If that upper layer is dry and the pot feels light, water slowly over the whole surface. Keep going until a little water begins to drain from the base.
- Let the excess drain away, then empty the saucer. If the lower mix is still cool and wet, do not add water simply because the leaves droop.
As a practical comparison, mint in a plastic pot in full sun and wind may need checking close to daily during hot weather. The same plant in a glazed pot in part shade may go two or three days between checks. Those are conditions, not a schedule. Pot material, wind, humidity, plant size and recent rain can all change the answer.
Wilt does not prove that the roots are dry. Roots sitting in saturated mix can struggle to take up water because the air spaces have filled with water. That is the look-alike problem that catches people: the leaves appear thirsty, but adding more water makes the root zone worse.
If you are building a small edible collection, the same root-zone discipline applies to growing herbs in containers. For a balcony with several pots, I would also use the sun and weight audit described in growing vegetables in pots on balcony before buying larger containers.
Harvest by height: pinch at 10–15 cm and leave enough leaf area
Harvest once the stems reach about 10–15 cm (4–6 in) and the plant is putting out fresh growth. Use clean scissors or pinch just above a pair of leaves. New side shoots can then develop from the leaf joints instead of leaving one tall, bare stem to dominate the pot.
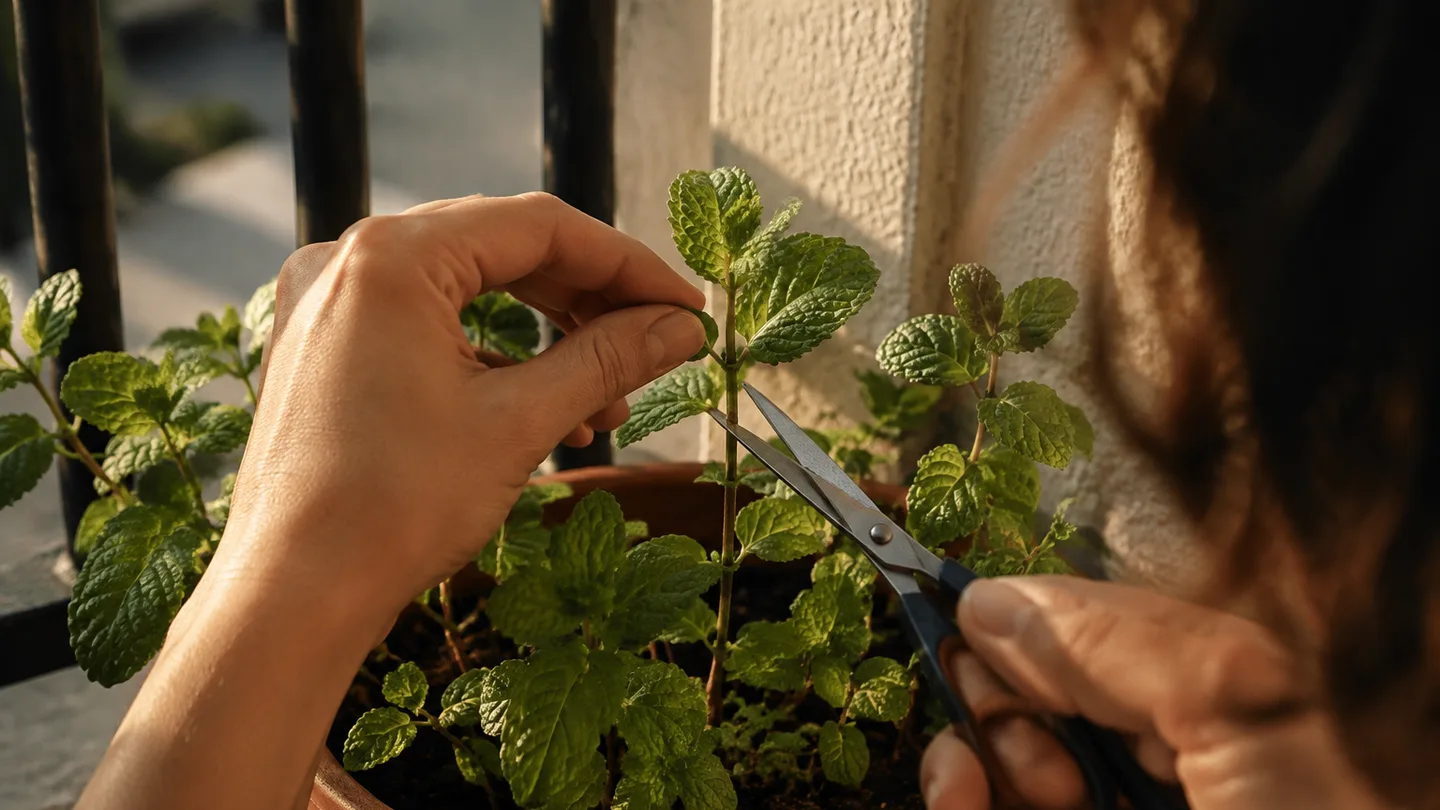
When I want a compact plant, I take the soft tips regularly rather than waiting until every stem is tall. I remove no more than about one-third of the foliage at one time, especially from a young plant that is still filling its root zone. If the stems are carrying flower buds and tender leaves are the priority, I pinch those buds out; if you want mint flowers for pollinators, leave some stems alone.
Morning is a useful time to harvest because the plant has not spent the day losing water to heat and wind. Put the cut stems into water promptly if you are using them in the kitchen, or strip the leaves after cutting if you are drying a small batch.
One 20 cm pot can provide regular kitchen sprigs, but I would not expect it to supply an unlimited amount for drinks, baking and preserving at the same time. If your household uses mint heavily, two modest pots are more practical than forcing one plant into a huge container and making the balcony harder to manage.
When roots fill the pot: divide, upgrade or deliberately keep it small
Mint has outgrown its starter pot when several clues appear together: roots circle through the drainage holes, the root ball dries unusually fast, stems crowd the centre, or water races down the sides because the mix has shrunk away from the pot wall.
That last sign needs a check before repotting. A very dry mix can become water-repellent, sometimes called hydrophobic, so water runs through the gaps instead of soaking the root ball. Set the pot in a shallow tray and water in several slow passes, allowing each pass time to absorb. If the mix wets up and the plant recovers, the immediate problem was dryness rather than a need for a larger pot.
If the roots are genuinely crowded, divide the mint or move it into roughly a 25–30 cm (10–12 in) container. For a balcony, I usually prefer division. You get a manageable plant, less wet weight and a spare division that can live in another pot. A larger container is useful when you want a fuller clump and have a safe, stable place for the extra weight.
I treat one to two years as a sensible repotting or division window, then adjust it for plant vigour, pot material and weather. A vigorous mint in a warm plastic pot can need attention sooner; a slower plant in a cool glazed container may not. The roots and watering pattern should make the decision, not the calendar alone.
Symptom → cause → first fix: the container mint problems that look alike
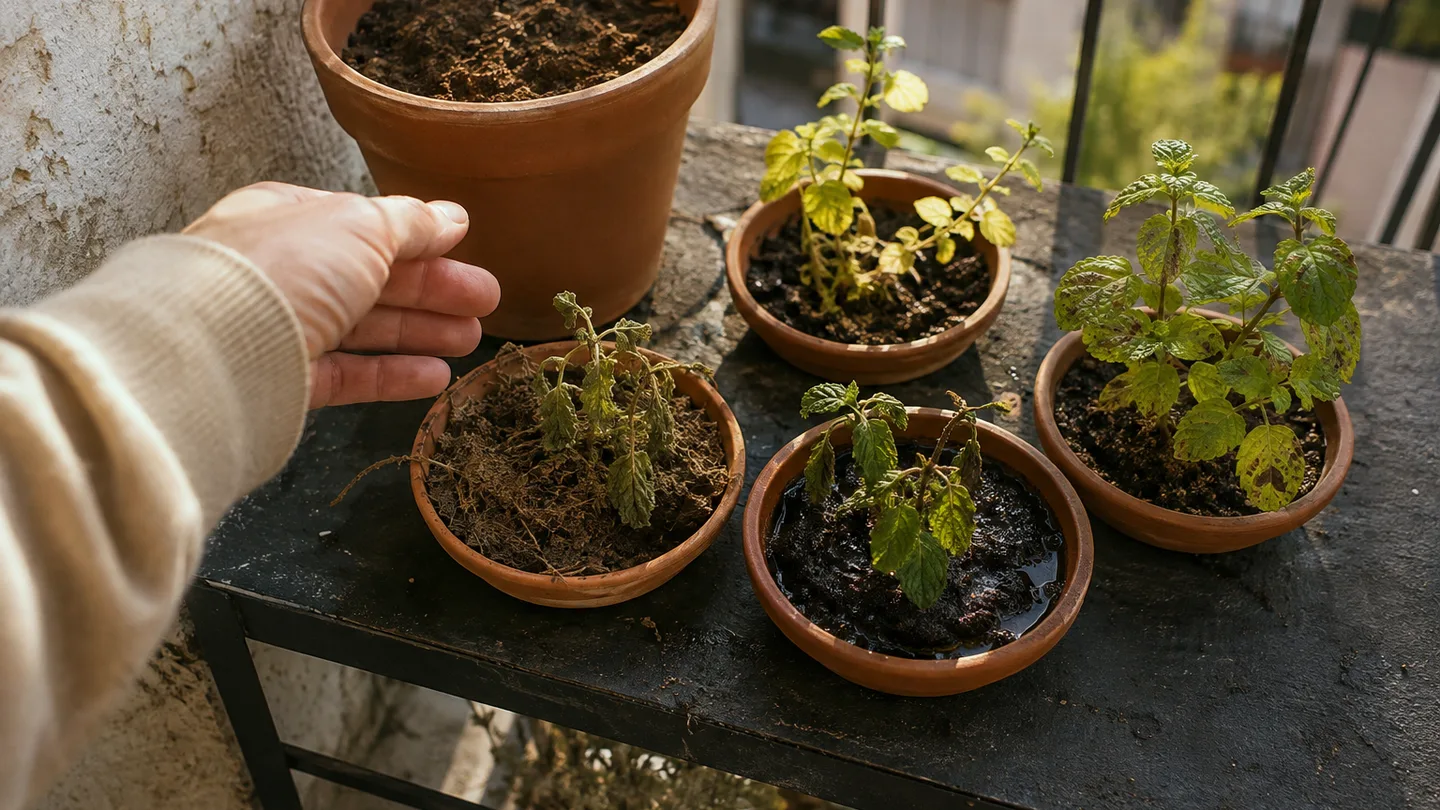
Mint problems become easier when I check the root zone before treating the leaves. Start with moisture 2–3 cm down, then check whether water can leave the pot, whether the plant has enough light and whether the foliage has stayed wet for long periods.
| What you see | What to check | First correction |
|---|---|---|
| Leaves wilt and the mix is dry | Feel 2–3 cm down and lift the pot to judge its weight | Water slowly over the full surface until drainage begins |
| Leaves wilt but the mix is wet | Check lower mix, blocked holes and a full saucer | Stop watering temporarily and restore a free drainage path |
| Yellowing leaves with soft stems | Look for persistent wetness around the crown | Move the pot out of standing water and let the mix begin to dry |
| Pale, stretched, leggy growth | Check whether light is weak or blocked by glass, walls or other pots | Move the plant to a brighter position and rotate it regularly |
| Brown leaf edges after hot weather | Look for crisp margins, hot reflected surfaces and a very light pot | Give the root zone a thorough soak and provide afternoon protection |
| Rusty or spotted leaves | Inspect both leaf surfaces and whether foliage stays wet with little airflow | Remove the worst leaves and keep new foliage drier while you inspect |
Persistent wetness can damage roots even while the leaves look thirsty. That is why I would not solve every wilt by adding water. If the mix is wet below the surface, check drainage and light first; if it is genuinely dry, soak the pot properly rather than sprinkling only around the stem.
Winter and the next season: protect the roots, then reset the pot
When mint growth slows or the stems die back, cut the spent growth to roughly 5–10 cm (2–4 in). Move the container to a sheltered position before repeated hard freezes, especially if the pot is exposed to wind or can sit in winter rain. Keep the mix lightly moist, not saturated; dormant roots still need protection from severe drying, but they do not need constant watering.
In my experience, most of the mint types I have grown tolerate outdoor winters with some protection, but I do not treat that as a promise for every cultivar, pot or climate. A small container has less insulating mix around its roots than garden soil, so the same mint can survive in the ground and struggle in an exposed balcony pot.
Bringing the plant indoors is another option. A strong windowsill or a supplemental grow light can keep it useful, while a warm but dim room usually produces weak, stretched growth. On a sill, the light test is the same one used for growing vegetables in pots indoors: look at the plant, not just the brightness you feel with your eyes.
Before moving an outdoor pot through winter, check authoritative local frost and winter weather guidance for the coldest conditions expected in your area. In spring, inspect the root ball, scrape away only loose old mix, refresh the top few centimetres, and divide if roots are circling tightly. Return the pot to stronger light gradually if it spent winter indoors.
Three questions that sit beside the main pot-size decision
Can I plant mint and basil or parsley in the same container?
My call is to use separate pots, especially for a 20 cm container. Mint is vigorous and likes steady moisture; basil often benefits from sharper drainage and a little more dry-down, while parsley can tolerate more moisture but still has to share the same finite root space. A larger mixed container can work if you accept a compromise, but separate pots make watering and harvesting much easier.
Can mint grow indoors on a windowsill?
Yes, provided the sill receives several hours of strong light or the plant gets help from a grow light. A 15–20 cm pot, regular rotation and careful moisture checks are more reliable than placing mint in a warm, dim room. If new stems become long with wide gaps between leaves, treat that as a light problem before adding more water.
Are self-watering pots suitable for mint?
They can be useful on a hot, windy balcony because a reservoir can buffer rapid evaporation. I would not leave the reservoir permanently full in cool or low-light conditions, when the plant is using water slowly. Keep the one-plant-per-20-cm-pot rule, watch the lower mix as well as the reservoir, and reduce the water supply in winter.
Before the weekend, buy one 20 cm (8 in) pot that is at least 15 cm (6 in) deep, one healthy mint plant and a loose multipurpose potting mix. On planting day, check that water can leave the base. A week later, lift the pot, feel the top 2–3 cm of mix and look for a settled crown or exposed roots; that small inspection will tell you more than a printed watering schedule.
Frequently Asked Questions
Can I plant mint and basil or parsley in the same container?
Usually not in a 20 cm pot: mint is vigorous and prefers consistently moist mix, while many Mediterranean herbs prefer sharper drainage and drier intervals. Use separate pots so each plant can be watered for its own needs.
Can mint grow indoors on a windowsill?
Yes, if it receives several hours of strong light or supplemental grow-light exposure. A 15–20 cm pot, regular rotation and careful moisture checks are more reliable than placing it in a warm, dim room.
Are self-watering pots suitable for mint?
They can help on a hot, windy balcony, but the reservoir should not stay permanently full in cool or low-light conditions. Keep the same one-plant-per-20-cm-pot rule and reduce the water supply in winter.