Growing Peas in Containers: Pot Size, Trellis and Yield
A 20–30 cm (8–12 in) deep pot is the practical floor for peas, and I’d treat 10–15 L (2.6–4 gal) as the minimum useful volume. A 20–30 L (5.3–7.9 gal) container is easier to keep evenly moist, gives a tall trellis a wider base, and lets you plan on roughly 250–750 g (9–26 oz) of edible pods in a good cool season, not as a guarantee.
That is the short answer to growing peas in containers. The details that decide whether the crop produces are the width of the pot, the height and bracing of the support, the timing of sowing, and whether you pick pods before they become tough. Peas are not difficult, but they dislike being treated like small tomatoes.
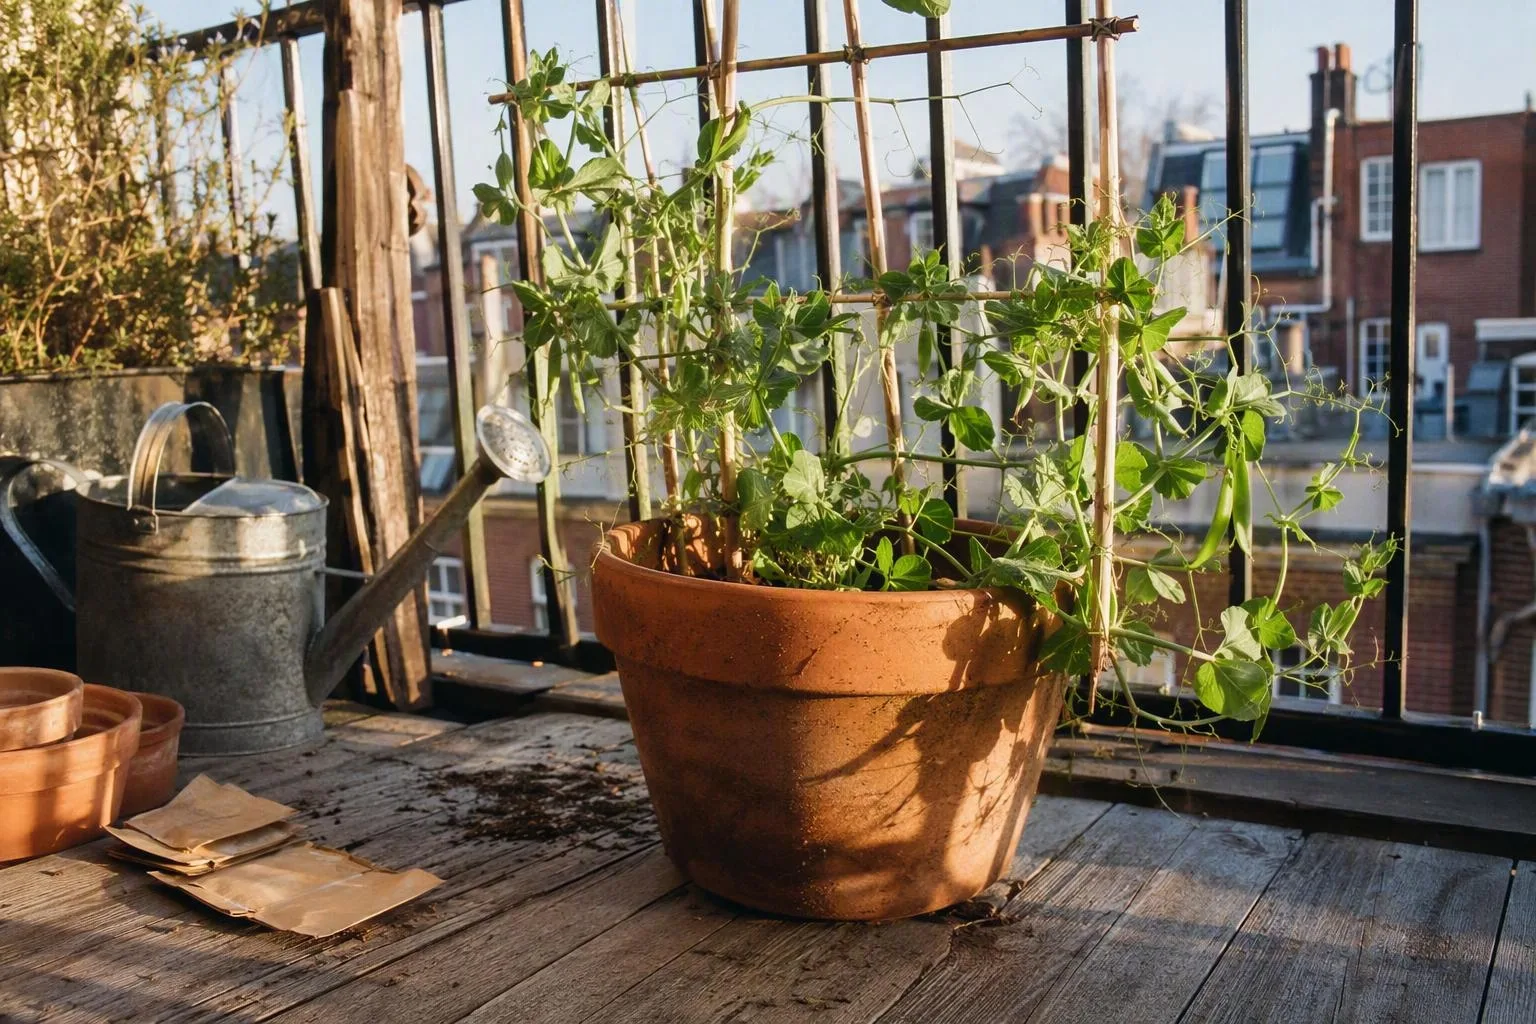
The pot-size answer: 20–30 cm deep, 10–15 L minimum, 20–30 L easier
If you searched how deep should a pot be for peas, use 20 cm (8 in) as the lower limit and 25–30 cm (10–12 in) as the more forgiving target. Pea roots do not need a huge tree-sized container, but they do need enough mix to stay cool and damp between waterings. The pot also has to carry the support once the vines are full of leaves.
Here is the pea container size I use as a planning guide. These are practical ranges rather than rules printed on every seed packet.
| Container volume | Useful depth | Planting plan | Best fit |
|---|---|---|---|
| 10–15 L (2.6–4 gal) | 20–25 cm (8–10 in) | About 3–6 plants | Dwarf peas or a short trial |
| 20 L (5.3 gal) | 25–30 cm (10–12 in) | About 5–8 plants | Compact types and modest climbers |
| 30 L (7.9 gal) | 25–30 cm or more | About 6–10 plants | Taller climbers, steadier moisture and support |
A wider pot earns its keep in two ways. First, more mix gives you a larger moisture buffer, so a sunny balcony does not turn the surface into dust a few hours after watering. Second, a broad base resists the sideways pull of a trellis. A tall support placed in a narrow, lightweight pot acts like a lever: the higher the vine reaches, the more force a gust can apply at the rim.
You can estimate the volume of a straight-sided round pot with π × radius × radius × depth. A pot measuring 30 cm (12 in) across and 25 cm (10 in) deep has a gross volume of about 17.7 L (4.7 gal). Because the sides may taper and you will leave headroom below the rim, the usable mix may be closer to 15–16 L. A 35 cm (14 in) pot that is 30 cm (12 in) deep works out at roughly 28.9 L (7.6 gal) before allowing for taper and free space. That is why the number stamped on a container is not always the number of litres your peas actually receive.
Fill the pot to about two fingers below the rim. That small gap gives you somewhere to pour water without washing mix over the side. Make sure water can leave through open holes across the base. If the pot sits in a saucer, empty the saucer after heavy watering rather than leaving the bottom submerged.
Skip the gravel layer. The gravel-in-the-bottom shortcut does not create a deeper reservoir of usable drainage. Water tends to remain in the finer potting mix above the coarse layer until the upper mix is saturated; gardeners often call this the perched water table. The roots still experience a wet lower zone, while the pot has lost space that could have held mix. If drainage is poor, fix the holes, the pot position or the mix instead.
For a wider plan that compares root volume across crops, use growing vegetables in pots as your reference point. Peas fit a smaller container than a fruiting tomato, but their support makes the pot geometry more demanding than the root depth alone suggests.
Pick the pea that fits your balcony: dwarf, climbing, snap, snow or shelling
The words dwarf, climbing, snap, snow and shelling describe different things, so start by separating plant habit from harvest type. Dwarf or bush peas are compact plants, often around 45–75 cm (18–30 in) tall. Climbing peas commonly reach about 120–180 cm (4–6 ft), though the seed packet is the better guide for a named variety. Snap, snow and shelling peas describe what you eat: the whole tender pod, a flat pod with tiny peas, or the individual peas removed from a mature pod.
That means a climbing snap pea is still a climbing pea. A dwarf shelling pea still needs time for the peas inside the pod to swell. Choose the habit for your balcony first, then choose the pod type you actually want to eat.
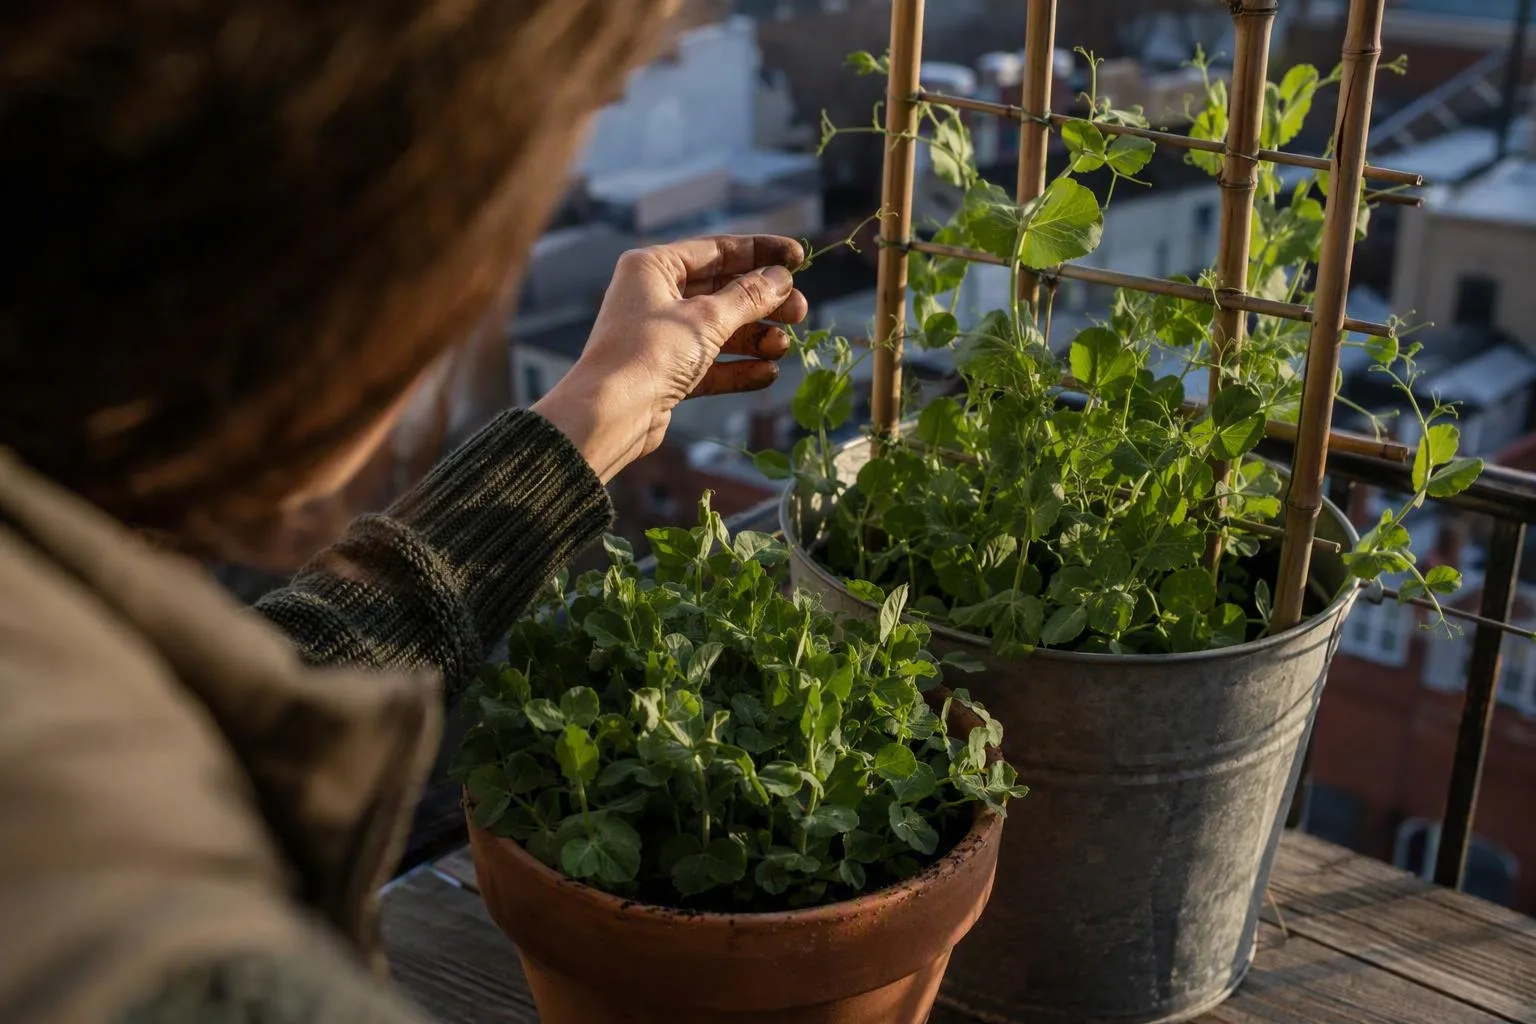
On a low balcony, a 60–90 cm (24–36 in) support keeps a compact variety manageable. If you have a wall, railing or sheltered corner where a support can be tied safely, a 120–180 cm (4–6 ft) climber can give more vertical harvest from the same floor area. On an exposed rooftop, the shorter plant is often the better choice even if you have room for a tall vine. Wind turns height into a structural problem.
Look for three details on the packet: mature height, days to maturity, and whether the variety is described as dwarf, half-height or climbing. I would not buy a variety labelled only as a pea and assume it will stay short. The mature height determines the trellis; the harvest category determines when you pick.
For a 20–30 L pot, 6–10 plants at 5–8 cm (2–3 in) spacing is a workable starting range if the container is broad enough. Use the lower end for vigorous climbers, a damp or poorly ventilated balcony, or a pot with a narrow footprint. Use the upper end for compact plants in a bright, airy spot. Crowding does not save much space if the leaves stay wet and the inner stems cannot dry.
My practical opinion is that pea pots fail more often from poor support geometry than from a shortage of compost. A container can hold healthy roots and still disappoint if the vines are allowed to sprawl across the floor, the netting starts too high, or the whole assembly leans toward the light.
If you are planning a mixed balcony, growing vegetables in pots on balcony is a useful companion topic because it forces the same questions: which crops can share a pot, which ones need vertical space, and which containers can safely sit near a railing.
Trellis math for a light pot: 60–180 cm of support without a tip-over
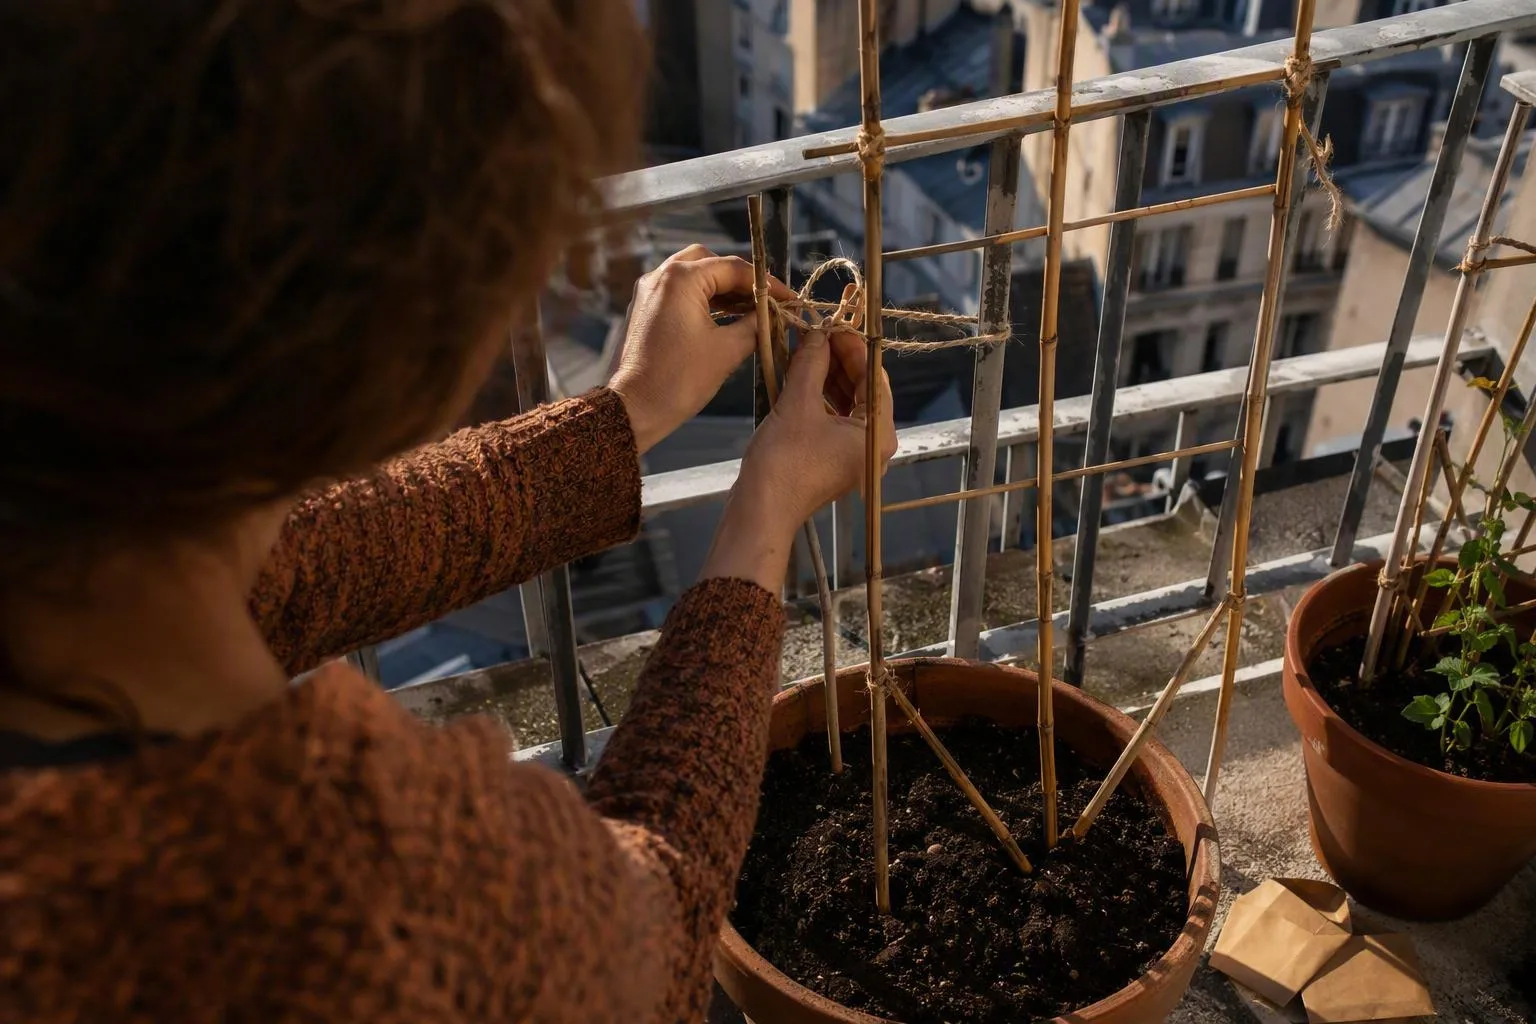
A pea trellis should be installed before sowing, not after the first tendrils appear. Pea seedlings are easy to damage when you push canes or hooks through a crowded root zone, and the young stems often curl around whatever is nearest. Put the support in place while the pot is empty, then sow beside it.
Measure trellis height from the surface of the potting mix, not from the balcony floor. For dwarf peas, allow roughly 60–90 cm (24–36 in) above the mix. For climbing types, allow about 120–180 cm (4–6 ft), or slightly more if the packet gives a taller mature height. The support should begin close to the rim so the plant does not have to bridge a bare gap before it can climb.
For a round pot, I place two canes toward the back third of the container and stretch mesh between them, or use a single narrow panel that sits just inside the rim. Keeping the trellis close to the pot prevents the vines from pulling away from the root ball. A support that stands 20–30 cm (8–12 in) behind the container may look neat, but the growing stems become a long arm between the pot and the trellis.
On a windy balcony, secure the upper part of a tall trellis to a railing, wall or fixed frame where local building rules allow it. The tie should steady the support, not hang the whole wet pot from the railing. Check your balcony’s load guidance before adding several large containers, because saturated mix is much heavier than dry mix. Renters can often use removable ties or a freestanding frame, but the support still needs a wide base.
For edible crops, I prefer untreated bamboo, coated garden mesh or a material sold for food-growing use. I do not push unknown treated timber, flaking painted wood or a decorative metal with a questionable coating into the potting mix. The point is not to make the setup fancy; it is to avoid introducing a material that was never intended to sit beside edible roots and wet soil.
In my own balcony setup, I once sowed peas in a plastic pot and waited too long to attach the mesh. By the time the first tendrils appeared, the stems had reached sideways and the support was sitting behind them instead of beside them. A gust pushed the leafy top away from the pot, and the container leaned. I added two canes at the back, tied the mesh to a fixed point and guided the new growth by hand. The repair worked, but it was much more awkward than installing the support before sowing. That is the small job I now do first.
Sow in the cool window: 2–5 cm deep, 5–8 cm apart, and repeat after 10–14 days
Peas are a direct-sown crop in my containers. Because direct sowing skips a root-disturbance event, peas tend to sulk more from transplanting than crops normally moved as plugs. I fill the pot, install the support, water the mix once, and then sow into the settled surface rather than trying to move seedlings later.
Start when the potting mix is roughly 5–10°C (41–50°F) and the weather is still cool. Use a fresh container mix that drains freely but holds some moisture. Garden soil from a bed is usually too dense for a balcony pot, especially after repeated watering, so I keep the root zone light and open. Fill to two fingers below the rim, smooth the surface and make holes 2–5 cm (¾–2 in) deep. The deeper end is useful if the surface dries quickly; the shallower end suits a cool, evenly moist pot.
Place seeds 5–8 cm (2–3 in) apart. In a 30 cm (12 in) pot, that may give you a ring around the edge plus a few seeds toward the centre, provided air can still move through the foliage. Cover the seeds, firm the mix lightly and water gently until the entire root zone is damp. A hard blast from a hose can expose the seed or wash it into one corner.
Under suitable moisture and temperature, emergence may take about 7–14 days. Check the pot rather than watering by habit: if the top 2–3 cm (¾–1¼ in) is dry and the pot feels noticeably lighter, water slowly until a little drains from the holes. If the surface is still damp, wait. Pea seed needs moisture to start, but it also needs air around it.
Peas can form a root partnership with nitrogen-fixing bacteria, and I treat that as a reason to avoid pouring strong nitrogen feed into a fresh container. The roots need time to establish their nodules. In a finite pot, a heavy nitrogen push can give you soft leafy growth without solving a shortage of light, water or support. Once flowering begins, a mild balanced feed used according to its label is a more sensible response to pale, stalled growth than repeatedly adding high-nitrogen fertiliser.
Sow a second batch 10–14 days after the first if the weather remains cool. The aim is not to make every plant the same age; it is to prevent the entire harvest arriving in one short flush. Stop extending the sowing window when warm weather is settling in, because late peas may produce leaves but fail to set a useful crop.
For reliable pods, give the container about six hours of direct sun if your balcony can provide it. With only one or two usable hours, the vines may stay alive and grow slowly, but my honest call is to treat them as a fun trial or a pea-shoot crop rather than budget them as a dependable pod harvest. A bright room behind glass is not automatically equivalent to direct outdoor sun; the angle, heat and obstruction all change the result.
If the packet is vague, compare it against university extension guidance on pea soil temperature, sowing depth, spacing and cool-season limits. I also check seed-catalogue or extension cultivar descriptions covering mature pea vine height and days to harvest before buying a tall variety for a small balcony.
A realistic container harvest: 250–750 g from a 20–30 L pot
The honest way to discuss yield is as a planning range. From a well-filled 20–30 L pot with roughly 6–10 plants, I would budget around 250–750 g (9–26 oz) of edible pods in a decent cool season. That projection assumes the vines receive useful sun, the mix stays evenly moist, the support keeps the foliage open, and you pick regularly. It is not a promise printed into the pot size.
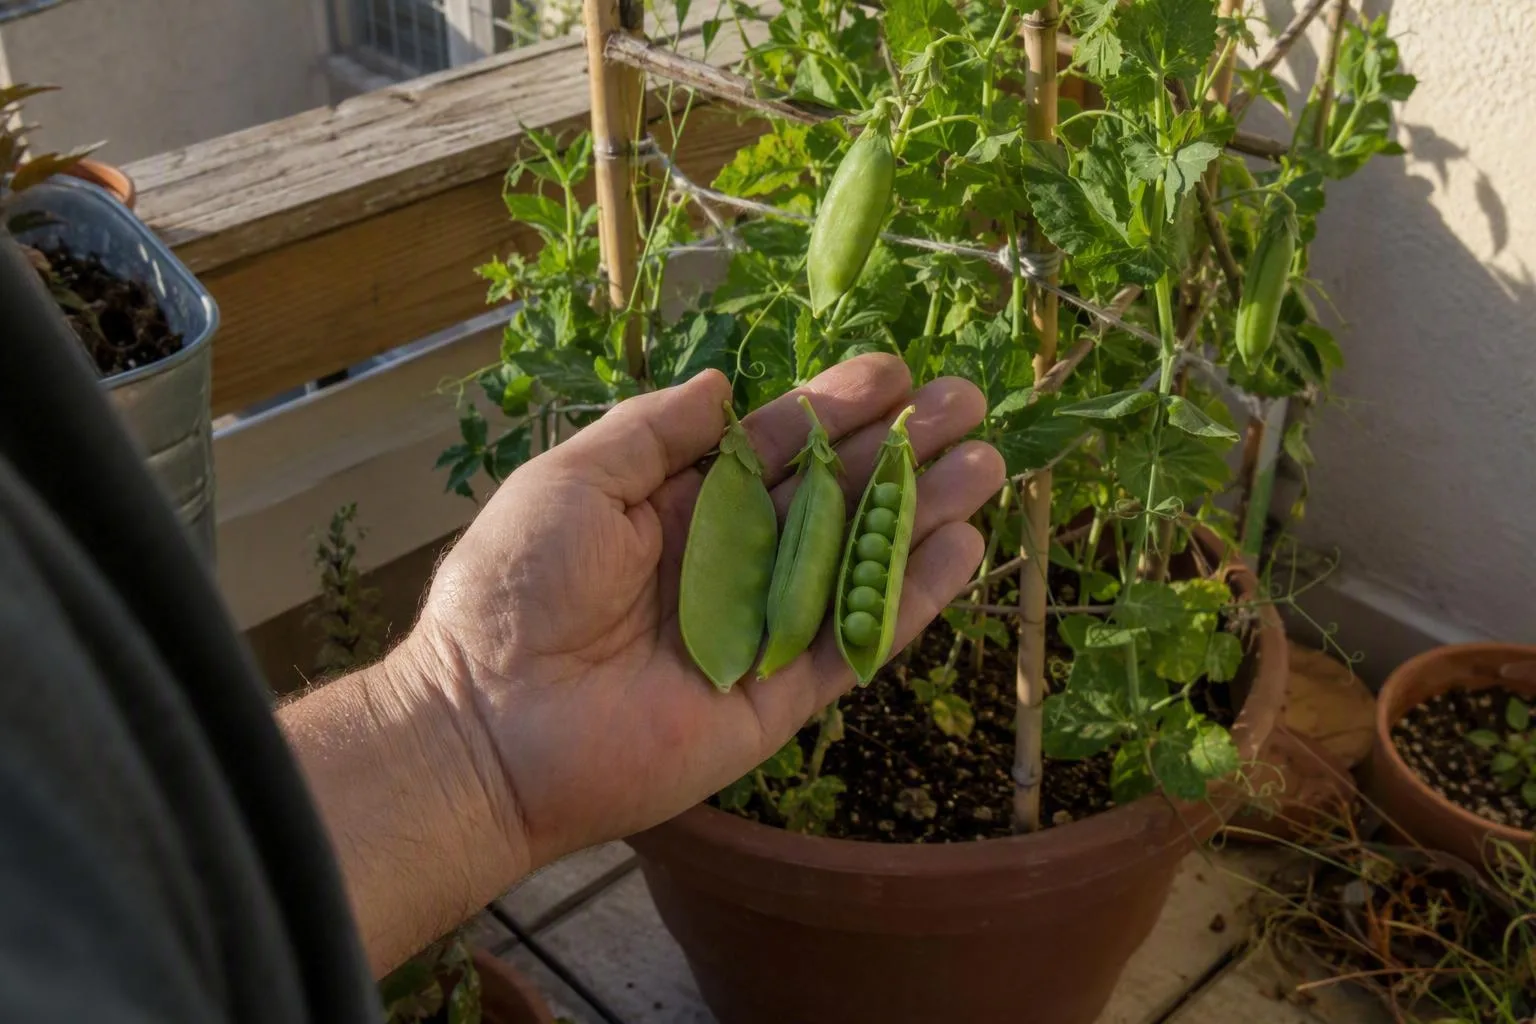
Think of that range as pod weight, not necessarily the amount of food left after shelling. Snow peas and snap peas give you most of the pod, provided you harvest them tender. Shelling peas require you to remove the fibrous outer pod, so a similar harvest weight can leave a smaller bowl of peas. If your priority is the largest visible harvest from limited space, edible-pod types are usually my first choice.
Picking every one or two days matters once pods begin to form. A plant with several mature pods is already spending energy on seed development. Regular picking encourages you to notice the next flowers and prevents the vines from becoming a collection of tough, overlooked pods.
| Pea type | Pick when | Leave it too long and it looks or feels |
|---|---|---|
| Snow pea | The pod is flat, tender and the peas inside are still small | Thicker, stringier and more visibly filled |
| Snap pea | The pod is crisp and rounded, with peas beginning to show | Fibrous, chewy and less sweet |
| Shelling pea | The pod is plump and the peas feel full inside | Drying, starchy or wrinkled inside |
Use your fingers to hold the vine while you pick. Pulling down on a tender stem can tear the plant away from its support. Scissors are useful when the pods are tangled through mesh, though I usually pick the easy ones first and then return with a slower hand.
Do not compare a pea pot with a warm-season crop without accounting for the season. Growing green beans in containers may suit a hot, bright balcony better, while peas have the advantage of producing in a cooler window. The right crop is the one whose preferred weather matches the light and temperature you actually have, not the one with the most impressive catalogue photograph.
When the crop goes wrong: yellow leaves, bare vines and soggy mix
Peas usually tell you which part of the setup has failed, but the symptoms overlap. A limp plant can be thirsty, overheated or sitting in damaged roots. I start with the moisture check rather than adding water or feed automatically: push a finger 2–3 cm (¾–1¼ in) into the mix, then lift the pot if it is small enough to handle safely.
| What you see | Likely cause to check first | Practical response |
|---|---|---|
| Seeds disappear, soften or fail to emerge | Cold, saturated mix or seed washed too deep | Let the surface drain, improve the holes or pot position, and resow at 2–5 cm depth. |
| Leaves droop and the pot feels light | Under-watering, especially in wind or bright sun | Water slowly until drainage begins, then check again the next morning. |
| Leaves droop while the mix stays wet | Waterlogging or damaged roots | Stop watering, empty the saucer, check holes and move the pot to better airflow. |
| Older leaves turn pale while the mix drains normally | Depleted container mix or a general nutrient shortage | Use a mild balanced feed according to the label; do not respond with repeated strong nitrogen doses. |
| Flowers appear but drop during warm weather | Heat stress, particularly when temperatures stay around or above 24°C (75°F) | Give afternoon shade if possible, keep moisture steady and accept that the cool-season window may be closing. |
| Vines fall sideways or pull the pot | Support installed late, too low or too far behind the pot | Add a cane or tie the support to a fixed point before more growth adds weight. |
| Lots of leaves but few flowers | Too little direct sun, excess nitrogen or heat | Check light first, stop high-nitrogen feeding and protect the pot from the hottest afternoon exposure. |
The moisture check is simple but not shallow. If the top 2–3 cm is dry and the container feels light, water is a reasonable first move. If the surface is moist and the plant is limp, more water can make the root problem worse. Check the underside of the pot, the drainage holes and the saucer before reaching for fertiliser.
Re-sowing is sensible when the original seeds have rotted, the pot has stayed saturated, or the balcony has moved into sustained hot weather before the plants flower. I would also start again if the support cannot be made stable without putting people or the balcony structure at risk. A new sowing in a properly prepared pot is often more useful than nursing a collapsed row of vines for another month.
Before the weekend, put the empty container in its final sunny position, confirm that water can leave freely, install the trellis and then fill it with mix. A week after sowing, look for a row of sturdy shoots rather than a crusted, wet surface. That is the first sign that the pot, planting depth and watering rhythm are working together.