Growing Pumpkins in Containers: Pot Size, Soil and Support
A pumpkin isn’t automatically a five-gallon-bucket crop. For a compact, small-fruited variety, I’d plan on 45–60 L (12–16 gal) of mix per plant; a vigorous trailing type is happier with 75–115 L (20–30 gal), and both need a real route for the vine—roughly 1–2 m (3–6 ft) for compact types or 3–5 m (10–16 ft) for standard ones.
That’s the honest fit check for growing pumpkins in containers. Give the plant about 6–8 hours of direct sun, one pot to itself, steady moisture and somewhere for the vine to go. If your balcony cannot provide those four things, choose a different crop before buying seed.
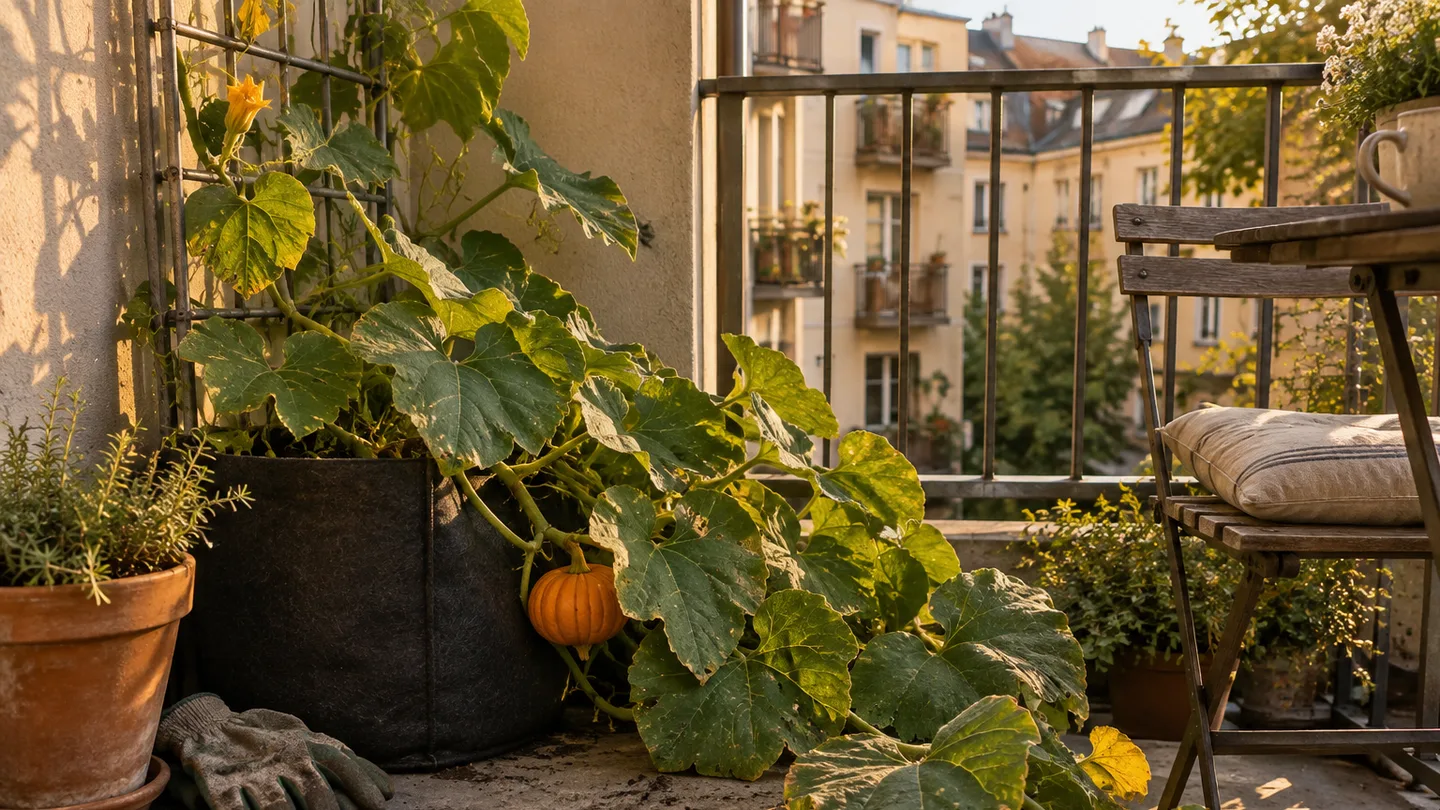
Choose a container-sized pumpkin before you choose the container
Start with the seed packet, not the planter aisle. Bush, patio, dwarf and small-fruited pumpkins are the sensible choices for pots because their vines are shorter and their fruit places less weight on the plant. Standard carving pumpkins can grow in containers, but the combination of a large root system, long vine and heavy fruit quickly becomes awkward on a balcony.
Look for descriptions such as compact, semi-bush, miniature or small-fruited. A plant that produces several 1–2 kg fruits is a different container project from one bred to make a single large carving pumpkin. The fruit size affects the root volume you need, the strength of the trellis and whether a sling can safely carry the fruit.
In my own balcony setup, I once chose a pumpkin pot by the gap beside the railing rather than by the plant’s mature size. The container looked tidy, but the vine reached the walking route almost immediately, and the first hot spell turned watering into a twice-daily chore. I learned to plan the plant’s route before I decide where the pot will sit.
If the available space is too tight for a pumpkin, compare it with Easy fruits and vegetables to grow in pots before spending money on a seedling that has nowhere to run.
The pot-size cutoff: 45–60 L for compact plants, 75–115 L for vigorous vines
I use pot volume as my first hard cutoff. The container needs enough mix to buffer a hot afternoon, hold nutrients between feeds and give the roots somewhere to expand. One plant per pot is the practical rule here; two pumpkin plants in one container do not create a bigger root zone, they divide the same limited reservoir.
| Approximate container | Rough volume | How I’d use it |
|---|---|---|
| 30 cm diameter × 30 cm deep | About 20–21 L (5–5.5 gal) | Too small for a dependable full-season pumpkin |
| 40 cm diameter × 35 cm deep | About 44 L (11.5 gal) | Lower edge for a compact type |
| 45 cm diameter × 40 cm deep | About 64 L (17 gal) | Comfortable range for many compact plants |
| 50 cm diameter × 45 cm deep | About 88 L (23 gal) | Useful for vigorous small-fruited vines |
| 60 cm diameter × 45 cm deep | About 127 L (34 gal) | More forgiving for a large trailing plant |
Those figures are approximate cylinder volumes. A tapered planter holds less than the calculation suggests, and you should leave 3–5 cm (1–2 in) below the rim for watering. That means a nominal 60 L pot may give the roots somewhat less usable mix once headspace is allowed for.
A 19 L (5 gal) bucket can hold a seedling, but I wouldn’t choose it for a reliable pumpkin harvest. Its small root volume dries quickly, the plant has little nutrient reserve and the vine becomes top-heavy once fruit forms. If buckets are your only containers, 30 best vegetables to grow in buckets is a better place to start than forcing a pumpkin into the wrong pot.
Depth matters as well as litres. Aim for roughly 30–45 cm (12–18 in) of usable depth, with enough width for the plant to anchor itself. Before filling a large planter on a balcony, check your local balcony, strata or building guidance on load limits and where heavy containers may sit. Wet mix, the pot, trellis and fruit can add up to a serious load, especially near an exposed edge.
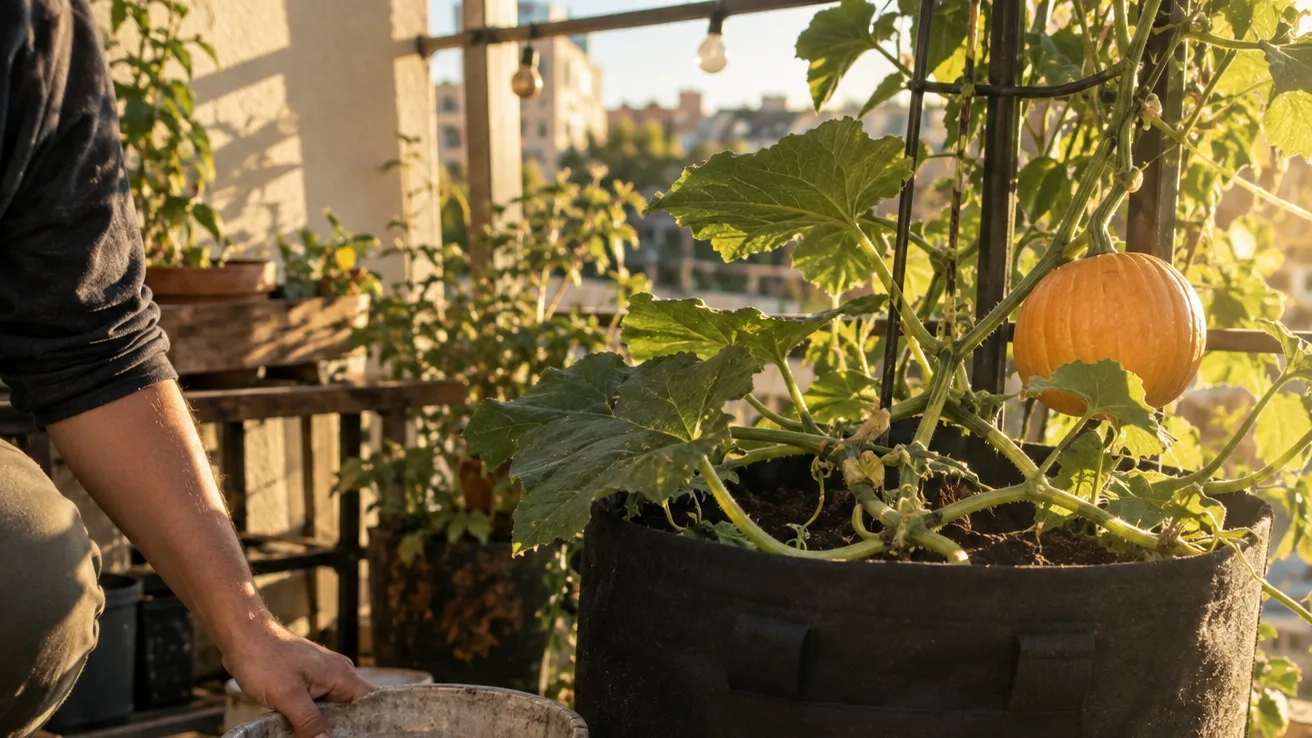
Build a root zone that drains without turning into a dry bucket
The mix should hold moisture without staying saturated. I’d use a quality container potting mix as the bulk, then blend in roughly 20–30% mature compost. If the base mix feels dense or collapses into a wet lump, add some fine bark or perlite to restore air space; don’t add amendments automatically just because the bag suggests them.
A slightly acidic-to-neutral mix around pH 6.0–7.0 is a workable target for pumpkins. You don’t need to chase a decimal point on a balcony, but extremely acidic or alkaline mix can make some nutrients harder for the roots to use. The more immediate mistake is filling the pot with garden soil. In a container, garden soil’s fine particles settle and compact after repeated watering, reducing the air-filled spaces roots need.
Put several drainage holes across the base and keep them raised clear of the ground or saucer. A single blocked hole is not a drainage system. Fill the pot to two fingers below the rim, then water the mix before sowing so it settles without washing the seed into a corner.
This is where the term perched water table matters. It means a saturated band of mix remains at the bottom of the pot after watering because the mix above cannot release all its water immediately through the small drainage holes. Roots in that band have less oxygen. A layer of gravel at the bottom does not remove the wet band; it uses up root volume and can move the saturated boundary higher into the pot.
My preference is a full-depth mix with open drainage, not a false drainage layer. If water sits in the saucer after the pot has finished draining, empty the saucer rather than letting the container stand in it.
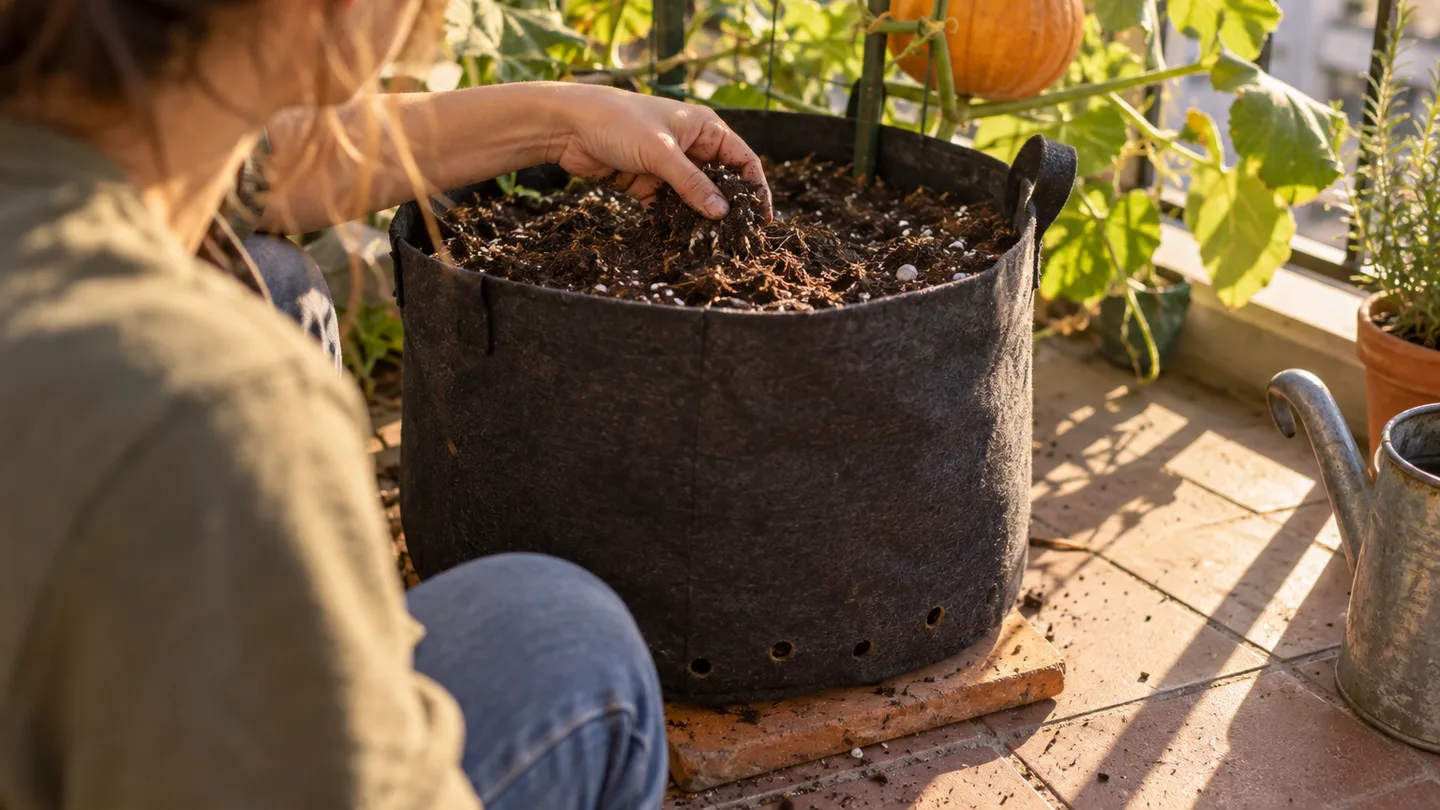
Plant after the frost window, and direct-sow into the final pot
Pumpkins dislike being held in a small pot while you wait for warm weather. Their roots spread quickly, so I direct-sow into the final container once frost risk has passed and the mix is close to 18°C (65°F). Cold, wet mix slows emergence and leaves the seed vulnerable to rotting before the plant gets established.
- Fill the container with the prepared mix, leaving 3–5 cm (1–2 in) below the rim, then pre-moisten it.
- Sow 2–3 seeds about 2.5 cm (1 in) deep. Place them with enough space that you can remove the weaker seedlings without disturbing the one you keep.
- Keep the surface evenly moist while the seeds emerge. A loose cover of mesh can deter birds without sealing the pot.
- Once the seedlings have their first true leaves—the leaves that follow the initial smooth seed leaves—thin to the strongest plant by snipping the others at soil level.
- For the first two weeks, shelter the pot from cold nights, strong wind and slugs. Move the container only if it is still manageable; a large wet planter becomes difficult to shift safely.
Direct sowing avoids the root disturbance that can set a pumpkin back. If you must transplant a nursery plant, move it with the root ball intact and do it before the vine begins to run. Planting deeply to bury the stem is not a substitute for a properly sized root zone.
Train the vine along a route; support the fruit separately
A trellis solves the vine route, not the fruit weight. For a compact, small-fruited cultivar, use a firmly anchored trellis about 1.2–1.8 m (4–6 ft) high. Position it before the vine reaches it, and plan the route away from doors, stairs and the place where you stand to water.
Guide the young vine by hand and use soft ties with room for the stem to expand. Tie loosely to the support rather than cinching the stem against it. Check the ties after a week of fast growth; a tie that was loose on Monday can become a strangling loop surprisingly quickly.
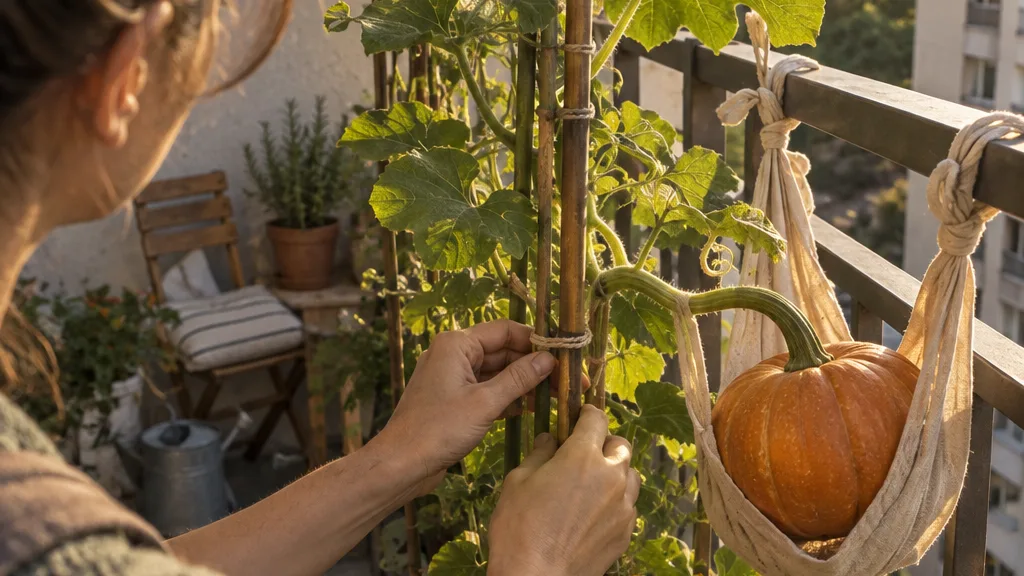
Large pumpkins should remain on the ground or on a low, broad platform. A tall trellis puts the fruit’s weight farther from the support, increasing leverage and making the entire structure more likely to shift. Smaller fruit can be supported vertically, but the sling or shelf must carry the fruit independently of the vine.
Use breathable cloth or mesh for a sling, and attach it to the trellis rather than to the fruit stem. Support the developing fruit while it is still small. Once it is swelling rapidly and the stem has begun to angle under its weight, stop trying to reposition it. Turning or lifting it late can crack the stem or tear the vine from its support.
Water by the pot, feed by the growth stage
I don’t water a pumpkin by the calendar. I check the top 2–3 cm (about 1 in) of mix with a finger, then lift one side of the pot if it is safe to do so. If the surface is dry and the container feels noticeably lighter, water slowly until a little runs from the drainage holes.
Very dry mix can pull away from the pot wall and send water straight down the gap. In that case, water once, wait a few minutes, then water again so the mix has time to absorb it. A fast stream poured onto a dry root ball often looks like thorough watering while leaving the middle dry.
A plastic pot in full sun and wind may need a daily check in hot weather. A glazed pot in part shade may go two or three days between checks in mild conditions. Those are checking intervals, not promises. Pot size, wind, humidity, leaf cover and rainfall can change the answer.
For feeding, use either a controlled-release fertiliser according to its label or a diluted liquid feed every 10–14 days. I prefer not to combine heavy doses from both systems. Once fruit has set, ease back on high-nitrogen feeding. Too much nitrogen can keep the plant producing large leaves and long stems when the container needs to support flowers and fruit instead.
Pollination is a before-noon job
Pumpkins produce separate male and female flowers on the same plant. Male flowers sit on straight, slender stems; female flowers have a swollen baby fruit directly behind the petals. That swollen section is the ovary, and it is the part that enlarges after successful pollination.
Flowers are often open for only a short window in the morning. If bees are scarce on your balcony, pick a fresh male flower, peel back its petals and brush the pollen-covered centre against the centre of a female flower. A small, dry paintbrush works too. Do the transfer while both flowers are open rather than waiting until afternoon.
Successful set looks like a small fruit that stays firm and green over the next few days. An unpollinated female flower often yellows, shrivels and drops while the baby fruit stops enlarging. University extension guidance on cucurbit flower biology is useful here because it explains the flower parts without treating every dropped blossom as a disease.
I’d let a compact plant prove it can carry one fruit before asking it to carry more. If the vine is thick, leaves are holding their colour and watering is steady, allow a second fruit to set and reassess. A plant that is repeatedly wilting or has a thin, short vine is better off carrying fewer fruits. That is a judgement call, not a rule tied to every cultivar.
Read the failure pattern: a symptom → cause → fix table
Don’t treat every wilt as thirst. Check the mix first, then the drainage, then the stem and leaves. The same drooping leaves can come from a dry root ball, saturated roots or heat stress, so the order of inspection matters.
| What you see | Check first | Practical response |
|---|---|---|
| Wilt at midday but firm again by evening | Leaf recovery and pot moisture | Shade the pot during the hottest hours if possible, then water only if the top mix is dry. Temporary heat wilt is different from a plant that stays limp overnight. |
| Leaves stay limp while the mix is wet | Drainage holes and saucer | Clear blocked holes, empty standing water and let the root zone breathe. Do not add more water because the leaves look thirsty. |
| Yellow leaves with persistently wet mix | Root-zone air and feeding history | Stop routine feeding, improve drainage and wait for the surface to dry slightly before watering again. Remove only badly damaged leaves. |
| Flowers drop without fruit | Morning pollination and flower type | Check for female flowers, then hand-pollinate during the next open morning. Heat, plant stress and cultivar behaviour can also reduce fruit set. |
| Young fruit shrivels and turns yellow | Whether it was pollinated and whether moisture is swinging | Hand-pollinate the next female flower and make watering steadier. A shrivelling fruit is not revived by extra fertiliser. |
| White powdery patches on leaves | Airflow, leaf crowding and local conditions | Move leaves apart, avoid wetting the foliage late in the day and remove heavily affected leaves. Disease pressure varies by region and cultivar. |
| Vine collapses suddenly | Stem base, root zone and recent heat | Inspect for a damaged or softened stem, saturated roots and severe drought. If the stem base is compromised, watering more will not repair it. |
Keep the failure pattern in mind rather than memorising one universal fix. A pumpkin that wilts in a small black plastic pot during a hot, windy spell needs a different response from one wilting in a cool glazed pot whose drainage hole is blocked.
Harvest by rind and stem, then plan for one good fruit first
For many compact or small-fruited pumpkins, 80–120 days from sowing is a sensible planning window. Use the cultivar’s stated days to maturity as the better guide for your variety and climate, but don’t harvest by the calendar alone.
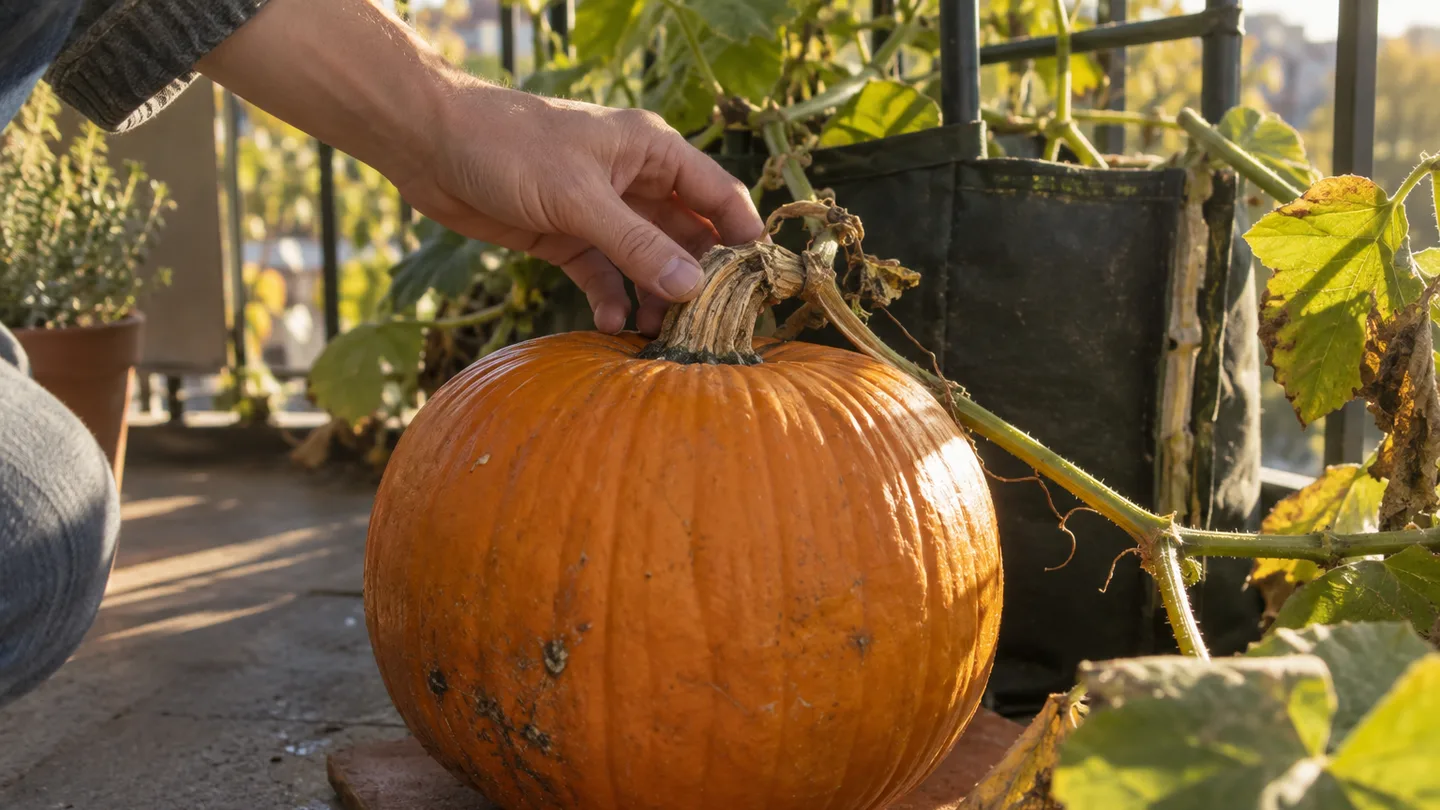
Look for mature colour, a rind that resists a fingernail and a stem that is drying, corky or beginning to harden. The exact colour depends on the cultivar, so compare the fruit with its seed-packet description. A green fruit may be immature—or it may be the finished colour of that variety.
Use clean pruners and leave 5–8 cm (2–3 in) of stem attached. The stem gives you a handle and keeps you from cutting right into the fruit crown. Handle the pumpkin by the body rather than lifting it by the stem.
When the variety is suitable for curing, place the harvested fruit in a warm, dry, airy spot for roughly 7–10 days. Curing gives the rind and cut stem time to dry and toughen before storage. Bring the fruit indoors before hard frost; frost-damaged pumpkins are more likely to deteriorate in storage.
A realistic container plan is one to three small pumpkins from a compact plant, while a larger-fruited type may manage only one or two. I treat one sound, fully mature fruit as a successful container harvest. Chasing a bigger count can leave every fruit undersized when the root volume, sunlight or watering routine is marginal.
Your next physical step: measure the place where the pot will sit, trace a 1–2 m or 3–5 m vine route with string, and reject any pumpkin variety that cannot fit both. Then buy the container and mix together, fill the pot before sowing, and check the drainage holes before the first seed goes in.