Growing Radishes in Containers: How Deep Should the Pot Be?
A round radish needs at least 15 cm (6 in) of usable potting mix. I prefer about 20 cm (8 in) if the container sits in sun or wind, because the extra mix gives the root zone more moisture buffer.
That answer refers to the mix inside the pot, not the height printed on the label. A container advertised as 15 cm (6 in) tall may leave only 12 cm (4¾ in) for roots after you allow for a raised base, thick walls and watering space below the rim.
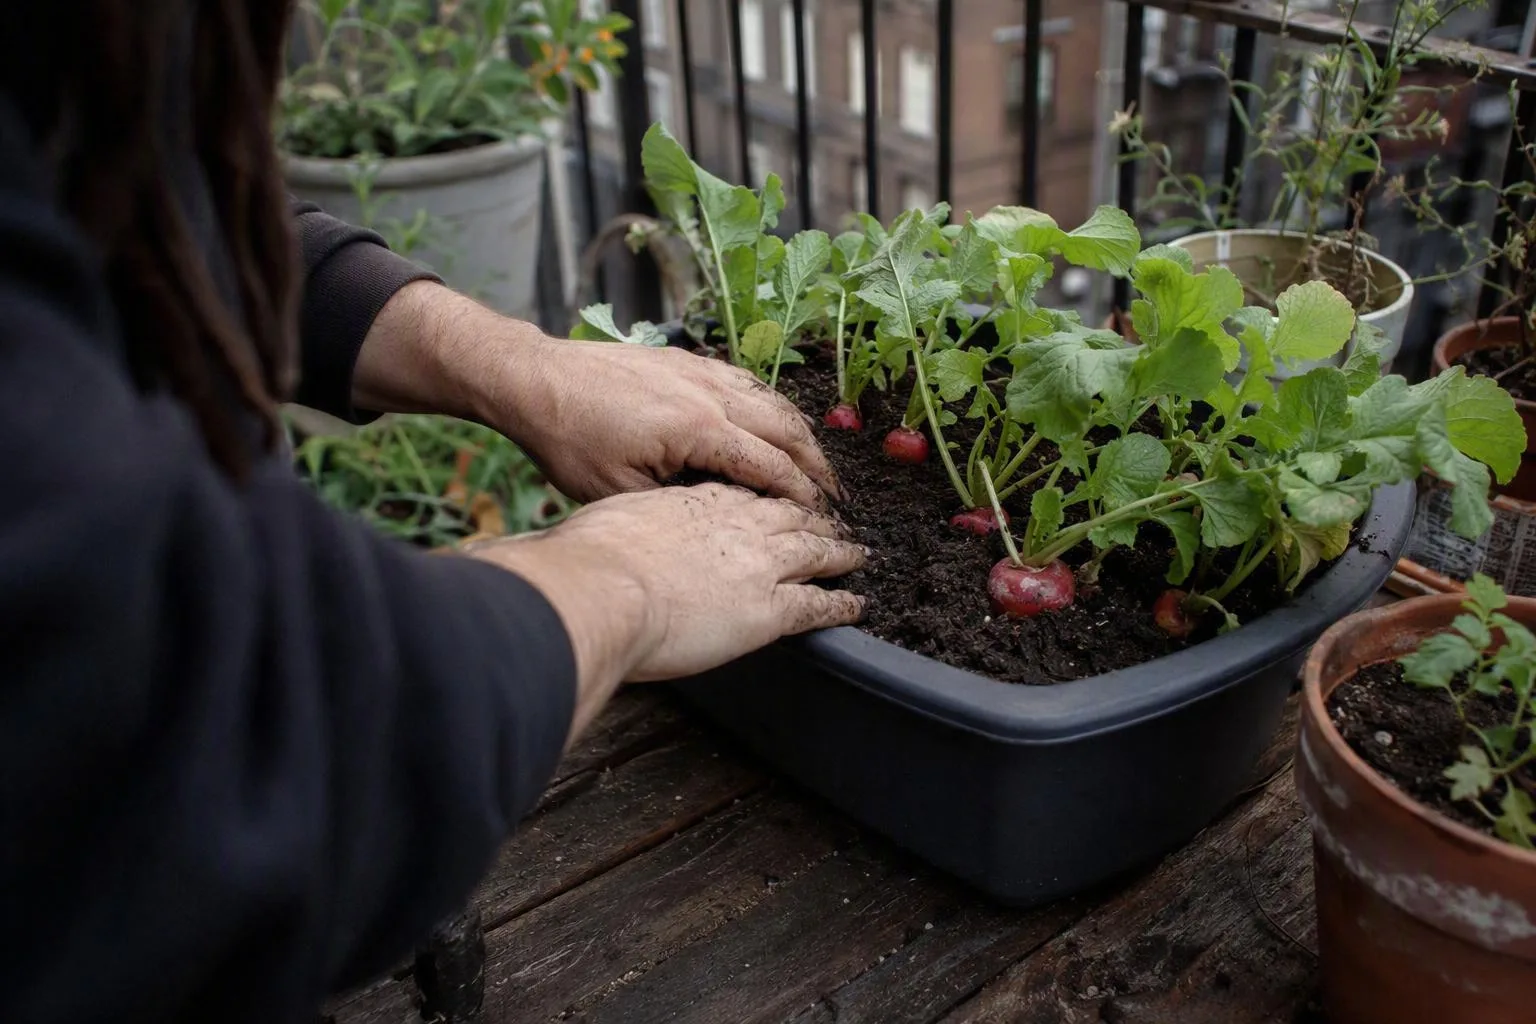
Start with 6 inches of usable mix—not a 6-inch pot label
I measure radish containers from the inside bottom, just above the drainage holes, to the level where the mix will finish. That is the usable depth. It excludes a decorative outer sleeve, a false bottom, a bulky insert and the 2–3 cm (about 1 in) of empty space I leave below the rim so water doesn't spill over the sides.
For small globe and breakfast radishes, 15 cm (6 in) of usable mix is my minimum. A 20 cm (8 in) depth is a more forgiving choice, especially on a balcony where wind can pull moisture from the pot faster than you expect. It isn't that every round radish suddenly develops a 20 cm root. The extra depth gives the surrounding mix somewhere to hold water and gives the swollen root room to stay straight.
On my balcony, I once chose a planter because its outside wall was labelled 15 cm deep. The insert inside lifted the growing floor, and after I left watering space at the top, the roots had roughly 12 cm (4¾ in) of mix. The leaves looked busy, but the roots stayed short and uneven. I measured the empty planter afterward and found the mistake: I had bought the label, not the growing space. Since then, I turn a container over and check its interior before buying seeds for it.
That distinction also matters with a tapered pot. Two containers can both be 20 cm tall while one holds much less mix because its base narrows sharply. For radishes, I would rather have a plain, open 20 cm (8 in) pot than a decorative vessel that loses several centimetres to an insert.
The radish type sets the depth ceiling
Radishes are sold as though they were one crop, but the edible root can be a short globe, a slender cylinder or a long tapered root. Match the container to the mature root described on the seed packet. The general ranges below are a buying guide, not a substitute for the variety description.
| Radish type | Usable mix depth | Container decision |
|---|---|---|
| Small round or globe | At least 15 cm (6 in) | Good choice for a shallow box or 20 cm (8 in) pot |
| Short cylindrical | 15–20 cm (6–8 in) | Use the deeper end if the packet lists a longer root |
| Icicle or other long type | 20–25 cm (8–10 in) | Choose a tall pot or deep window box |
| Daikon and long tapered types | 25–30 cm (10–12 in) or more | Check the stated root length before buying the container |
The packet's mature root length is the deciding detail if it conflicts with a broad category. If a variety is described as producing an 18 cm (7 in) root, I wouldn't put it in a pot with only 15 cm of usable mix. A 20–25 cm (8–10 in) depth leaves room for the root to develop without pressing into the base.
That same measurement habit is useful for growing carrots in containers, where the edible part is also hidden below the soil line. My judgment call is simple: grow daikon only when you already have the deep container. A shallow pot full of round radishes is usually a better use of balcony space than forcing a long variety into an undersized vessel.
Measure from the drainage hole to the fill line
The measuring job takes less than a minute and prevents the most common sizing mistake. Measure the container empty, before you add mix.
- Find the real floor. Measure from the inside surface above the drainage holes. If the holes sit in a recessed foot, use the level where the mix actually rests.
- Mark the finish line. Subtract 2–3 cm (about 1 in) from the inside rim. That space is your watering margin, not wasted volume.
- Remove hidden obstacles. Subtract the height of any false bottom, reservoir insert or thick layer of material that roots cannot enter.
- Check the base. Make sure water can leave through open holes and that the pot will not sit in a full saucer.
For example, an outer pot that measures 15 cm (6 in) high may contain a 2 cm (¾ in) raised base and need 2 cm of headspace. The usable mix depth is then about 11 cm (4⅓ in), before allowing for a thick inner wall. That is below my minimum for a round radish.
Use a container mix rather than soil dug from a garden bed. Garden soil contains fine particles that can settle tightly in a pot, leaving less air around the roots and making the container slower to drain. A radish mix should be fine enough for a straight root, free of stones and large bark pieces, but still loose enough for water to pass through.
Drainage holes are not just a convenience. They give excess water an exit. The mix can still hold moisture after watering, but it should not remain submerged at the base.
A perched water table is the saturated layer that remains at the bottom of a container because water is held in the mix's small pores. In plain terms, the pot can have a drainage hole and still contain a soggy lower zone. The effect depends on the mix, the pot and how wet the container is, but it is one reason a shallow pot can have less usable root space than its ruler measurement suggests.
Gravel in the bottom doesn't create a deeper drain for a normal pot. It occupies root space, and the change from fine mix to coarse gravel can leave water sitting above that boundary instead of moving neatly through it. Put the drainage material where it belongs: at the open hole, not as a thick layer inside the container.
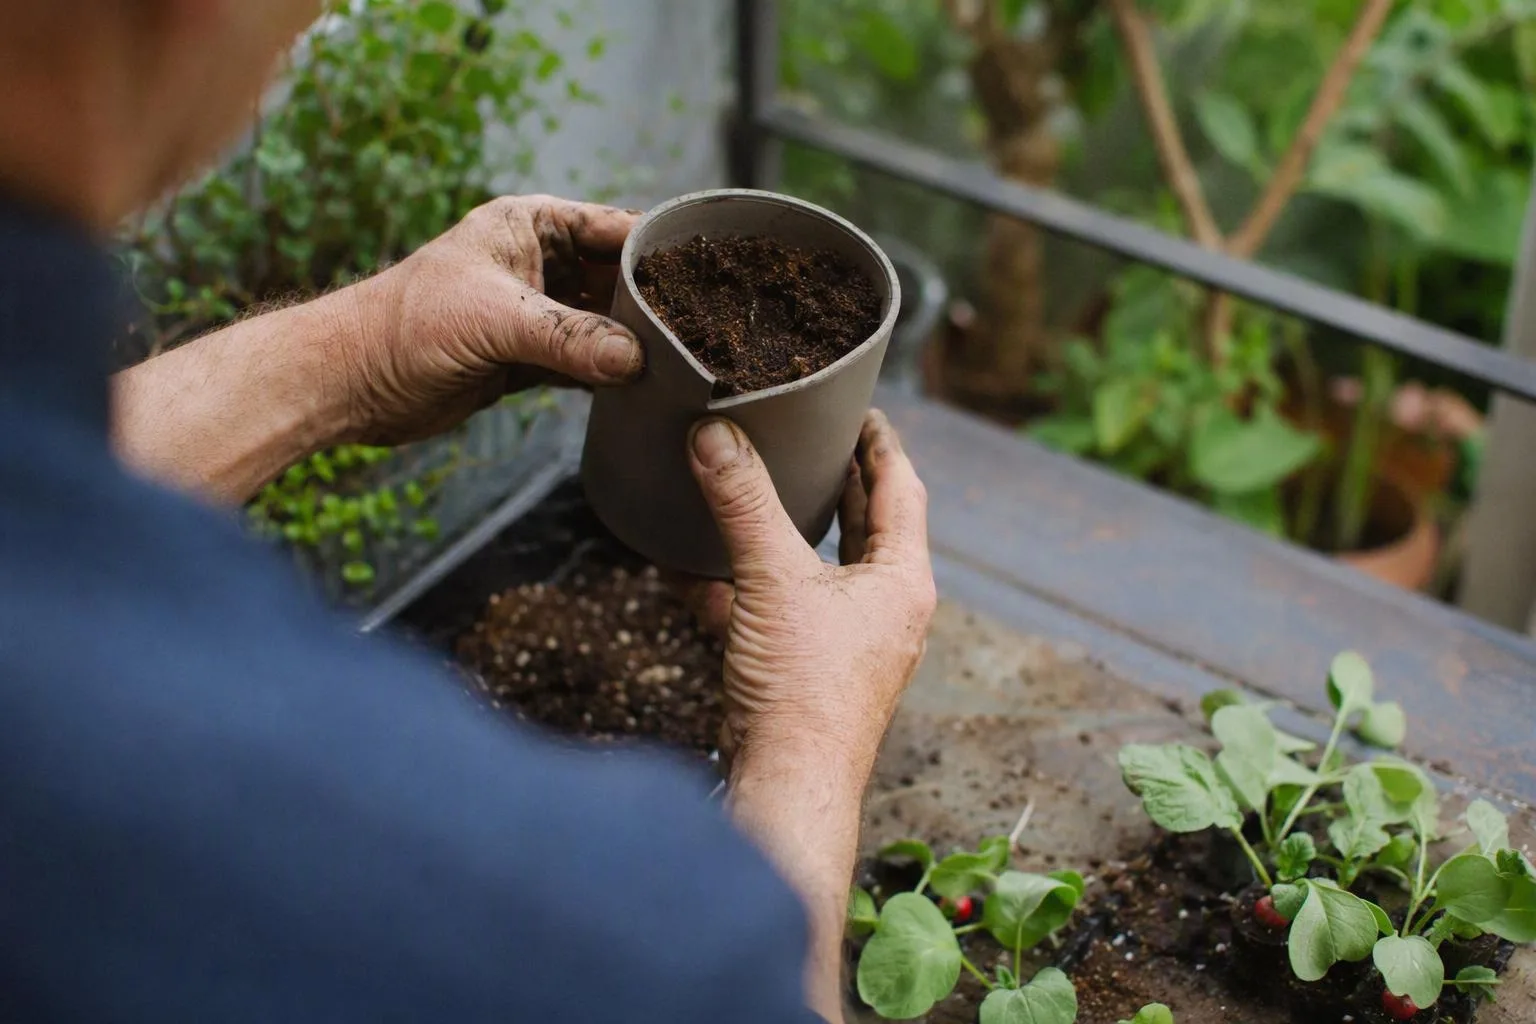
A wider pot buys radishes, not extra depth
Once the root has enough vertical room, width determines how many plants you can fit. Space radishes by the final size of the variety, not by how many seeds you can scatter into the pot.
| Container size | Usable dimensions | Approximate mix volume | Planning estimate for small round radishes |
|---|---|---|---|
| 20 cm (8 in) round pot | 20 cm diameter × 15 cm deep | 4.7 L (0.17 cu ft) | About 16 at 4 cm centres |
| 30 cm (12 in) round pot | 30 cm diameter × 15 cm deep | 10.6 L (0.37 cu ft) | About 36 at 4 cm centres |
| Long window box | 60 × 20 × 15 cm (24 × 8 × 6 in) | 18 L (0.64 cu ft) | About 56 at 4 cm centres |
The volumes are geometric estimates for the stated usable dimensions. A tapered pot, curved sides or a false bottom will reduce the amount you actually fill. The plant counts are planning estimates based on a simple grid with some room around the edges; they are not promises about the number of marketable roots you will harvest.
For small globe radishes, aim for final centres 2.5–5 cm (1–2 in) apart. By centres, I mean the distance from the middle of one root to the middle of the next. Larger round or cylindrical varieties need about 5–7.5 cm (2–3 in). If you sow more closely at first, thinning is not optional. Crowded roots compete for the same shallow moisture and swell into leaves rather than useful bulbs.
A wide box can therefore outperform a narrow deep pot for small radishes, provided both have enough usable depth. Depth decides whether the root fits; width decides how many separate root zones you can maintain. That is the container-specific trade-off I would use before buying a tall decorative pot.
If your wider container is part of a balcony crop plan, the spacing logic also fits naturally with growing vegetables in pots on balcony. Keep the radish box where you can reach every plant. A crowded box that cannot be watered evenly is not an efficient use of width.
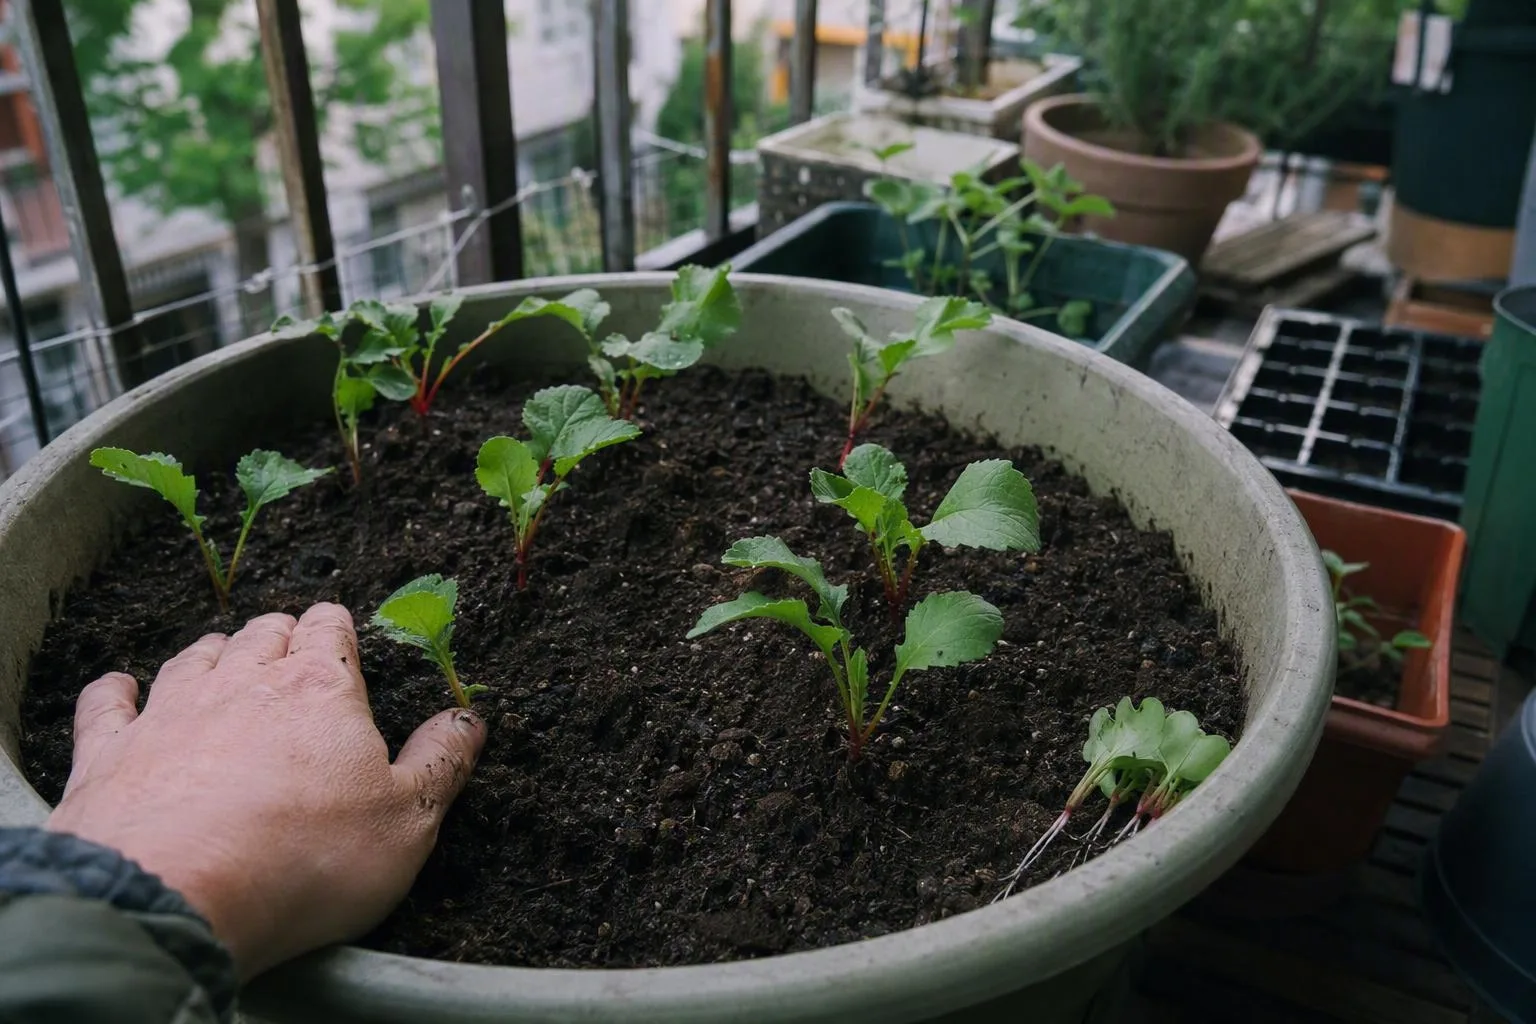
Material changes drying speed, so watering changes with it
I don't put radishes on a fixed every-other-day schedule. I check the mix, then adjust for the pot's material, position and weather.
- Push a finger into the top 2–3 cm (about 1 in) of mix. If that layer is dry and the pot feels noticeably light, it is time to water.
- Pour slowly over the surface rather than making one hard stream that runs down the sides of a dry root ball.
- Continue until the full root zone is moistened and a small amount exits the drainage holes.
- Empty any saucer after the excess has finished draining.
These are starting points, not a calendar. In a plastic pot in full sun and wind, I might check daily and water daily if the root zone is drying through. In a glazed pot in part shade, the same mix may go two or three days between checks. Unglazed terracotta can dry faster because the pot wall also loses moisture. A small pot dries faster than a large one, and a dark pot against a hot wall can heat and dry its outer layer quickly.
Radishes need enough light to build leaves and swell the root. I aim for roughly 4–6 hours of direct light, preferably in the cooler part of the day during hot weather. With only one or two usable hours, I would expect leaves and some root development, but I would not plan around full, crisp bulbs. That is a projection rather than a guarantee: a cool, bright windowsill may do better than a shaded, humid balcony.
Very hot conditions can trigger bolting, which means the plant switches from making a swollen root to sending up a flowering stalk. The root then tends to become tougher or more sharply flavoured. If your balcony gets intense reflected afternoon heat, sowing in the cooler part of the season or giving the pot morning sun is a better correction than feeding it more.
The practical check is the mix, not the date. If the top is dry but the lower pot is still heavy and cool, wait and check again. If the pot is light and the root zone feels dry, water thoroughly rather than sprinkling the surface.
Sow, thin, and harvest on the container's clock
Radishes are quick enough that I sow them in their final container. That avoids disturbing the developing root, which is exactly the part I want to keep straight.
- Fill the final container first. Add the prepared, stone-free potting mix to the measured finish line. Water it once before sowing so the mix is evenly damp rather than dusty on top and wet underneath.
- Sow shallowly. Place seeds about 1–1.5 cm (½ in) deep and cover them lightly. If you press them much deeper, the emerging seedling has farther to push through the mix.
- Keep the surface even. Use a gentle spray or a fine rose on the watering can. Strong water can uncover seeds or wash them into a low corner of the pot.
- Wait for emergence. Under suitable moisture and temperature, germination may take roughly 3–10 days. A dry surface during this window can interrupt the process, while a saturated pot can leave the seed zone airless.
- Thin at the first true leaves. The first smooth seed leaves are cotyledons. Wait for the first recognisably radish-shaped leaves, then remove or snip crowded seedlings until the final spacing is 2.5–5 cm (1–2 in) for small types, or 5–7.5 cm (2–3 in) for larger ones.
- Sow another row after 10–14 days. This succession sowing keeps the container producing in stages instead of giving you one dense flush of roots that all need picking together.
Use scissors to cut surplus seedlings at mix level if pulling one might disturb its neighbour. I thin ruthlessly here. A seedling that looks too small to remove still has roots occupying the same narrow pocket as the plant you want to keep.
For planning, I use about 3–6 weeks, or roughly 21–42 days, from germination to harvest for small fast types under suitable conditions. Packet timing may be counted from sowing rather than emergence, so I treat the printed days as a checking prompt rather than a deadline. Cool weather, low light, crowding and a dry spell can all shift the window.
The shoulder is the top of the swollen root where it meets the leaves. I start checking when the shoulder is roughly 1–2 inches (2.5–5 cm) across for larger round types, while small breakfast radishes may need pulling as soon as a usable shoulder appears. Brush mix away from one root or pull a single plant to inspect it, then check the rest every few days. Leaving a mature radish in a hot, unevenly watered pot is an easy way to turn a crisp root pithy.
Radishes fit the category of fast growing vegetables in pots for beginners, but their speed is also why timing matters. A forgotten pot can pass from tender to woody while you are waiting for every root to reach the same size.
When leaves look fine but roots don't: a symptom-to-fix map
Radish problems often appear first below the soil line. The leaves can look vigorous while the root is crowded, bent or already past its best. I use the visible symptom to decide what to inspect before reaching for fertiliser.
| What you see | Inspect first | Correction |
|---|---|---|
| Lush leaves, tiny or barely swollen roots | Plants too close, high-nitrogen feed, low light or heat | Thin to final spacing, stop high-nitrogen feeding, move to brighter or cooler conditions, and resow if the roots are already mature |
| Forked, hairy or misshapen roots | Stones, compacted mix or disturbed roots | Use fresh fine mix, remove debris and direct-sow in the final pot |
| Cracked, hollow or pithy roots | Dry-then-wet cycles or late harvest | Keep moisture more even and harvest promptly once the shoulder develops |
| Yellow, soft or collapsing foliage | Waterlogged mix, blocked holes or a full saucer | Clear the drainage path, empty the saucer and let the mix drain; don't add fertiliser to a saturated pot |
| A long root bends, stops or presses against the base | Insufficient usable depth | Move that variety to a 20–30 cm (8–12 in) container, depending on its packet length |
Lush leaves with small bulbs are the failure mode that tempts people to add more feed. That is the wrong first move in a container. Nitrogen can encourage more leaf growth, but it cannot create the missing light, spacing or root room. Thin first, check the light, feel the mix and inspect the variety's expected root size.
Forked roots are a depth and texture clue, not proof that the pot is too shallow. A short round radish in 15–20 cm (6–8 in) of loose mix usually doesn't need a deeper vessel. A daikon that bends at the bottom does. If the mix is stony or packed, changing to a taller pot without changing the mix will not solve the problem.
Cracking points to uneven expansion. A root that dries hard and then receives a large watering can swell faster than its outer skin accommodates. Hollow or pithy roots can also mean you waited too long after maturity. In both cases, a steady moisture check and staggered sowing are more useful than a stronger feed.
Use the symptom as a clue to inspect the container, not as a reason to apply one universal remedy. Radishes are short-season crops; if a sowing has already bolted or become woody, correcting the pot may help the next sowing more than it helps that root.
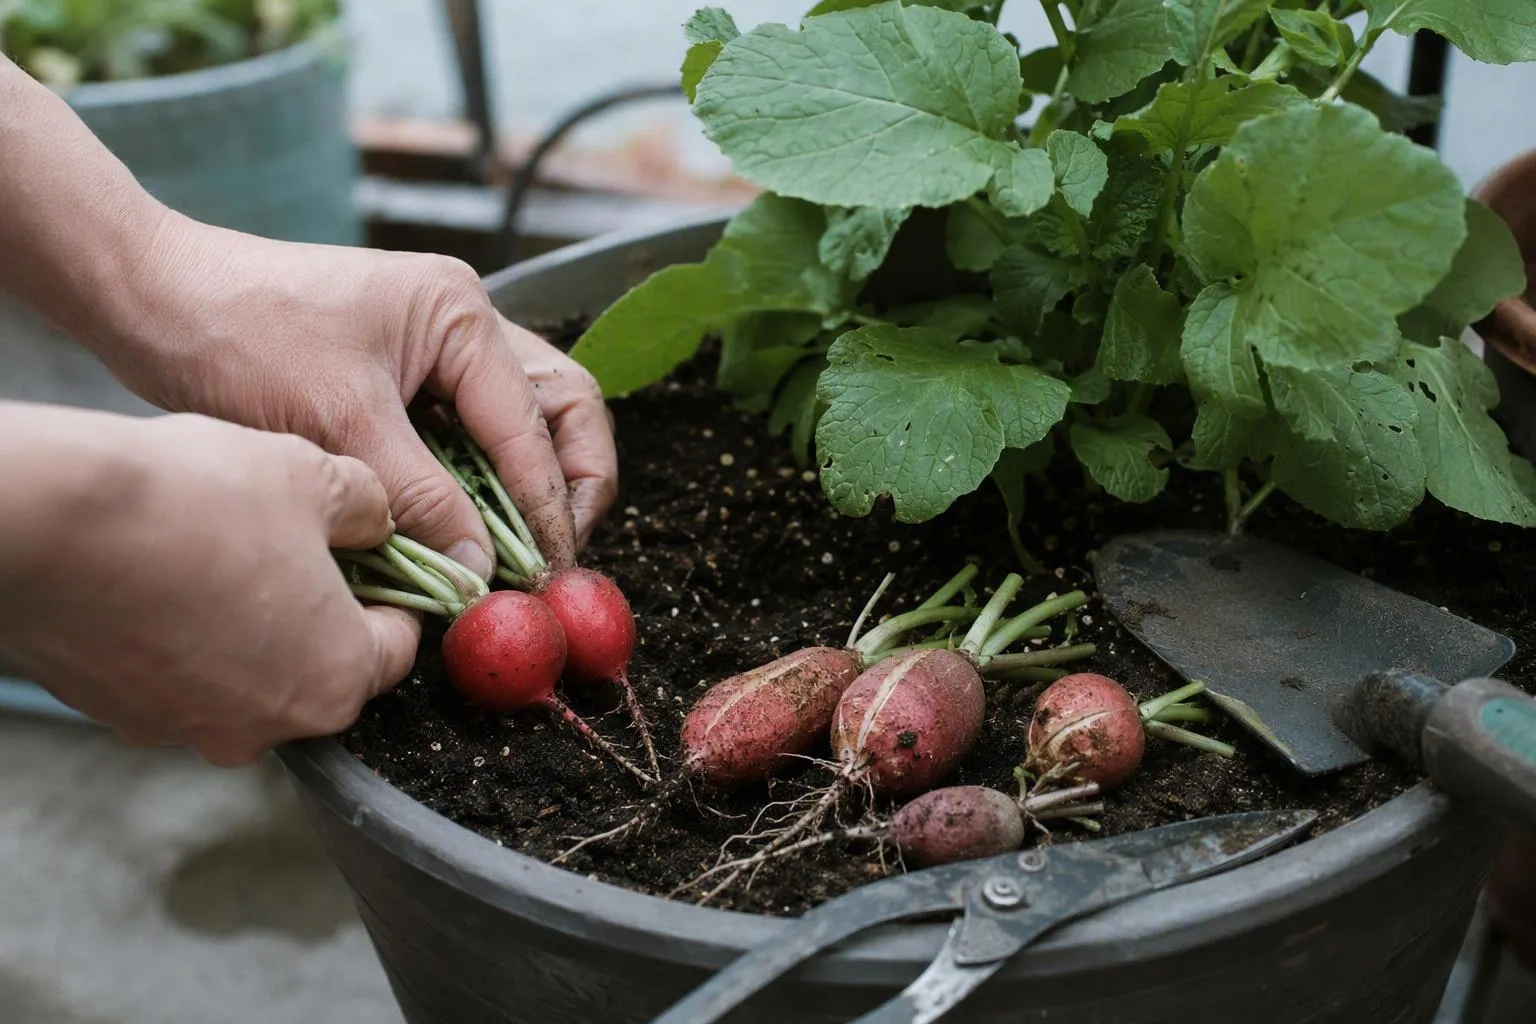
The balcony shopping list: three pot specifications that work
I would shop for the radish type first and the container second. The following three specifications cover most container decisions without forcing you to buy a specialised planter.
For small round radishes
Choose a pot with at least 15 cm (6 in) of internal usable depth, open drainage holes and enough width to leave 2.5–5 cm (1–2 in) between plants. A 20 cm (8 in) diameter pot gives a more forgiving volume than a tiny individual pot and is easier to water evenly.
For cylindrical and icicle radishes
Look for 20–25 cm (8–10 in) of internal mix depth. A deep window box is useful because it combines vertical room with a broad planting surface. Check the root length on the packet before sowing; the word long on the front is less useful than the actual centimetre measurement.
For daikon types
Start at 25–30 cm (10–12 in) of usable depth, and go deeper if the described root is longer. These containers hold more wet mix, so check the weight before placing one on an elevated balcony. If you cannot confirm the balcony's load limits or the planter's final wet weight, choose round radishes in a smaller container instead.
For a round pot, estimate volume with radius × radius × depth × 3.14, using centimetres. A 20 cm diameter pot that offers 15 cm of usable depth works out as 10 × 10 × 15 × 3.14, or about 4,700 cubic centimetres. Since 1,000 cubic centimetres equals 1 litre, that is about 4.7 L (0.17 cu ft). For cubic feet, divide litres by roughly 28.3.
Rectangular boxes are simpler: multiply length × width × usable depth in centimetres, then divide by 1,000 for litres. Buy a little more mix than the mathematical result because you need to fill to the final line and the mix settles after watering. Don't replace that volume with gravel or garden soil.
Before sowing, put the empty pot where it will grow, check the holes with your hand, measure the interior depth and position it in the brightest place that can provide about 4–6 hours of direct light. Fill it, pre-moisten the mix, and sow one short row rather than scattering a whole packet. In a week, you should be able to see whether the surface has stayed evenly damp and whether the seedlings have enough space to thin. That is the next physical check I would make before buying another container.