Growing Rosemary in Pots: Use a 30 cm Pot and Let It Dry
Growing rosemary in pots gets much easier once you stop treating it like a thirsty kitchen herb. Start one plant in a pot about 30 cm (12 in) wide and at least 25 cm (10 in) deep, then let the top 5–7 cm (2–3 in) of mix dry before you water thoroughly.
That combination gives rosemary enough root volume to buffer a sunny balcony without leaving its roots wet for days. The 30 cm pot is a practical starting point, not a magic size: the plant, pot shape, wind and amount of direct sun still decide how often you need to check it.
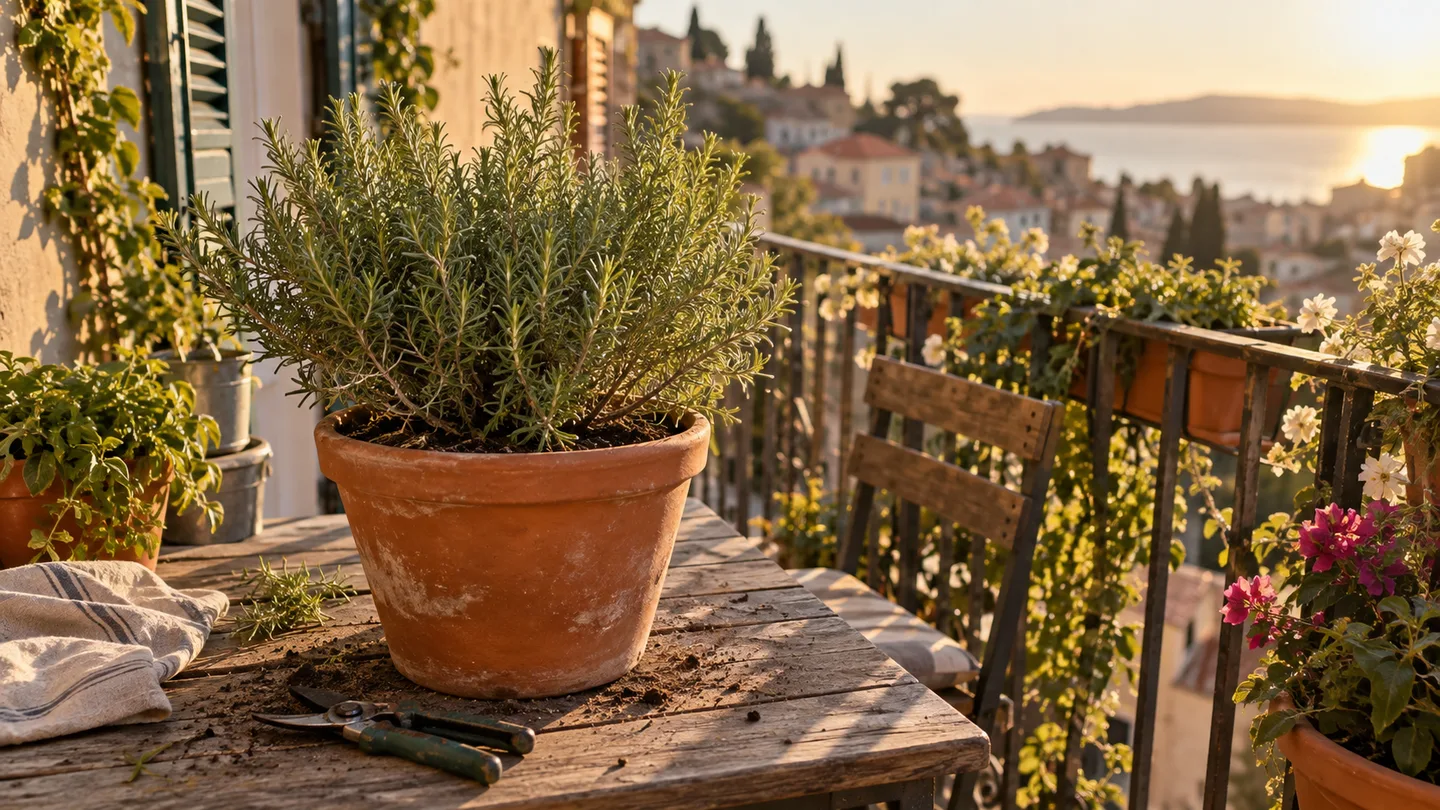
The 30 cm pot is the starting point—not a magic size
For one ordinary nursery rosemary, I’d choose a container roughly 30 cm (12 in) across and 25 cm (10 in) deep. After allowing for the pot’s taper and leaving headspace below the rim, that usually gives me a working root zone of about 15–20 litres (4–5.3 US gallons) of mix. A wider, shallow bowl may hold a similar volume but still dry unevenly, while a tall narrow pot may hold the volume with less surface area exposed to heat.
The point is not to give the plant an enormous home from day one. It is to give the roots enough mix that a sunny afternoon does not turn the pot from damp to dust before you notice. An 8–10 litre (2.1–2.6 US gallon) pot can grow a young plant, but its smaller water reserve leaves less room for missed checks, hot walls and balcony wind.
I learned that distinction with a rosemary in a small dark plastic nursery pot on a balcony. It looked perfectly healthy just after watering, then became much less forgiving as the weather warmed: the pot felt light quickly, and the outer stems started to look tired before the centre of the root ball had fully recovered. The lesson wasn’t that rosemary needed constant water. It was that the small root zone had almost no buffer.
If the plant is already large, tightly root-bound or carrying thick woody stems, move up rather than squeezing it into the starting size. Choose a pot only a few centimetres wider if the roots have filled the current container. Jumping into a huge pot creates a different problem: the unused mix can stay wet around a small root ball after watering.
For a mixed balcony collection, growing herbs in containers is useful background reading, but I wouldn’t give every herb the same pot or watering rhythm. Rosemary belongs with the dry-side plants, closer in behaviour to growing lavender in pots than to basil.
Make the root zone fast-draining before the plant goes in
“Well drained” should mean something you can inspect. Use a pot with a clear, unobstructed drainage outlet. Fill it so the final surface sits about two fingers, or 4–5 cm (1.5–2 in), below the rim. That empty space gives you room to water slowly without immediately washing mix over the edge.
My starting blend is roughly two parts quality potting mix to one part perlite, pumice or coarse horticultural grit by volume. I’m aiming for a mix that holds enough moisture for the roots to use but leaves air-filled spaces after excess water drains. Garden soil is a poor shortcut in a pot because its fine particles can settle tightly, especially after repeated watering, reducing the pore spaces that carry air through the root zone.
A gravel layer at the bottom doesn’t solve that problem. Water does not automatically pass faster through a coarse layer when it sits below a finer one. Instead, the finer mix above can remain saturated until the water level rises high enough to reach the outlet. This wet band is called a perched water table: a layer of water held above the drainage layer by the change in pore size.
That is why I’d spend money on an airy mix and a properly open outlet before buying decorative stones for the base. If you want the physical explanation, container drainage guidance is more useful than a bag label that simply says “good drainage.”
There is one awkward detail with very dry mix, especially mix containing a lot of peat. Once it dries hard, it can become partly water-repellent. The first watering may run down the sides of the pot or through cracks instead of soaking the centre, leaving dry pockets around the root ball while water appears at the outlet. If the mix is dusty, moisten it in a bucket before planting, or water the finished pot in two or three slow passes with short pauses between them.
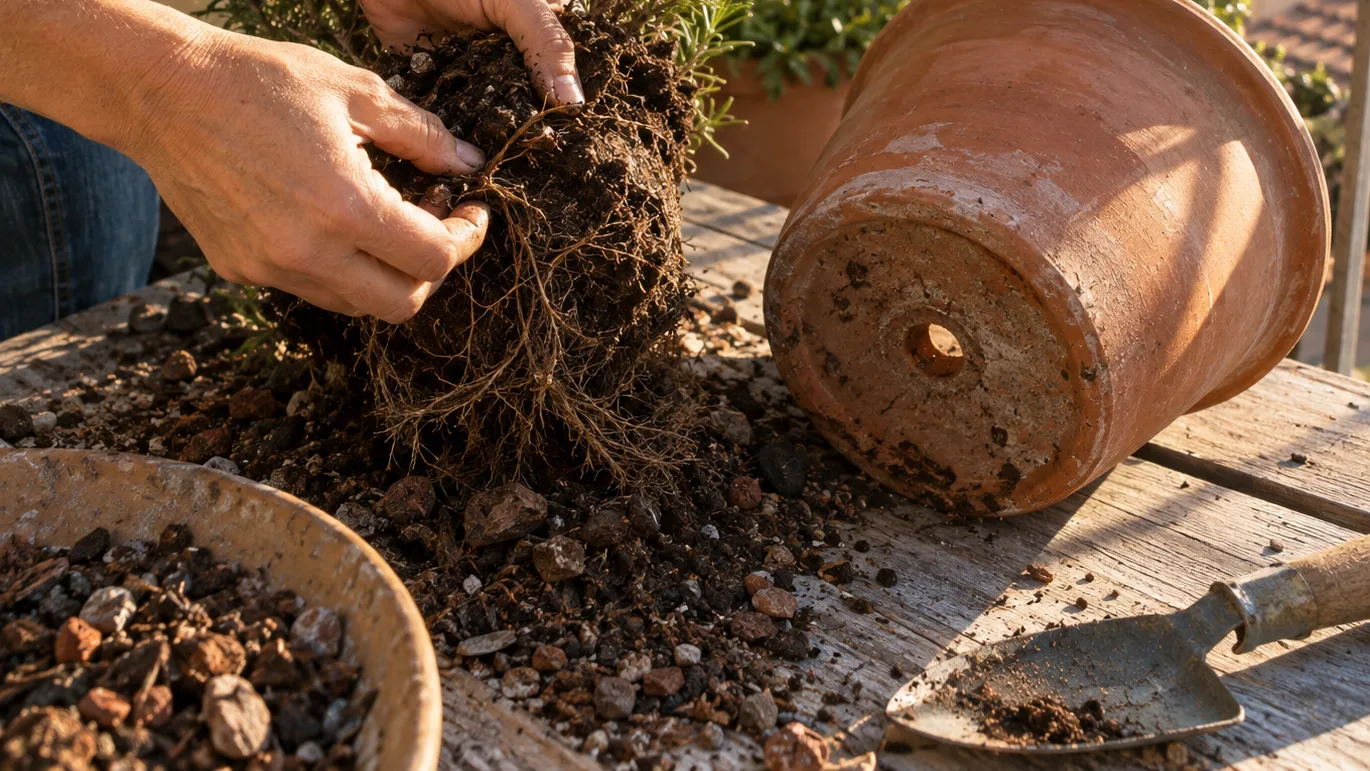
Six hours of direct sun is the first balcony test
I use about 6–8 hours of direct sun as the practical target for dense, useful rosemary growth. A plant that receives only one or two hours may stay alive, but it tends to make longer gaps between leaves, softer stems and slower growth. More fertiliser cannot replace the energy the leaves are failing to capture.
Audit the light where the pot will actually sit. Stand there at several points across the day and note when the sun reaches the floor, railing or wall. A bright-looking balcony can still have only a narrow strip of direct light if a neighbouring building, roof overhang or privacy screen blocks the useful hours.
Full sun creates its own trade-off. A dark plastic pot can heat quickly, and an unglazed terracotta pot loses moisture through its walls as well as from the surface. A glazed pot in cooler part shade may stay wet for several days longer. The plant has not changed its watering needs by calendar; the root zone has changed its rate of drying.
I use the same basic test described in rosemary's full-sun, free-draining soil requirements: solve the light and drainage first, then adjust water and feed around the actual site.
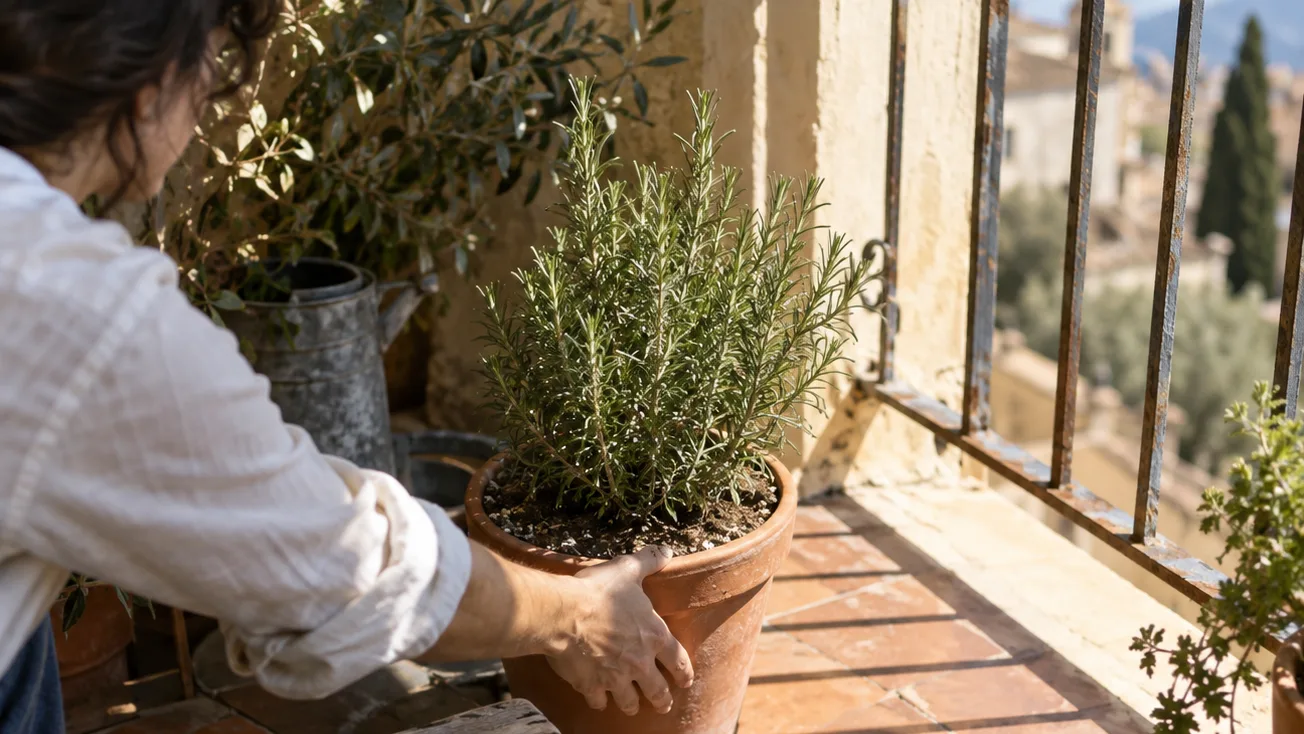
Planting day: keep the crown high and leave watering room
Planting depth matters because rosemary’s lower stem is not meant to sit permanently in damp mix. The crown—the point where the stems meet the roots—should stay at the same height it had in the nursery pot, with the woody stem and crown clearly above the soil.
- Prepare the mix first. If it is dusty or pulling away from the bucket, moisten it before filling the pot. This reduces the chance of water racing around dry pockets later.
- Check the root ball. If roots are circling tightly, loosen only the outer layer with your fingers. Don’t tear apart a healthy root ball just to make it look untidy.
- Set the plant at its old depth. The top of the nursery mix should finish level with the new mix, not several centimetres below it.
- Fill around the sides. Firm the mix lightly with your fingertips, but don’t compress it into a hard plug. Keep the final surface 4–5 cm (1.5–2 in) below the rim.
- Water immediately. Apply water slowly until a little exits the outlet. This settles the mix around the roots and shows you whether the outlet is genuinely clear.
Burying the crown or packing wet mix against the woody stem keeps tissue damp and reduces the air around the base. That creates a more favourable setting for rot than the plant would have in a raised, airy root zone. Conversely, leaving a large air gap beneath the root ball can let roots dry out at the centre. The aim is firm contact without burial.
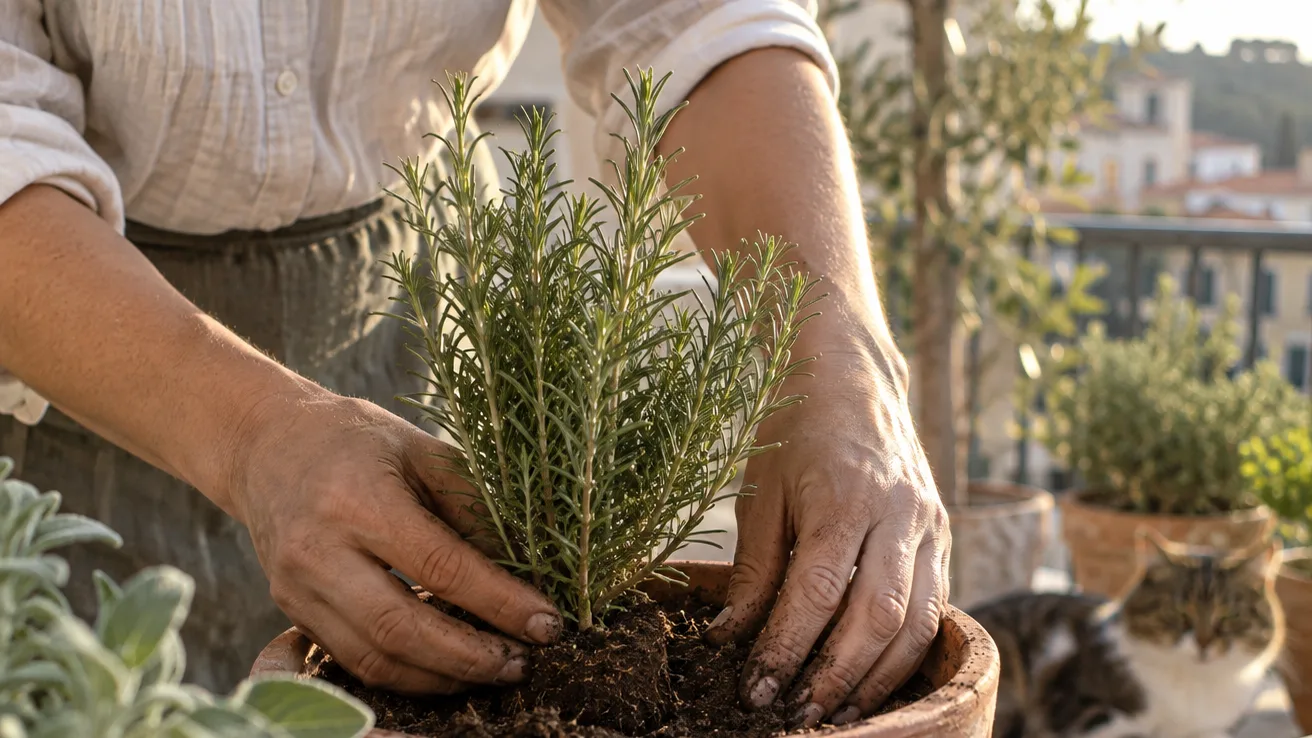
Let the top 5–7 cm dry, then soak the whole pot
“Let it dry” does not mean leave rosemary neglected until every needle is brittle. It means allow the upper part of the root zone to become dry before you refill the pot with water. In a 30 cm container, I check the top 5–7 cm (2–3 in) with a finger or wooden skewer. If the skewer comes out cool and dark with damp mix clinging to it, I wait. If it comes out mostly clean and the pot feels noticeably lighter, I water.
Lift the pot just after a thorough watering and remember that weight. Then lift it again before the next check. This takes a little practice, but it tells you more than a fixed weekly schedule because it accounts for the actual weather and container.
When it is time to water, soak the whole root zone. Pour slowly, pause when the surface begins to shine, then continue until a small amount drains from the outlet. A quick splash that disappears through one channel can leave most of the mix dry. This matters even more if the mix has dried hard and become partly hydrophobic.
A plastic pot in full sun may need checking every day during hot, windy weather. A glazed pot in cooler part shade may go several days between checks. I’m not giving those as watering dates; they are examples of why the same rosemary can need different treatment ten metres apart.
Do not water merely because the surface looks pale. The surface can dry while the lower root zone remains wet. Roots need both moisture and oxygen, and a permanently saturated lower layer displaces the air spaces. The plant may then wilt even though the pot is wet, because damaged roots are no longer moving water normally.
That is the confusing version of overwatering: limp growth, yellowing leaves, soft dark stems near the base or a sour smell from the pot. The correction is not another small drink. Check the lower mix, confirm the outlet, move the pot into better light and airflow, and allow the root zone to dry further before watering again.
Feed lightly; harvest the soft 5–10 cm tips
Rosemary is not a crop I’d push hard with fertiliser. During active growth, my restrained routine is a half-strength liquid feed about every 4–6 weeks. I only use that rhythm after checking light and roots. Pale or weak growth in a dim corner, or a plant sitting in wet mix, is not asking for more food first.
Harvest the soft, green 5–10 cm (2–4 in) tips rather than stripping whole woody branches. Make the cut just above a leafy node, where leaves join the stem. That leaves a point from which new side growth can develop and gives you a useful amount for cooking without opening a large bare section.
Older bare wood may not push new growth as readily as soft green growth. The reason is structural: newer shoots carry more active growing tissue and visible nodes, while a long bare woody section offers fewer obvious dormant buds to restart after a hard cut. That is why I avoid cutting deeply into old wood unless I’m correcting a damaged or badly shaped plant.
As a practical limit, I avoid removing more than about one-third of the plant at once. That is my recovery rule, not a guarantee. A well-lit plant with healthy roots can respond better than a shaded, recently repotted one, but a heavy haircut still removes much of the leaf area that supplies energy for regrowth.
Rosemary’s pruning lesson is simple: harvest the green tips repeatedly rather than waiting until the plant is oversized and then trying to turn bare wood back into a soft shrub.
A rosemary season in a pot: spring growth, summer checks, winter decisions
Spring: inspect before you repot
When new growth begins, look at the roots before automatically moving the plant. If roots are circling densely, emerging from the outlet or drying the entire pot unusually quickly, step up to the next container size. If the root ball still holds together with open mix between the roots, refresh the top layer and leave it where it is.
Spring is also the time to remove dead tips, correct a leaning plant and place it where the coming sun will actually reach it. A move from a sheltered winter position into strong afternoon sun may require a gradual transition, especially if the plant has produced pale indoor growth.
Summer: watch the pot, not the calendar
During heat or persistent wind, check moisture daily even if you don’t water daily. Wind increases drying from the leaves and from exposed potting mix. A saucer can protect a balcony surface, but don’t let the pot stand in collected water after drainage has finished.
If the plant needs water twice in one day and the pot is still small, the better long-term fix may be a larger root zone or a less exposed position. Repeatedly keeping a small pot soaked only to watch it dry again treats the symptom rather than the container problem.
Autumn and winter: shelter before the severe cold
As growth slows, reduce feeding and expect watering intervals to lengthen. Don’t carry the summer routine into a cool, cloudy season. The mix may remain damp for much longer even though the plant still has green leaves.
Before the first hard frost, decide whether the pot will stay outside, move against a sheltered wall, be insulated or come indoors. Container roots experience colder and faster-changing conditions than roots protected by surrounding ground. The decision depends on the cultivar, local winter lows and exposure, so I wouldn’t use one universal temperature as a promise of survival.
Moving the plant indoors changes more than temperature. It usually changes light, airflow and drying speed at the same time. Treat it as a new growing site: place it in the strongest available direct light, inspect the mix before watering and leave space around the foliage.
Brown tips, limp stems, and a sour-smelling pot: read the failure
When rosemary looks wrong, I start at the roots and work upward. Here is the order I use:
- Crisp, brittle needles and a very light pot: start with drying stress from heat, wind, a small container or a dry pocket in the mix. Rehydrate slowly rather than flooding the pot once.
- Limp growth while the lower mix stays wet: suspect root stress before assuming thirst. Confirm the outlet and let the lower zone gain air.
- Yellowing leaves, soft dark stems or a sour smell: these point toward prolonged wetness and possible root damage. Remove standing water, improve the mix and inspect roots if the problem continues.
- Long gaps between leaves and thin, stretched stems: look at direct sun first. Moving the pot into better light is more useful than adding feed to a low-light plant.
- Leaf drop after bringing the plant indoors: consider the sudden change in light, airflow and drying rate. Keep watering based on the new pot condition, not the old outdoor routine.
The order matters. First inspect moisture and the drainage outlet. Next correct the pot’s position or mix. Then give the plant time to respond before feeding or pruning. Fertiliser and a haircut both add stress when the root zone is already failing.
One failure deserves special attention: the surface can appear dry while water is trapped below. Push a skewer deeper, lift the pot and, if necessary, slide the root ball partway out to inspect the lower mix. A plant that is both wilted and wet needs root-zone diagnosis, not a guess based on the leaves alone.
Three rosemary questions the main routine doesn’t settle
Can rosemary grow indoors all year in a pot?
It can, but a dim, warm windowsill is a difficult substitute for a bright outdoor position. Indoor rosemary needs several hours of strong direct light and enough airflow for the foliage to dry and the pot to cycle between watering. If the stems become thin and widely spaced, or the soil stays wet for too long, the site is probably the problem. A grow light or outdoor summer placement may be more useful than changing fertiliser.
Can rosemary stay outside in a pot over winter?
That depends on the cultivar, your local winter lows and how exposed the container is. A plant that survives in the ground may be less secure in a pot because its roots are surrounded by cold air rather than insulated by a large mass of soil. Move or shelter the pot before severe frost, and avoid placing it where winter rain keeps the mix saturated.
How do I grow rosemary from a cutting?
Take a healthy, non-flowering tip about 8–10 cm (3–4 in) long. Remove the lower leaves and place the cutting in a lightly moist, airy propagation medium. Keep it bright but protected from harsh drying wind while roots form. Once it has a firm root system, move it into its own container rather than putting several unrooted cuttings into the main rosemary pot.
The realistic harvest from one 30 cm pot—and your seven-day check
One established rosemary in a 30 cm (12 in) pot can provide repeated kitchen snips and occasional small handfuls. I would not plan on it producing unlimited supermarket-sized bunches. Harvest depends on how much direct sun the plant receives, how much root space remains and whether you keep removing the soft tips faster than the plant can replace them.
Before the weekend, check four things:
- Push a finger or skewer 5–7 cm (2–3 in) into the mix and note whether it is dry at that depth.
- Confirm that the drainage outlet is open and that the pot is not standing in collected water.
- Watch the planting spot across a full day and record the actual hours of direct sun.
- Lift the pot after watering, then lift it again in seven days so you learn its dry-down rather than borrowing someone else’s schedule.
By that seven-day check, the plant should still have firm green tips, a crown above the mix and a pot that feels lighter without being completely weightless. If it doesn’t, inspect the root zone before buying fertiliser or cutting more stems.
Frequently Asked Questions
Can rosemary grow indoors all year in a pot?
Only if it receives several hours of strong direct light and good airflow; a dim, warm windowsill usually produces weak growth and watering problems. Explain when a grow light or outdoor summer placement becomes necessary.
Can rosemary stay outside in a pot over winter?
That depends on the cultivar, local winter lows and exposure. Container roots are less protected than in-ground roots, so explain sheltering, insulating or moving the pot before severe frost rather than giving one universal temperature.
How do I grow rosemary from a cutting?
Use a healthy 8–10 cm non-flowering tip, remove the lower leaves and root it in a lightly moist, airy medium. Keep propagation separate from the main pot-size and watering advice.