How to Grow Mushrooms at Home: Kits, Bags, and First Harvest
A colonized oyster mushroom kit is the easiest way to get a first harvest at home: the growing block is already prepared, so you can focus on its species-specific opening and fruiting instructions. A grow bag gives you more control, but you’ll need to prepare suitable substrate, mix in spawn cleanly, and wait for it to colonize before fruiting.
For a first attempt, I’d choose the kit unless making the bag is part of the appeal. The extra control is real; so is the extra work. Here’s how to decide, set up the grow, and judge the first harvest without treating a calendar estimate as a promise.
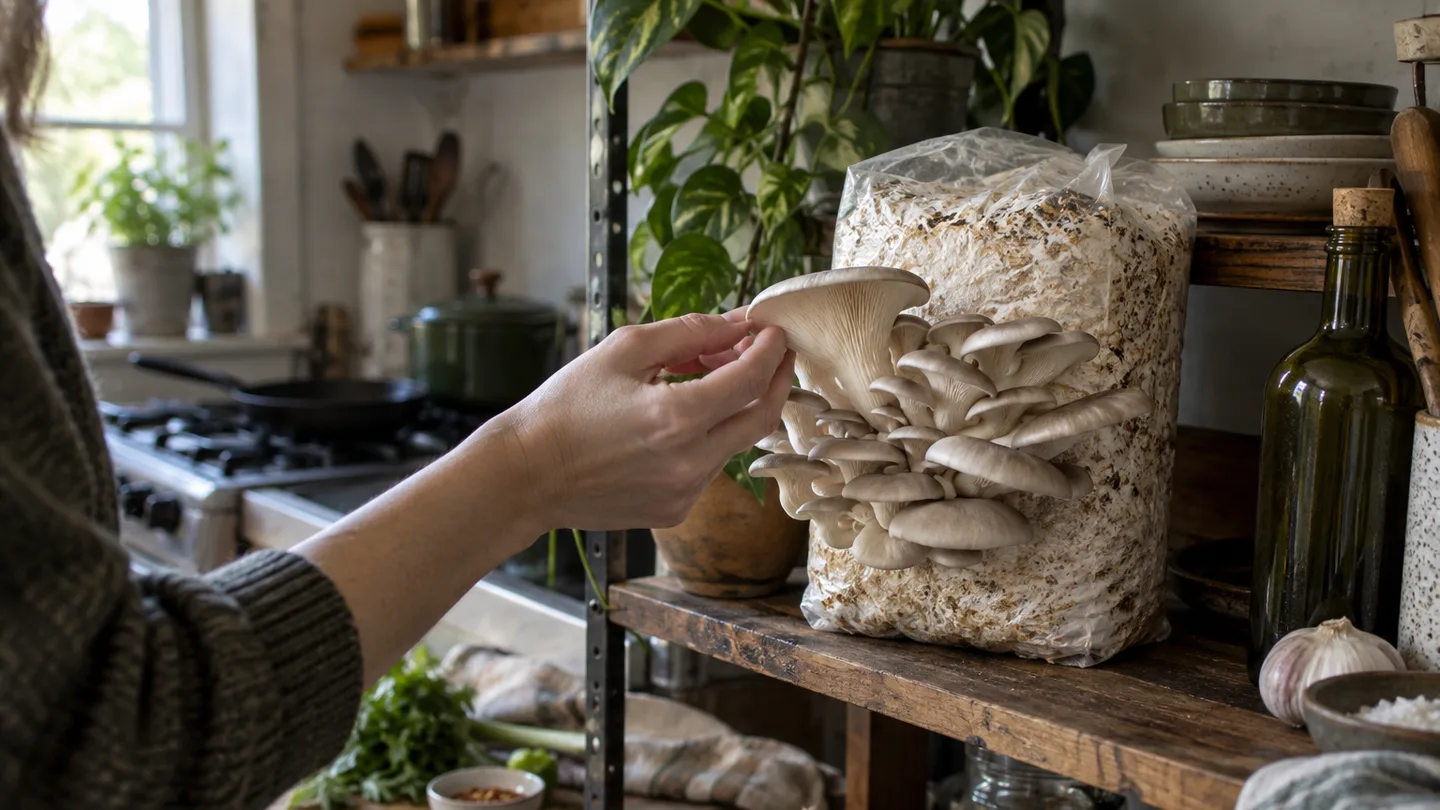
Choose your first route: an inoculated kit or a grow bag you build
A mushroom kit usually arrives with its substrate—the material the mushrooms grow from—already colonized by mycelium, the fine network of fungal threads. You follow the maker’s directions to expose the block to fruiting conditions. That removes substrate preparation from the job and leaves fewer handling steps where competing moulds can get a foothold.
A bag you build starts earlier. You choose a species, obtain compatible spawn (material containing living mycelium), prepare the substrate, let it cool if it was heat-treated, then mix in the spawn. The bag stays closed while the mycelium spreads. Each step is manageable, but more of the result depends on your materials and handling.
Choose a kit if you want the shortest route from unpacking to fruiting. Choose a bag if you want to learn how substrate, spawn, and cleanliness fit together, and you have a place where the inoculated bag can sit undisturbed. Either way, read the instructions before opening anything. Kits and spawn are not interchangeable recipes.
In a small home, the kit’s modest footprint is useful, but so is the ability to move it away from a sunny window or a heating vent. If you’re still choosing between mushrooms and a familiar container crop, fast growing vegetables in pots for beginners gives you another kind of first project to compare.
Start with oyster mushrooms if you want a forgiving first crop
Oyster mushrooms are a sensible first choice because they’re commonly sold in beginner kits and can grow on several plant-based substrates. A broad starting range often given for oyster fruiting is about 13–24°C (55–75°F). That range is not a guarantee for every strain, and it shouldn’t overrule the temperature guidance supplied for your particular kit.
Shiitake has a different rhythm and substrate preference; button mushrooms are typically grown on prepared compost. The species changes what the block is made of and how it should be prompted to fruit, so a generic “mushroom method” can send you in the wrong direction. If the label doesn’t name the mushroom, ask the seller before cutting or soaking the block.
For a balcony or apartment, I’d decide where the grow can sit before choosing based on a harvest photo. A stable indoor spot with indirect light and room for air to move is a better starting point than a sunny sill that overheats in the afternoon. For more edible options in limited space, see Easy fruits and vegetables to grow in pots.
Your kit’s first day: identify the fruiting instructions before cutting or soaking
Before changing the bag, find the species name and the maker’s directions. Look for instructions about temperature, light, openings, soaking, misting, or a humidity tent. Check the block for shipping damage or unusual growth as well. If it arrived badly broken or already looks suspect, take a photo and contact the seller before you start.
Kits are designed differently. Some fruit through a small opening already cut into the bag; others call for a new cut, a soak, or a tent that holds humid air around the block. A step that suits one design can work against another. Soaking because you saw it in a video is a poor bet unless your kit specifically calls for it and explains how.
During the first day, choose the site, make only the opening the instructions specify, and set up any supplied tent or tray. Keep the block out of direct sun and away from a radiator or strong draft. Photograph the directions before you discard the packaging; once the bag is opened, it’s easy to forget which side was meant to remain closed.
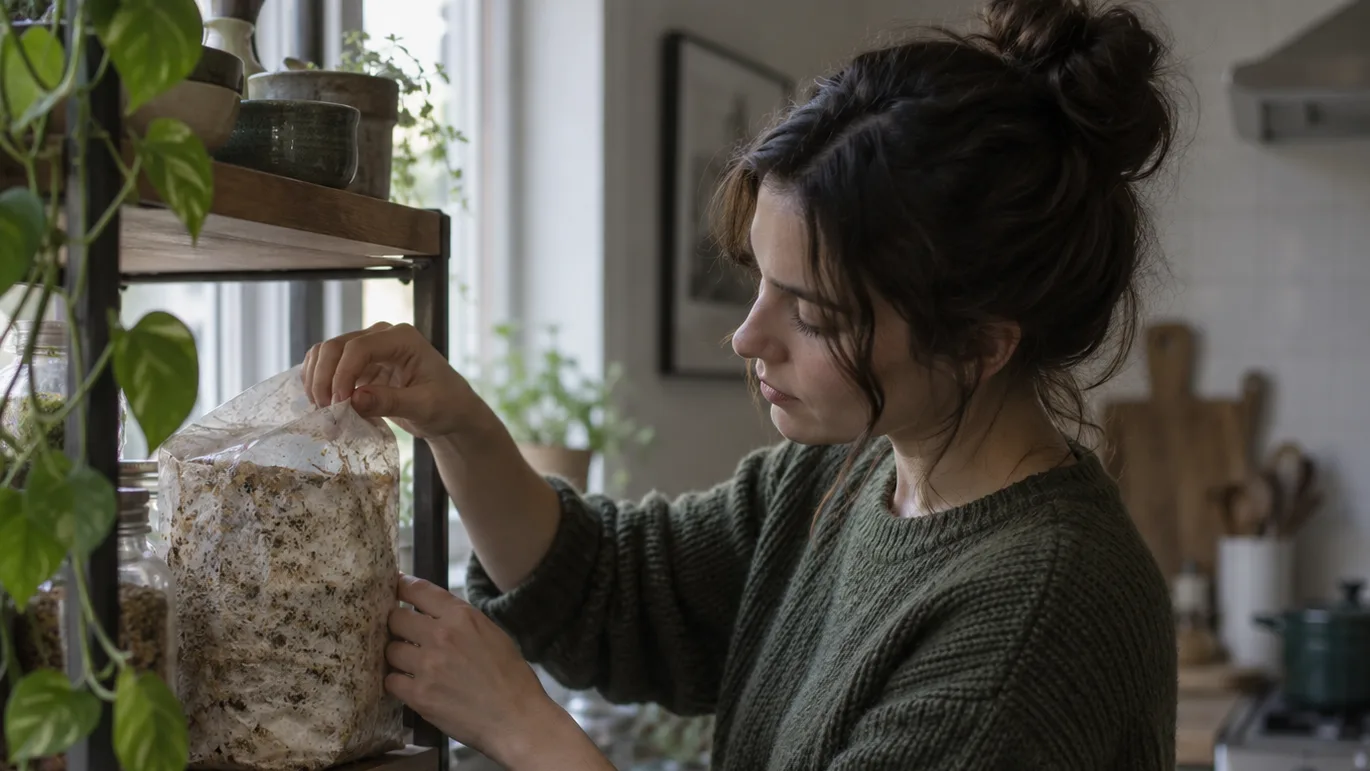
Set up a fruiting spot with fresh air, indirect light, and local humidity
Look for a place with reasonably steady room conditions, indirect daylight, and some air movement. Direct sun can heat and dry the block, while a heater or strong draft can make its surface conditions swing quickly. A shelf away from both is often easier to manage than a windowsill. Keep the kit somewhere you can check without shifting it around.
For oyster mushrooms, 13–24°C (55–75°F) is a useful broad starting range, not a universal setting. Species and strains differ, so use the kit’s range as your main reference. If your room sits outside it, first try another location rather than buying heating or cooling gear for one small block.
Think of humidity as a pocket around the developing mushrooms, not a reason to make the whole room damp. A kit tent or maker-approved enclosure can slow drying near the block. Follow its misting instructions; if misting is called for, keep the growing area from drying out without leaving the block waterlogged.
Air exchange matters alongside moisture. With too little airflow, oyster stems can stretch while caps stay small. A sealed, stagnant cupboard may hold moisture, but it makes a poor fruiting spot. Aim for an enclosure that retains some local humidity while allowing the air around it to be refreshed in the way the kit recommends.
Build a small oyster grow bag around the right substrate and spawn ratio
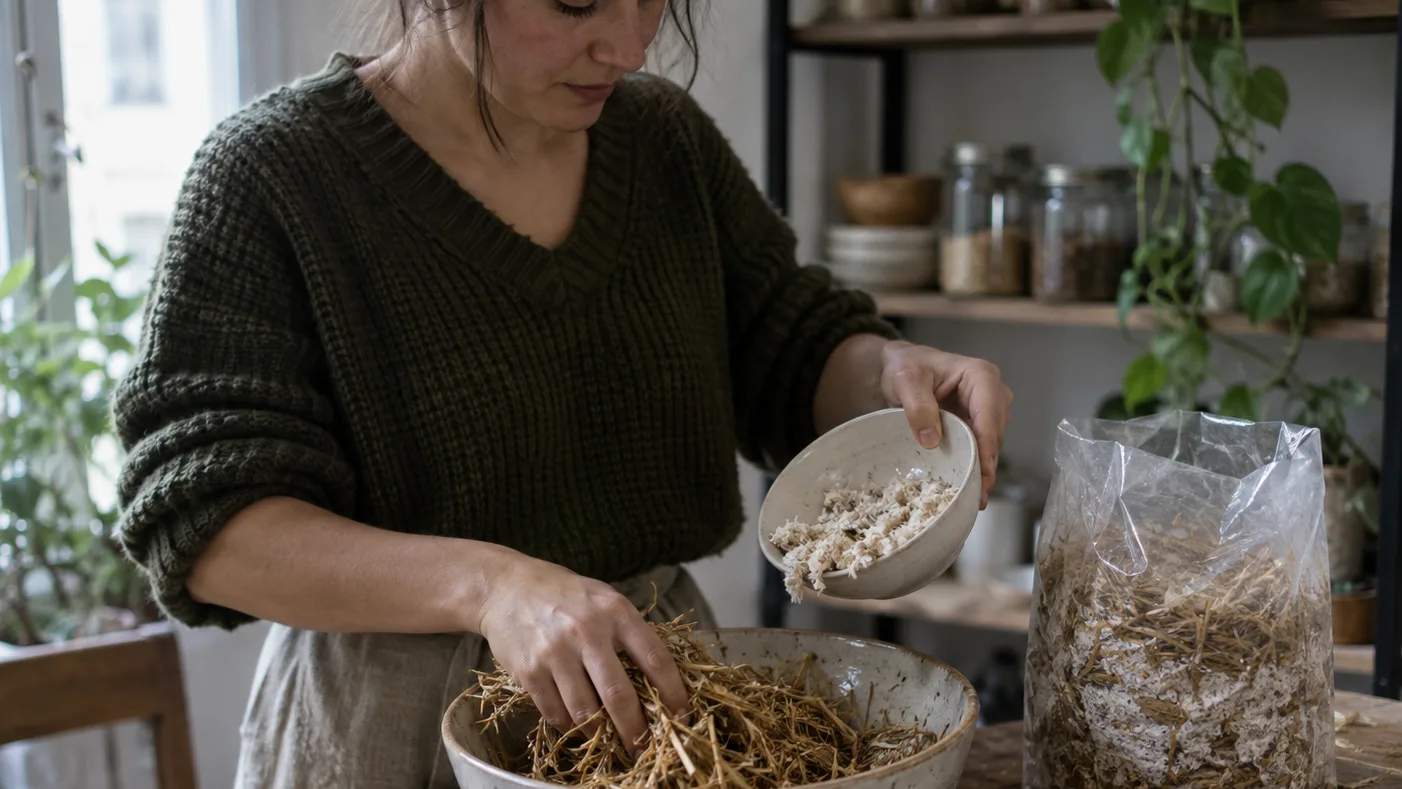
For a first bag, clean straw and oyster spawn make a fairly straightforward pairing. Straw is commonly pasteurized—a heat treatment intended to reduce competing organisms—while supplemented sawdust is generally sterilized and handled with cleaner inoculation practices. These treatments aren’t interchangeable. If you buy prepared substrate, follow its supplier’s directions rather than repeating a process it has already received.
A cautious starting amount for oyster spawn is about 5–10% of the wet substrate weight. For 1 kg (2.2 lb) of wet substrate, that means roughly 50–100 g (1.8–3.5 oz) of spawn. Treat this as a starting range, not a universal recipe: spawn type, substrate preparation, and supplier instructions can change what makes sense.
Moisture is easy to misjudge. Squeeze a handful of prepared substrate. It should feel damp and hold together; a few drops may escape, but a stream suggests it is too wet. Excess water fills the air spaces that the growing mycelium uses and can leave the bag soggy and sour. If the handful crumbles apart, the material may be too dry.
Here’s a practical planning example: for 1 kg of wet straw, weigh out 50–100 g of compatible oyster spawn. Check the straw by squeezing a handful, then let it cool fully after heat treatment before combining it with the spawn. Mix with clean hands or tools, fill a suitable bag, and close it according to the bag or supplier directions. That order matters: adding spawn while the substrate is still hot can damage the living mycelium you’re trying to grow.
I’d keep a first bag simple rather than adding several ingredients to chase a bigger harvest. A straightforward substrate makes it easier to spot what went wrong if the bag stays patchy, dries out, or develops an unpleasant smell. That diagnostic clarity is worth more than an elaborate recipe on a first attempt.
Wait for full colonization before opening the bag to fruit
Colonization is the period when mycelium spreads through the substrate. An oyster bag may take roughly 2–4 weeks under suitable conditions, but the calendar is only a rough guide. Look through the bag for substantial, even white coverage and follow the supplier’s directions about readiness.
Opening or cutting the bag while large areas remain bare leaves uncolonized substrate exposed before the intended crop has taken hold. That creates an opening for unwanted organisms. A patchy bag may simply need more time, so keep it closed, out of direct sun, and within the supplier’s suggested conditions while you wait.
A quick visual check is enough; there’s no need to handle the bag every day. Notice whether white growth is spreading, whether water is pooling heavily, and whether anything has appeared that looks or smells clearly wrong. Visible progress is a more useful guide than trying to make the bag meet a date on the calendar.
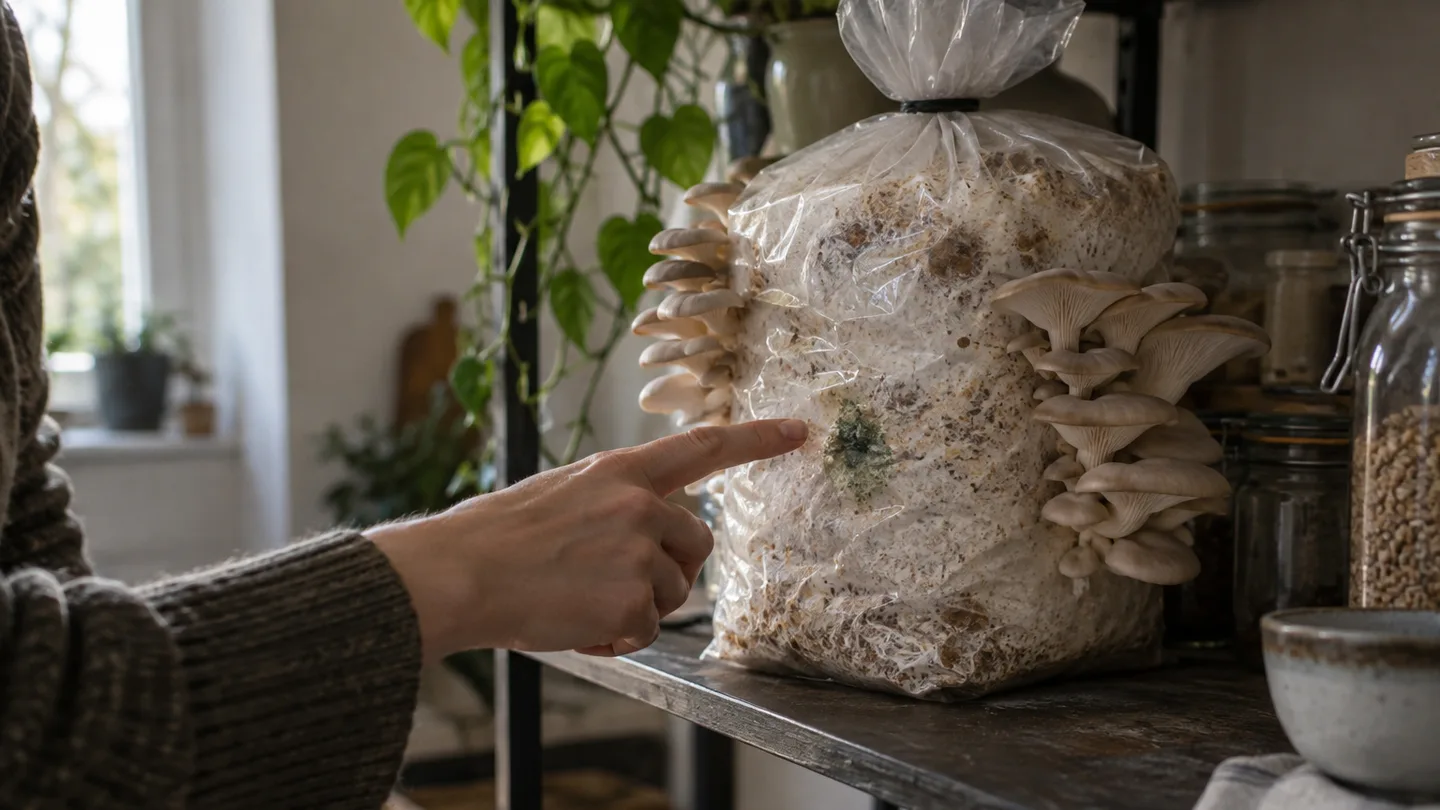
Green patches, slime, or a sour smell: when a bag is contaminated
Healthy oyster mycelium commonly appears white, but colour alone can’t identify every organism in a bag. A new green patch, slimy substrate, or a strong sour or rotten smell is a reason to treat the bag as suspect, especially if the change is spreading or the substrate has become wet and compacted.
Keep a suspect bag closed and separate from other grows. Avoid opening it indoors to investigate or scraping off a patch. Disturbing the substrate can spread material around the growing area, and removing the visible spot doesn’t establish that the rest of the bag is sound.
If the bag appears contaminated, discard it in a way that avoids carrying opened substrate through the home, then clean the surface where the closed bag sat. For a commercial kit with an early problem, send the seller a photo and ask whether the growth is expected for that product before disposal. One odd colour can be hard to interpret from a picture alone.
Pick the first cluster while oyster caps are still slightly curled
Look for developed oyster caps whose edges still curl gently. When the edges flatten or turn upward, the cluster is moving past that harvest stage and may release more spores. The pace depends on the growing conditions; after pins—the first tiny mushroom forms—appear, the cluster may develop over several days, but a fixed harvest date would be a guess.
Cut the cluster cleanly at its base with a clean knife, or use the kit maker’s harvest method. If you twist it free, remove the cluster as a whole rather than tugging individual caps and tearing at the block. This cue is specific to oyster mushrooms; a shiitake or button kit has different harvest signals.
Harvest when the caps are useful in size and their edges still curl slightly. Waiting for every cap to reach its largest possible size can leave the outer edges flat or turned upward by the time you get to them. Trim away substrate and store the harvest promptly; avoid sealing damp mushrooms in a wet container. The overview of mushroom cultivation offers broader context, but your kit’s instructions remain the guide for its block.
After the first flush: rest the block, then judge it by new pins
A flush is one wave of mushrooms. After harvesting, check the kit’s directions for a rest, misting, or rehydration step before expecting another. Some kits can fruit again, but the timing and amount depend on the species, the condition of the block, and how well its growing conditions have been maintained.
If the package gives an expected yield, treat it as the maker’s estimate for that product rather than a promise for your home. A block that has stopped producing, dried out badly, or developed suspect growth may be finished. Follow the seller’s disposal advice if contamination is a concern.
Fresh pins are a more useful sign of another flush than counting days since the first one. If none appear after following the kit’s rest or rehydration directions, give the block a visual check for dryness or deterioration and compare its condition with the maker’s guidance.
Keep moisture around the grow, not on every surface of the room
A small enclosure around the block can help hold a humid pocket, while ordinary room ventilation keeps the surrounding space from becoming persistently damp. Check nearby walls, windowsills, and stored belongings. If condensation keeps returning on room surfaces, improve ventilation or move the grow; misting more would add moisture where you don’t want it.
A bathroom can work if the location suits the species, has adequate airflow, and lets you keep humidity close to the block. A room that stays damp is not a substitute for a humid microclimate, and a surface that remains wet is a cue to change the setup.
For an edible crop, use a correctly identified commercial kit or purchased spawn. Don’t try to identify a wild mushroom by matching it to a photo. Before opening your kit, read the instructions from top to bottom and choose its spot; check the location again in a week for condensation, direct sun, and the first signs of pins.
Three quick questions before you start
Can you grow mushrooms from a supermarket mushroom stem?
Not reliably by planting the stem like a cutting. Growing from a grocery-store mushroom generally involves transferring living tissue under clean conditions to suitable material, then managing the resulting culture. For a first grow, purchased spawn or a kit removes several steps where contamination can enter.
Can coffee grounds be the only substrate in a grow bag?
I wouldn’t choose grounds alone for a first oyster bag. Used grounds can pack tightly, and a compact, wet substrate is harder to keep airy and assess. A species-matched prepared substrate or clean straw gives you a simpler baseline; a shortcut that makes the bag difficult to diagnose isn’t much of a shortcut.
Can you grow mushrooms in a bathroom?
Possibly, if the temperature and airflow suit the kit and you can keep the humid conditions around the block rather than the room. Keep an eye on windowsills and walls. If they stay wet or condensation builds up, move the grow or improve ventilation.
Frequently Asked Questions
Can you grow mushrooms from a supermarket mushroom stem?
Not reliably by planting the stem like a cutting. Growing from a grocery-store mushroom generally requires a clean tissue culture and suitable substrate; a beginner kit or purchased spawn is a more dependable starting point.
Can coffee grounds be the only substrate for a mushroom grow bag?
They are not the best beginner-only substrate: used grounds can compact and contaminate readily. Recommend a species-matched prepared substrate or clean straw for a first oyster grow, and avoid presenting coffee grounds as a guaranteed shortcut.
Can you grow mushrooms in a bathroom?
Possibly, if the spot has suitable temperature and airflow and the grow’s humidity stays contained. A damp room or a surface that stays wet is not a substitute for a humid microclimate around the block.