How to Grow Sprouts Safely: A Jar-Rinsing Routine, Step by Step
For a 1-quart (about 1 L) jar, start with 1–2 tablespoons (15–30 mL) of small sprouting seed, rinse it 2–3 times a day, and drain the jar completely each time. That routine can grow a crisp batch; it cannot make raw sprouts risk-free.
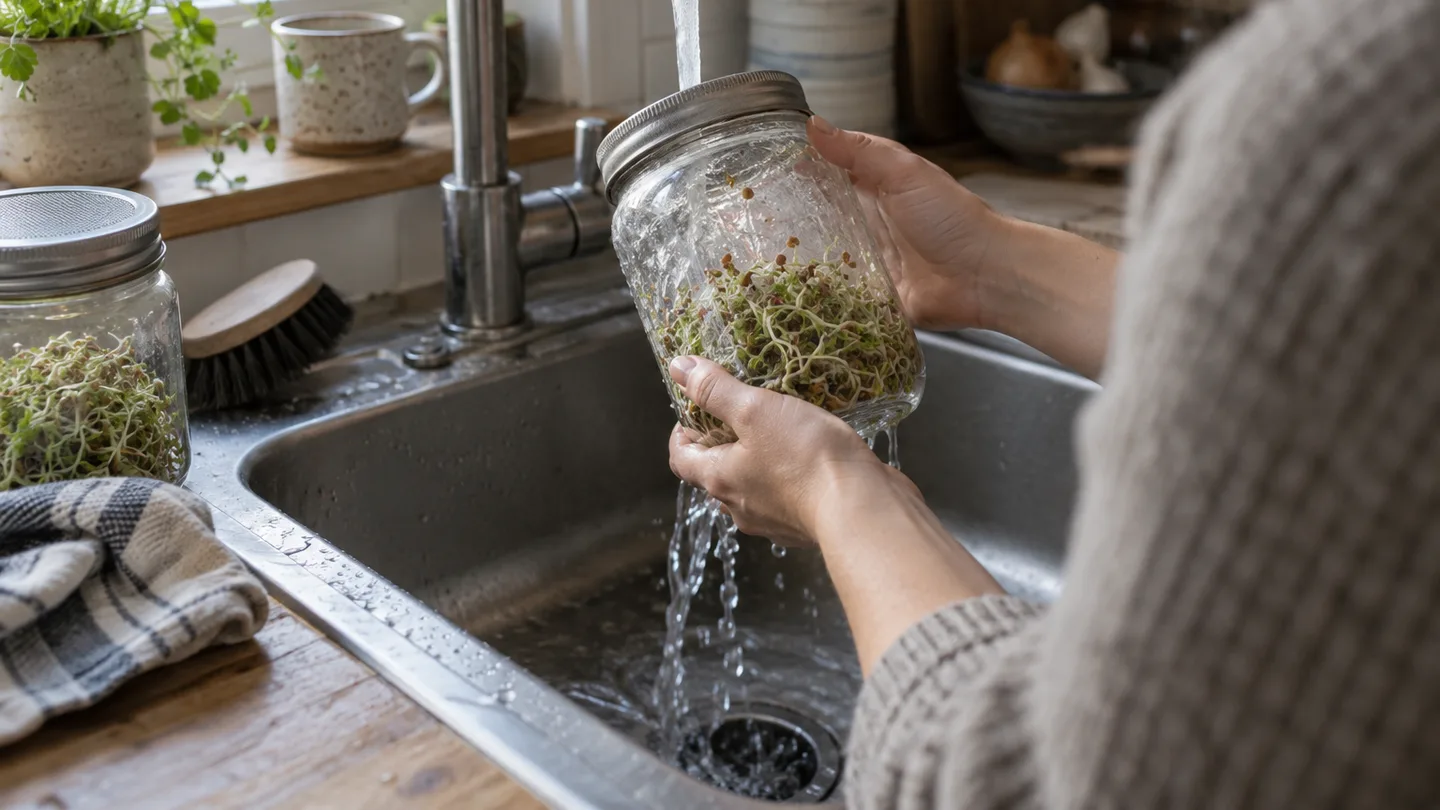
The safety boundary: rinsing cannot make raw sprouts risk-free
Sprouting asks seeds to stay warm and wet long enough to wake up and grow. Those same conditions can also support bacteria if contamination is present. Rinsing helps remove loose debris and keeps the batch from sitting in its own water, but it is a growing step, not a kill step. Bacteria may be present without changing the sprouts’ smell, color, or texture.
Food-safety guidance from the FDA and CDC discusses Salmonella, pathogenic E. coli, and Listeria in connection with raw sprouts. Check their current pages for the wording and advice they give now; I wouldn’t use a home jar routine as a substitute. The FDA guidance on sprout food safety and CDC advice on raw sprouts are useful starting points.
If you’re pregnant, very young, older, or have a weakened immune system, check that current guidance before serving sprouts. The cautious choice is to avoid raw or lightly cooked sprouts and serve them thoroughly cooked instead. Cooking is a safer serving choice, not a promise that mishandling beforehand no longer matters.
That’s the boundary I keep in view: the routine below is about growing and handling a batch carefully. It does not certify the batch as pathogen-free.
Choose sprouting seed and a jar that can drain completely
Buy seed sold for sprouting or eating, and follow its package directions. Don’t substitute seed intended for planting in a garden unless the label confirms it is suitable for food use; garden seed may have been treated or handled for a different purpose. If you’re actually looking for growing microgreens at home, that’s a different setup: microgreens are grown in a tray and cut above the medium, while jar sprouts are eaten as a young seed-and-root growth.
A clean, wide-mouth, food-safe 1-quart (about 1 L) jar is a practical starting point for a small home batch. Fit it with a washable mesh lid that locks securely in place. The mesh needs to hold the seeds while letting rinse water escape; a lid that traps water defeats the point. Check that the rim and lid are undamaged and easy to scrub.
For small seeds, begin with about 1–2 tablespoons (15–30 mL). They swell as they take up water and then occupy more room as they sprout. A crowded jar has less open space for air and is harder to rinse and drain evenly. For larger beans, use the seed supplier’s specific amount rather than squeezing the same volume into the jar.
Worked example, not a reported trial: picture 1 tablespoon of alfalfa seed in the jar. After soaking, the seeds spread across the bottom; as roots develop, they form a loose mass. If you had started with several times that amount, the same jar could become packed, making it harder to see whether water is draining through the whole batch. I’d rather start small and learn how that seed fills the jar than try to rescue an overfilled one.
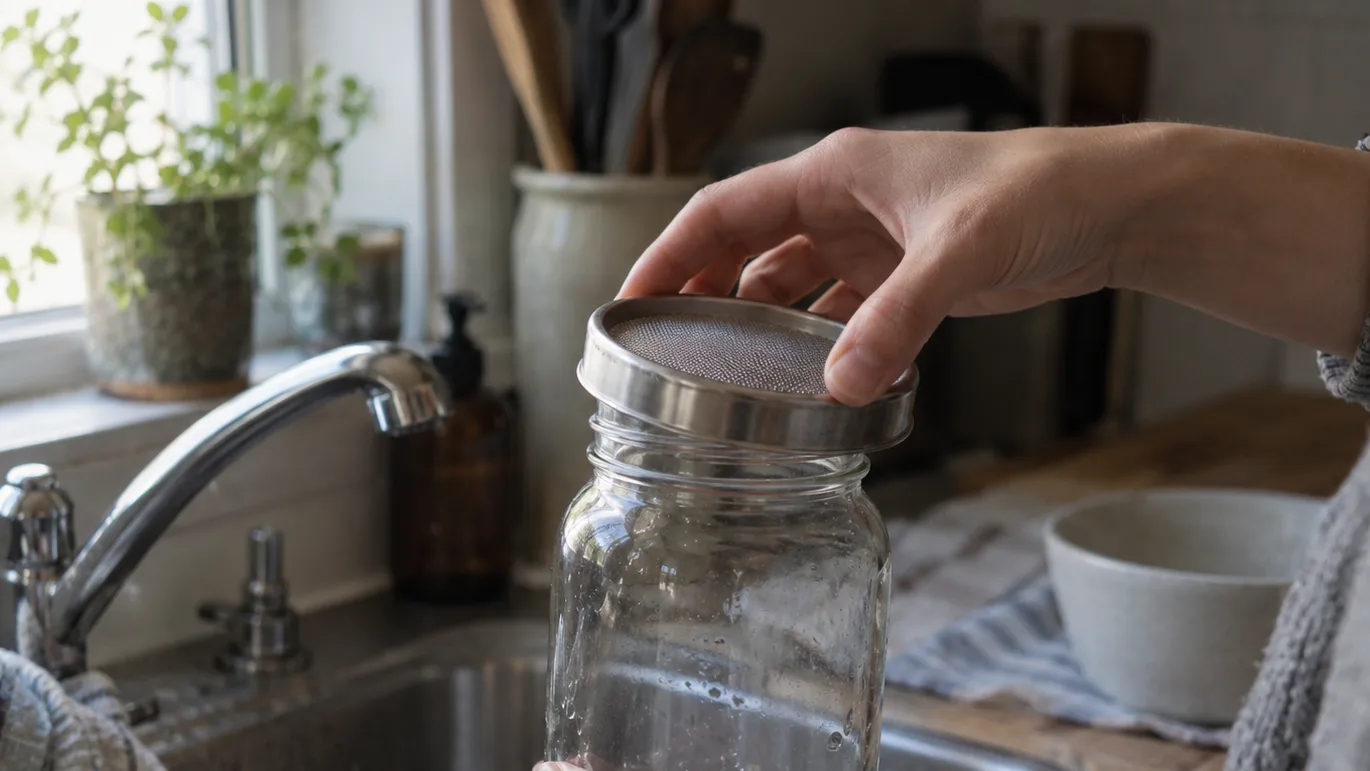
Soak by seed type, then drain before the first rinse
Use potable drinking water and leave room for the seeds to expand. For many common sprouting seeds, an 8–12 hour soak is a reasonable starting range, but it isn’t a rule for every seed. The packet’s directions take precedence, especially for larger beans or seeds that need a different preparation.
Put the measured seed in the jar, cover it with water, and let it soak for the stated time. Then tip the jar and let the water run out fully before beginning the rinse routine. Don’t leave the seeds sitting in their soak water while you get on with the rest of the day: draining gets rid of the used water and gives the seeds access to air between rinses.
If the instructions call for a different method, follow them rather than forcing the seed into a standard jar schedule. Seed type, size, and the supplier’s directions are the decision points here. If you’re cleaning up reusable gear for seed starting, the same general habit of removing seed debris before it dries is useful, though edible sprouts need a food-safe jar and lid.
The daily jar routine: rinse 2–3 times and drain fully each time
Set the jar somewhere clean and out of the way of raw meat, dirty dishes, and splash from the sink. Wash your hands before handling the lid or seeds. Use cool potable water, add enough to move through the seeds, and gently swirl so the batch is rinsed rather than battered. Tip the jar and let the water run out.
- Rinse. Add cool drinking water, swirl gently, and turn the jar so water reaches the seeds.
- Drain. Empty the jar completely. Don’t leave a puddle in the bottom.
- Rest it mouth-down at an angle. Prop the jar so water can escape and air can move through the mesh. Keep it stable, with the opening lower than the base.
- Repeat. A common routine is 2–3 rinses a day; follow the seed supplier’s directions if they differ.
The angle matters. Mouth-down but flat against a surface can block airflow at the opening or leave water trapped in a low spot. A stable tilt lets the last drops drain while keeping the seeds in the jar. If you see water collecting after you’ve set it down, adjust the angle rather than adding another rinse to compensate.
For a practical check, use a hypothetical 1-tablespoon alfalfa batch: on day four, you might find a pale, loose tangle of seeds and short roots with a little condensation on the glass. That’s a useful prompt to check the drainage and compare the growth with the seed packet, not evidence that the batch is safe. If the jar is wet at the bottom after each rinse, fix the resting position first.
Clean water and regular rinsing are sensible handling steps; neither one proves the sprouts are free of harmful bacteria. Don’t increase rinsing indefinitely as a supposed safety fix. The goal is to rinse according to directions, then drain thoroughly.
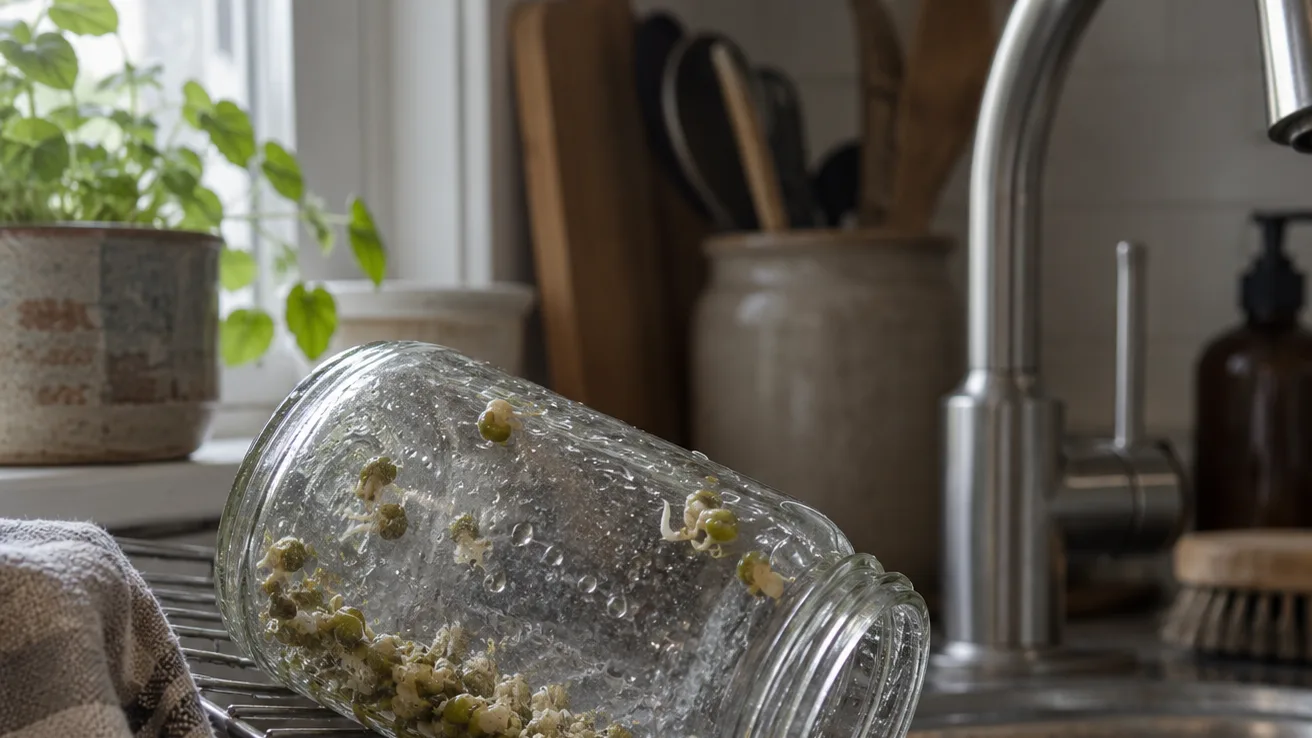
Use the 3–7 day window as a guide, not a harvest guarantee
Many sprouts reach a harvestable form within roughly 3–7 days, but seed type and growing conditions change the pace. Use the packet’s guidance and decide what size and texture you want. Check the batch each day rather than treating a particular date as proof that it is ready—or safe.
Most sprouting seeds don’t need direct sun to begin germinating. A bright, hot windowsill can warm the jar more than you intend, so choose a clean spot away from intense sun and heat. You still need a place where the jar can drain and where you’ll remember to rinse it. Convenience matters: a jar tucked behind appliances may be out of sight when it’s time to drain.
As an example, if you start a small alfalfa batch on Monday, use the seed instructions as your guide and begin checking its shape after a few days. Harvest when it has the form you want, not because the calendar has reached a target day. If it’s still very short, give it more time only if the batch looks and smells normal and your supplier’s directions allow it; if it shows spoilage, discard it instead.
When a batch looks or smells wrong, discard it—never taste-test it
Slime, a rotten or otherwise unpleasant odor, or concerning fuzzy growth are reasons to discard the whole batch. Don’t pick out the worst-looking seeds and keep the rest. Empty the jar carefully, then wash the jar, mesh lid, and nearby surface before starting again.
Some sprouts can have fine root hairs that look fuzzy when they’re wet. That visual detail can help explain what you’re seeing, but it isn’t a dependable home test for safety. If you can’t confidently distinguish normal root growth from concerning growth, discard the batch. Don’t taste a questionable sprout to decide whether it is spoiled.
The reverse is just as important: normal-looking sprouts with no odd smell can still carry harmful bacteria. Appearance and smell can tell you to reject an obviously spoiled batch, but they can’t rule out contamination. That’s why the safety decision belongs partly in your choice of serving method, not only in what you see in the jar.
Harvest cleanly, refrigerate promptly, and cook thoroughly when serving
When the sprouts have reached the form you want, wash your hands and use clean utensils to lift them out. Transfer them to a clean, covered container and refrigerate promptly. Keep the refrigerator properly cold; check your appliance thermometer and current USDA refrigerator-storage guidance rather than relying on a temperature quoted here. Refrigeration slows deterioration but does not remove pathogens.
There isn’t a fixed shelf life that I’d promise for every home batch. Seed type, how completely the sprouts drained, how cleanly they were handled, and how cold they stayed all affect how they hold. Use them while fresh, and discard them if spoilage signs develop. Don’t try to save a questionable batch by rinsing it again or chilling it.
If you choose to serve sprouts, cook them thoroughly rather than merely warming or lightly blanching them. For anyone at higher risk from foodborne illness, avoid serving them raw or lightly cooked and consult current food-safety advice. The CDC and FDA pages linked above are the right places to check for current recommendations; this jar routine can’t replace them.
Reset the jar and rinsing station before the next batch
After handling a batch, wash the jar, mesh lid, and nearby work surface with hot, soapy water. If the equipment is marked dishwasher-safe, you can use the dishwasher according to its instructions. Let everything dry fully before putting it away or beginning another batch.
Seed skins and damp residue can cling around the lid and jar rim. If you leave them there, the next batch starts with old debris in the very places you’ll touch during rinsing. Scrub the mesh openings and the underside of the lid, then check the rim for any residue you can feel or see. Clean equipment reduces leftover debris and cross-contamination risk, but it can’t guarantee that a future batch is safe.
Before you buy seed for the next round, check the label for sprouting or food use, then set out a clean jar and lid. In a few days, look at the drainage after a rinse: the jar should be empty of standing water, with the seeds resting in a loose layer rather than a packed plug.