Seed Starting in Containers: A Simple Setup for Strong Plants
A 5–7.5 cm (2–3 in) deep cell or pot with drainage is enough for many seedlings that you’ll pot on within roughly 2–4 weeks. The bigger pot people reach for first can make the job harder, because a small root system may sit in a large volume of wet mix for too long.
That’s the useful answer for most balcony seed starting: start small, give the emerging plant more light than a one-hour sunny window usually provides, and move it before the root plug becomes a tight, circling mass. You don’t need a greenhouse or a bench full of equipment. You need a clean container, airy mix, a catch tray, and a place where wind and light are under your control.
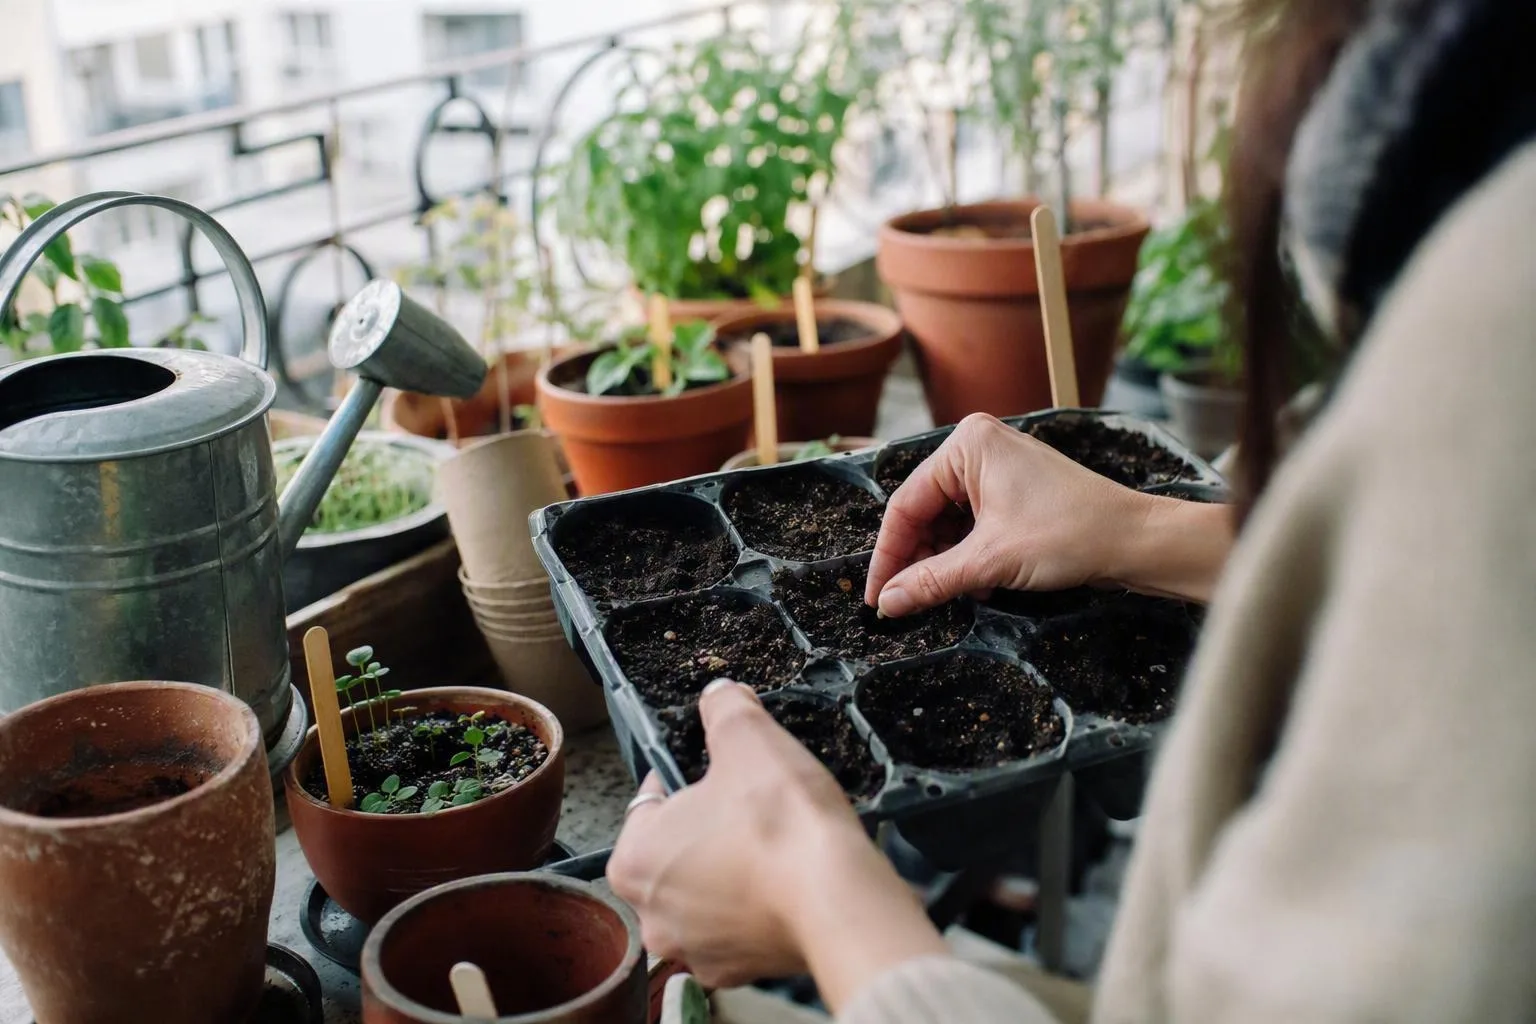
The smallest setup that still gives seedlings a fair start
For my purposes, a fair start means the seed has enough damp, oxygenated mix to germinate, and the seedling can make a short root plug before its next move. A 5–7.5 cm (2–3 in) deep cell or pot meets that brief for many quick crops and for starts I expect to pot on after a few weeks.
A large container is not automatically generous. In a small cell, roots occupy only a little of the mix at first. The unused mix still holds water, so the centre of the pot can remain wet after the surface looks dry. That combination gives you a misleading moisture signal: you water because the top looks pale, while the roots below are short of air.
I’d use a shallow cell tray for lettuce, brassicas, basil, and many flowers that will be moved on promptly. I’d give a slow-growing start more room if it must remain indoors for a long stretch. Cucumbers, squash, and other plants that can sulk after root disturbance are worth sowing in individual cells or a slightly roomier pot, then moving with the plug intact.
Keep the tray narrow enough to lift when a storm is coming, but heavy enough that a balcony gust won’t tip it. A catch tray protects the sill or paving; it isn’t permission to leave the pots standing in water. If you’re building your first setup, container gardening for beginners is a useful companion to this more specific seed-starting plan.
Three container checks before you sow: depth, drainage, and clean material
I check the outlet before I think about the seed. Here’s the comparison I use as a shopping-aisle guide. The volumes are working ranges because cell shapes taper, and a square cell rarely holds the same amount as a round one with the same depth.
| Container | Useful depth | Approximate usable volume | What I check |
|---|---|---|---|
| Reusable cell tray | 5–7.5 cm (2–3 in) | About 50–250 ml (1.7–8.5 US fl oz) per cell | Cells have open outlets and are not packed with old roots. |
| Tapered 9 cm (3½ in) nursery pot | About 7–9 cm (2¾–3½ in) | About 0.4–0.6 L (0.4–0.6 US qt) | The hole is clear and the pot is not much deeper than the plug needs. |
| Clean food container or cup | About 7–10 cm (2¾–4 in) | About 0.2–0.7 L (0.2–0.7 US qt) | The plastic is sound, the container is food-use material, and holes can be added. |
| Shallow paper carton | About 3–5 cm (1¼–2 in) | About 0.1–0.5 L (0.1–0.5 US qt) | It is a short-term option and will not soften before the seedling moves. |
A typical tapered 9 cm pot works out near this range from its diameter and depth: a straight-sided cylinder would hold more, while the taper reduces the usable volume. Small cells vary much more than their labels suggest, so I judge them by depth, outlet, and whether the plug will lift intact rather than by the number printed on the tray.
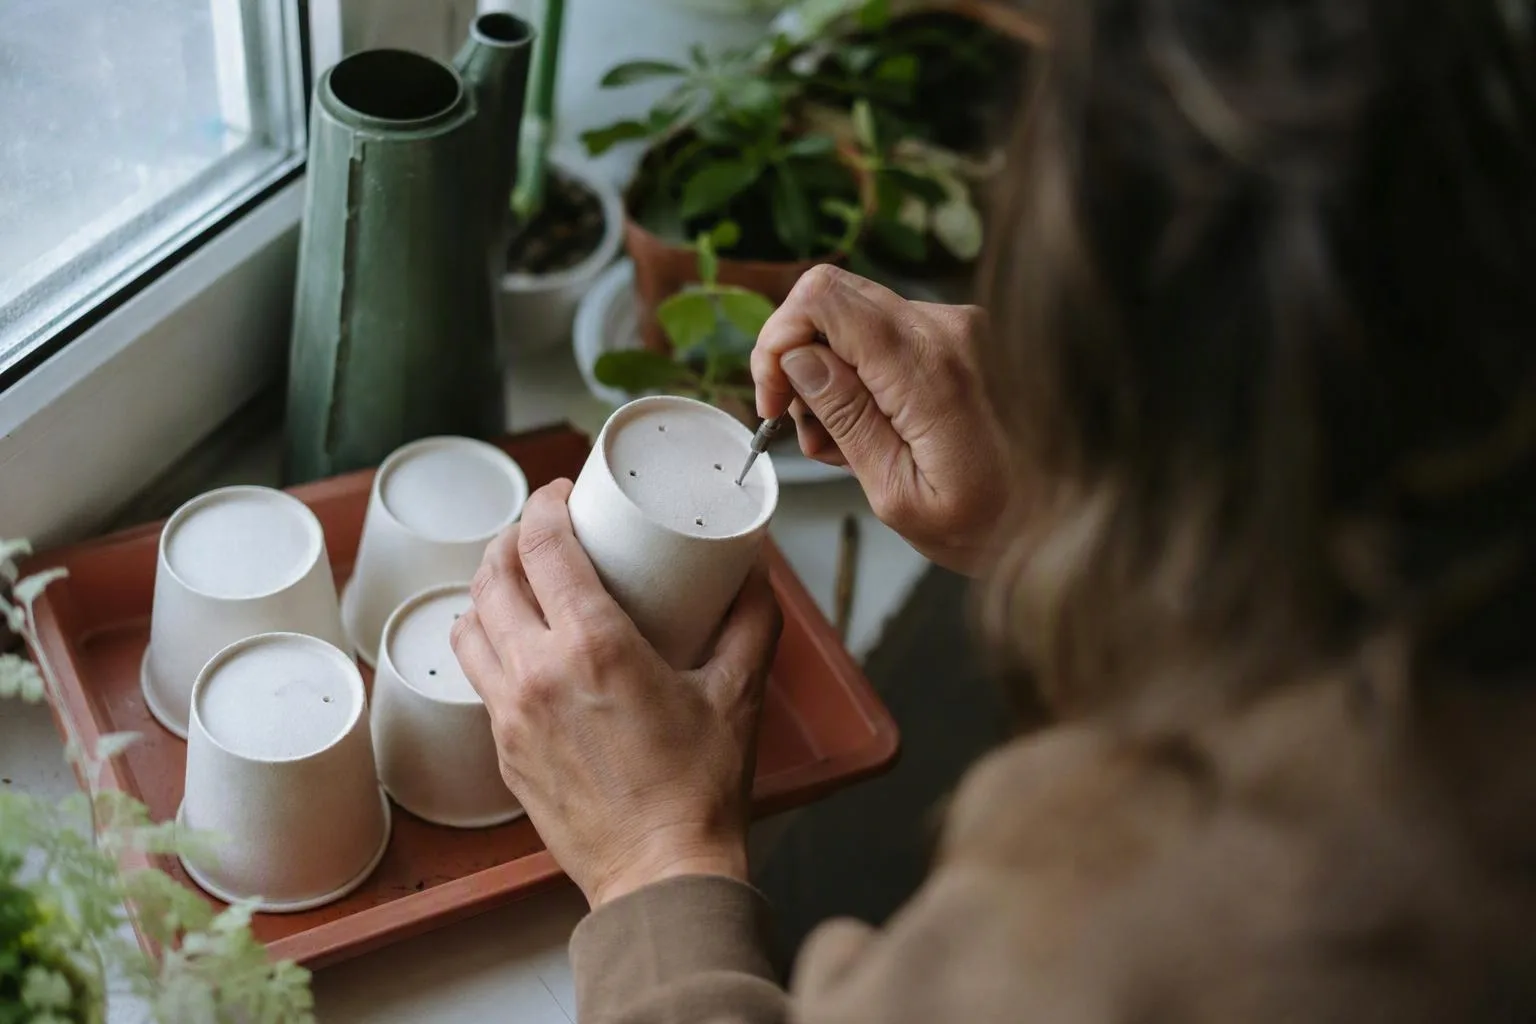
To reuse a food cup, wash it, make several 3–6 mm (⅛–¼ in) holes through the base, and test one with water before filling the rest. The holes need to let surplus water leave; they don’t need to turn the base into a sieve. I treat anything that held chemicals, solvents, or an unidentified cleaning product as unsuitable. A decorative glaze is not automatically food-safe either, so I use a plain nursery pot for edible seedlings unless the maker states otherwise.
Skip the gravel layer. The problem is the perched water table, which is simply a layer of saturated fine mix that remains above a coarse layer or a restricted outlet. Fine potting particles hold onto water at that boundary instead of draining into the gravel as people expect. Gravel also takes away root-zone volume. Clear holes and a suitable mix solve the drainage problem more directly; my guide to drainage holes in pots covers the same decision from the pot side.
Potting mix is the root zone: airy, fine, and pre-moistened
New roots need a mix that is fine enough for close seed contact, holds moisture without becoming a paste, and leaves air spaces after watering. I look for a seed-starting mix with a uniform texture rather than a bag full of large bark pieces. The point isn’t a particular brand or recipe; it is a root zone that drains excess water while retaining a damp film around the seed.
Garden soil is a poor default for a small cell because its fine particles and clay can settle into a dense plug. It may also bring weed seeds and organisms that are less troublesome in open ground than in a crowded, humid tray. If you’re comparing materials in a shop, container gardening soil explains why a labelled potting mix behaves differently from soil dug from a bed.
- Measure the dry mix loosely, then moisten it in a separate tub until it feels evenly damp.
- Fill the cells to about 1 cm (½ in) below the rim, without compressing the mix.
- Settle it with a light tap, top up any hollow, and make the sowing surface level.
Pre-moistening matters because a dry, peat-heavy mix can repel the first watering and leave a wet outside with a dry centre. One litre (1.06 US qt) of mix will fill about two 9 cm pots or several small cells, depending on their shape and how loosely you fill them. I buy a little more than the calculation suggests so I’m not tempted to press the final pots hard to make the bag stretch.
A low-fertility seed mix is useful at the start because a fresh root is easily irritated by excess salts. Once the first true leaves appear, I check the mix label and the plant’s colour and growth. If the mix contains little or no available feed, I begin a weak, label-directed feed rather than feeding a newly germinated seedling on a fixed calendar.
Sow by seed size, then solve the light problem
A practical sowing rule is to cover many seeds with roughly two to three times their own diameter. That means a large bean goes deeper than a tiny herb seed. Dust-fine seeds are often surface-sown and gently pressed onto damp mix, because a thick cover can leave the shoot without enough stored energy to reach the surface. Use seed-packet instructions for sowing depth and germination temperature as the deciding reference for unusual seeds.
After sowing, firm the surface gently with a flat label or fingertip. Firming is not tamping: you’re closing air gaps around the seed so it touches damp mix, not turning the whole cell into a brick. Label the crop and date immediately. A tray of unlabeled green shoots becomes a guessing game faster than most people expect.
The difficult part on a balcony is usually not the seed. It is light. One or two hours of direct sun can be enough to keep a shade-tolerant established plant alive, yet still leave new seedlings tall, thin, and leaning because the light is weak or arrives from one side. A stretched stem is the plant putting distance between its leaves and an inadequate light source; more fertilizer won’t correct that geometry.
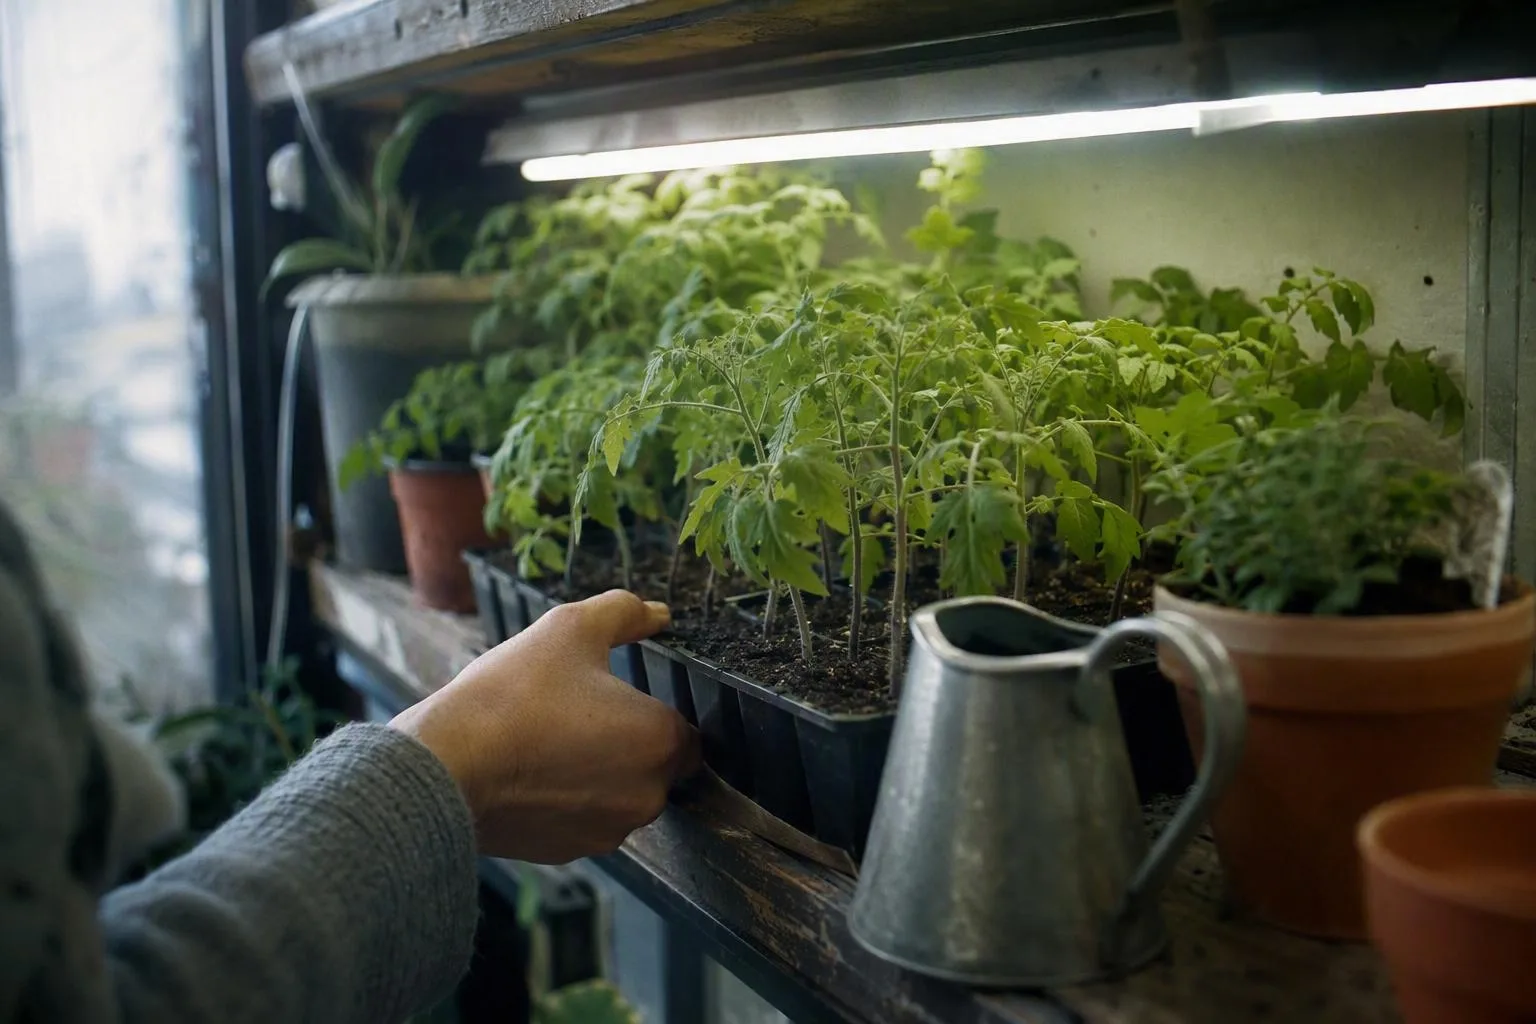
For a small LED grow light, I’d start with the lamp about 10–15 cm (4–6 in) above the foliage only if its instructions allow that distance without heat stress. A working starting period is roughly 14–16 hours of light followed by a dark period overnight. The correct distance changes with lamp strength, reflector design, and heat, so the leaves—not a ruler alone—settle the adjustment. If stems stretch, lower the lamp within its safe range or improve the light; if leaves bleach, curl, or feel hot, raise it.
The germination window: warmth, cover, and the first green shoot
Warmth and light solve different problems. Warmth helps a viable seed begin its internal process; light becomes urgent as soon as the shoot and seed leaves emerge. As a starting range, many cool-season crops germinate around 15–21°C (60–70°F), while many warm-season crops prefer about 21–27°C (70–80°F). These are not replacements for the crop-specific packet directions.
A clear cover keeps the surface from drying while seeds are waking. I remove or vent it at the first signs of emergence rather than leaving a closed, humid pocket around the stems. The cover has done its job once the shoot is up; the next job is airflow and light.
A thermostatic heat mat earns its place when the room or windowsill is consistently below the preferred range for a warm crop. It is less useful for a cool crop that already has suitable room temperature. A radiator can warm the tray unevenly: the base dries quickly while the top stays patchy, and the surface may need more frequent checking. Keep electrical equipment dry and follow manufacturer safety and distance guidance for both a lamp and a heat mat. For another reference, I keep extension guidance on damping-off prevention, sanitation, and airflow beside the tray rather than relying on a closed dome.
Watering the plug without drowning it
Don’t put seedlings on a daily watering schedule. Use a short decision process:
- Water the mix before sowing, so the first watering does not wash seeds into a corner.
- After sowing, use a fine surface spray for very small seeds, or stand the tray in shallow water for about 10–15 minutes.
- Lift the tray and empty the catch tray. The plug should be evenly damp, not glossy-wet or dripping.
- Before watering again, check the top 0.5–1 cm (¼–⅜ in), feel the container’s weight, and inspect a spare cell if you need to see below the surface.
A small plastic cell in warm light may need checking daily. A larger glazed pot in part shade may go several days between checks. Terracotta loses water through its sides, while plastic does not; wind increases evaporation from the mix and from leaves. Those conditions change the interval, which is why a fixed schedule is less useful than the weight-and-surface check.
The two main failures have opposite mechanisms. If the plug dries during germination, the new root loses contact with the damp mix and can stop before the shoot establishes. If the mix stays saturated, water fills the air spaces that roots need for respiration. A seedling can then wilt in wet compost—not because it needs another drink, but because its damaged roots cannot move water properly. Airflow helps by reducing the persistently damp film on stems and surfaces; it should move the air gently, not batter the leaves.
On my own balcony setup, I once treated bottom watering as a set-and-forget chore. I left a small plastic tray sitting in its saucer after the cells had absorbed water, and the mix stayed heavy while a green film appeared on the surface. Emptying the saucer, opening the cover, and moving a little air across the tray corrected the conditions; the lesson was simple: bottom watering controls how water enters, but draining the tray controls how long roots remain surrounded by it.
From cell to patio pot: pot-up timing and 7–10 days of hardening off
Look for a plant with about 2–3 true leaves, or for a root plug that holds together when lifted and has roots reaching the edge without forming a tight circle. The first seed leaves are cotyledons; they feed the young plant but are not the same as the later true leaves, which look more like the crop’s normal foliage.
I usually move most starts into a 10–15 cm (4–6 in) pot, roughly 0.5–2 L (1–4 US pints), when they reach that stage. That is my working range, not a universal container law: I use the smaller end for a short stay and the larger end for a crop that must wait longer or is being grown on before its final patio pot. A root-sensitive crop may be better moved once, carefully, than shifted through several increasingly large containers.
Keep the order simple. Water the cell first, loosen the plug from below, set the seedling at the crop’s correct depth, fill around it without burying a stem that should remain above the mix, and water the new pot once. Then return it to bright but protected light for a day or two. This order keeps the root ball from crumbling while you handle it and settles fresh mix around the roots before strong sun or wind pulls moisture away.
Hardening off is the gradual change from protected indoor conditions to outdoor light, wind, and temperature. In my sheltered spot, I start with 1–2 hours outside in shade, add a little gentle morning light over the next few days, and increase the time and exposure across 7–10 days. I bring the pot back in if leaves wilt repeatedly, wind rocks the stem, or the mix dries much faster than expected. A cloudy, sheltered balcony may allow faster progress; a dark, high, windy balcony needs a slower one. I skip outdoor exposure when frost or crop-inappropriate cold is forecast.
When seedlings go wrong: a symptom → cause → fix chart
Seedling problems often look alike above the mix, so I check the root-zone condition before adding feed or water. This is the order I’d use with the plant in front of me.
| What you see | Cause to check | Immediate fix |
|---|---|---|
| Tall, thin, leaning stems | The lamp is too far away, the window light is one-sided, or seedlings are crowded. | Move the light within its safe range, space the plants, and rotate the tray if the window is the only source. |
| Green or white growth on the mix | The surface is staying wet and air is stagnant. | Vent the cover, let the surface dry slightly, improve gentle airflow, and stop watering by the calendar. |
| A stem pinches at the soil line, then collapses | Possible damping-off in a wet, crowded setup. | Remove the collapsed seedling, improve sanitation and airflow, and correct drainage rather than re-wetting the whole tray. |
| Wilting while the mix is wet | Roots may be short of air because the plug is saturated or the outlet is blocked. | Check the holes and catch tray, let excess water leave, and inspect roots in a spare cell before watering again. |
| Yellowing after the first true leaves | The mix may have run low on available nutrition, or roots may be damaged. | Check the mix label and roots; feed cautiously only if the root zone is sound and low in nutrients. |
| Seeds do not emerge | They may be too deep, too cold, too dry, too wet, or past their useful storage life. | Review the packet, inspect one cell, and correct one condition at a time instead of flooding the tray. |
Damping-off is a useful name for a pattern, not a diagnosis you can prove from one wilted plant. The visible clue is often a weakened stem at the mix line followed by collapse, but poor drainage, stale air, and overwatering can sit behind the same scene. That is why discarding a collapsed seedling and correcting the tray is more sensible than repeatedly adding water.
My next physical step would be small: label one tray, check its moisture and lamp distance after 48 hours, and write down what you find. By the end of the first week, I want compact stems, leaves with an even colour, and mix that is damp rather than permanently dark. If the stems are already reaching sideways, change the light before buying another product.