Growing Microgreens at Home: The Tray, Light and Water Basics
A 10 × 20 in (25 × 51 cm) tray is the practical starting point for growing microgreens at home. It gives a young crop enough shallow root room, fits on a generous windowsill or counter, and works with a catch tray. A deep flowerpot usually gives you extra wet growing medium to manage rather than a better harvest.
The nominal tray footprint is about 200 square inches, or roughly 0.13 m². Allow a little extra space around it so you can lift the tray, pour off runoff, and reach the stems without brushing against a wall or window. The growing surface needs to be waterproof and stable. A laminated counter, glazed tile or plastic shelf is a better choice than unfinished wood.
My practical setup check is a dry run before sowing. I place the empty tray and catch tray where I want them, tip the tray gently to see whether it rocks, then add water and watch for drips. That short check catches the annoying problems early: a tray sitting across an uneven sill, runoff heading toward an electrical outlet, or a surface that cannot handle the wet load. The catch tray collects water that leaves through the drainage holes; it is not meant to hold water permanently.
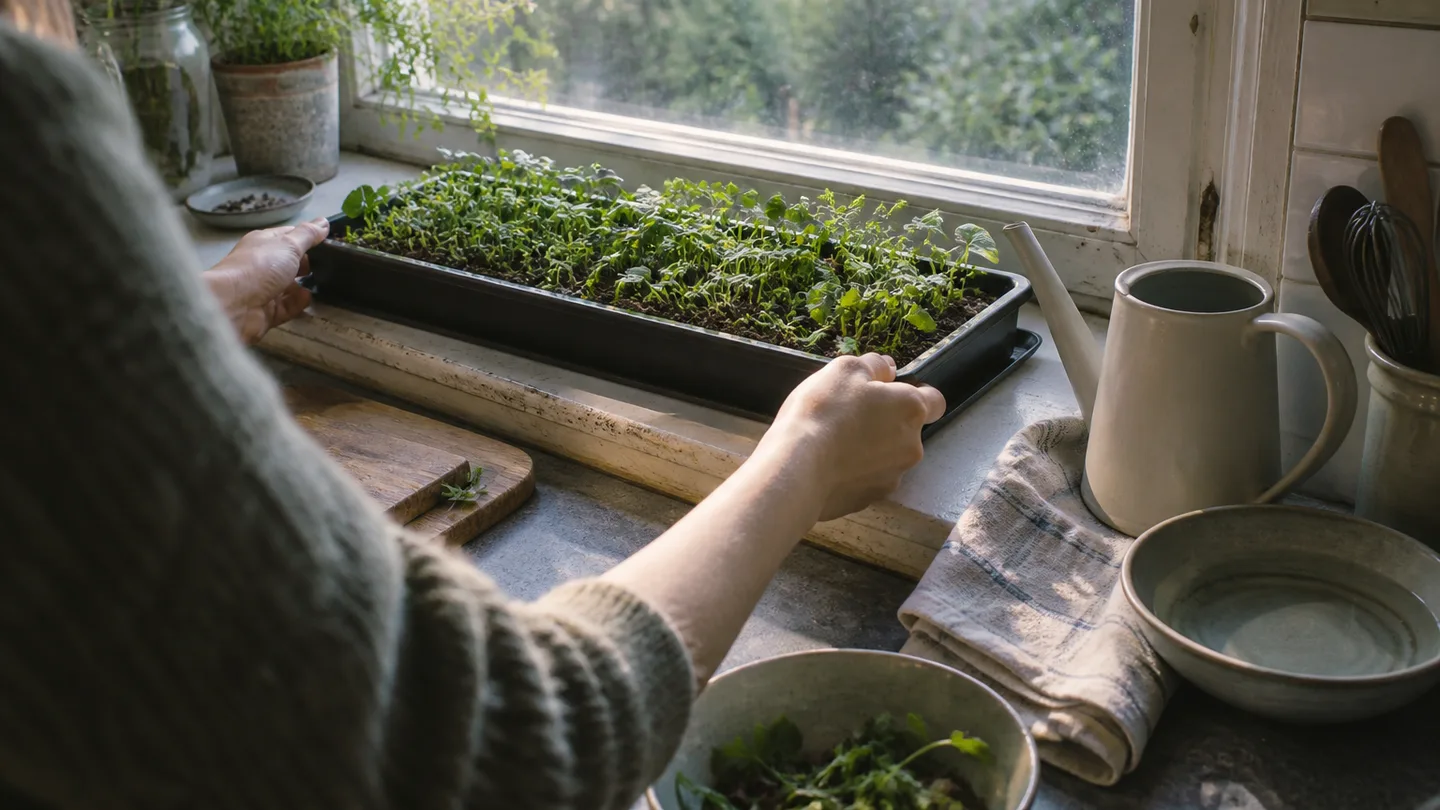
For a basic setup, buy a perforated tray, a watertight tray underneath, a fine-textured growing medium and one packet of seed. Fill the growing tray with about 1–2 in (2.5–5 cm) of medium. The tray should be easy to lift when wet, and the whole arrangement should sit where a splash will not damage the sill, floor or nearby electronics.
Seed choice sets the calendar
The first decision is not the lamp. It is whether the seed and the available space are suited to the same timetable. Days below mean days from sowing, not days from the first green shoot appearing.
Many small-seed brassicas, including radish, broccoli, kale and mustard, can reach a useful home harvest in roughly 5–10 days in a warm, bright room. Larger pea and sunflower shoots commonly take about 8–14 days. A cool room, weak window light or uneven moisture can push either group slower. I treat these as planning ranges, not promises printed on a calendar.
- Small seeds: scatter them as a dense single layer. Their fine stems fill gaps quickly, but clumps can form a damp mat.
- Large seeds: give peas and sunflower seeds room to sit beside one another rather than on top of one another. They need more space to swell and produce thicker shoots.
- Mixed trays: possible, but awkward for a first crop. Different seeds may germinate, stretch and become harvestable at different times, which makes watering and cutting less even.
I recommend one crop per tray for the first few sowings. That is not because mixed microgreens cannot work; it is because a single crop makes every later decision easier. If one corner is slow, you can inspect the seed, moisture and light without wondering whether a second crop is behaving differently.
Choose seed that is untreated and sold or labelled for edible growing. Ornamental garden seed may have coatings or handling instructions that are not intended for a crop you will cut and eat young. Keep the packet so you can record the sowing date and compare the next tray with the last one.
The sowing sequence that prevents bare patches
Most patchy trays are not ruined by one dramatic mistake. They start with a dry pocket, a heap of seed, or a surface that was packed so firmly that water could not move evenly. The order below keeps those problems separate.
- Clean the tray. Wash the growing tray and catch tray, especially if you are reusing them. Remove old roots and any stuck medium before you add fresh material.
- Fill to the right depth. Add fine, clean medium until the surface sits about 1 cm (⅜ in) below the rim. That small gap gives you room to water without immediately washing medium over the edge.
- Pre-moisten evenly. Add water in several passes rather than flooding one spot. The medium should feel damp throughout, with no dry crust and no puddle in the bottom. If the mix is dusty in one corner, seeds there may sit dormant while the rest of the tray emerges.
- Level without hard packing. Use a clean card or flat scraper to smooth the surface. Press only enough to remove hollows. Firming a seed-starting surface is different from compressing it; the latter closes air spaces and leaves water sitting near the top.
- Scatter the seed. Make two light passes in different directions instead of emptying the packet in one place. Aim for close coverage, not a pile. Large seeds should touch or nearly touch, but they should not form a second layer.
- Press, then cover. Press the seed gently into the damp surface so it has contact with the medium. Small seeds usually need no more than that. Peas and sunflower seeds benefit from a thin covering of medium, or a light cover that holds humidity without burying them deeply.
Cover the tray for roughly 2–4 days, adjusting by what the seedlings are doing rather than by the clock. An upside-down lid, a second clean tray or a dark cover can hold humidity and exclude light during germination. It should not be weighted with books or other heavy objects. Pressure can flatten the surface, trap moisture and leave the centre of the tray short of air.
Lift the cover briefly each day to check for emergence. Once stems begin to push it up, uncover the tray and move it to the light. If the surface looks dry during the covered stage, use a gentle mist or a very small amount of water around the tray edge. Pouring hard at this point can move seed into heaps and create the bare patches you were trying to avoid.
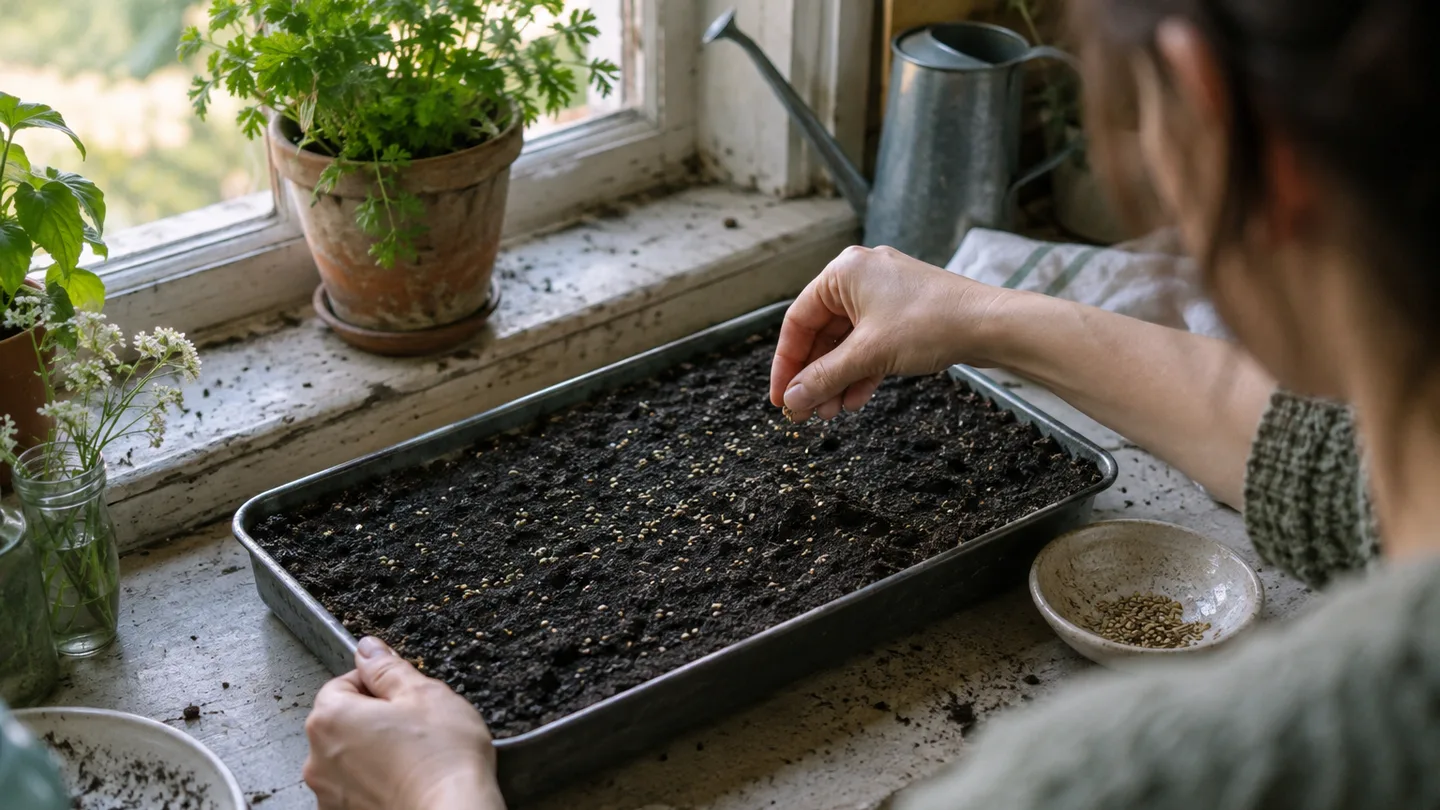
If you have used a seed starting routine for larger seedlings, the same habits apply here: clean equipment, even moisture and gentle handling. The difference is that microgreens are packed more densely and harvested before there is much time to correct a poor sowing.
Light begins when the cover comes off
Once the seedlings push above the medium, light becomes the main control on their shape. Give them about 12–16 hours of bright light each day. A white LED grow light is easier to position consistently than a dim window, but a strong, bright window can work if the tray is close to the glass without overheating.
Start with the fixture roughly 10–30 cm (4–12 in) above the canopy, unless the manufacturer gives a different distance for that lamp. Light output varies widely between fixtures, so the distance is a starting point rather than a law. If the stems lengthen rapidly and lean toward the light, bring the fixture closer or increase the daily light period. If the leaves bleach, curl, wilt or feel hot, move the fixture farther away and check the room temperature.
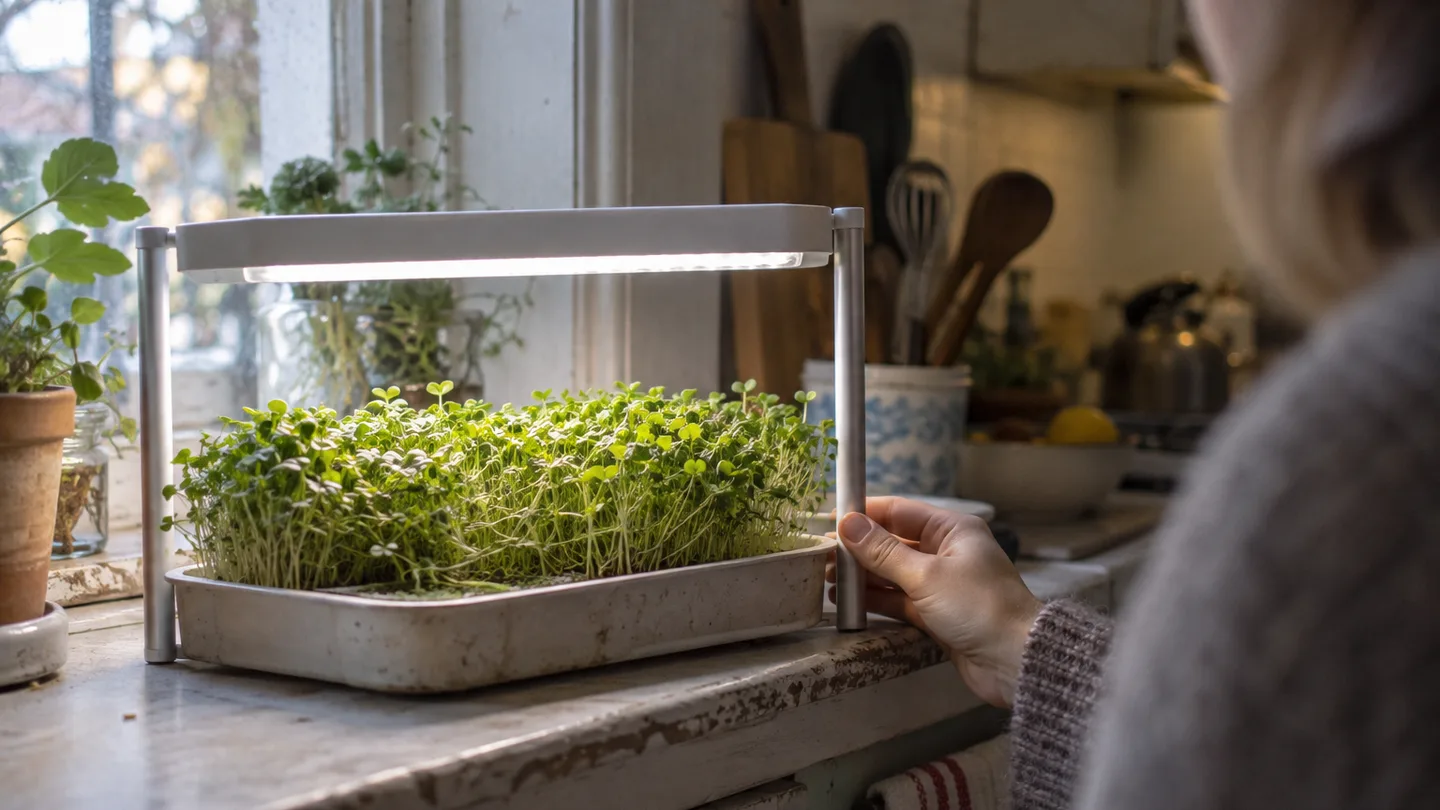
Microgreens also need a dark period. Leaving a lamp on continuously is not a substitute for adequate brightness, and it makes the room harder to live in. I prefer a regular light-and-dark rhythm because it is easier to remember and easier to troubleshoot than a lamp that runs at random times.
A windowsill crop often leans toward the glass. Rotate the tray when you check it so one side does not stretch for the entire growing period. The result will not be perfectly uniform if the window is weak, but rotating prevents the most obvious one-sided growth. The long, pale, floppy failure has a familiar name: leggy seedlings. More water or fertilizer will not fix the underlying shortage of usable light.
For a fixture purchase, compare its instructions with reliable indoor plant lighting guidance, then judge the actual crop in front of you. The canopy is the feedback system: compact green stems suggest the setup is close; pale, leaning stems suggest that light intensity, distance or duration needs attention.
Water by tray weight and root stage
Microgreens need different watering from sowing day to harvest. Before the roots have anchored into the lower part of the tray, water gently from above. After the roots reach down through the medium, bottom-watering becomes safer because the tray can take up water without disturbing the seed layer.
During the first few days, use a fine rose, gentle stream or careful misting. The aim is to wet the surface without washing seed into piles. Misting is useful for a dry top layer, but it is not a complete watering method if the lower medium has dried out. Check the tray rather than assuming that a damp-looking surface means the whole root zone is moist.
Once the roots are established, add water to the catch tray and let the growing tray sit in it for about 5–15 minutes. The medium will wick water upward through the drainage holes. Lift the tray, pour away any water left in the catch tray, and return it to a dry surface. A catch tray full of water turns a useful bottom-watering method into prolonged saturation.
I check by lifting the tray and touching the medium near an edge. In a warm, bright room, that may mean checking every day. In a cool, dim room, the same tray may stay evenly damp for 2–3 days. Those are checking intervals, not a fixed schedule; the tray, room and season decide how quickly water leaves.
Evenly damp medium feels cool and holds together lightly without glistening or sloshing. Waterlogged medium stays shiny, keeps the tray unusually heavy, and may develop algae, weak yellow growth or a sour smell. If you see those signs, stop adding water first. Check that the drainage holes are open and empty the catch tray.
The growing medium matters because a shallow tray has little room to buffer mistakes. When I compare container gardening soil choices, I look for a fine texture that wets evenly but does not remain a solid, airless block. Large bark pieces, dense garden soil and fertiliser clumps make it harder to judge moisture in a tray this shallow.
Diagnose the four common failures before blaming the seed
When a tray looks wrong, I inspect light and water before replacing the seed packet. The visible symptom usually points to the next check.
Long, floppy stems
Likely cause: light that is too weak, too far away or provided for too few hours. Warmth can make the stretching more obvious.
Fix: move the light closer within the fixture’s safe range, extend the light period to a consistent schedule, or move the tray to a brighter window. Do not pile on water or feed in an attempt to make weak stems stronger. The crop needs usable light before it needs extra inputs.
White fuzz on the stems
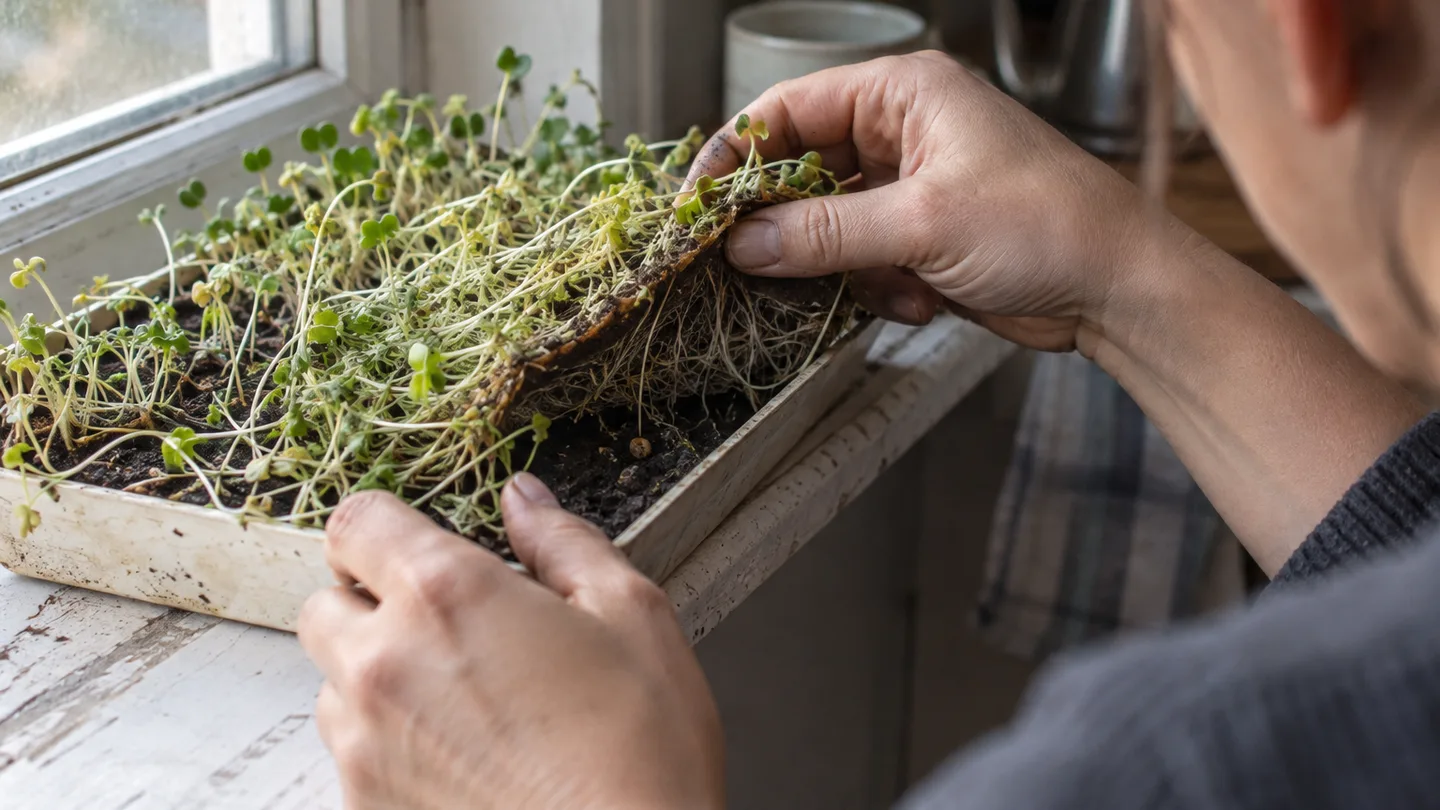
Some young roots grow fine white hairs that cling close to the stem and become less visible when wetted. That is different from fuzz that spreads across the surface, forms web-like growth, or comes with a musty smell. Persistent webbing and an unpleasant smell suggest mold rather than ordinary root hairs.
Fix: improve gentle airflow, reduce surface wetness and make sure the drainage holes are open. If mold is spreading through the tray or the crop smells unpleasant, I would discard the crop instead of trying to wash it clean for eating. Clean and dry the tray before the next sowing. The same cautious approach applies to suspected damping off, where young stems weaken and collapse near the medium.
Bare patches or uneven emergence
Likely causes: seed clumped in one area, dry pockets in the medium, uneven depth, old seed, or a room outside a useful germination range of roughly 18–24°C (65–75°F).
Fix: smooth the medium before sowing, pre-moisten it throughout, scatter in two directions and keep the tray in a steadier place. If only one corner fails while the rest of the tray is vigorous, inspect how water reaches that corner before blaming the whole packet.
Saturated tray
Likely causes: blocked drainage holes, a catch tray that was not emptied, or repeated top-watering after the medium was already wet.
Fix: lift the tray, clear the holes, pour away standing water and let excess moisture drain. Do not add gravel to the bottom as a cure; it takes up root space without repairing a blocked outlet.
Crispy edges or sudden collapse
Likely causes: a hot window, a light fixture producing too much heat, or a missed watering in a small tray that dried quickly.
Fix: move the tray away from direct heat, check moisture below the surface and water gently. If the medium is bone dry, one slow watering is more useful than repeated misting of the leaves. If the stems have collapsed and the crop smells sour, inspect for root or stem problems before trying to revive it.
Cleanliness and airflow are useful, but the goal is not to dry the crop until it crackles. A tray that alternates between soaked and bone dry is harder to manage than one kept steadily, lightly damp.
Cut at the harvest signal, then reset the tray
Most home microgreens reach a useful harvest in about 7–21 days. The visual signal is more helpful than the date: the cotyledons, or first seed leaves, should be open, and some crops will be beginning to show their first true leaves. Radish may be ready at one stage, while pea shoots are often cut a little later for a thicker stem.
Wash your hands, use clean scissors and cut just above the growing medium. Cutting rather than pulling keeps roots and loose medium out of the food. Harvest into a clean container, remove any seed hulls or visible debris, and refrigerate promptly. If you plan to serve the greens raw, follow current public-health guidance on raw leafy greens, particularly when cooking for someone who needs extra food-safety precautions.
Pea and sunflower shoots may sometimes send up another flush after cutting, but I treat that as a bonus rather than part of the yield plan. Most brassica microgreens are simpler as a one-cut crop. Once the stems are gone, the tray is ready for a reset.
- Remove the spent roots and medium from the growing tray.
- Compost or discard the old medium according to your local rules, and do not move visibly moldy material into another indoor food tray.
- Wash the plastic tray and catch tray, rinse away soap residue and let both dry fully.
- Write the next crop and sowing date on the seed packet or a small label.
Three setup questions worth settling before the next tray
Can I use ordinary potting soil?
Yes, if it is fine-textured, clean and free of large bark pieces or concentrated fertiliser clumps. Dense garden soil is a poor fit for a shallow tray because it can drain unevenly and compact around the young roots. Coco coir or a seed-starting mix can work as alternatives if they wet evenly and do not contain large chunks.
Do microgreens need fertilizer?
For a single 7–21 day harvest, I usually do not add fertilizer. The seed supplies stored nutrition for the young plant, while extra soluble salts have little benefit in a shallow food crop and can make the root zone harsher. Feeding becomes a different question if you are deliberately growing shoots for much longer.
Can I reuse the growing medium?
The plastic tray can be washed and reused, but fresh medium is the safer reset, especially after mold, sour smells or a collapsed crop. Old roots and decomposing stems make moisture harder to read and can carry problems into the next sowing. The small saving from reusing a handful of medium is rarely worth losing a whole tray of seed.
Save this sequence for the next sowing: clean, fill, pre-moisten, level, scatter, press, cover, uncover, light, bottom-water, cut. Before the weekend, buy one shallow perforated tray, one catch tray, one fine medium and one edible-labelled seed packet. Set the empty trays in their final spot, check for rocking and drips, then sow only after the surface passes that test.
Frequently Asked Questions
Can I use ordinary potting soil for microgreens?
Yes, if it is fine-textured, clean, and free of large bark or fertiliser clumps; avoid dense garden soil because it drains poorly in a shallow tray. Mention coco coir or a seed-starting mix as alternatives.
Do microgreens need fertilizer?
Usually not for a single 7–21 day harvest because the seed contains enough stored nutrition for the young plant. Fertilizer becomes more relevant only when trying to keep a crop growing longer, and excess salts can damage shallow roots.
Can I reuse the growing medium for another tray?
It is safer to compost spent medium and start with fresh medium, especially after mold, because old roots and decomposing stems can carry contamination into the next food crop. The plastic tray itself can be washed and reused.