How to Ripen Green Tomatoes: 4 Reliable Indoor Methods
You can ripen green tomatoes indoors, but the fruit needs to be mature green first. Keep it roughly 18–24°C (65–75°F), out of direct sun, and choose the method by batch size: a counter for a few tomatoes, a paper bag for a small batch, a shallow box for many, or the whole healthy pot plant when frost is closing in.
The useful distinction is easy to miss. Indoor warmth can finish a full-sized tomato that has already developed properly; it cannot do much for a tiny, dull fruit that stopped growing too early.
Start with the right green: mature fruit ripens, immature fruit often does not
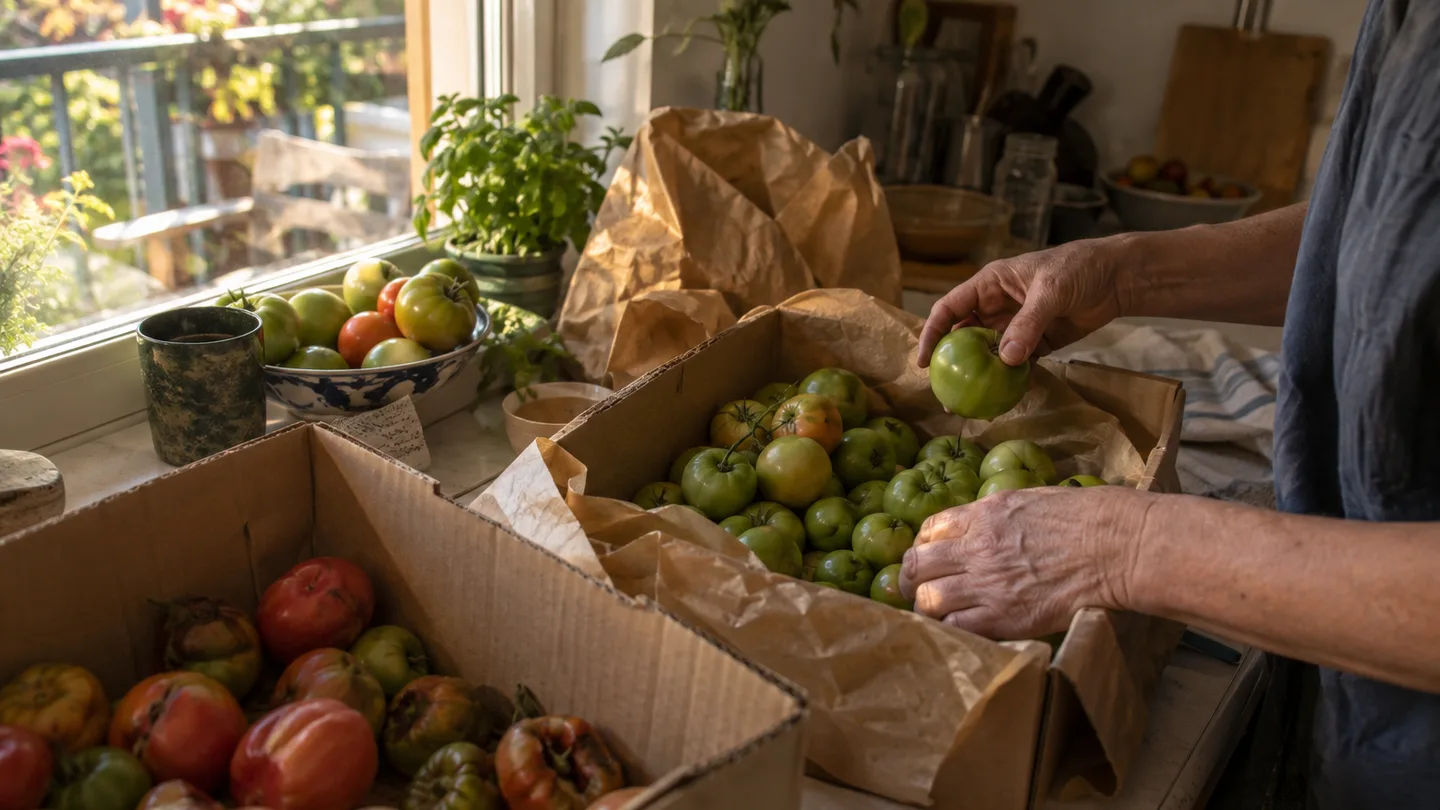
I sort the harvest before deciding where it will go. A mature-green tomato is usually full-sized for its variety, glossy rather than matte, and firm without feeling like a stone. If you cut one open, you may see gel beginning to form around the seeds. It may still be completely green on the outside, but it looks like a finished tomato waiting for its colour change.
Very small, dull, hard fruit is a different case. It can stay green, shrivel, or soften without developing the flavour you wanted. I keep those tomatoes separate and use them for cooking if they remain unchanged, rather than filling a bag with them and expecting indoor warmth to solve the problem.
Check the variety before judging the colour. Some tomatoes are green when ripe, so a red blush is not the correct signal. For those, look for a slight change in shade, a softer feel, and the variety description. Fruit with deep cracks, leaking spots, or obvious disease should also be separated from sound tomatoes.
For a container plant, the timing is forgiving in one useful way: you can move the pot under cover before a frost or before a run of nights near 10°C (50°F). A tomato growing in a bed does not give you that easy escape route. Thin black plastic pots can also lose heat quickly after sunset on an exposed balcony, so fruit may slow down sooner than you expect even when the afternoon felt warm.
Last autumn, I brought seven full-sized green tomatoes in from one balcony pot before a cold spell. I put four on a counter and three in a shallow box. The counter fruit began showing colour within the first week; one cracked tomato in the box developed a wet patch and had to be removed, while one of the remaining box tomatoes was still hard and dull after two weeks. It was a useful reminder that maturity at picking mattered more than the container I chose.
Method 1 — spread tomatoes on a counter for the simplest daily check
For roughly one to six tomatoes, the counter method is the one I reach for first. It costs nothing, keeps every fruit visible, and makes it easy to remove a tomato at the exact point when it reaches full colour or begins to soften.
- Put the tomatoes in one layer on a plate, tray, or clean shelf. Leave a little space between them so damp spots cannot sit unnoticed.
- Keep them around 18–24°C (65–75°F), away from a radiator, heat vent, cold window, or draughty exterior door.
- Choose bright indirect light rather than a sunny windowsill. The fruit does not need direct sun for this indoor stage, and a glass window can heat the surface while the room remains cooler.
- Inspect the fruit once a day. Remove any tomato that is fully coloured, noticeably soft, leaking, or developing a suspicious spot.
A mature-green tomato on a counter often takes about 5–14 days to colour, although that is a working range rather than a promise. Cooler rooms slow the process; fruit picked too early may never follow the same schedule. If you only have a few tomatoes, the visibility of this method is worth more than trying to create a special ripening chamber.
Method 2 — use a paper bag when you need a small batch to move faster
I use the paper-bag method when a small batch needs a nudge and I can check it every day. Put about two to four green tomatoes in a paper bag with one ripe apple or banana, then fold the top loosely. Keep the bag at 18–24°C (65–75°F).
Ethylene is a natural ripening gas released by ripe fruit. The bag holds more of that gas around the tomatoes than an open counter does, while paper still allows some moisture to escape. That combination can help mature fruit progress more quickly, but it does not repair a tomato that was picked while still undersized.
Do not seal the tomatoes in a plastic bag. The problem is not simply the plastic itself; it is the warm, damp air trapped against the fruit. Condensation gives mould a better starting point, especially if one tomato already has a crack or bruised patch.
Check the bag after 24 hours and then once a day. Take out fruit as soon as it reaches the colour and firmness you want. If one tomato becomes wet or mouldy, remove it immediately, inspect the others, and replace the bag rather than putting clean fruit back into a damp one.
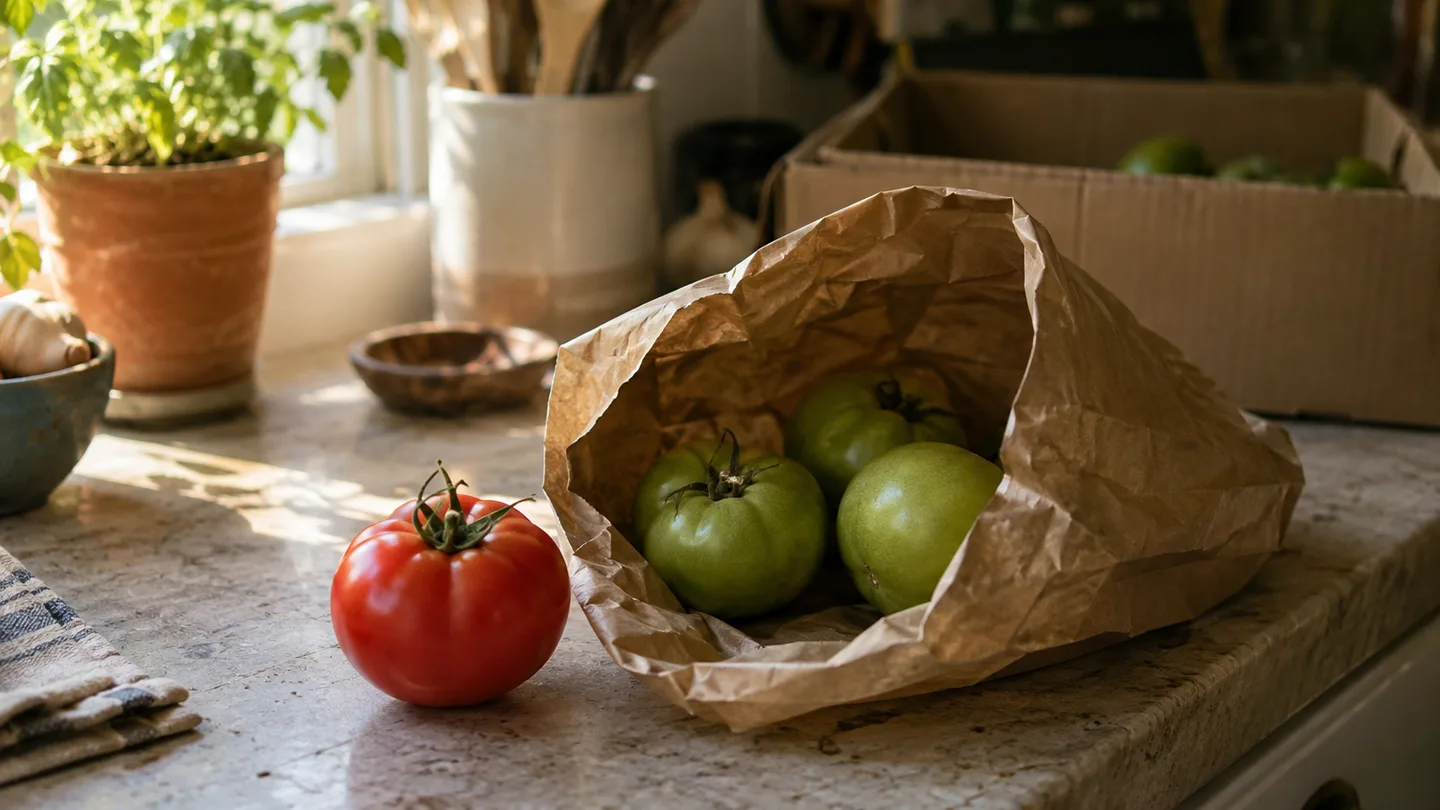
For a balcony harvest, this method is convenient because the bag can sit on a kitchen shelf while the remaining plants stay outside. I would use one bag per small batch rather than cramming a whole picking into one container. More fruit means more contact, less airflow, and a harder daily inspection.
Method 3 — keep a larger harvest in a shallow box and stagger the colour
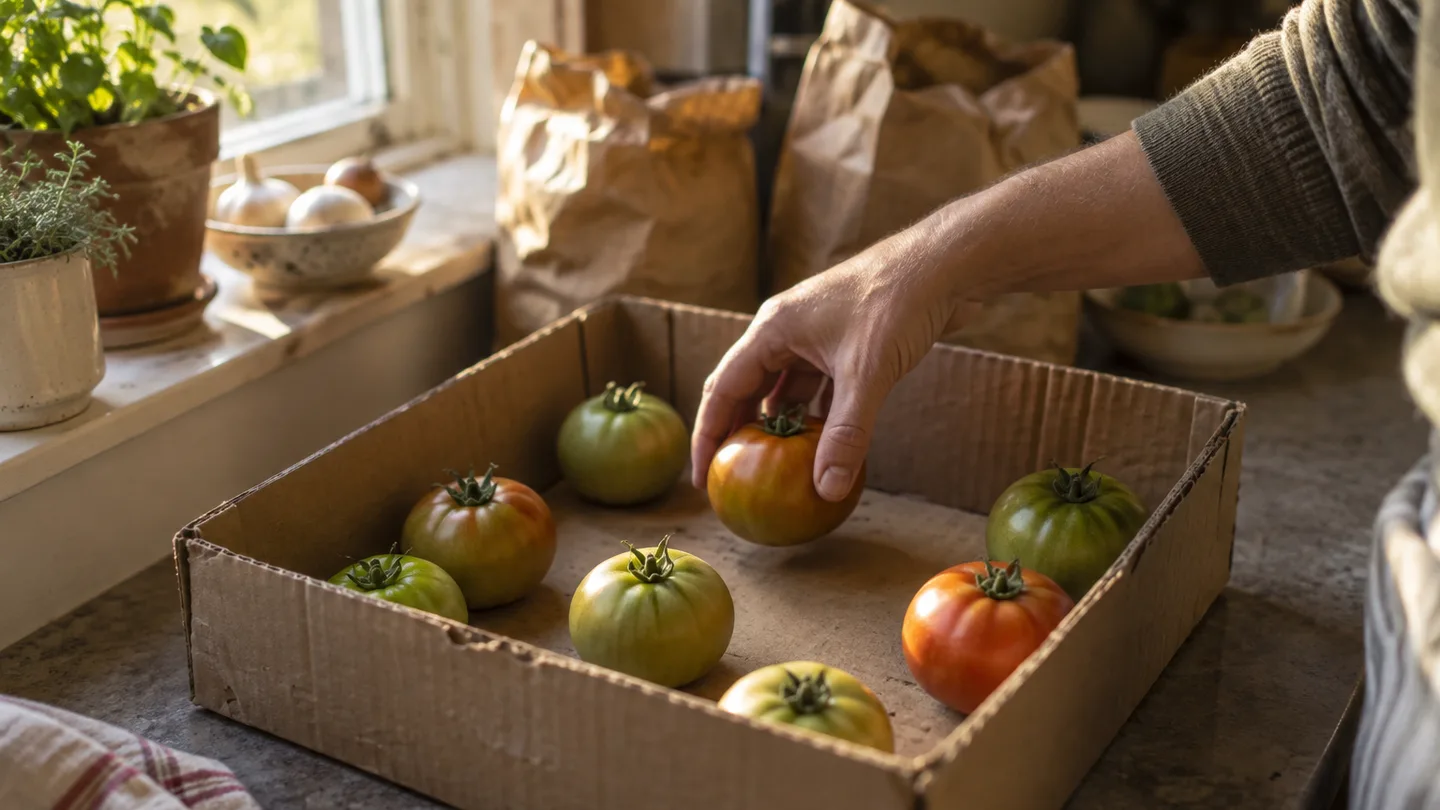
A shallow box is useful when the harvest is closer to six to twenty tomatoes or when you want fruit to ripen in stages. Choose a clean cardboard box that is deep enough to protect the tomatoes but not so deep that you lose sight of the bottom layer.
Place the fruit in one layer where possible. If you need two layers, put plain paper between them and avoid pressing the tomatoes together. The box should not be airtight. Its job is to provide darkness, separation, and a manageable space, not to trap humid air.
For slower holding, keep the box around 13–18°C (55–65°F). When you want selected fruit to finish, move those tomatoes to a warmer room around 18–21°C (64–70°F). This gives you control over the order of the harvest: the firmest fruit can remain in the cooler box while the tomatoes showing their first colour come forward to the kitchen.
Check the box every two or three days. Turn each tomato gently if part of it is pressed against the paper, and remove fruit with a wet patch, leak, or fuzzy growth. Separating the tomatoes does not make spoilage impossible, but it reduces the chance that one failing fruit will sit unnoticed against several neighbours.
A sound, mature-green tomato in this setup may take roughly one to three weeks to finish, especially if the box stays near the cooler end of the range. I use a shallow box for control rather than speed. It lets me spread the harvest across several meals instead of having every tomato reach the counter at once.
Method 4 — hang a healthy tomato plant to finish fruit still attached
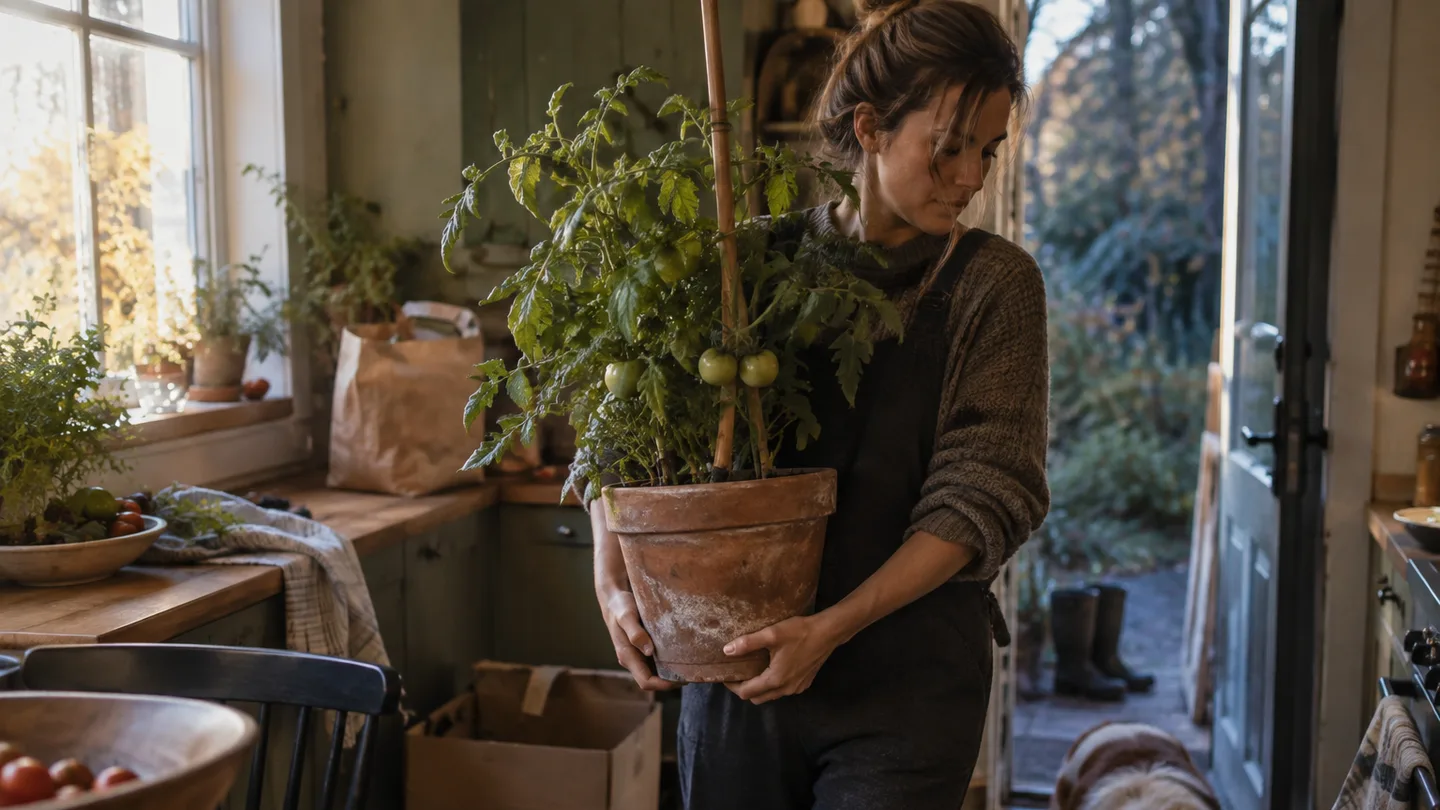
A healthy container plant gives you a fourth option when it is carrying many full-sized green fruits. Move the entire pot indoors or into a frost-free shed, conservatory, or enclosed porch. If the plant is in the ground, lift it carefully with as much root ball as practical, shake off loose soil, and hang it roots-up in a cool, protected room.
Use a space around 13–18°C (55–65°F), with some airflow and no direct heat. Check the plant twice a week. Pick tomatoes as they begin to colour, and remove any fruit that becomes soft or damaged before it affects nearby fruit.
This setup works on a weeks-long clock. It is useful when the plant has a lot of full-sized fruit and you have somewhere to keep it, not when you need ripe tomatoes tomorrow. Small, dull fruit is less likely to finish well even if it remains attached to the plant.
Do not bring a plant indoors if it is visibly diseased or covered in pests. Inspect the undersides of leaves, stems, and the soil surface before moving it beside houseplants. A clean, healthy pot is a reasonable candidate; a sick plant is better left outside or discarded according to the problem.
The container itself changes the timing at the edges of the season. A light plastic pot is easier to carry indoors but can cool quickly on a balcony after sunset. A large glazed or terracotta pot may buffer temperature changes somewhat, yet its weight makes a last-minute move awkward. If frost is forecast, move the pot early enough that the root ball and fruit are not already cold.
If you are choosing plants for next season, determinate vs indeterminate tomatoes is a useful comparison before you buy seed or transplants. A compact determinate plant is generally easier to move as a whole, while a long, sprawling indeterminate plant may be better handled by picking the mature fruit first.
The 18–24°C rule: light, airflow and ethylene matter more than a sunny window
The four methods work best when the room is moderate rather than extreme. Around 18–24°C (65–75°F) is a practical active-ripening range. Below about 10°C (50°F), colour change slows and fruit quality can suffer. Above roughly 27°C (80°F), tomatoes may soften before the colour develops evenly, particularly if they are sitting in direct sun.
Light is less important than many people assume at this stage. A tomato does not need to sit on the brightest windowsill after it has been picked. Indirect light, dry surfaces, and modest airflow are more useful. Keep fruit away from a radiator because the warm, dry air can encourage shrivelling, while a cold windowsill can hold the fruit below the useful range overnight.
Refrigeration is a poor place for green tomatoes. The cold slows the process, and the fruit may come out with a duller texture or less satisfying flavour. If your kitchen is hot during the day but cool overnight, use the most stable room rather than chasing the sun across the house.
Ethylene helps a mature tomato move through its normal ripening sequence. It cannot create the internal development that an immature tomato never completed, and it cannot make damaged or diseased fruit safe. That is why sorting comes before choosing a bag, box, or plant-hanging method.
If you want to cross-check the temperature point, look for university extension guidance on harvesting mature-green tomatoes and ripening them indoors. For the cold-storage issue, the phrase postharvest tomato storage temperatures and chilling injury will lead you toward the relevant technical guidance without confusing refrigerator storage with ripening conditions.
If the tomatoes fail: a symptom-to-cause-to-fix check
When indoor ripening goes wrong, I check the fruit itself before changing the method. The symptom usually points to the next move.
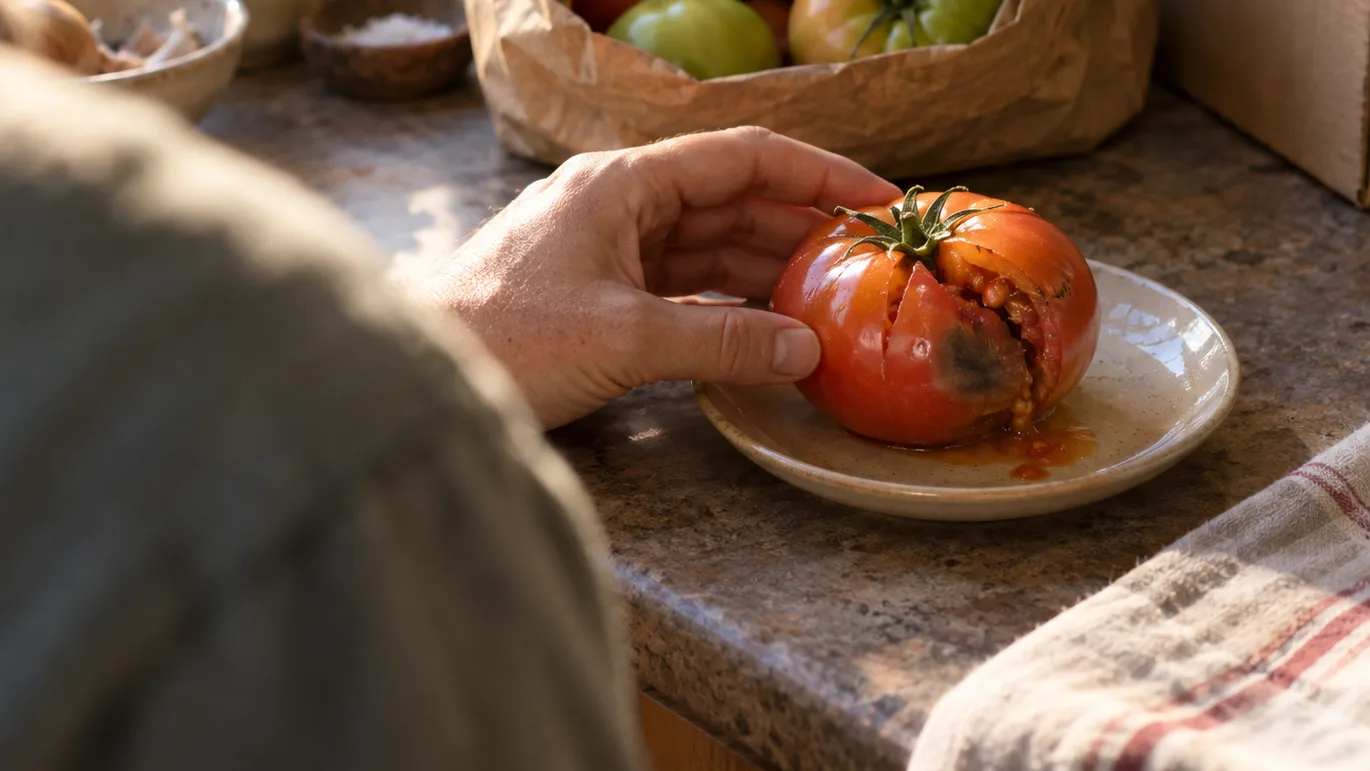
- No colour change after about 14 days: First check the room. A cold shelf may be slowing a sound tomato, so move it to a stable 18–24°C (65–75°F) location. If it is still glossy, full-sized, and firm, give it more time. If it is small, matte, and hard, it was probably immature at harvest; use it for cooking rather than repeatedly changing its container.
- Shrivelling: The fruit may be sitting too close to a radiator, in a very dry room, or in storage longer than its skin can tolerate. Move sound fruit to a moderate room and check it more often. Severe shrivelling combined with a soft or leaking area is a reason to discard it.
- Fuzzy mould or a wet leak: Remove that tomato immediately and inspect every fruit that touched it. I do not cut mould from a soft, high-moisture tomato and eat the rest. The safer household rule is to discard it rather than spread contaminated juice across the tray.
- Fruit flies: Look for a split, fermenting patch, or overripe tomato nearby. Remove the damaged fruit, clean the tray, and reduce the inspection interval. A paper bag with a ripe banana needs particular attention because the extra fruit can hide a failing tomato.
- Uneven yellow or red shoulders: Move the fruit away from direct sun and excessive heat. A hot windowsill can warm one side faster than the rest. If the variety is green when ripe, stop waiting for red and judge firmness and the variety’s normal colour instead.
A sound tomato should have intact skin and no suspicious soft patch before you eat it. Wash it once it has finished ripening. My own boundary is simple: firm and intact fruit gets inspected and washed; soft, wet fruit with visible mould goes in the compost or bin rather than being trimmed around.
Pick the method by batch size, then follow a 14-day inspection plan
Choose the setup by how many tomatoes you have and how often you can check them. A counter is easiest for a few fruit, a paper bag suits a small batch that needs close attention, and a box or whole plant gives a larger harvest more time and separation.
The table is a planning aid, not a promise about every variety or room.
| Batch or situation | Method | Temperature | Inspection | Working pace |
|---|---|---|---|---|
| 1–6 tomatoes | Counter, one layer | 18–24°C (65–75°F) | Daily | About 5–14 days for mature-green fruit |
| 2–4 tomatoes per bag | Paper bag with one ripe apple or banana | 18–24°C (65–75°F) | After 24 hours, then daily | May move colour along sooner than open-air ripening |
| 6–20 tomatoes | Shallow box, separated by paper | Hold at 13–18°C; finish selected fruit at 18–21°C | Every 2–3 days | Roughly 1–3 weeks, depending on maturity and room temperature |
| Many full-sized fruits still attached | Move or hang a healthy plant | 13–18°C (55–65°F) | Twice weekly | Several weeks rather than a quick finish |
Use this simple schedule:
- Day 0: Sort by size, firmness, damage, and variety. Separate green-when-ripe fruit from tomatoes expected to turn red.
- Days 1–7: Check counter and paper-bag fruit every day. Remove anything coloured, soft, leaking, or mouldy.
- Days 3–14: Check the box every two or three days. Bring fruit with its first colour change into the warmer eating area.
- Day 14: Reassess any tomato that is still dull, hard, and odourless. Move a mature-looking one warmer; cook or compost an undersized one that has not changed.
Before the weekend, set aside paper bags, a shallow cardboard box, plain paper, and a room thermometer if your storage space runs cold. Put the mature-green tomatoes in the method that matches your batch, then make the first inspection tomorrow rather than waiting for the whole harvest to change at once.