Compost Tea for Plants: Benefits, Risks and How to Use It
A 10-litre bucket of homemade compost tea is easy to make; the harder question is whether you have made a compost extract, an actively aerated brew, or liquid draining from a bin. On a balcony, that distinction matters more than the label: a 10–15-minute rinse of finished compost is a manageable soil drench, while a 24–48-hour sweetened brew is a less controlled microbial culture.
In my own balcony setup, I learned the practical difference the untidy way. I once poured an unstrained extract into a narrow-spouted watering can, and the fine compost settled over the outlet until the flow became a weak trickle aimed at one spot. The plant did not need a stronger tea; I needed a mesh bag and a better application method. This is an intentional hybrid technique feature: part terminology guide, part safety check, part measured recipe, and part container-care diagnosis.
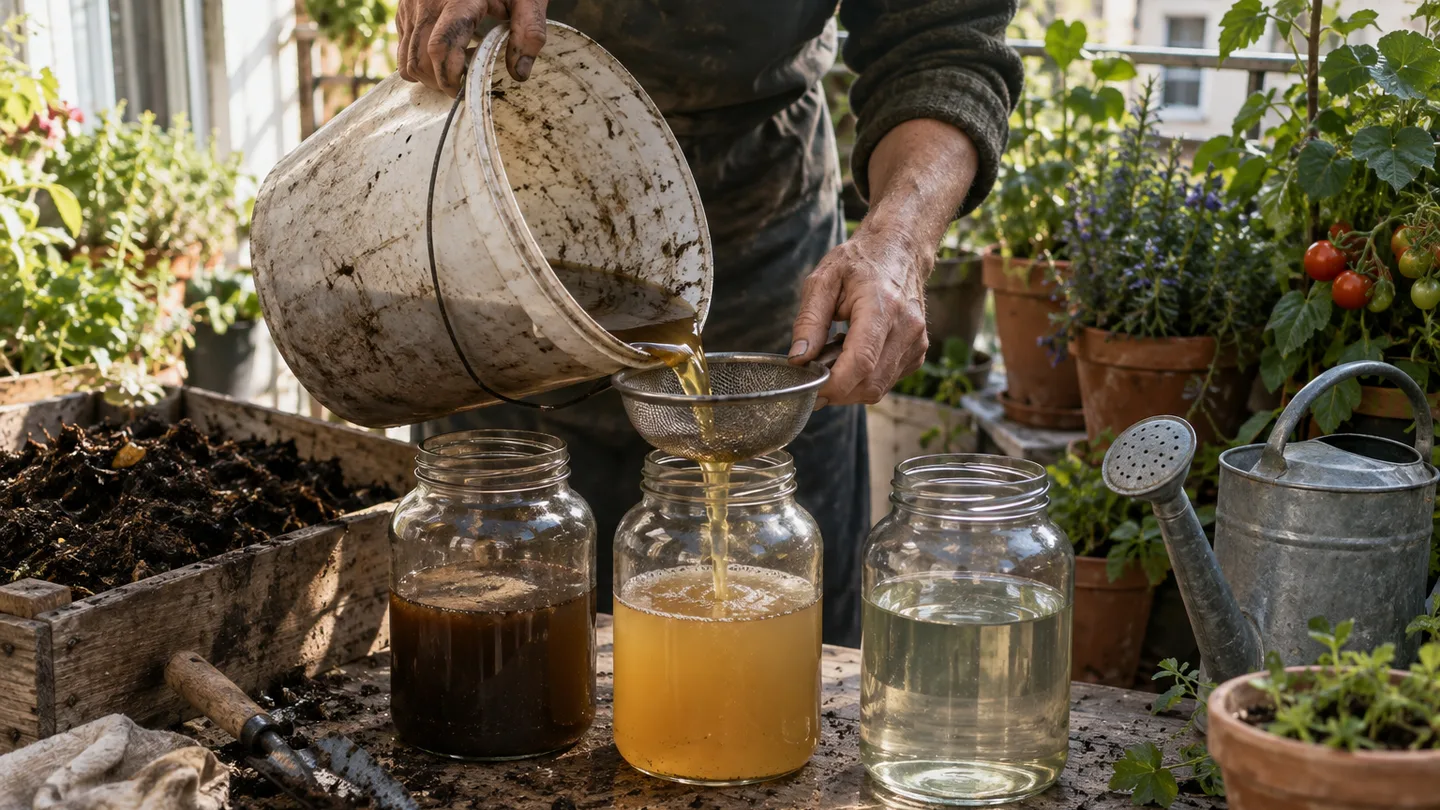
Three liquids, three risk profiles: compost extract, aerated tea, and leachate
People use compost tea for plants as a catch-all phrase, but the preparation method changes what you are handling. I would separate the three common liquids like this:
| Material | Typical preparation window | What it is | My balcony recommendation |
|---|---|---|---|
| Compost extract | About 10–15 minutes | Finished compost agitated in water, then removed and strained | Best starting point for a simple container drench |
| Actively aerated compost tea | Roughly 24–48 hours | Compost held in oxygenated water, often with a microbial food source | Separate, higher-uncertainty method; not an automatic upgrade |
| Compost or worm-bin leachate | Collected as liquid drains through the bin | Runoff carrying whatever soluble material the bin releases | Do not assume it is a plant tonic |
A compost extract is the least elaborate of these methods. You are washing some soluble material and loose microbes from mature compost into water, then removing the solids. The short contact window is the point: you are not trying to maintain a warm, wet culture for several days.
Actively aerated tea is different because time, oxygen, temperature, compost condition, and any added food source all influence the brew. A bubbler may keep water moving, but it does not give you a measured nutrient analysis or a guarantee that the organisms you want will dominate the batch.
Leachate is the one I would be most cautious about. Liquid that drains from a compost or worm bin may have passed through unfinished food, wet bedding, concentrated waste, or material you cannot identify by looking at the final liquid. Dark colour is not a quality certificate. For balcony containers, I recommend the simple extract because it is easier to reproduce, easier to discard, and less tempting to treat as a magic fertilizer.
The benefit case is narrower than the marketing: what compost tea can and cannot replace
Compost tea can contribute a small amount of soluble nutrition, but the amount is variable. It depends on the starting compost, the water volume, the contact time, how thoroughly the compost was mixed, and what remains in the strained liquid. Unlike a labelled fertilizer, it does not give you a dependable analysis of how much nitrogen, phosphorus, or potassium reaches the pot.
That difference matters in containers. A plant in a pot has a limited root zone, and nutrients can leave through the drainage holes whenever you water heavily. If the crop is hungry, I would rather use a fertilizer labelled for that crop and follow its dilution instructions than ask compost tea to do a job it cannot measure. If you are unsure about timing, compare the tea with your normal schedule for how often to fertilize container plants rather than adding both on impulse.
The microbial part is just as uncertain. Compost contains many organisms, but introducing them in water does not prove that they will survive, establish, or change the root-zone conditions in your pot. The potting mix may be too dry, too wet, too acidic, too warm, or already occupied by a different microbial community. I treat any biological benefit as possible rather than guaranteed.
I also would not use compost tea as a disease cure. A foliar spray may cover a leaf temporarily, but coverage, drying time, weather, plant surface, and the organisms present in the batch all vary. For edible crops, spraying a homemade liquid over leaves creates a more direct contact route than applying it to the soil, so the burden of proof should be higher.
The more predictable alternatives are less exciting. Fresh, suitable potting mix gives roots physical space and air. A labelled fertilizer gives you a repeatable nutrient dose. A 1–2 cm layer of mature compost spread over the surface can add solid organic matter where the pot has room, although it still does not replace crop-specific feeding. If the container is already full to the rim, I would not pile on compost just because it sounds natural; raising the surface can bury stems and reduce watering headroom.
My honest judgment is simple: compost tea is a sidecar, not the steering wheel. If I had one empty pot and enough time for only one improvement, I would spend that time on the right container size, fresh mix, reliable drainage, or adequate light before making tea.
If you want to compare the research debate rather than recipe claims, the useful search trail is University extension guidance comparing compost extract with actively aerated compost tea. I would read it as a comparison of methods, not as proof that every homemade batch behaves the same way.
The safety gate for edible plants: finished compost, clean water, and same-day use
Before making any recipe, inspect the compost. Finished compost should look dark and crumbly, smell earthy rather than sour, and contain no recognizable food scraps or raw manure. Those signs tell you that the material has decomposed substantially; they do not prove that a homemade batch is free of every hazard.
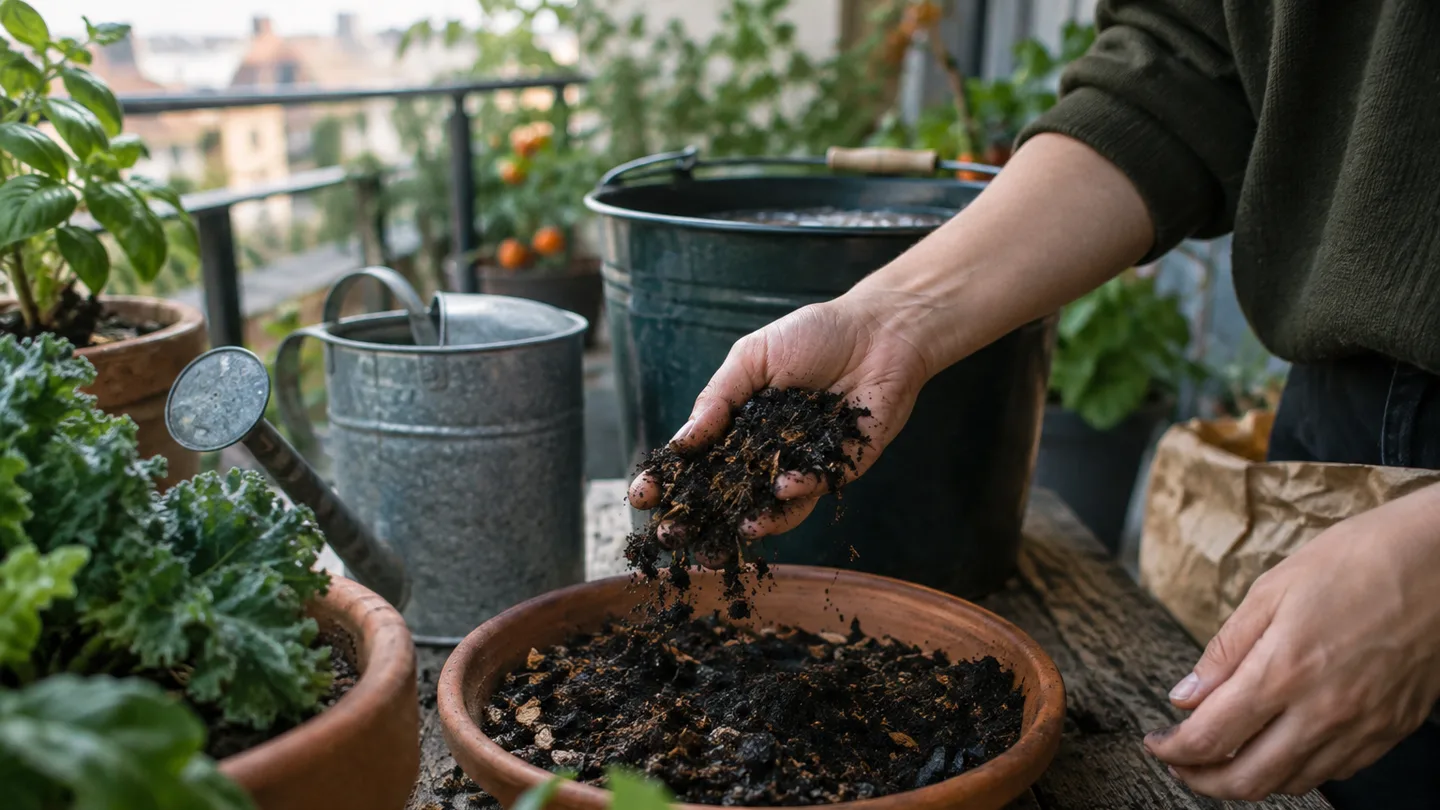
With compost that contains manure, my practical rule is stricter: I treat it as needing a longer, hotter cure before I would trust it near edible leaves. That is my risk-management rule, not a claim that a visual inspection proves pathogen reduction. If the manure history is unknown, the compost smells foul, or the material still contains fresh-looking waste, I would not brew it for salad greens or herbs.
Use clean equipment and water from a source you already consider suitable for watering edible plants. Wash the bucket, mesh bag, spoon, and watering can before use. Do not collect water from a dirty saucer, a roof edge with obvious bird waste, or a container whose previous contents you cannot identify. The aim is to avoid adding an unknown water or equipment problem to an already variable biological material.
A 10–15-minute extract and a 24–48-hour aerated brew should not be treated as the same safety category. Warmth and extra time are not automatically improvements. They give microbes more opportunity to multiply, but they do not tell you which organisms multiplied or whether the final liquid is useful for your plant.
I also leave out sugar and molasses in the conservative method below. That is not a universal law about every compost-tea recipe; it is my choice for a balcony grower who wants a simple extract rather than a food-supported culture. Adding a readily available food source gives microbes another input and makes the batch less controlled by the original compost alone.
For edible plants, a soil drench usually creates less direct contact with the harvestable part than a foliar spray. It is not a guarantee of safety, and it is not permission to splash the liquid onto lettuce leaves. Keep the liquid on the potting mix, away from fruit that is ready to pick, and away from leaves you plan to eat raw.
Discard the batch if it has a sewage-like, sour, or rotten-egg smell; a slimy texture; an unknown compost source; or questionable water. Do not try to rescue it with refrigeration. My rule is to use a properly made batch the same day and discard leftovers instead of storing them for a later watering.
For a formal compliance framework, especially if you sell produce, search for the FDA Produce Safety Rule rather than treating a home recipe as a substitute for agricultural food-safety requirements. That reference is a research starting point, not a safety stamp on homemade compost tea.
The low-risk balcony recipe: 1 litre of finished compost in 10 litres of water
Here is the method I use when I want a mild compost extract for container plants: 1 litre of finished compost, about 4 cups, in 10 litres of water, about 2.6 US gallons. The liquid is agitated for 10–15 minutes, strained, and used the same day.
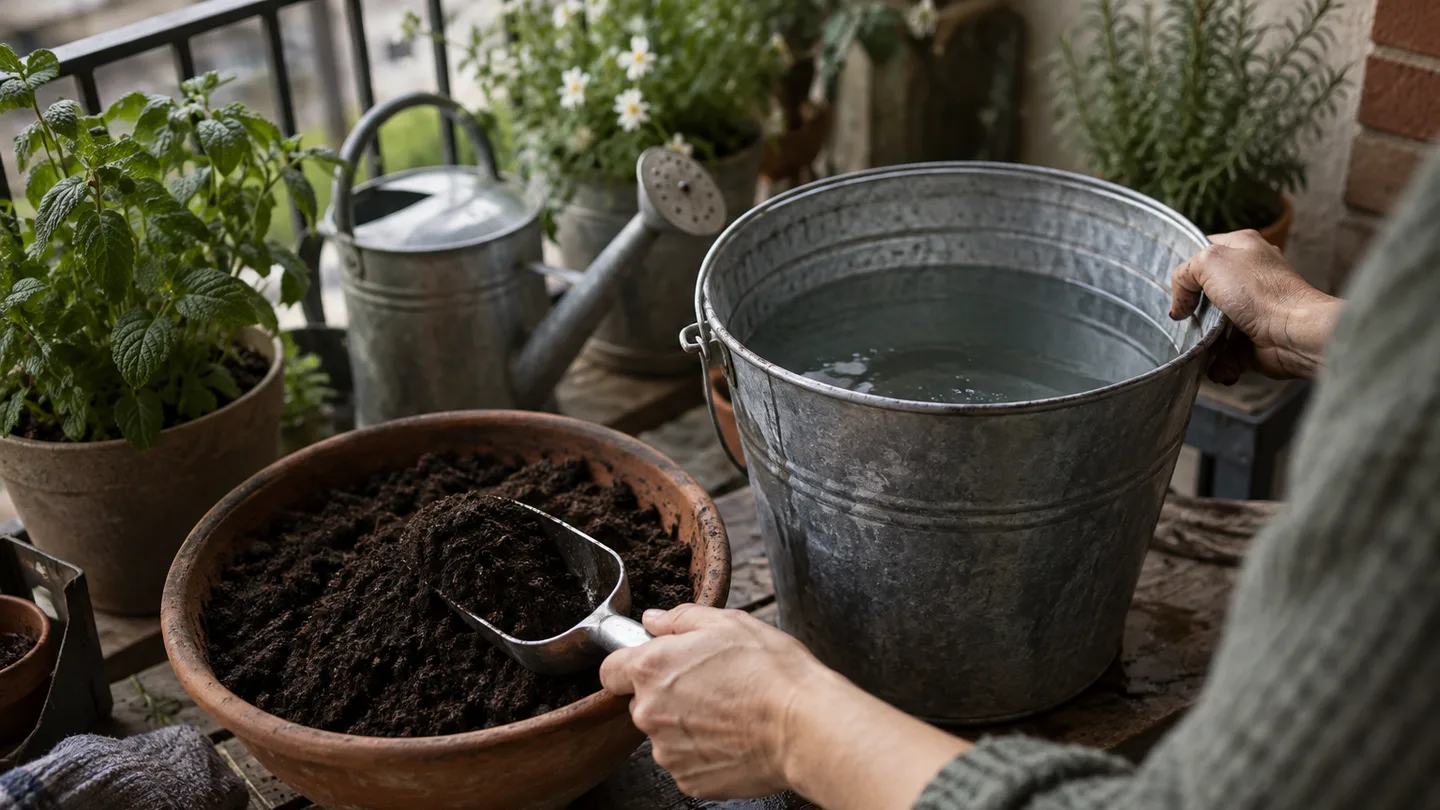
- Clean the equipment. Rinse a 10-litre bucket, a fine mesh bag, and the watering can. A paint-straining bag or clean reusable produce bag works if it has no detergent residue or chemical treatment.
- Add the water first. Measure 10 litres of suitable water into the bucket. Filling the bucket before adding compost lets you see the real batch volume and prevents dry compost from packing into a dense lump on the bottom.
- Measure the compost. Put about 1 litre, or 4 cups, of mature compost into the mesh bag. Break up hard clumps with your fingers, but do not use material that is still hot, wet, sour-smelling, or visibly unfinished.
- Agitate for 10–15 minutes. Submerge the bag and lift it through the water repeatedly, or stir around it with a clean tool. The aim is contact between water and compost, not foam, froth, or a complicated brewing performance.
- Lift and drain. Remove the bag and let it drain over the bucket. I do not wring it aggressively; squeezing forces more fine particles into the liquid and makes the watering can harder to use. If the extract still contains grit, pour it through a second clean strainer.
- Apply the extract immediately. Use it as a soil drench on already-moist potting mix. Do not leave the bucket in the sun while you decide what to do with it.
The order matters more than it looks. Water first gives you a known dilution. The mesh bag keeps the solids together while you agitate. Removing the bag before pouring prevents the last layer of sludge from becoming the most concentrated part of the application. In my own setup, skipping that middle step clogged the watering-can outlet and left one small patch of mix wetter than the rest.
This recipe deliberately avoids molasses, sugar, yeast, milk, and other microbial food additions. Once you add them, you are no longer making the same simple extract; you are encouraging a more active culture whose behaviour depends on temperature, oxygen, and the condition of the compost. That may be a worthwhile experiment for an experienced grower who accepts the uncertainty, but I would not call it a safer or stronger version by default.
Actively aerated compost tea belongs in a separate experiment, with its own equipment, timing, and safety decisions. I would not take a 48-hour recipe, shorten it to 15 minutes, and assume the results are interchangeable. The method determines the material.
Application in pots: soil drench first, foliar spray only with a clear reason
Application is a dose, moisture, and contact decision. I apply the strained liquid to potting mix that is already evenly moist, then stop before liquid runs freely from the drainage holes. This is not the same as normal watering, and it is not a replacement for the plant’s feeding schedule.
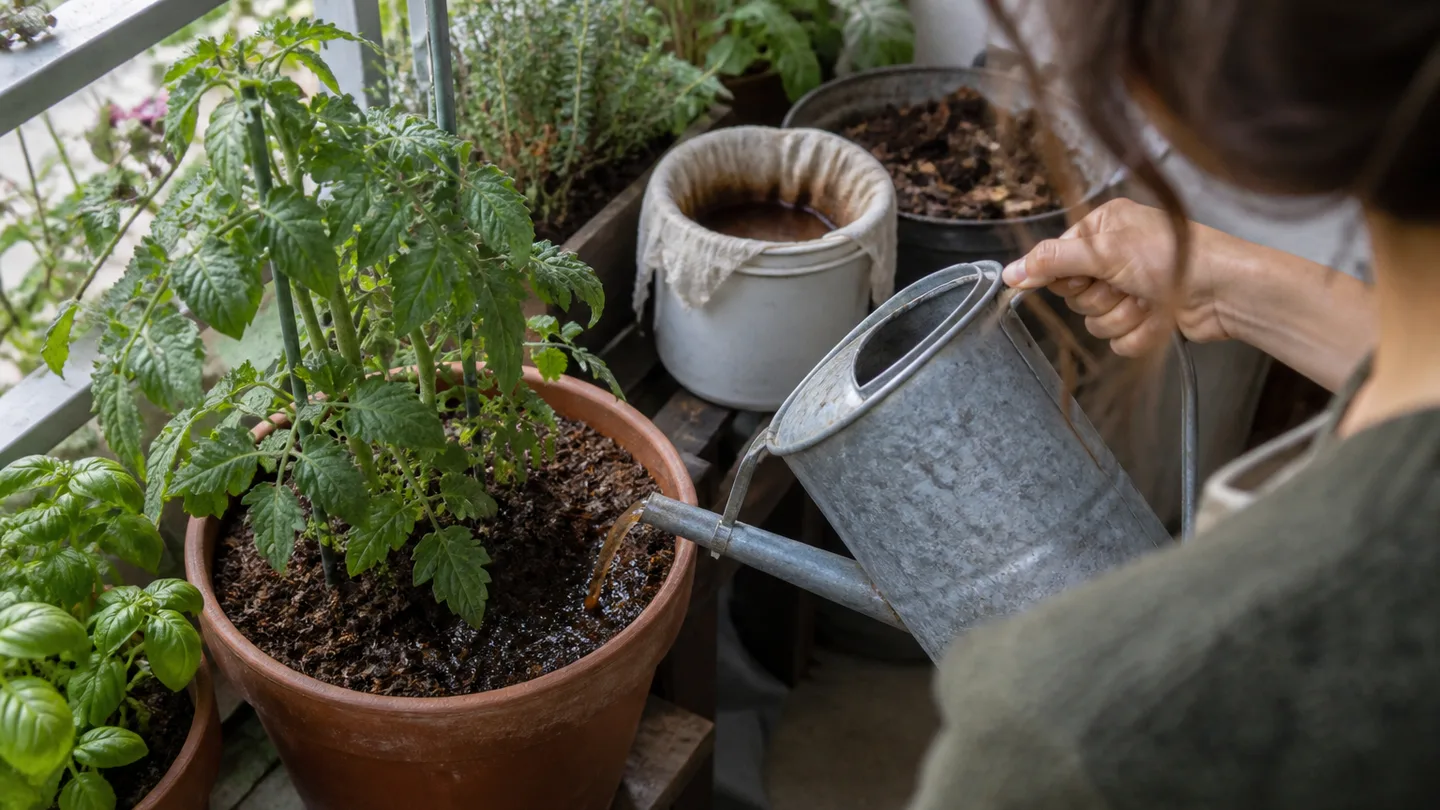
As a starting point, I use about 250–500 mL for a 10–15 litre pot and about 0.5–1 litre for a 20–30 litre pot. Those are application starting points, not fixed prescriptions. A small seedling, a recently watered pot, cool weather, and a glazed container all call for the lower end. A large, actively growing plant in a dry, airy plastic pot may accept the upper end, but I still stop before runoff.
        leaves and fruit
             │
             │  keep liquid off foliage
      ┌──────┴──────┐
      │  pour in a  │
      │  loose ring │  ← across moist mix, not against the stem
      │  root zone  │
      └──────┬──────┘
             │
       drainage holes
Keep the stream moving around the surface rather than pouring in one place. Do not aim at the stem crown, where repeated wetness can create a separate rot problem. If the potting mix is bone dry and pulling away from the pot wall, water it normally first. A dry mix can let liquid race down cracks or around the root ball while the upper root zone remains unevenly wet; that is a watering problem, not evidence that the tea failed.
For ordinary watering decisions, use the same inspection you would use for how much to water container plants: check the mix below the surface, consider pot material and weather, and look at the plant rather than following a fixed calendar. If the pot stays wet for days after the drench, the useful diagnosis may be overwatered plant symptoms, poor drainage, or an oversized container.
I reserve foliar compost tea for non-edible ornamental foliage, and even there I would want a clear reason. Strain it very finely, test one small area first, and spray in cool, low-light conditions so the leaves are not left wet through strong sun or heat. Stop if the test area spots, dulls, curls, or scorches. I would not spray homemade tea onto edible leaves or harvestable fruit unless a recognized food-safety protocol specifically permits that use.
The follow-up test: what failure looks like and when not to repeat the application
Do not judge compost tea by whether the pot looks dramatically different the next morning. Give the plant 7–14 days, then inspect the leaves, new growth, surface moisture, drainage, and ordinary feeding routine.
- Sour, sewage-like, or rotten-egg smell: discard the batch. Do not dilute it and hope the smell disappears.
- Leaf spotting or scorch after foliar use: stop spraying, rinse ornamental foliage with clean water if appropriate for the plant, and return to a dry-leaf routine. Do not repeat the test on edible leaves.
- No visible growth response: treat that as information, not proof. Check light, root volume, moisture, temperature, pests, and normal fertilizer before making another batch. The tea may simply not have been the limiting factor.
- Fungus gnats or algae after application: look first at excess moisture and slow-drying potting mix. Their appearance does not prove that compost tea is working.
I would not make compost tea a weekly obligation. If the plant is healthy and the batch was clean, repeating it after roughly 2–4 weeks is a reasonable upper-level spacing for this optional practice, but skipping it is also reasonable. Keep the crop’s normal fertilizer routine; a mild extract should not replace feeding that the plant already needs.
Before you make the 10-litre batch, take a handful of compost and check three things: does it smell earthy, is it crumbly, and can you identify any raw food scraps or manure? Then check that the pot drains freely and that the water source is suitable. If those checks pass, fill the bucket, load the mesh bag, and make the simple extract for same-day use.