Grow Apple Tree From Seed: What to Expect, Step by Step
You can grow an apple tree from seed, but the seedling won’t be a copy of the apple you ate. I’d treat it as a long-term growing experiment: fruit may take six to ten years or longer, and neither the quality of the apples nor the tree’s mature size is predictable from the seed.
The steps are manageable: chill clean seeds in a barely damp medium, sow them when a root tip appears, then raise the seedling in a pot while you assess the light and space you can offer. The harder question is whether you want the experiment or a reliable fruit crop.
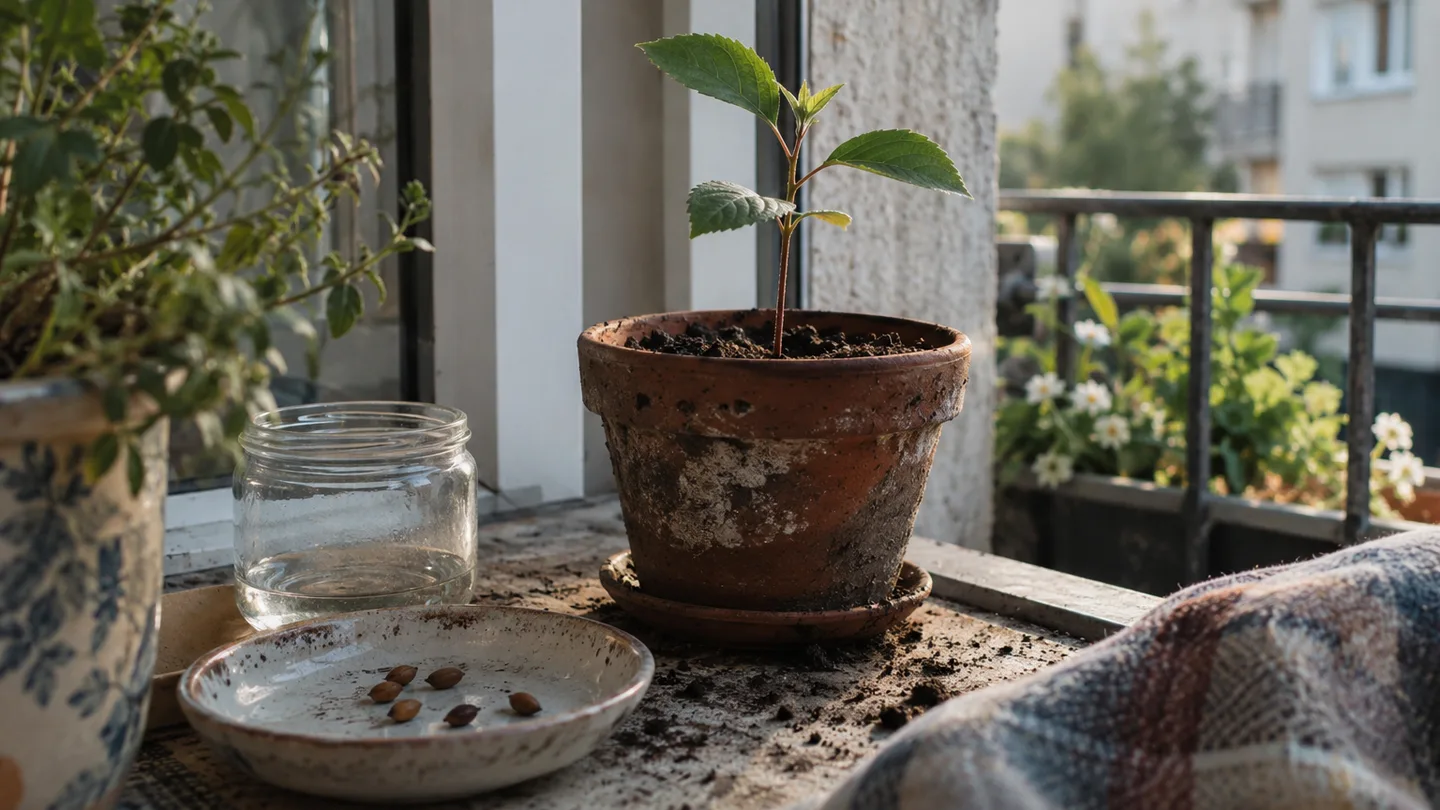
Before you start: a seed-grown apple is a genetic surprise, not a copy
An apple seed forms after pollination, so its young tree carries a mix of inherited traits. It may grow well and still produce fruit that is smaller, more tart, or otherwise unlike the parent apple. You won’t know what the apples are like until the tree bears, and it may never bear in a pot or in a challenging growing spot.
There’s another catch for balcony growers: a seedling is not automatically a dwarf tree. Commercially sold dwarf apples are usually grafted onto a rootstock selected to influence the tree’s size and growth. A seed from a small apple doesn’t carry that same size-control arrangement.
My call: grow one if you enjoy the process and can give it room for years without needing a harvest as the payoff. If your priority is dependable fruit in a small space, start by comparing grafted trees instead. A seedling can be a rewarding plant; it just isn’t a shortcut to a named apple variety.
Weeks 1–12: give clean seeds a cool, damp winter
Apple seeds may need a cool, moist spell before they’ll sprout. Gardeners call this cold stratification: giving a seed a winter-like period so it can move toward germination. As a starting plan, allow about 6–12 weeks at 34–40°F (1–4°C). Some seeds take longer, so don’t treat the calendar as a guarantee.
Remove the seeds from a ripe apple and rinse off the sticky fruit residue. Put them in a labelled bag with a barely damp paper towel or a small amount of clean seed-starting mix. The material should feel damp, not drip when squeezed. Close the bag and place it in a refrigerator, away from fruit that could crush or wet it.
Check weekly. Look for a root tip, excess moisture, or fuzzy growth. If the towel is drying, add a little water; if water pools in the bag, replace the wet material and use less next time. A soft seed or widespread mould is a reason to discard that seed. A firm seed with no root may simply need more chilling.
For a worked example, imagine starting four labelled seeds in November. Write down the date, check them once a week, and keep the bag chilled through the winter. If one shows a root in January while the others remain firm, sow that seed and leave the rest in the cool, damp medium for another check. The months are just a convenient example; use the dates on your own labels, especially if your seasons are reversed.
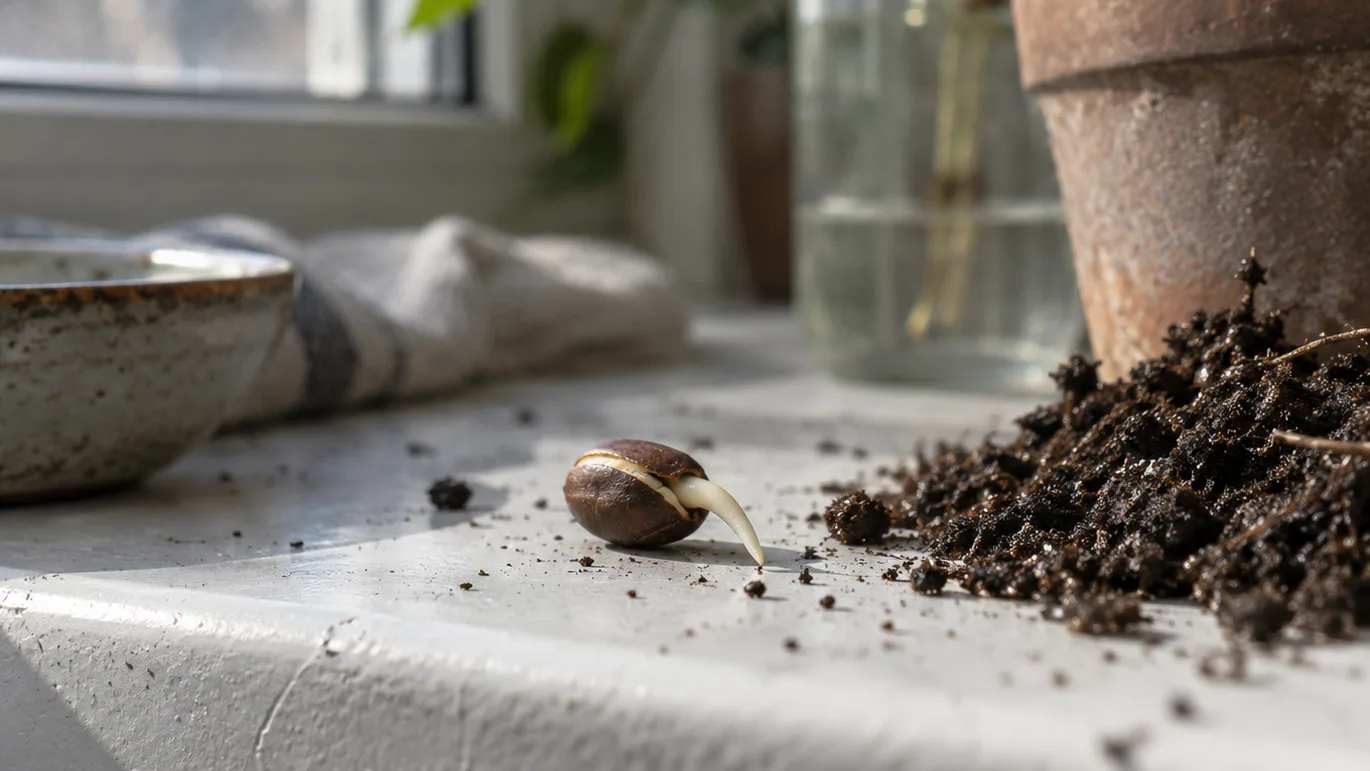
When the seed cracks, sow the root tip down about ½ inch
Once a small root tip appears, plant that seed rather than waiting for a long root to develop in the bag. Fill a small pot with fresh seed-starting mix, make a hole about ½ inch (1.3 cm) deep, and place the seed with its root pointing down. Cover it gently. If the root has curved, don’t force it straight; set the seed so the root points generally downward without snapping it.
Use a pot with drainage holes. Water the mix so it is evenly moist, then let excess water drain away. The aim is moisture around the seed, not a pot sitting in water: soggy mix leaves less air around the developing root and makes rot a concern.
No root yet? Don’t keep digging the seed up to check. If it is still firm and the medium hasn’t dried out or turned waterlogged, return it to the chill and check again later. One slow seed doesn’t tell you whether the rest will sprout.
First leaves, first pot: keep the seedling compact and well lit
When the seedling is established enough to handle, give it an individual pot about 3–4 inches (8–10 cm) wide, with drainage holes. That’s a starter home, not a permanent container. Use fresh potting mix and keep the root system intact as you move it; hold the seed leaves or a leaf rather than pinching the delicate stem.
Check the mix before watering. Press a finger just below the surface; if it still feels moist, wait and check again later. If it’s drying, water thoroughly until a little drains out, then empty the saucer. A fixed daily schedule can miss both a dry pot in warm air and a wet one in a cool room.
A bright window may be enough, but watch the plant, not just the glass. If it leans hard toward the window and grows long, thin stems with wide gaps between leaves, it is stretching for light. Turn the pot periodically and move it to a brighter position if you can. If natural light is insufficient, a grow light used for roughly 12–16 hours a day is a practical starting range; keep the seedling close enough to receive useful light without letting the leaves become hot.
The balcony habit I rely on is to lift small pots before deciding to water. A pot exposed near a rail can dry ahead of one tucked beside a wall, so watering both just because one needs it can leave the sheltered one too wet. I check each pot separately, then feel the mix below the surface. That same check is useful for an apple seedling, whose small root ball can’t draw moisture from a large volume of soil.
First outdoor season: harden it off, then plan for 6–8 hours of sun
Don’t move an indoor-grown seedling straight into a windy, sunny spot for the whole day. Harden it off by introducing it to outdoor conditions gradually over about 7–10 days. Begin in a sheltered, shaded place for a short period, then increase its time outside and exposure to sun and light wind. Bring it in or protect it if frost is expected.
For a tree you hope will eventually flower and fruit, plan around 6–8 hours of direct sun when possible. A balcony with only one or two hours may keep a young seedling alive, but I wouldn’t count on that space as a realistic fruit-producing site. Limited sun, reflected heat, wind, and the building’s shade all matter; moving a pot can help with light but won’t create more hours of sun than the balcony receives.
Pay attention to how quickly the pot dries outdoors. Wind and warm sun can change the routine, while a cold spell slows water use. Check the mix rather than watering by the day. If the pot is light and the mix is dry below the surface, water; if it is still heavy and damp, wait.
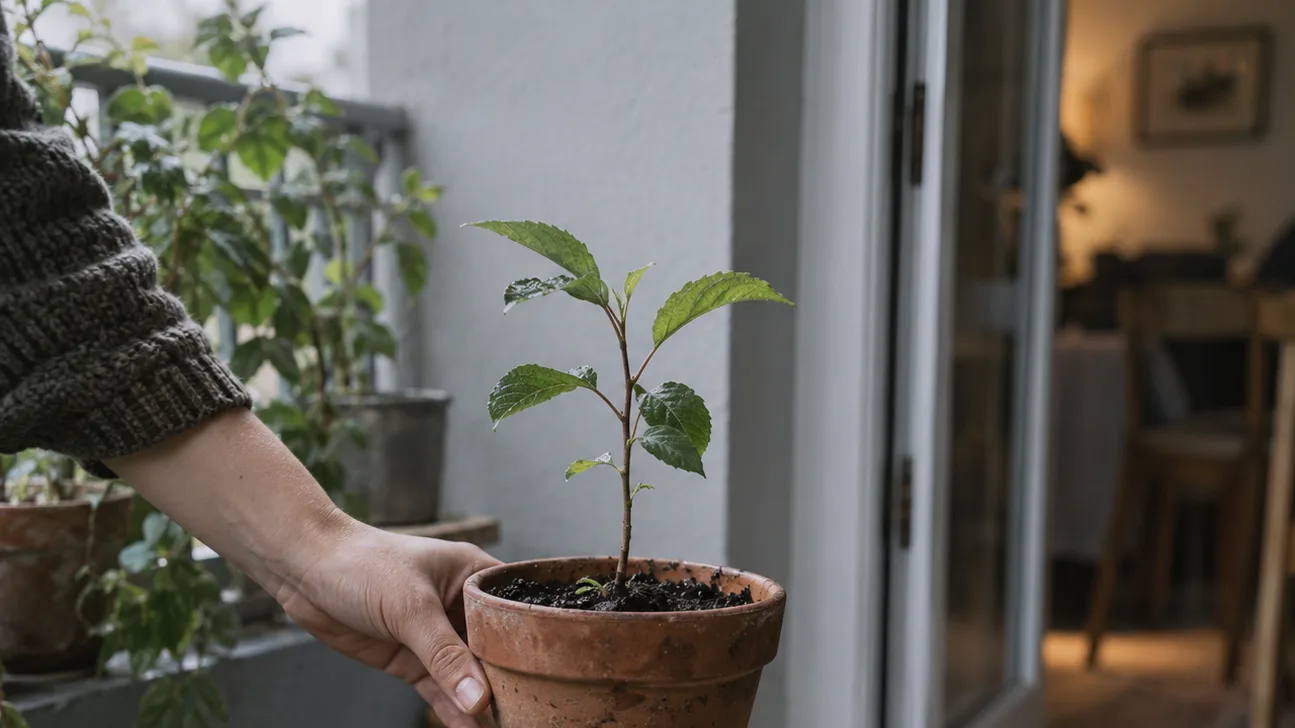
Years 1–3 in pots: move up when roots fill the space, not on a calendar
There’s no need to transfer a seedling to a large container simply because another year has passed. Look for roots circling the pot or emerging from drainage holes, and for mix that dries unusually fast despite sensible watering. Those signs suggest the small root space is becoming limiting. Move up one step at a time; a 1–2 gallon (4–8 L) pot can be a reasonable next size after a small starter pot is root-filled.
That is different from planning a mature container for a dwarf grafted apple. A rough 15–20 gallon (57–76 L) range is often used as a planning figure for dwarf apples in pots, but it does not promise a seed-grown tree will stay compact. A seedling’s roots have no known dwarfing rootstock. It may outgrow a balcony container, and repeated potting-up can become impractical.
Before buying a large pot, consider its filled weight, drainage, and where it will stand. A pot full of wet mix is much heavier than the empty container in the shop. Check your building’s rules and load limits rather than assuming a balcony can take any planter. Choose a stable spot that won’t block a doorway or leave the tree exposed to a strong gust.
If you’re comparing other fruit projects, growing citrus in containers can help you think through the ongoing space and seasonal-care commitment. For a wider menu of small-space crops, browse Easy fruits and vegetables to grow in pots. An apple seedling is less predictable than many compact edible plants, so decide whether you have space for a tree that may stay ornamental.
The long wait: flowering may take 6–10 years or more, and fruit is not assured
For a seed-grown apple, use six to ten years or longer as a broad expectation for possible flowering and fruit, not a deadline. A tree’s progress depends on growing conditions and its own genetics. Poor light, cold injury, restricted roots, and stress in a container can all delay or interrupt growth. Some seedlings take longer; a pot-grown tree may not reach the point of fruiting at all.
Flowers don’t guarantee apples. Apple flowers need suitable pollen transfer, and another compatible apple or crabapple generally needs to bloom at the same time for cross-pollination. A tree flowering alone may set little or no fruit, depending on its variety and circumstances. A local university extension’s apple-growing guidance and a local extension’s pollination chart can help you check which trees bloom together in your area.
Even after pollination, you’ll still be waiting to taste the result. A seedling can produce fruit that is pleasant, disappointing, or simply different from what you hoped for. That uncertainty is the central trade-off: growing from seed gives you a living project and a surprise, not a known cultivar or a promised harvest.
Want predictable apples? Grafting changes the odds—and the tree’s size
Grafting means joining a piece of a chosen fruiting variety to a separate rooted plant called a rootstock. The grafted top determines the variety of apple, while the rootstock strongly influences the tree’s eventual size and growth habits. Rootstock choice can also affect how soon a tree bears, although no single choice removes the effects of climate, care, and growing conditions.
A seedling grown on its own roots has no selected dwarfing rootstock, so pruning it or keeping it in a pot should not be treated as a reliable size-control method. If you want apples in a small space, a grafted tree sold for container growing is the more practical starting point. Check the named variety, rootstock, pollination needs, and suitability for your climate before buying; don’t rely on the word “dwarf” alone to answer every question.
The seedling can still be useful. Keep it as a learning project, grow it while it fits, or ask a knowledgeable local grower whether it could later be used for grafting practice. If what you really want is a seed-to-seedling project, growing avocado from seed is another way to watch a fruit seed develop, though its growing needs differ from an apple’s.
A simple season-by-season log makes the experiment useful
A seedling can spend a long time looking much the same from week to week. A small record gives you a way to notice what changed without confusing patience with neglect. Note when you began chilling, when the root appeared, when you sowed it, and when the first leaves opened. Add short observations about light, watering checks, and pot changes.
For example, label each seed A through D and write “November 12: placed in refrigerator” on the bag. In January, note which seed has a root; in spring, record when the seedling starts growing outdoors. If nothing has happened after the first chilling period, write that down and decide whether the seeds are still firm enough to keep chilling. Those dates help you compare your own steps next season without pretending that one small batch proves a universal timetable.
My opinion is that a simple log is more valuable here than buying several special products. The main uncertainty isn’t solved by a fancier label; it’s built into the seedling. Use notes to make the next decision, not to promise yourself a particular apple.
If growth stalls: match the symptom to the next check
- No root after 6–12 weeks: Check whether the seed is still firm and whether the medium stayed barely damp and cool. If so, continue chilling and check weekly rather than discarding it on a fixed date.
- Soft seed or mould: Remove that seed. For remaining seeds, replace a soaked towel or mix with barely damp material and keep the bag from sitting in pooled water.
- Long, stretched growth: Check light first. A strong lean and thin stem point you toward a brighter position or a suitable grow light; turning the pot alone won’t fix a persistently dim spot.
- Wilting in a small pot: Feel the mix below the surface and lift the pot. Dry mix calls for a thorough watering; wet mix calls for drainage and time, not another drink. Wilting by itself doesn’t distinguish those causes.
- Leaves dropping as days shorten: Check whether the tree is entering seasonal dormancy before assuming it is dying. Look at the mix and stem condition, and avoid keeping it warm and constantly wet if it is naturally slowing down.
This week, label any seeds you’re keeping, check the moisture in the bag, and write down the date. If a root tip is already visible, sow that seed gently; if the seedling is in a pot, lift it and check below the surface before you water.