Grow Strawberries From Seed in Pots: From Sowing to Harvest
Growing strawberries from seed in pots is a longer bet than buying a crown: count back 10–12 weeks from your local last frost, and reserve 3–4 of those weeks for cold, moist treatment if the packet hasn’t already done it. The payoff is choice, especially with alpine strawberries, not a guaranteed first-year bowl.
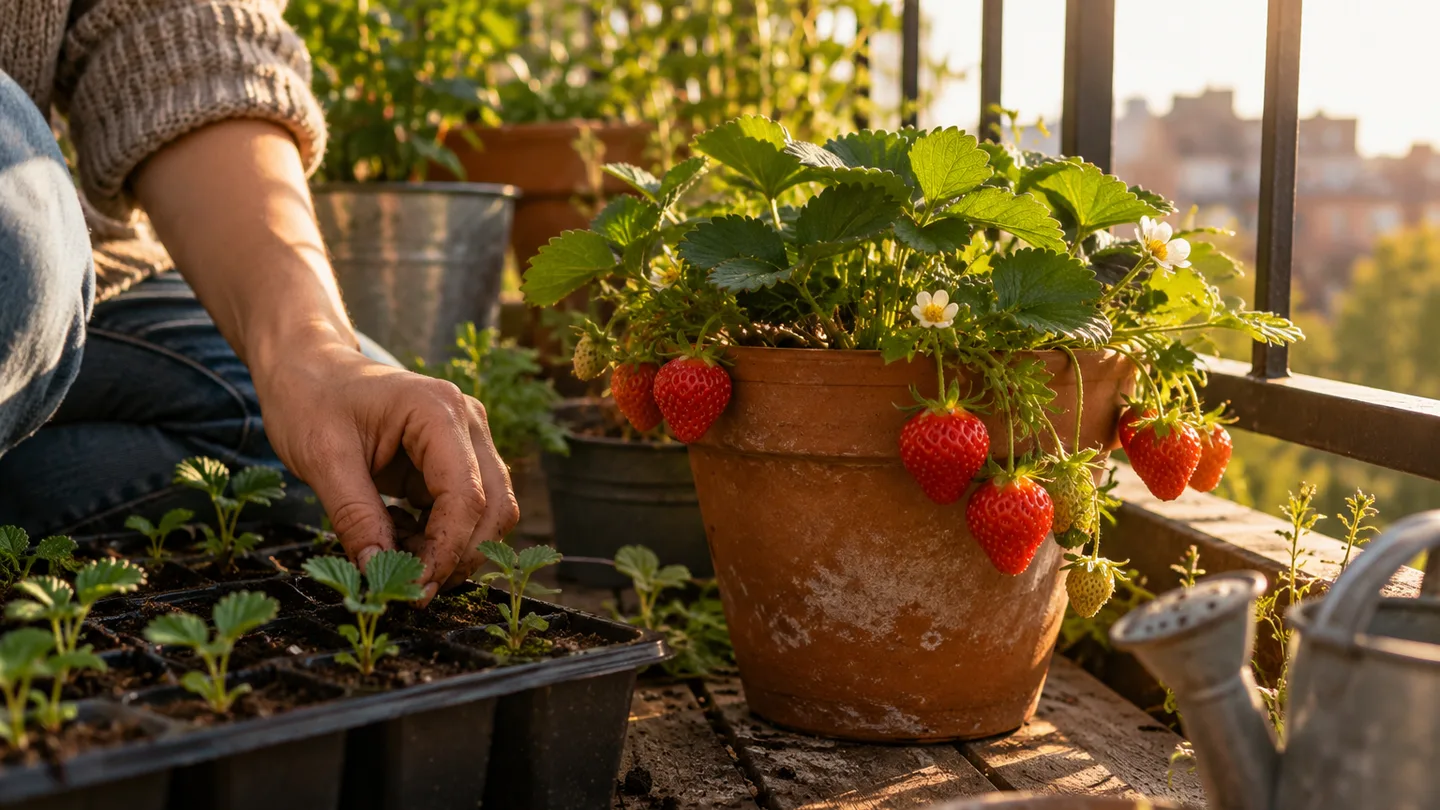
Here’s the route from packet to picking: sow on the surface, keep the tray evenly damp, move seedlings only when they have real leaves, and give each finished plant enough mix to buffer a hot, breezy balcony. I’d treat the dates below as planning ranges, not appointments the plant has promised to keep.
Choose a seed type that suits a pot—and know what may not grow true
For a first attempt, check whether the packet names an alpine strawberry or a garden strawberry. Alpine types are commonly sold as seed and are a sensible pot choice: plants are compact, and many produce small berries over an extended period. Garden strawberries can also be started from seed, but seedlings raised from hybrid fruit may not match the parent plant in berry size, flavour, or fruiting habit. A seedling isn’t a clone.
Read the packet for three useful details: whether the seed is already treated for cold, whether the variety is alpine, day-neutral, or another type, and any sowing instructions that differ from the general method here. “Day-neutral” means a plant that is less tied to a particular day length for flowering; it still needs enough light and suitable growing conditions. If the packet doesn’t identify the type, plan for variation rather than assuming every seedling will behave alike.
My practical choice for a narrow balcony is an alpine variety when the aim is a steady trickle of small fruit, and a named garden variety when larger berries matter more than uniform results from seed. If the seed came from a hybrid berry, I wouldn’t give up a valuable sunny pot on the assumption its offspring will be identical. For other manageable edible crops, see Easy fruits and vegetables to grow in pots.
Count back 10–12 weeks from your last frost, including 3–4 weeks of cold treatment
Start with the expected last frost date for your area, then count back 10–12 weeks to choose a sowing window. A local cooperative extension’s last-frost calendar can help with that first estimate; treat it as a planning date, not a promise about the weather on your balcony.
Many strawberry seeds benefit from 3–4 weeks of cold, moist stratification. That’s simply a period of cool, damp conditions that can help break seed dormancy. If your packet says the seed is pre-treated, or gives a different method, follow the packet. For untreated seed, dampen a clean paper towel so it feels moist but isn’t dripping, place the seeds inside a closed container or bag, and refrigerate it for the stated period. Keep it away from the freezer and check that the towel hasn’t dried out.
The count-back is a working schedule, not a guarantee: chilling takes several weeks, germination may take another few, and tiny seedlings need time to become sturdy enough to move outdoors. If you’re already close to the last-frost date, sow anyway if you have room to grow the seedlings on, but expect a later or smaller first crop. For the local date, search for your region’s cooperative extension last-frost calendar.
Surface-sow the tiny seeds; don’t bury them under a layer of mix
Use a clean seed tray or small pot with drainage holes. Fill it with fine seed-starting mix, moisten the mix before sowing, and let excess water drain. Scatter the seeds on top, then press them gently against the surface with a fingertip or the back of a spoon. Don’t cover them with a layer of mix: the seeds are small, and leaving them exposed helps light reach them while still giving them contact with moisture.
Cover the tray with a clear lid or plastic cover to slow drying, but leave a little room for air exchange. Put a label in the tray with the variety and sowing date. That modest step matters when several pots are on a windowsill and seedlings don’t all appear at once.
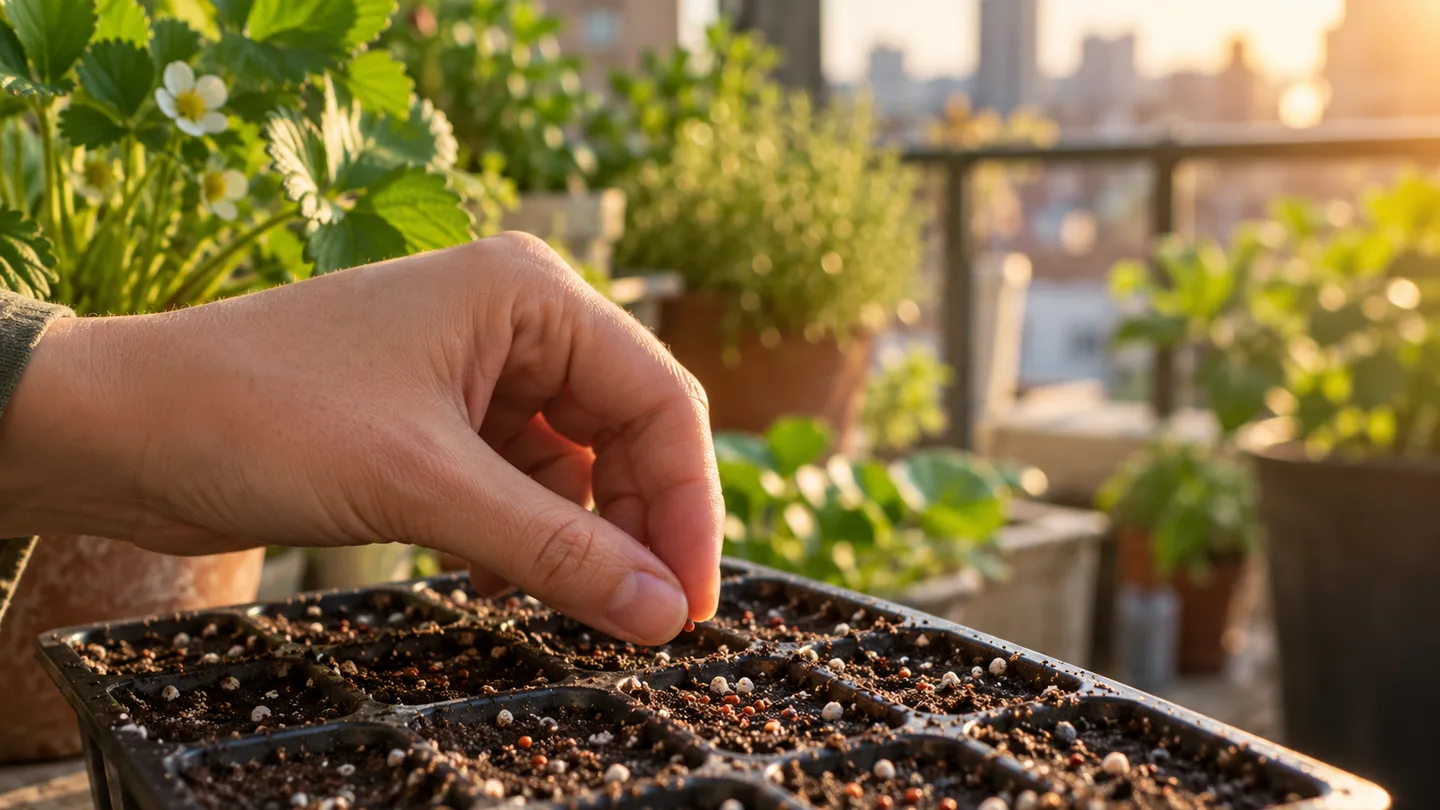
Keep the surface damp rather than flooded. If watering from above dislodges seeds, use a gentle mist or stand the tray briefly in shallow water and remove it once the mix has drawn up moisture. Don’t leave the tray sitting in water: saturated mix has fewer air spaces, which can leave emerging roots short of oxygen. Keep the cover on while the surface dries quickly, then vent or remove it as seedlings emerge.
During the 1–6 week wait, hold the tray near 18–24°C (65–75°F)
Place the tray somewhere around 18–24°C (65–75°F), with bright light. Strawberry seeds may sprout in about 1–6 weeks under suitable conditions, but a warm windowsill or a particularly slow batch can shift that window. Don’t throw out a tray simply because it hasn’t produced a seedling by a particular day.
Look at the mix, not the calendar. If the surface is pale and dry, add a little water; if it glistens, feels sodden, or smells stale, let it drain and increase ventilation. Condensation on the cover is not automatically a problem, but heavy droplets that keep falling onto the mix are a reason to prop the cover open. If fuzzy mould appears on the surface, remove the affected bit gently, improve airflow, and avoid keeping the mix continuously wet.
Once seedlings show, give them bright light close enough to prevent long, weak stems, while avoiding a position that overheats the covered tray. Turn the tray now and then if light comes mainly from one side. A spindly seedling usually needs more light, not a deeper layer of soil piled around its stem.
Pot up at 2–3 true leaves, then harden seedlings off for 7–10 days
The first pair of simple leaves after germination are seed leaves. Wait for 2–3 true leaves—the next leaves, which begin to look like strawberry foliage—before moving a seedling into its own small pot. Lift it by a leaf or by a little plug of mix, not by the delicate stem. If roots are tangled, tease the mix apart slowly rather than pulling seedlings free by force.
Keep the young plants in bright light and water when the small pot is beginning to feel light and the surface is drying. Once outdoor temperatures are suitable, harden them off over 7–10 days. “Hardening off” means gradually getting indoor-grown plants used to outdoor sun, wind, and temperature changes. Start with a short spell in a sheltered, bright-shade spot. Add outdoor time and a little more sun each day, then bring the plants in if conditions turn harsh. A sudden move from a windowsill to midday sun can scorch leaves; wind can also dry small pots quickly.
Move them into their final container after this adjustment, or sooner if the small pot is drying out too fast and the plant is sturdy. A seedling that wilts briefly in afternoon sun may be adjusting, but a plant that stays limp after the mix is moist needs a closer check for damaged roots or waterlogged soil.
Give each plant 5–10 L (1.3–2.6 US gal) of mix and 20–30 cm (8–12 in) of depth
For one strawberry plant, aim for roughly 5–10 L (1.3–2.6 US gal) of potting mix and a container about 20–30 cm (8–12 in) deep. These are practical working ranges, not a hard biological cutoff. More mix gives roots room and provides a larger moisture buffer, which is useful because a small pot can swing from damp to dry quickly in sun and wind.
Every container needs open drainage holes. A decorative outer pot is fine if the planting pot can drain and you empty water that collects underneath. Don’t add gravel to the bottom as a substitute for holes; the water still needs a route out of the container. I avoid dense garden soil in pots because, in a confined volume, it can settle into a tighter mass, reducing air spaces and making water move unevenly. A free-draining potting mix is the more practical starting point.
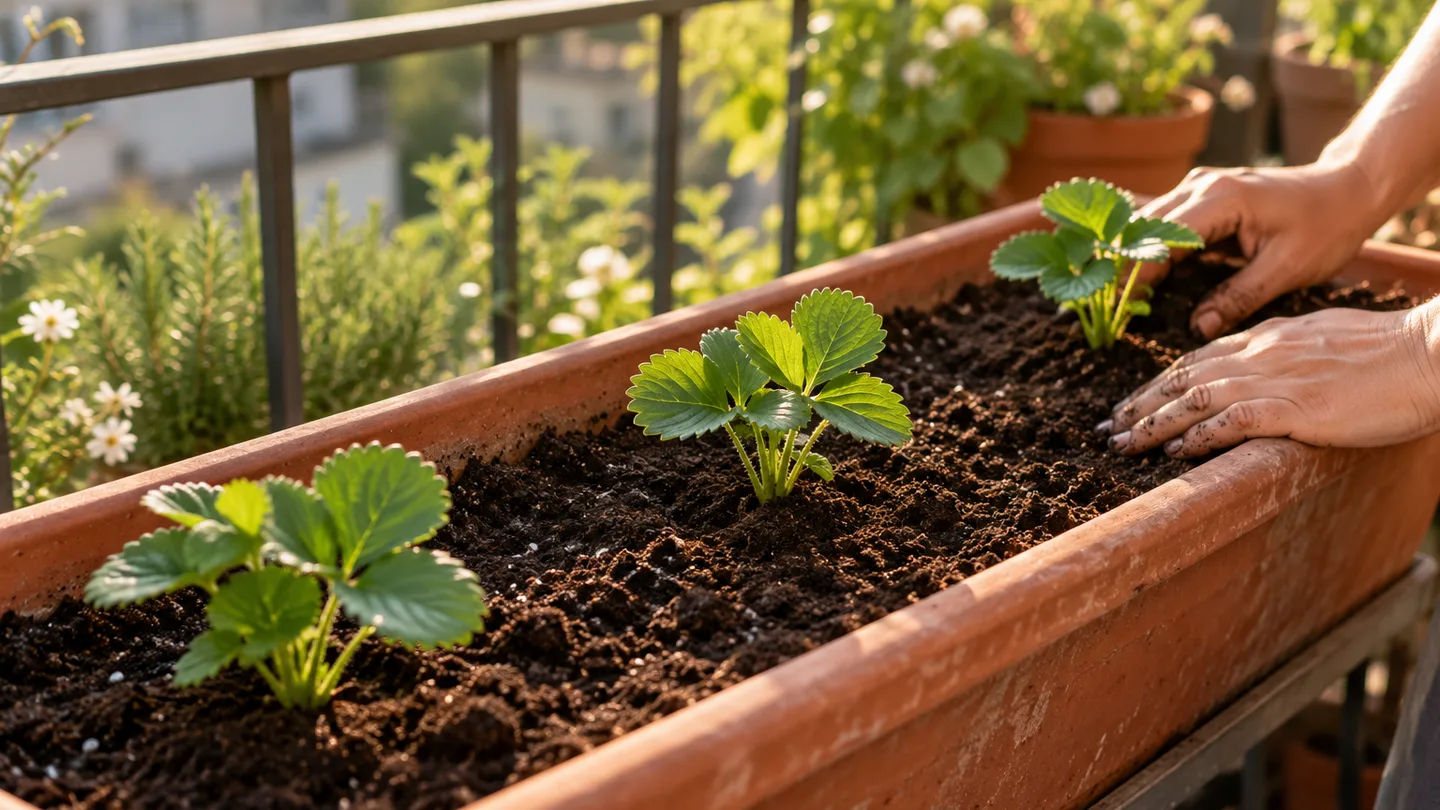
For a shared trough, use its internal dimensions to estimate volume: length × width × fill depth in centimetres, divided by 1,000, gives approximate litres. For example, a trough with 60 cm × 20 cm × 20 cm of usable space holds about 24 L. At roughly 20–30 cm between plants, that might suit about three plants, with the final number depending on the trough’s shape and the variety’s mature size. Don’t crowd extra plants in just because the pot can physically hold them; crowded foliage dries more slowly and leaves less room for each plant.
If you’re comparing crops before buying containers, growing blueberries in containers has a different soil requirement, so don’t assume the same mix will suit both.
Plan for about 6 hours of direct sun; water by pot feel, not the calendar
Give fruiting strawberries about 6 hours of direct sun if your space can provide it. Less sun can mean less flowering and fruit, so check the actual light on the balcony rather than relying on how bright the room looks. If the only sunny patch is small, you may get a better return from one well-lit pot than from several plants shaded behind a railing.
Water when the top of the mix is starting to dry and the pot feels lighter, then water thoroughly enough to wet the root zone and let excess drain. The timing changes with pot size, material, wind, and heat. A small plastic pot in full sun may need checking daily during hot weather; a larger glazed pot in part shade may stay moist longer. Those are inspection cues, not a fixed watering timetable. Don’t leave the root ball bone-dry, but don’t keep the pot standing in runoff either.
Use a potting mix made for containers rather than dense garden soil. Feed according to the fertilizer label for container plants, and avoid repeated heavy feeding intended to force growth. A plant pushed toward lots of soft leaves may put less effort into flowers and fruit. If foliage is pale or growth stalls, first check light, moisture, and whether roots have filled the pot before increasing fertilizer.
Flowers and first-season fruit: when to keep blooms and how to pollinate
A seedling may fruit in its first season, but the timing depends on the strawberry type, sowing date, light, and how quickly it establishes. Some plants will spend that first stretch making roots and leaves. Don’t judge a seed-grown plant as a failure just because it hasn’t produced berries by the end of its first season.
After transplanting, give a small or recently stressed plant a few weeks to settle before expecting much from it. If the plant is healthy and growing strongly, you can let it keep some early flowers. If it is tiny, recently moved, or struggling to replace leaves, pinching off the first flowers is a reasonable trade: you give up a possible early berry to let the plant direct more resources toward roots and foliage. It’s a judgment call, not a rule that every seed-grown strawberry must lose its first blooms.
Outdoor insects often visit flowers on an open balcony. For a sheltered or indoor plant, move a soft, clean brush lightly across the centre of each open flower, or gently tap the flower stems to move pollen around. Repeat on open flowers over several days. Poorly pollinated flowers can develop misshapen fruit, so if berries form lopsidedly, check pollination as well as watering and sunlight.
Pick when the berry is red all the way around and releases easily
Once a flower has been pollinated, fruit may take roughly 4–6 weeks to ripen, with temperature and variety affecting the pace. Watch the fruit rather than counting days. A ripe strawberry is coloured all the way around and comes away with a gentle lift; a pale shoulder or a berry that resists is a sign to give it more time.
As fruit begins to colour, check the plant every day or two. Hold the berry gently and cut or pinch the stem just above it rather than tugging on the whole plant. Pick in dry weather when you can, and handle the fruit lightly because ripe berries bruise easily. If your first crop is small, that tells you what this plant did in this pot and season—not what every seedling or later season will do.
Troubleshoot the clues: no sprouts, leggy seedlings, no flowers, or small fruit
Use the symptom to choose the next check; changing several things at once makes it harder to learn what helped.
| What you see | Check first | Practical adjustment |
|---|---|---|
| No sprouts yet | How long the tray has been sown; temperature; whether seed was chilled or pre-treated | Keep the mix lightly moist and wait through the 1–6 week germination window. If it passes without sprouts, review the packet, sowing depth, and cold-treatment instructions before starting a fresh tray. |
| Long, thin seedlings | Light level and distance from the light source | Move them to brighter light and rotate the tray if light comes from one side. Don’t try to fix stretched growth by burying the stem deeply. |
| Flowers but little or no fruit | Plant maturity, hours of sun, and whether flowers are being pollinated | Give a recently potted plant time to establish, improve its access to sun if possible, and hand-pollinate flowers in a sheltered location. |
| Small or misshapen berries | Pollination, crowded plants, moisture swings, and the variety’s expected berry size | Pollinate open flowers, check spacing, and keep moisture more even. A small alpine berry is not automatically a sign of a growing problem. |
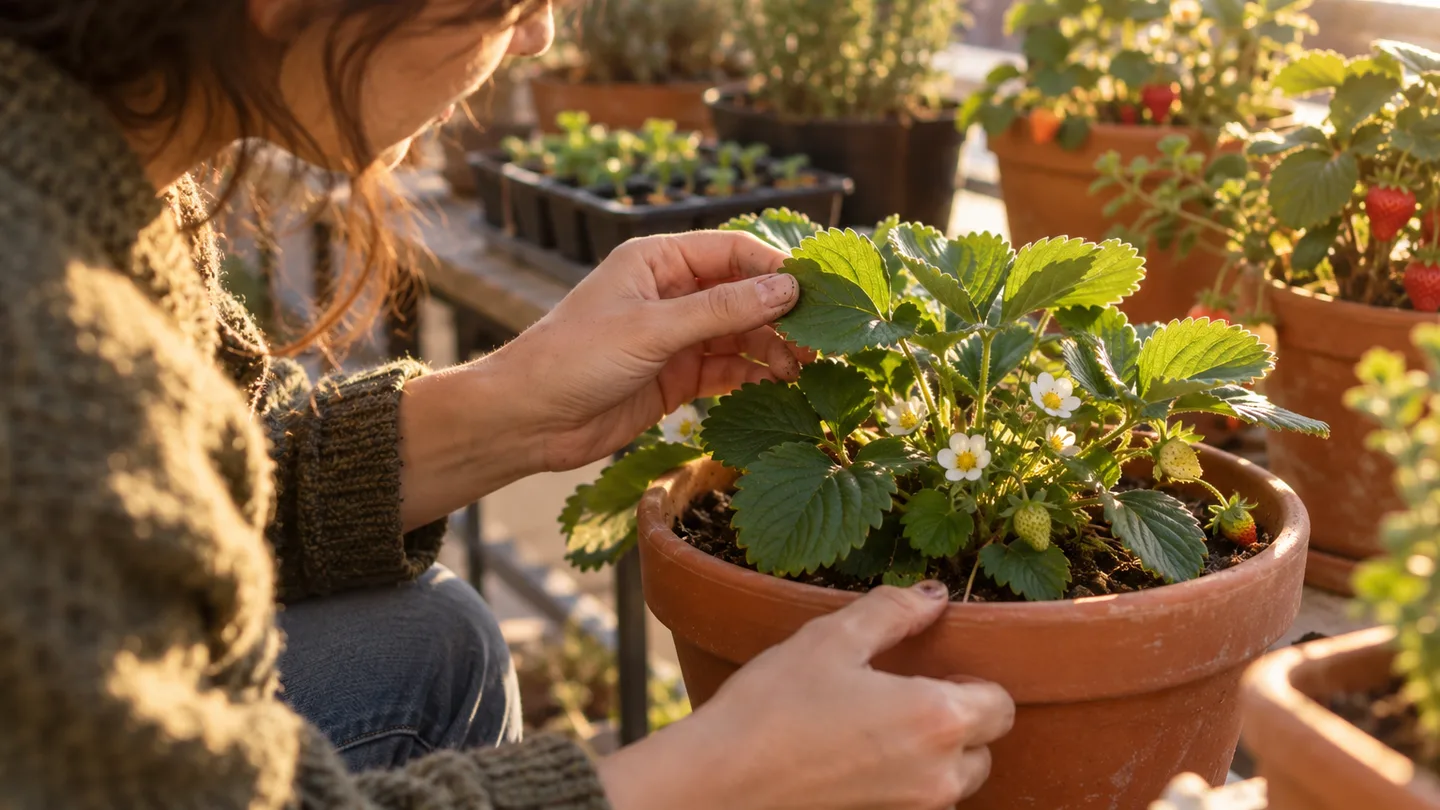
For a tray with no sprouts, don’t immediately assume the seeds are dead: check whether they were buried, whether the surface dried, and whether the packet called for cold treatment. If seedlings emerge but collapse at the soil line, reduce persistent wetness and improve airflow. If a mature-looking plant stays leafy without flowers, check light and variety before adding more feed. Extra fertilizer can’t replace missing sun or a plant that simply needs more time.
Next week, check the tray’s surface moisture, confirm the seed label and sowing date, and look for the first true leaves. If you’re buying supplies this weekend, choose a small tray with drainage, fine seed-starting mix, and—once the seedlings are ready—a final pot that holds at least 5 L (1.3 US gal) per plant.