Growing Grapes in Containers: Pot Size, Pruning & Yield
A grape vine in a container is not a small tomato. Start with 40–60 L (10.5–16 US gal) of potting mix, aim for 60–75 L (16–20 US gal) if the vine will stay put, and give it about 6–8 hours of direct sun; those three choices do more for ripening than an expensive feed.
If your balcony gets only one or two hours of direct light, buy a different crop rather than a bigger pot. A grape vine doesn’t need a larger container to make up for missing sun; it needs a different address. The guide below is how I’d set up one vine, one support and a realistic first few seasons in a pot.
For a one-vine plan, choose a named table-grape cultivar whose label says it’s self-fertile, meaning its flowers can set fruit with pollen from the same vine. That usually removes the need for a second plant, which matters when every square metre is already spoken for.
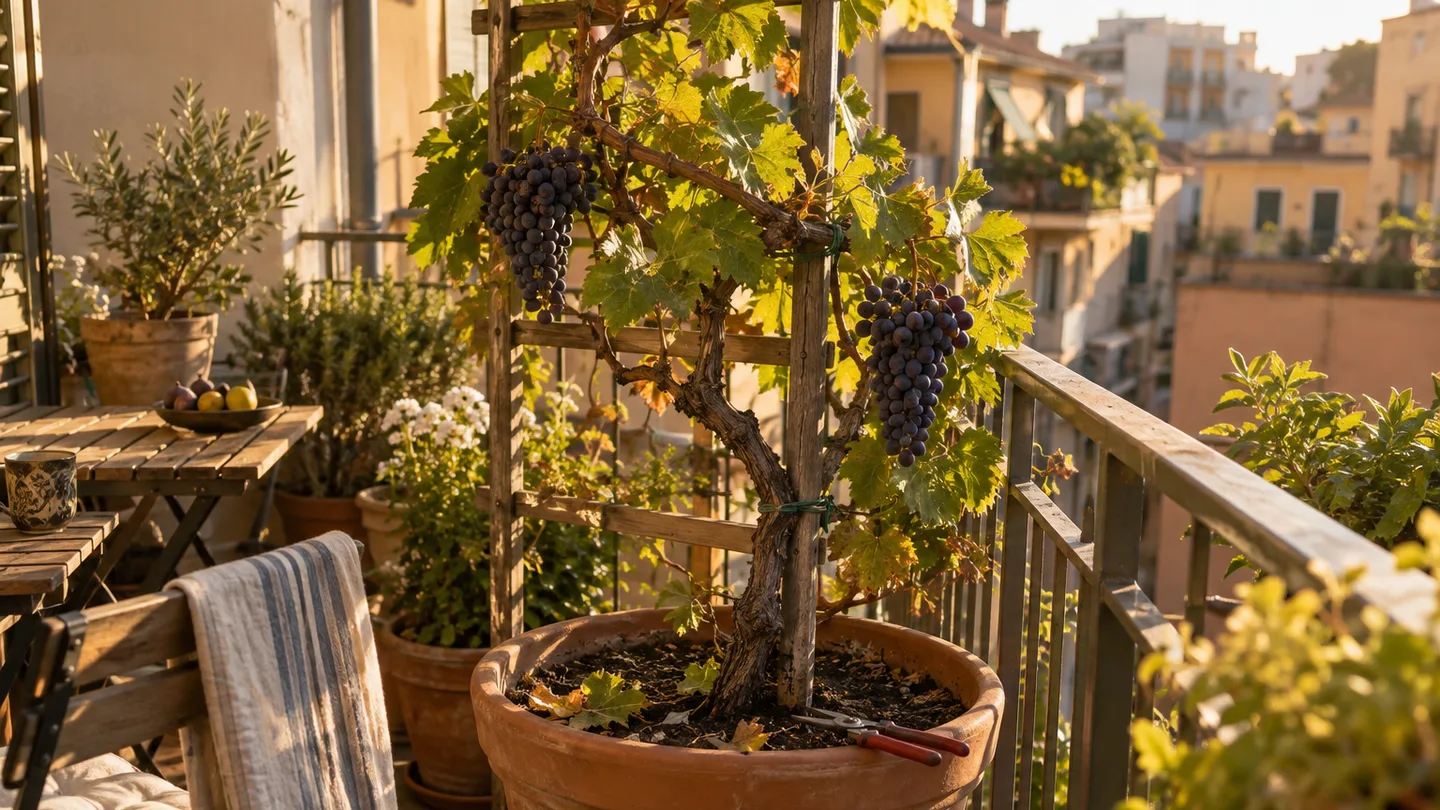
Grapes need 6–8 hours of direct sun: choose the vine before the pot
Direct sun means sunlight falling on the leaves, not simply a bright-looking balcony. A grape vine can grow in bright shade, but reliable ripening is a different job: the plant must make enough leaf growth to support fruit, then keep that fruit warm and well lit for long enough to develop full flavour.
Before buying, I’d put variety choice ahead of pot choice. Look for a table grape that is self-fertile, suited to your growing season, and described as early or reasonably early to ripen if autumn arrives quickly where you live. Disease resistance also matters because a crowded vine against a wall dries more slowly after rain than one growing in open ground. A seedless label may appeal at the shop, but it doesn’t tell you whether the vine will ripen in your particular balcony microclimate.
Use this simple sun audit on a clear day during the growing season:
- Choose the spot where you could actually keep the pot and support, not the temporary spot where you can move the empty container.
- Check the leaves or balcony floor at regular points from morning through late afternoon. Record when direct sunlight reaches the position and when a building, railing or neighbouring tree creates shade.
- Add the direct-light periods, then note whether the light arrives in one useful block or in short fragments. A long uninterrupted block is easier on a fruiting vine than scattered slivers.
- Repeat the check if you’re buying outside the growing season. The sun’s angle and nearby shadows change through the year.
If that audit gives you only one or two hours, I’d spend the container on something from Easy fruits and vegetables to grow in pots instead. If you still want a small fruit crop, compare the different soil and light demands of growing blueberries in containers before committing to a long-lived vine. The pot cannot manufacture sunlight, and this is the first decision that saves money.
The working specification: 40–60 L minimum, 60–75 L better, and 40–45 cm depth
For one grape vine, I’d treat 40–60 L (10.5–16 US gal) as the practical minimum and 60–75 L (16–20 US gal) as the stronger long-term target. Aim for roughly 40–45 cm (16–18 in) of root depth. A shallow trough may look generous from above, but grapes need enough vertical mix to hold moisture without forcing you into constant emergency watering.
Here is the shop-aisle comparison I use:
| Container size | What it can support | My practical read |
|---|---|---|
| 30 L (about 8 US gal) | A young vine or a temporary holding pot | Usable while the framework is developing, but quick to dry and not my long-term fruiting choice |
| 40–60 L (10.5–16 US gal) | One trained vine with attentive watering and crop control | A workable minimum for a sunny balcony if the support and drainage are right |
| 60–75 L (16–20 US gal) | One established vine with more root and moisture buffer | The better target when the pot will stay in place for several seasons |
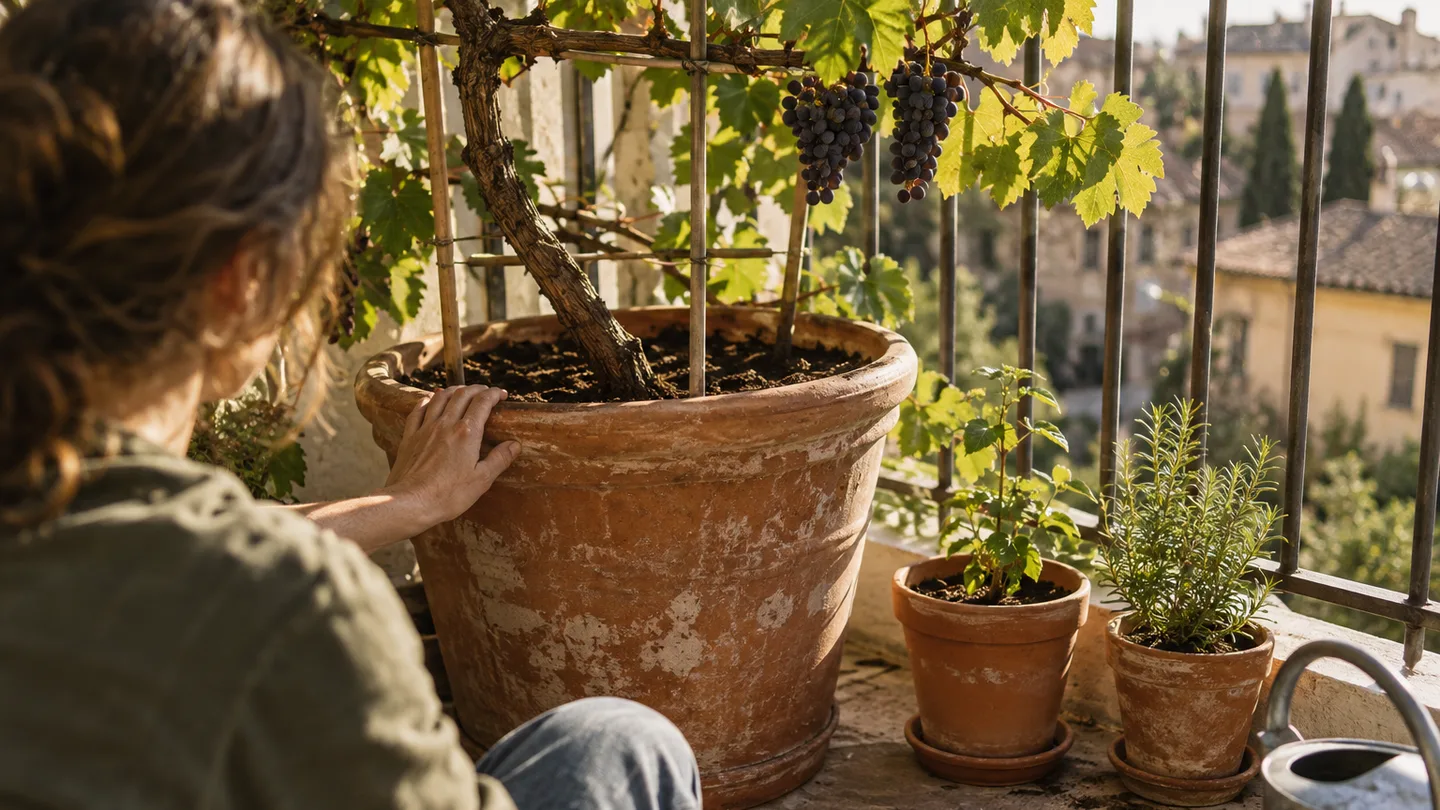
The 60–75 L row is my long-term preference, not because a vine needs a huge decorative planter, but because a larger root volume slows the swing between saturated and bone dry. That extra buffer is useful on a balcony where wind can pull moisture from leaves and mix faster than you expect.
Choose a container that is at least as wide as it is deep, with the full root depth available below the planting level. Several drainage holes at the lowest point are more useful than one tiny hole in the middle. Put the pot on a stable saucer or tray to protect the surface below, but empty that saucer after watering; it should catch runoff, not keep the roots standing in it.
Skip the gravel layer at the bottom. The fine potting mix above a coarse layer can still hold a saturated zone at the boundary, while the gravel has taken away space that could have held roots and mix. That trapped wet zone is often called a perched water table: water remains higher in the pot than the hole because the fine mix does not release it instantly.
Weight needs its own check. A 60 L pot can contain roughly 60 kg (132 lb) of water when fully saturated, before you add wet mix, the container, the vine and the support. There is no universal safe balcony load that I can give you from a plant article. For the final decision, use building manager, strata, or structural guidance on balcony load limits, and keep the heaviest pot near a location approved for that kind of load rather than improvising beside a railing.
Picture a 60 L plastic pot on a sunny balcony with seven hours of direct light, one self-fertile vine and a support fixed independently of the pot. That is a sensible project. Put the same pot in a two-hour shade pocket and the limiting factor has changed from root volume to light; buying the 75 L version would mostly give you a heavier disappointment.
Put the trellis in first: a 1.8–2.4 m frame, two arms, and wind-safe tie points
Install the support before the vine goes into the container. A useful target is a frame about 1.8–2.4 m (6–8 ft) tall, with two permanent horizontal arms or wires and two or three tie points spaced roughly 30–45 cm (12–18 in) apart where the space allows.
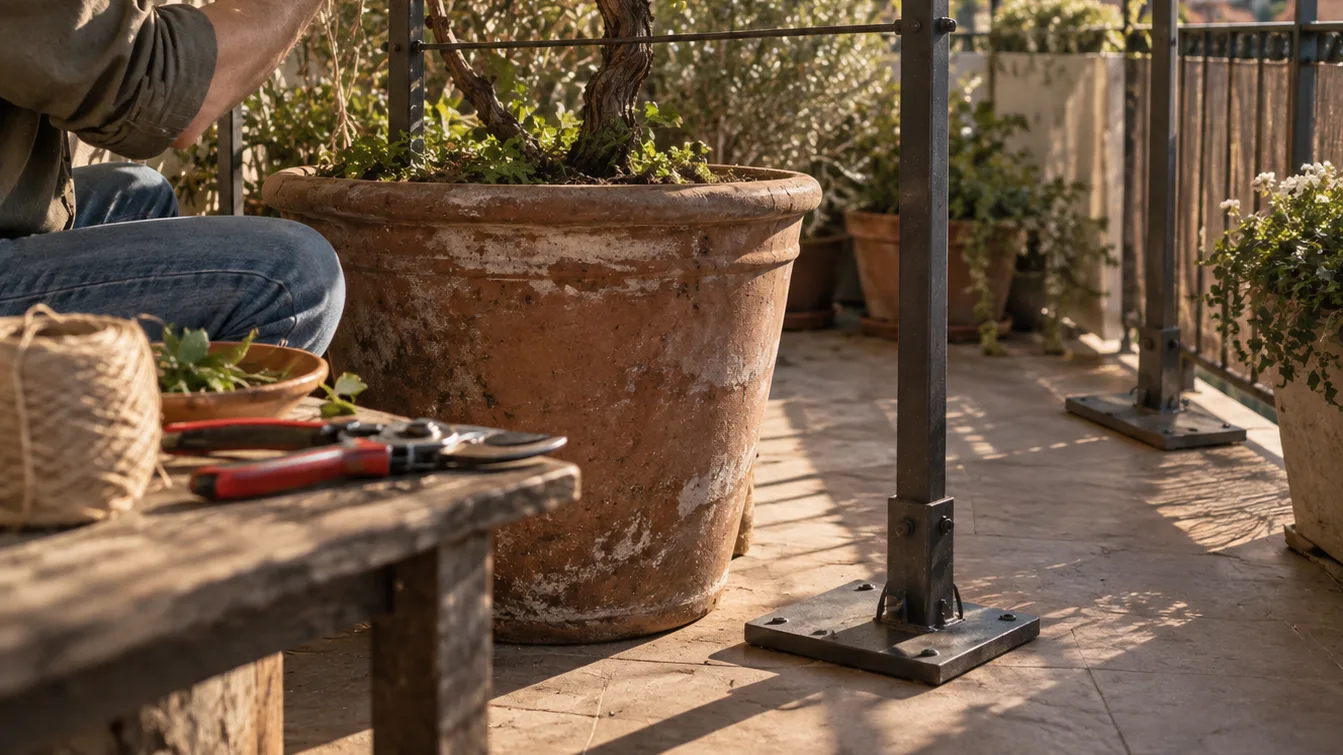
The exact shape can vary. A single vertical trunk can rise to the top, then divide into one or two permanent arms that run left and right. Fruiting shoots are tied to those arms or their wires. The trunk needs support to stay upright; the long green shoots need separate places to spread. If you tie every part to one thin cane, the first full canopy turns it into a lever.
Wind is the reason a freestanding trellis cannot rely on the pot alone. Leaves catch air, the canopy pulls at the upper frame, and the root ball can rock or tip even when the empty pot felt solid. A wall-mounted frame, a railing attachment designed for the railing, or a properly weighted freestanding structure is safer than pushing a lightweight trellis deep into the mix and hoping the roots will hold it.
For a rental, keep the attachment reversible and check the rules before drilling, clamping to a rail, or adding a heavy ballast. The support must leave you access to the pot for watering and winter movement. Use soft ties in a loose figure eight around the stem; a tight loop that looks harmless in spring can cut into a thicker stem later.
Planting day: keep the graft union high and the mix 5 cm below the rim
The order matters because the support is hardest to correct after the root ball is settled. I’d plant a bare-root or potted vine like this:
- Put the empty container in its final position and install the support. Check that the drainage holes are open and the pot does not wobble.
- Add enough free-draining container mix to bring the root ball close to its final height. Don’t fill the pot to the rim first and then try to excavate a planting hole.
- Set the vine at the depth it was growing before. If it is grafted, keep the graft union about 5–10 cm (2–4 in) above the finished mix. If there is no graft union, don’t invent one; simply avoid burying the stem deeper than its original soil line.
- Work mix around the root ball without packing it hard. Leave roughly 5 cm (2 in) between the surface and rim so water has somewhere to collect instead of running straight over the edge.
- Water slowly until a little drains from the holes. Let the mix settle, then top up if the level has dropped while keeping the same headspace.
- Make the first loose tie to the support immediately. A newly planted vine with a small root grip is easy for wind to rock.
Use a container mix made for pots rather than heavy garden soil. Garden soil can compact against the sides of a container, reduce air spaces and stay wet at the bottom while the surface looks dry. A free-draining mix still needs watering, but it gives excess water a route out and makes the moisture check more honest.
If the vine arrives with a graft union, burying that swollen join can encourage the rootstock to produce shoots or leave the graft sitting in persistently wet mix. Shoots from below the union are not part of the fruiting framework you bought; remove them cleanly when they are small instead of letting them compete with the chosen trunk.
Pruning changes with the calendar: one leader in year one, fruiting wood in winter
Pruning is where a container grape either becomes a manageable fruiting plant or turns into a leafy knot. Grapes set their clusters on one-year-old wood, which means shoots that grew during the previous season. The task is to preserve the right amount of that young wood while keeping enough leaf area to ripen the crop.
The calendar matters because a winter cut builds the framework, while a summer cut controls light, air and crop load. Don’t treat both jobs as the same operation.
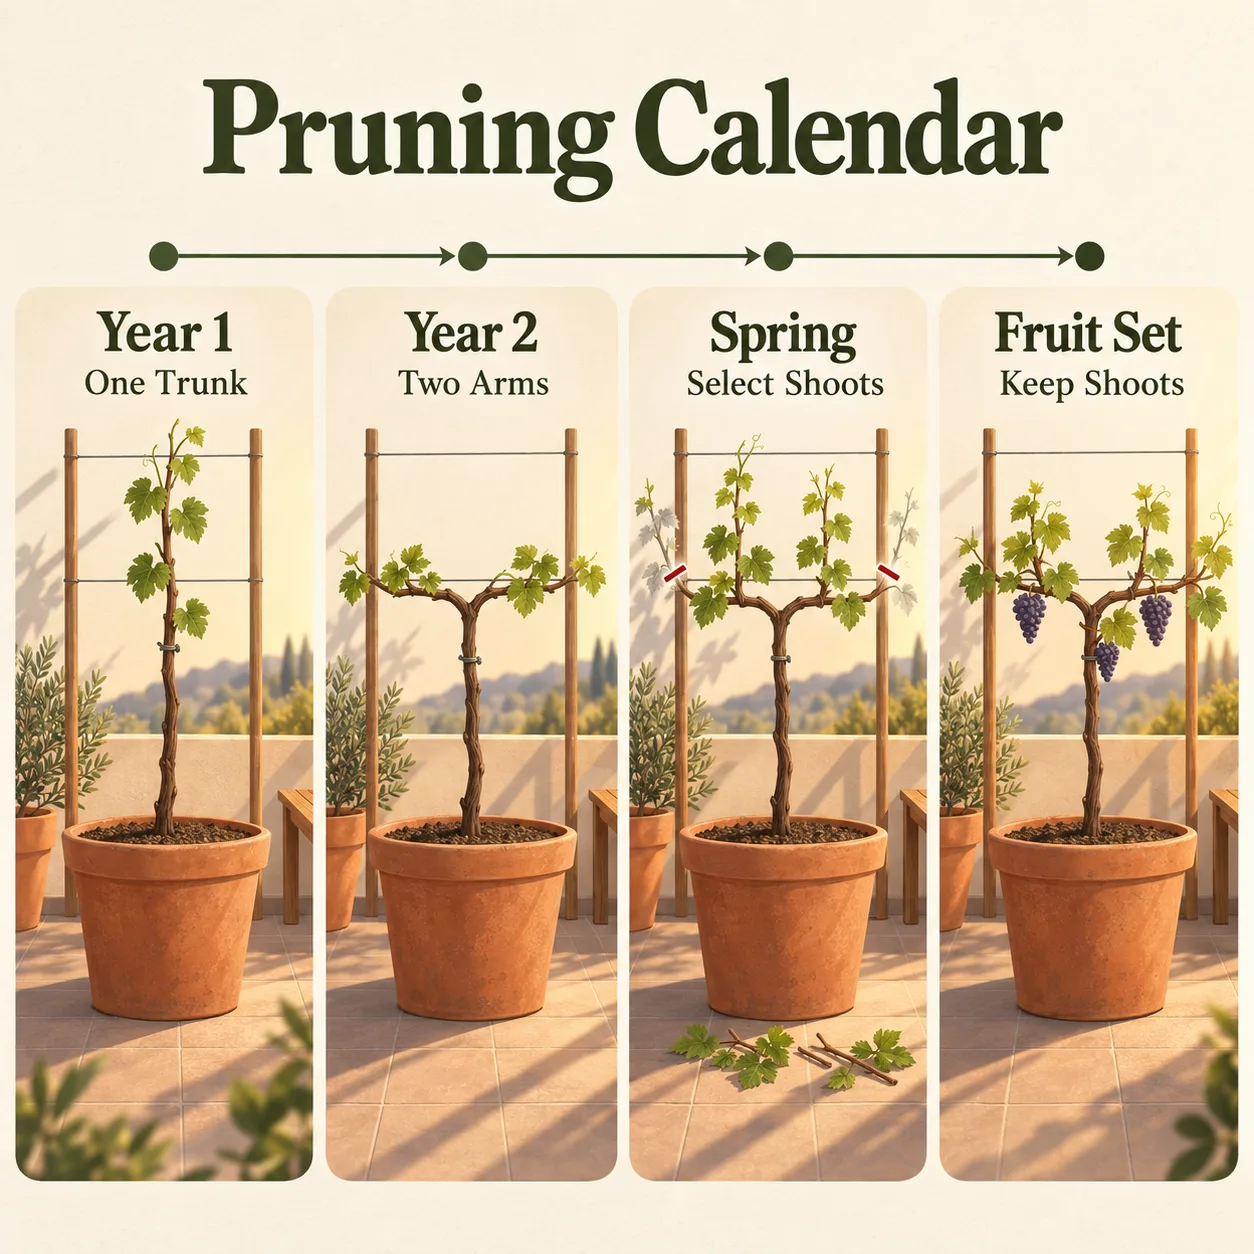
Year one: choose one leader
After growth begins, select the strongest upright shoot and tie it to the vertical support. Remove competing shoots from the base and lower trunk while they are small. I’d rather spend the first season building one straight trunk than accept a small early bunch in exchange for three weak stems that are difficult to manage later.
When the leader reaches the height where you want the arms to begin, allow the top growth to form the permanent left and right structure if the cultivar and support suit that system. The exact height is less important than having a clear trunk and arms that can carry fruiting shoots without rubbing against one another.
Dormant season: choose spur or cane pruning
Once the vine is dormant, decide whether the cultivar is normally managed with spur pruning or cane pruning. Spur pruning cuts selected one-year shoots back to short spurs, often leaving about two buds on each spur. Cane pruning keeps longer one-year canes, often with roughly 6–12 buds, then ties the chosen cane along the support. Those numbers are starting points, not a licence to ignore the cultivar label.
For the pruning system, I’d compare the cultivar instructions with university extension guidance on grapevine cane pruning, spur pruning, and fruiting wood before making the first major winter cut. Some vines are much happier with one system than the other, and a generic cut list can remove the very wood that would have carried your clusters.
Summer: select shoots and thin bunches
As shoots lengthen, keep the ones placed at useful intervals along the arms and remove weak, crossing or inward-growing growth. Tie fruiting shoots before they flop over the path or railing. Open spacing lets air move through the canopy and makes it easier to spot mildew before it reaches the bunches.
Crop thinning is the less glamorous part of getting better grapes. A young vine or a vine in the smaller 40–60 L range has a limited root and leaf budget, so I’d remove excess bunches rather than asking every flower to become fruit. A smaller crop with enough leaf area can finish better than a crowded crop that stays green and soft late into the season.
Vigorous leaves with no grapes make me check light, nitrogen and the previous winter’s cuts in that order. A tangled canopy usually means too many shoots were retained. Fruit only at the ends often means the useful one-year wood was removed or the older framework has been allowed to extend beyond the part you can actually support. My judgement is simple: in a container, pruning earns its space before feeding does. Fertilizer cannot repair a missing support structure or a shaded position.
Water and feed from budbreak to frost: check 5 cm down, then soak the whole root ball
Read the pot, not the calendar
Check the mix about 5 cm (2 in) below the surface with a finger or a plain wooden skewer. If it feels dry at that depth, water slowly until a little drains from the holes. If water races out around the sides while the centre stays dry, give it a first light pass, wait a few minutes, then make the proper soak. Empty the saucer afterward.
In my own balcony setup, I use that two-part check because I don’t trust a dark surface to tell me what is happening lower down. A windy afternoon can dry the upper mix while the centre remains damp, and a crusted surface can look wet even when the root ball has pulled away from the pot wall. The finger or skewer tells me where to look before I add more water.
In a 40–60 L plastic pot in hot full sun, you may need to inspect daily and sometimes water daily. In cooler weather or part shade, the same vine may go several days between thorough waterings. Glazed ceramic usually changes the pace again, as does a sheltered position compared with an exposed rooftop. Treat the interval as a response to the mix, wind and plant, not as a permanent weekly schedule.
Water demand rises as the vine leafs out and again while flowers and berries are developing. Try to avoid the swing from bone dry to a sudden flood. That pattern makes the plant recover repeatedly instead of maintaining steady growth, and it can leave you with a pot that is alternately hydrophobic at the surface and saturated below.
Feed for growth, then stop pushing leaves
Use a fertiliser labelled for container plants and follow its dilution and timing directions from leaf-out into midsummer. I would not keep adding a high-nitrogen feed because the canopy looks impressive. Extra nitrogen can push soft leaf growth while the fruiting framework and light supply remain unchanged. Once the vine has a full canopy, the better question is whether the leaves are healthy and well spaced, not whether there are more of them.
Watch for a white crust on the mix or scorched leaf edges. Those signs can point to salts building up from fertiliser and repeated evaporation. If the container drains freely, several slow applications of plain water can carry some soluble salts out; if it does not drain, flushing simply creates a wetter problem. Fix the drainage first.
Wilting with wet mix is a stop sign, not an invitation to water again. Check the holes, the saucer, the stem base and the smell of the mix. Roots need air as well as water, and a vine that stays limp in saturated mix may need a drainage or root-health inspection.
Prepare the dormant pot for winter
A dormant vine can tolerate conditions that would damage active leaves, but its roots are still exposed in a container rather than insulated by ground around the pot. Move it to a sheltered position where possible, raise it off a cold wet surface, protect the container from repeated freezing and thawing, and keep the mix just moist rather than waterlogged. The exact winter arrangement depends on the cultivar and local cold, so don’t copy an overwintering plan from a warmer climate without checking the vine’s stated tolerance.
Yield is a crop-load decision: expect no crop in year one, then roughly 1–4 kg from a mature vine
Here is the honest planning range: expect no meaningful crop in the first year, a light crop while the trunk and arms develop, and roughly 1–4 kg (2–9 lb) from a mature, well-sunned vine in a 40–75 L container when variety, pruning and climate cooperate. That is a projection, not a promise. A container vine can be healthy and still miss the range because the season ends early, flowers fail to set, birds arrive first or the balcony loses afternoon sun.
One or two hours of light, a short growing season, excess nitrogen and too many retained bunches all push the result downward. A 30 L pot may also dry so sharply that the vine spends critical periods recovering instead of filling fruit. This is why I’d rather crop lightly and keep the framework open than chase the largest possible number of clusters.
Don’t harvest by colour alone. Taste a berry from a representative bunch and look for full flavour, softer texture and the balance you want. A berry can look finished while still tasting thin, especially where the vine receives marginal sun. Protect ripening bunches with bird-safe netting or individual covers that cannot leave wildlife tangled, and inspect leaves and fruit regularly for mildew in humid or crowded conditions.
If the pot starts drying dramatically faster after two or three seasons, inspect rather than automatically buying the next larger planter. Roots circling densely around the container, mix that has collapsed or water running down the sides are signs that the root environment needs attention. Do the work in dormancy: move up one container size if necessary, or refresh part of the mix if the root ball and support make a larger pot impractical.
Before you buy the vine, do three physical checks this week: measure the balcony’s direct sun, inspect the proposed support point, and push a finger or skewer 5 cm into the empty pot after a thorough watering to see how the mix behaves. If the light fails, choose another crop. If the support fails, fix that first. If both pass, buy the container and vine together so the roots never have to wait for the structure that will carry them.