Growing Raspberries in Containers: Pot Size, Care and Yield
A full-size raspberry needs about 20–30 US gallons (75–115 L) of root space and roughly 6–8 hours of direct sun if you want a dependable container crop. A 12-inch (30 cm) starter pot can keep a plant alive, but I wouldn’t plan a full season of berries from it.
One healthy raspberry can usually fruit without a partner. A second plant is useful because it gives you more canes and more potential berries, not because most raspberries need a pollination partner.
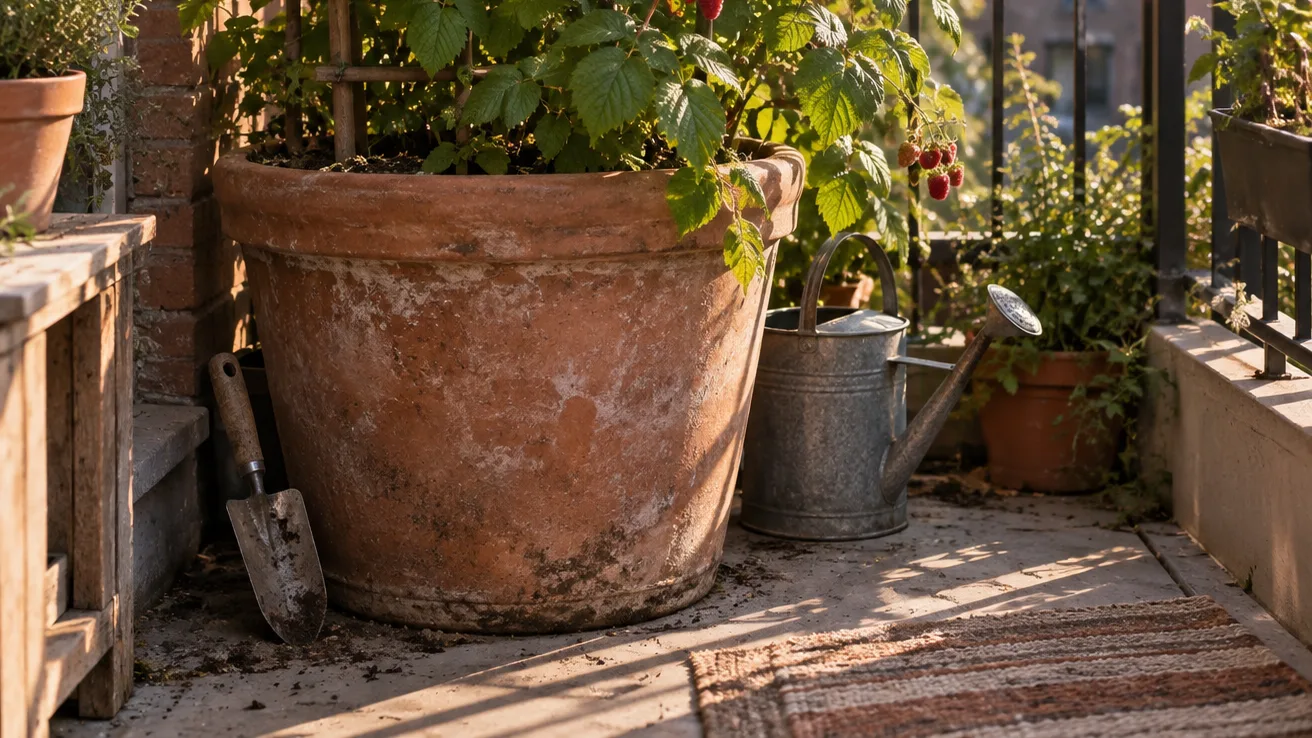
Start with the balcony audit: 6–8 hours of sun and a cane type that fits the season
Before buying a raspberry, I make the empty-pot decision first. Put a pot where the plant will live and check the leaves, railing and nearby walls at breakfast, midday and late afternoon. Bright daylight is not the same as direct sun: the plant needs the sun’s beam to land on the leaves, not just a bright patch of sky.
For container fruit, I’d treat 6–8 hours of direct sun as the useful target. A site with only 1–2 hours may keep a raspberry green, but it gives the plant a short window to make leaves, flowers and fruit. In that situation, expect weak cane growth and a sparse crop, or choose a fruit that copes better with shade. Morning sun is helpful; hot afternoon sun is also productive, but it increases the watering load on a small balcony.
Next, read the plant label for its cane habit. A primocane raspberry fruits on canes made during the current growing season. It is often sold as an autumn- or fall-fruiting type. A floricane raspberry fruits on canes that grew the previous year, so it is usually described as summer-fruiting. That distinction determines which canes you keep and which you cut out later.
If your balcony fails the light test, compare the space with Easy fruits and vegetables to grow in pots before spending on a raspberry. My judgment is simple: one large, well-sited raspberry is a better use of a sunny corner than two plants squeezed into shade.
The pot that earns its space: 20–30 US gallons (75–115 L), not a 12-inch starter pot
The 12-inch starter pot is an attractive trap. It looks large enough beside a young cane, but the root system, leaves and fruiting canes will soon be sharing a small reservoir of water and nutrients. A raspberry in a restricted container dries quickly, swings from wet to dry, and has less room to support strong new canes.
For a full-size cultivar, I’d choose one container about 18–24 inches (45–60 cm) wide and 18–24 inches deep, holding roughly 20–30 US gallons (75–115 L) of usable mix. Keep it to one full-size plant. If the variety is specifically compact, a 10–15 US gallon (38–57 L) container can work, but you’ll trade away some moisture stability and will need to inspect it more often.
| Container size | Planting plan | What to expect | Full-season verdict |
|---|---|---|---|
| 12–14 inches (30–35 cm), usually below 40 L | One small plant temporarily | Dries quickly and offers limited root room | Not my choice for a full crop |
| 10–15 US gallons (38–57 L) | One compact cultivar | Usable with close watering and feeding checks | Workable, but less forgiving |
| 20–30 US gallons (75–115 L) | One full-size raspberry | Better root volume for canes, flowers and fruit | Best general starting point |
| 30+ US gallons (113+ L) | One plant only | More mix and stability, but greater weight and cost | Useful if the site can safely carry it |
Pot shape matters as well. A tall, narrow pot may hold a similar volume to a wide one, but it can be more vulnerable to wind and harder to support when the canes are carrying fruit. I prefer a broad base, several open drainage holes and a support that rises 1.5–1.8 m (5–6 ft) above the mix.
Plan the final position before filling the container. A wet 20–30 gallon pot is a serious load, and it is awkward to move without damaging the canes. On a balcony or rooftop, check your building or landlord guidance on balcony and rooftop load limits for wet containers. Put the container close to its permanent position, and don’t assume that a wheeled caddy makes a heavy pot safe on an exposed edge.
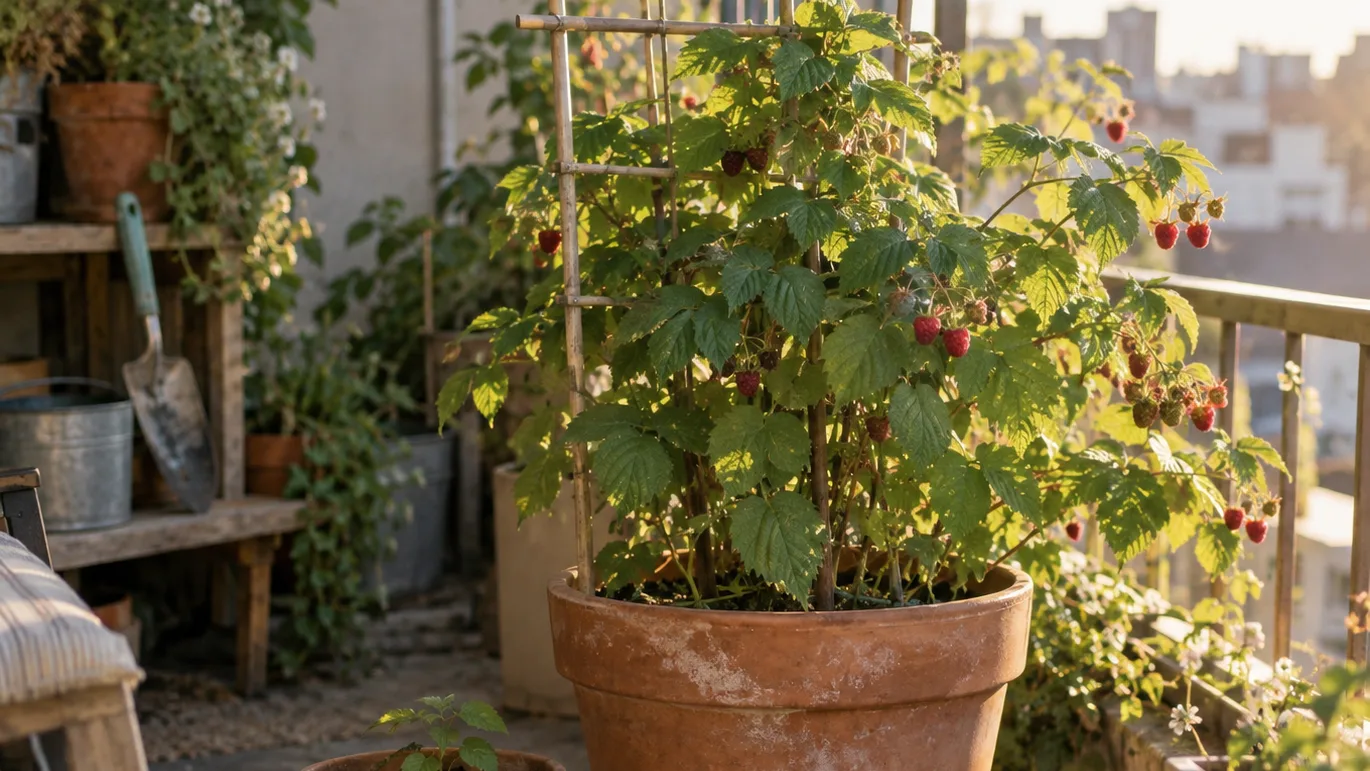
Build a root zone that drains: pH 5.5–6.5, open mix, and no gravel layer
Raspberries prefer a slightly acidic root zone. For a container, I’d aim for a mix around pH 5.5–6.5 rather than trying to force an extreme reading. The mix should hold enough water for the plant to get through a warm day, while allowing excess water to leave the pot instead of sitting around the roots.
Garden soil is a poor default for this job. In a bed, soil is supported by surrounding ground and can exchange air through a much larger volume. In a pot, it settles under its own weight, fills the air spaces and becomes difficult to re-wet evenly. Use a quality container mix, then improve its structure with an open material such as bark fibre, perlite or pumice if the mix feels dense and sticky. I’d rather water a slightly open mix more often than keep a heavy mix wet at the bottom.
A raspberry wants a root zone that stays moist without staying saturated. The term perched water table describes the wet layer that can remain at the bottom of a fine-textured potting mix above the drainage holes. Water leaves through the holes, but the smallest particles hold onto water above them until air replaces it.
This is why gravel at the bottom doesn’t solve poor drainage. The gravel doesn’t pull water out of the mix. It creates a change from fine particles to coarse particles, and the fine layer can still hold its wet zone above that boundary. You also lose part of the container’s usable root volume.
Keep the drainage holes at the lowest point of the pot and make sure they are not sealed by a flat balcony surface. Pot feet can help keep holes open. A saucer is useful for protecting a patio, but empty it after the pot has drained; leaving the container standing in water defeats the purpose of the holes.
The same pH question comes up in growing blueberries in containers, but don’t copy a blueberry mix wholesale. Blueberries need a more strongly acidic root environment. A raspberry mix can be acidic without being built around the same low-pH target.
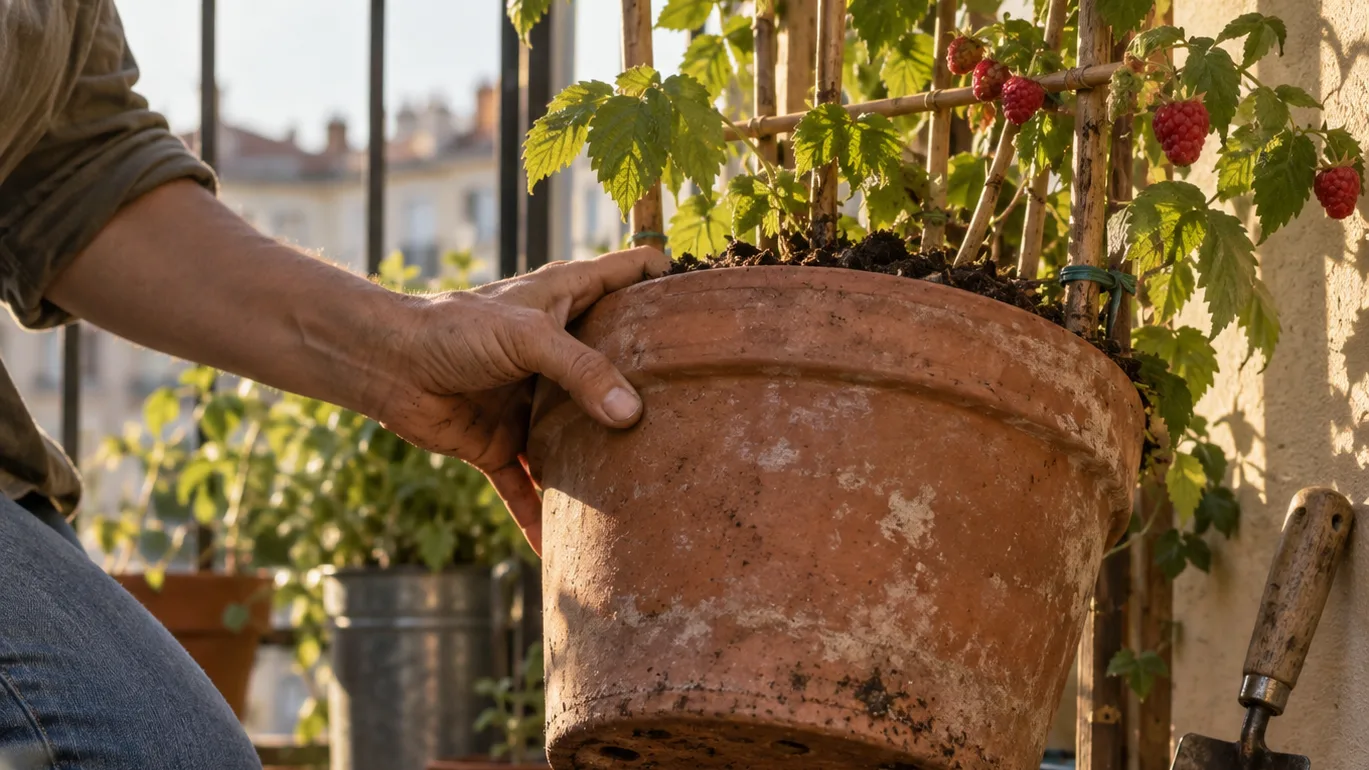
Planting week to week four: set the crown high, mulch at 5 cm, and anchor the canes
Planting order matters because a raspberry’s crown—the point where the roots meet the canes—should not be buried. A buried crown stays wetter and has less access to air. Set it at the same level it was growing in its nursery container. With a bare-root plant, the crown should finish at the surface of the mix, not several centimetres below it.
- Place the support first. Put the pot in its final position, then install a trellis, cane frame or two-post support while the container is still easy to reach. The support should be anchored independently where possible, rather than relying on a shallow root ball to hold it upright.
- Fill to the planting level. Add dampened mix until the crown will sit at the correct height. For a bare-root plant, spread the roots outward instead of folding them into a tight bundle.
- Backfill without burying the crown. Firm the mix with your fingers, but don’t compact it hard. Leave about 5 cm (2 inches) of space below the rim so watering doesn’t wash mix over the edge.
- Water thoroughly. Pour slowly until the root ball and surrounding mix are wet and a little water exits the holes. If the surface collapses, top up with more mix while keeping the crown exposed.
- Mulch after watering. Add about 5 cm (2 inches) of bark or another suitable mulch, leaving a clear ring around the crown. Mulch touching the crown keeps that junction damp and makes it harder to see whether it has been buried.
During the first four weeks, check the top 5 cm (2 inches) of mix before watering again. That check is a starting point, not permission to let the entire root ball dry out. A newly planted raspberry has not filled the container with roots yet, so the surface can look dry while the lower mix remains damp. Lift the pot if you can, or push a finger deeper near the side of the container.
Tie new canes loosely to the support with soft ties. Leave room for the cane to thicken, and use a figure-eight tie rather than cinching a loop directly around the stem. A cane that rubs against a hard support in wind can be damaged even when the root zone is perfect.
Water and feed by the pot, not by the calendar: a 5 cm moisture check and a spring-to-summer rhythm
A fixed watering day is a poor fit for containers. Check the top 5 cm (2 inches) of mix, feel the weight of the pot, and consider the weather before you decide. In a plastic pot in full sun and wind, I may check daily. A larger glazed pot in cool part shade may go two or three days between checks. Those are inspection intervals, not a watering promise.
When the mix needs water, pour slowly in two passes. The first pass moistens dry pockets; the second carries moisture through the root zone. Stop when a little drains from the holes. A quick splash across the surface can run down the sides of a dry root ball without wetting the middle, while a single heavy pour can overflow before the mix has absorbed it.
Thorough watering has a cost: soluble nutrients can leave the container with the drainage water. In spring, I’d choose either a slow-release fertiliser made for fruiting plants or a liquid fertiliser used every 2–4 weeks during active growth, always following the product label. Don’t stack a strong liquid feed on top of a fresh slow-release application just because the leaves look pale.
Excess nitrogen is another common trap. It can produce long, dark green canes and lots of leaves without a matching increase in flowers or berries. If the plant is lush but reluctant to flower, check light and pruning before adding more feed. A raspberry that is hungry needs nutrients; a raspberry that is shaded or pruned at the wrong time does not need a bigger dose.
Yellow leaves do not prove that a plant is overwatered. I check the pot before diagnosing the leaves. A light pot with dry mix and limp leaves points toward insufficient water or too little root volume. A heavy pot with wet mix several centimetres down, yellowing leaves and slow growth points toward poor drainage or overwatering. The leaf colour overlaps; the root-zone condition is the useful separator.
Prune to the cane clock: summer-fruiting versus autumn-fruiting, with 3–5 canes on the support
Prune by the cane’s age and fruiting habit, not by a date on the calendar. That is the part that prevents a healthy raspberry from being cut back just before its crop.
Floricane, or summer-fruiting, types: the current season’s green canes are usually the ones you want to keep for next year. After the plant fruits, remove the old canes that carried berries by cutting them at the base. Retain roughly 3–5 strong new canes and tie them to the support. Thin out weak, damaged or badly placed growth rather than allowing the container to become a crowded thicket.
Primocane, or autumn-fruiting, types: the current season’s canes can flower and fruit in the same year. If you’re growing the plant for one late crop, cut the canes down close to soil level after the crop finishes and start again with new growth. Some primocane plants can be managed to carry an earlier crop on retained canes, but I’d avoid that more complicated system in a small pot unless you’re prepared to label the canes and track their age.
A support about 1.5–1.8 m (5–6 ft) tall is enough for a manageable container plant. Tie canes so fruiting sides remain accessible, and keep the centre open enough for air to move through. If you’re unsure which type you own, university extension guidance on primocane and floricane pruning can help you match the label to the cane clock.
My strongest pruning rule is this: don’t cut first and identify the cane habit later. Removing the wrong canes can remove the wood that would have carried next season’s fruit.
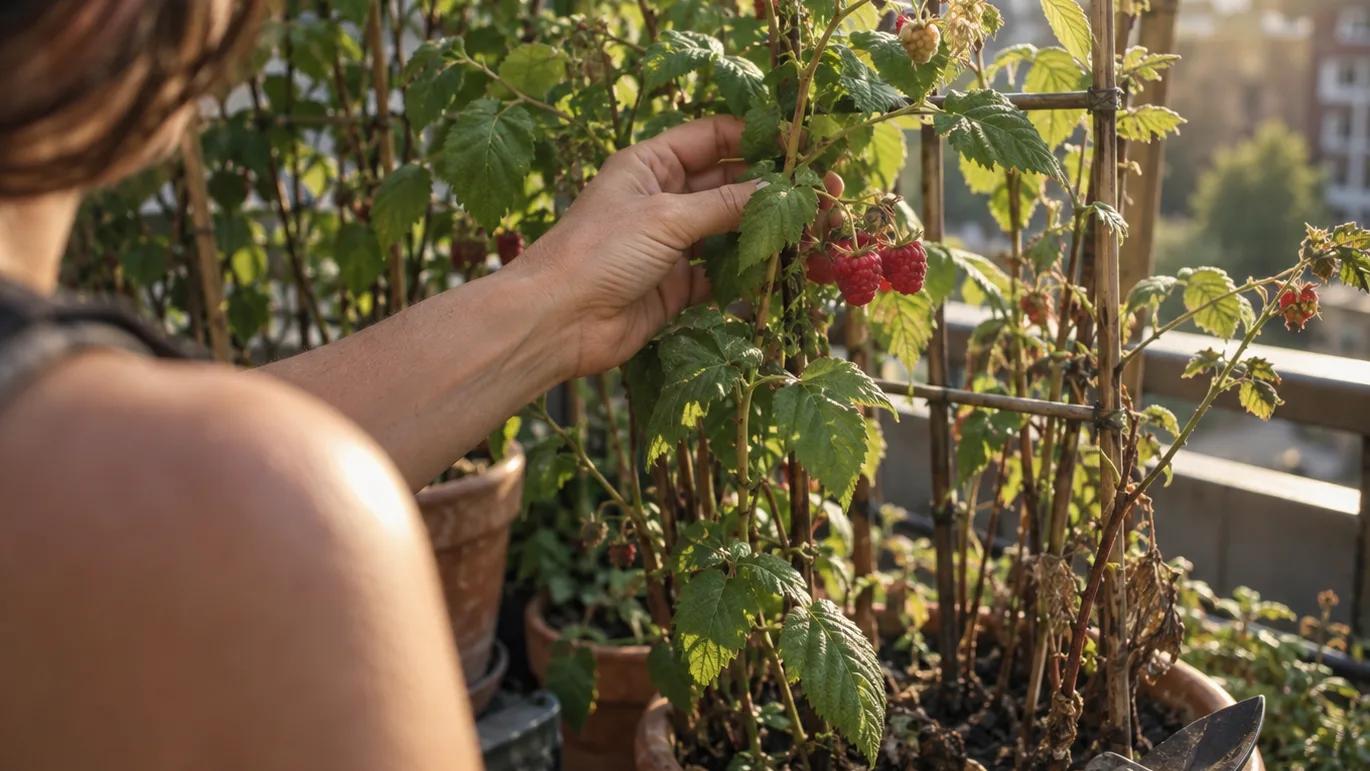
Yield reality: first-year handfuls, established harvests measured in hundreds of grams
For planning rather than promise, I’d budget for no crop or only a few hundred grams from a newly planted raspberry in its first season. An established plant in a well-managed 20–30 gallon (75–115 L) pot may produce roughly 0.5–1.5 kg in favourable conditions. That upper range is a planning ceiling, not a guarantee, and a compact plant in a 10–15 gallon container should be expected to sit below it more often.
The result moves with the cultivar, cane habit, winter survival, direct-sun hours and watering consistency. Flowering weather and pollinator activity can affect how many flowers become berries. Birds can remove ripe fruit before you see it, especially on an exposed balcony. A plant that survives winter with damaged canes may also spend its first season rebuilding instead of filling a picking bowl.
Harvest colour is not the final test. A ripe raspberry should release with a gentle pull; if the berry clings tightly, leave it another day even if the colour looks right. During the main flush, pick every 1–2 days. That keeps ripe fruit from collapsing, moulding or becoming an easy target for birds.
When the crop stalls: a one-week diagnostic for dry pots, yellow leaves, winter damage and birds
Give the plant one week of observation before changing three things at once. Record the direct-sun hours, lift the pot before watering, and inspect the mix below the surface. Then use the visible symptom to choose the first fix.
| What you see | Check first | Practical response |
|---|---|---|
| Leaves wilt by midday and the pot feels light | Dry mix or insufficient root volume | Water slowly until drainage, then check again the next day. If it dries immediately in warm weather, the container may be too small for the plant. |
| Yellow leaves and mix that stays wet | Blocked holes, a standing saucer or overwatering | Clear the holes, remove standing water and pause irrigation until the upper mix begins to dry. Do not add feed to compensate for stressed roots. |
| Long leafy canes with few flowers | Low light, excess nitrogen or wrong pruning | Log direct sun, stop unnecessary nitrogen and identify whether the plant is primocane or floricane before cutting. |
| Berries mould or disappear overnight | Delayed picking, wet foliage or birds | Pick more often, keep the canopy open and use bird protection that still allows air movement. |
| Canes emerge black, dry or split after winter | Cold, wind exposure or winter root stress | Wait for clear signs of live buds, then remove dead wood and improve shelter for the next dormant season. |
Container roots are more exposed to cold than roots in the ground because the pot has little surrounding soil to buffer temperature changes. Before repeated hard frosts, move the container beside a sheltered wall if the site allows it and insulate the pot itself. Keep the mix just moist rather than bone dry, but don’t bring a dormant raspberry into a heated room simply to make it warmer; premature growth is difficult to support indoors.
Your next physical action is straightforward: measure the empty pot, mark a week of direct-sun hours and turn it over to inspect every drainage hole. If the site cannot give you roughly six hours of direct light or the container cannot safely hold 20–30 US gallons, don’t buy the raspberry yet. If it passes both checks, buy one plant, one support and enough open mix to fill the pot without burying the crown.