Hardening Off Seedlings: A 7-Day Plan for Moving Outdoors
A seedling that has lived behind glass or under a grow light should not go straight into a full afternoon of balcony sun. My practical 7-day hardening-off schedule starts with 1–2 hours in bright shade on Day 1 and reaches 8–10 hours outside only when the leaves stay firm and the weather is mild.
Hardening off seedlings is not a countdown that overrides frost, wind or heat. It is a gradual change in light, air movement and temperature, with the plant’s response deciding whether you move forward.
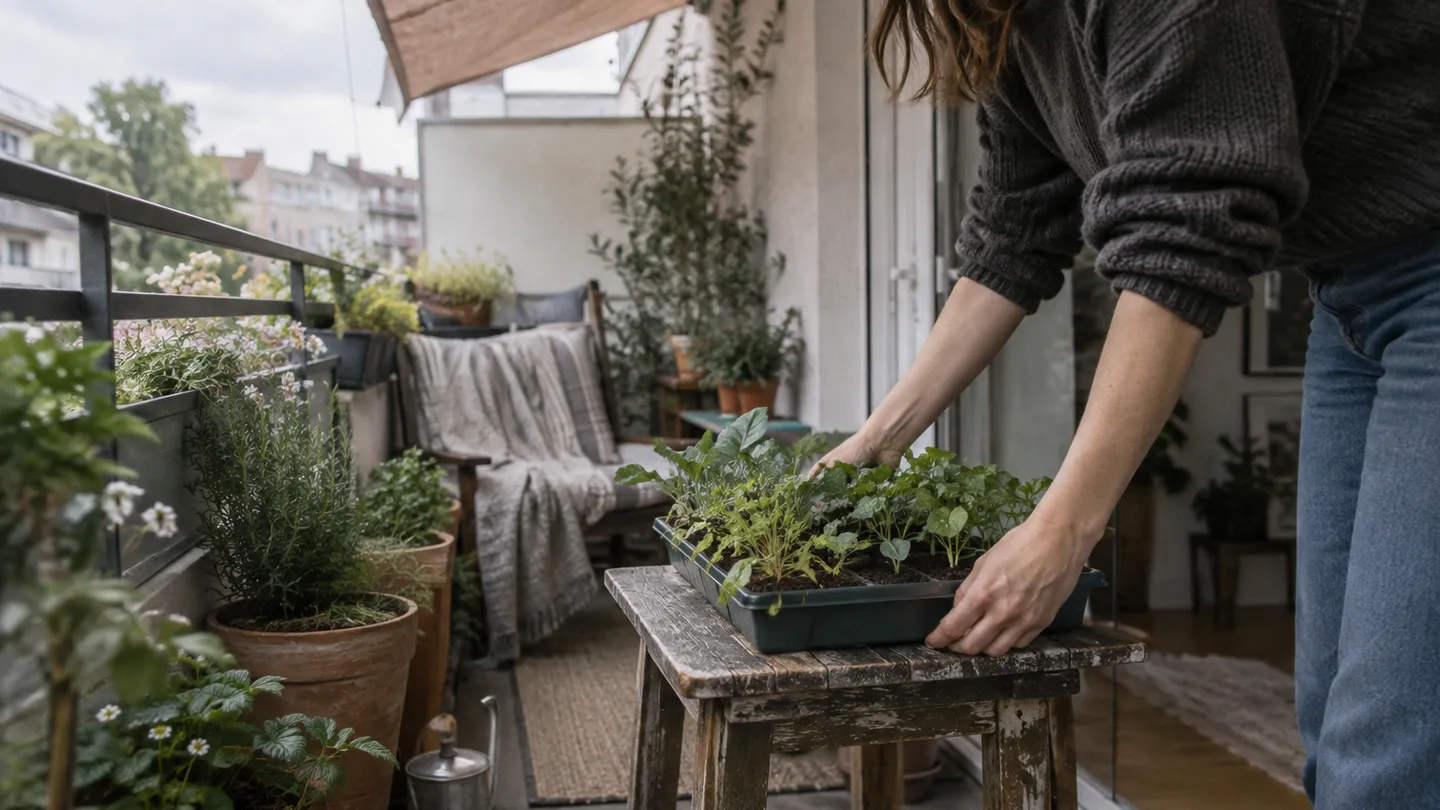
The 7-day hardening-off schedule: 1–2 hours of shade before you add full sun
I use the schedule below as a practical minimum for sturdy seedlings in small trays or pots. The hours are outdoor time, not hours of direct sun. In the first half of the week, the main job is to let the plant experience moving air and outdoor temperatures while keeping intense light limited.
| Day | Outdoor time | Light and shelter | Advance only if |
|---|---|---|---|
| 1 | 1–2 hours | Bright shade; sheltered from wind | Leaves remain firm and the mix has not dried |
| 2 | 2–3 hours | Bright shade with gentle morning light | No bleaching, crisp edges or persistent wilt |
| 3 | 3–4 hours | 30–60 minutes of gentle morning sun, then shade | The root ball still holds together and leaves look normal |
| 4 | 4–5 hours | 1–2 hours of sun, preferably before midday | Plants recover by evening without visible scorch |
| 5 | 5–6 hours | 2–3 hours of sun; ordinary air movement | No expanding pale patches or wind tearing |
| 6 | 6–8 hours | More normal outdoor light, with shade during severe heat | Plants remain upright and evenly hydrated |
| 7 | 8–10 hours or a full day | Outdoor conditions the crop can tolerate; still no frost | Weather and crop temperature limits are suitable for planting out |
If a seedling struggles, repeat the last successful day instead of trying to catch up. Seven days is a useful minimum under gentle spring conditions, not a guarantee that every crop is ready for an exposed rooftop or a cold night. Tender plants still need protection from frost, harsh gusts and the hottest part of a severe day.
The simplest rule is this: add outdoor time before you add difficult light. That order gives you a better chance of knowing what caused a problem.
Before Day 1, pass the three readiness gates
The calendar matters less than the starting condition of the plant. I begin hardening off when three things are true: the seedling has enough true leaves to support itself, the root ball holds together, and growth is active rather than stalled after a recent shock.
Gate one: look for true leaves, not just the first pair
Most seedlings open with a pair of smooth first leaves called cotyledons. The next leaves are the true leaves, and they look more like the mature plant. Around 2–4 sets of true leaves is a useful starting point for many vegetable and herb seedlings, provided the stems are not extremely thin.
If your plants are tall and floppy, read the guide to leggy seedlings before putting them outside. A stretched stem catches moving air easily, and hardening off cannot correct poor light that caused the stretching in the first place.
Gate two: lift the tray gently
Water the tray if it is dry, wait until the mix is evenly moist, then tilt one cell or pot slightly. The root ball should stay together rather than sliding out as loose crumbs. This does not mean the pot should be packed with roots. It means the young plant has enough root structure to survive being moved and handled.
Gate three: check the weather and the crop
Do not start because the date on the calendar says you should. Check a local meteorological service forecast for frost risk, overnight lows and wind. I treat gusts around 25 km/h (15 mph) or higher as a reason to postpone the first outing, particularly for tall, freshly watered or leggy seedlings.
Cool-season plants such as lettuce, onions and some brassicas can begin acclimating in cooler conditions than tomatoes, peppers and basil. Tender crops need a warmer night and a more cautious first week. Seed-packet guidance is still worth checking because two plants sold as the same broad crop can have different cold tolerance.
Also delay the process if the seedlings have just been transplanted, have spent the day wilted, or are sitting in saturated mix. The seed starting stage should finish with steady growth before you add another stress.
The hidden stress: why indoor seedlings lose water faster outside
The reason this gentle-looking schedule works is that outdoor conditions change several stresses at once. Sunlight is more intense than the light reaching a windowsill, moving air carries moisture away from the leaves, and the temperature can rise and fall faster around a balcony or patio.
A leaf loses water through tiny openings called stomata. Indoors, especially under a clear cover or in still air, the plant grows in a relatively protected moisture environment. Outside, the same leaf may lose water faster than its roots can replace it. A sudden move into bright sun can also damage tissue before the plant has adjusted to the stronger light.
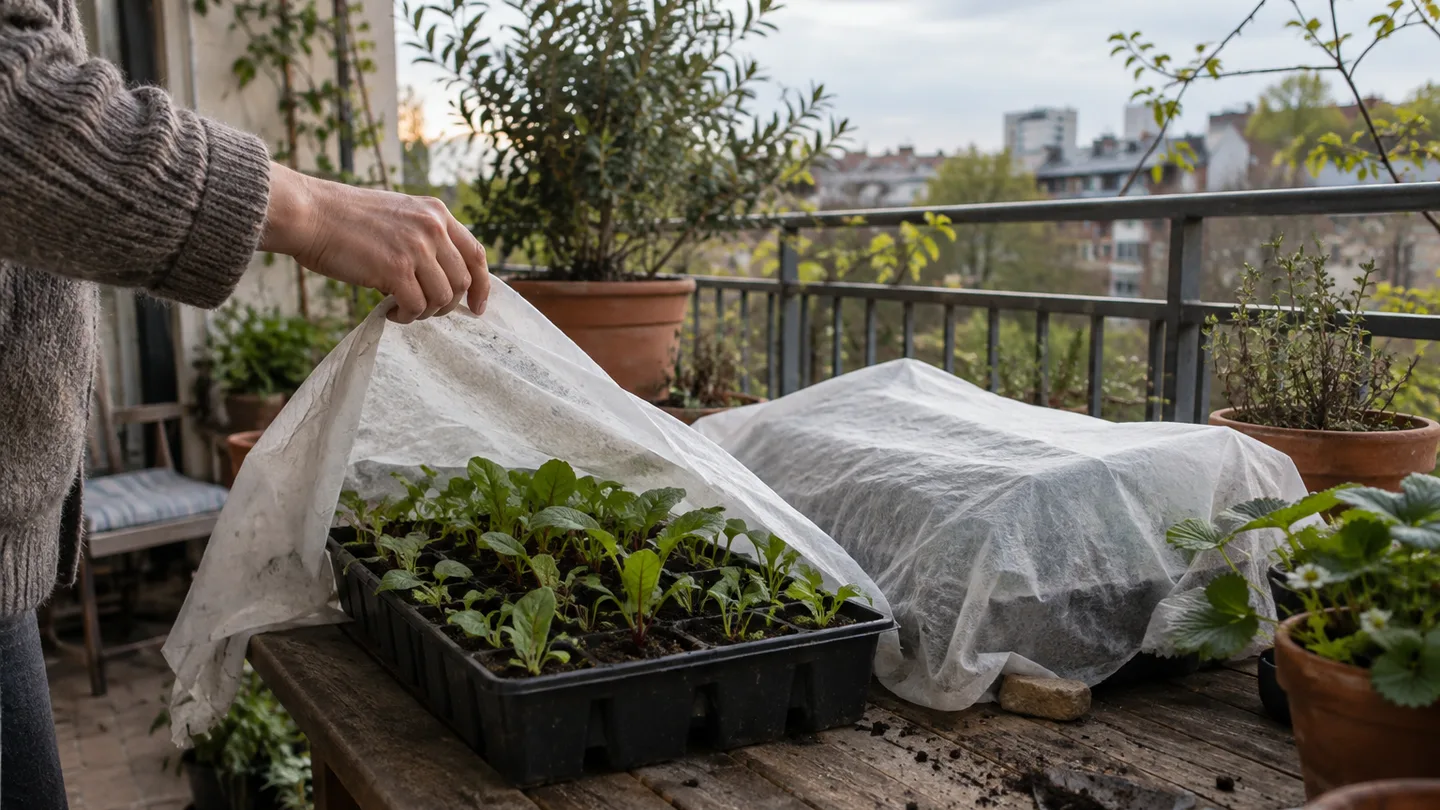
Early adjustment stress can look mild: a little evening droop that disappears after the plant returns to shelter. More serious stress shows as bleached or pale patches, crispy margins, leaves folded by wind, or tissue that remains limp after the mix is moist. The schedule is designed to give the plant repeated, manageable exposure rather than one large shock.
That is why a cloudy day helps but does not replace sunny practice. It gives the seedling experience with temperature and air movement, but it may not provide the light intensity that causes sun scorch.
Build a first-day site that protects roots, leaves and stems
For the first outing, I set the tray in bright shade where it receives some morning light but is not exposed to a wide-open sky or a hot wall. A balcony corner beside a solid railing can work if the railing does not block all airflow. I avoid placing young plants directly on dark paving or against masonry that has been heating in the sun.
Secure the tray before you bring the seedlings out. A brick, low crate or heavy empty pot beside the tray can stop a gust from shifting it, but do not use anything that crushes stems or blocks the drainage holes. Check for a tipped or shifted tray before assuming leaf damage is from something else.
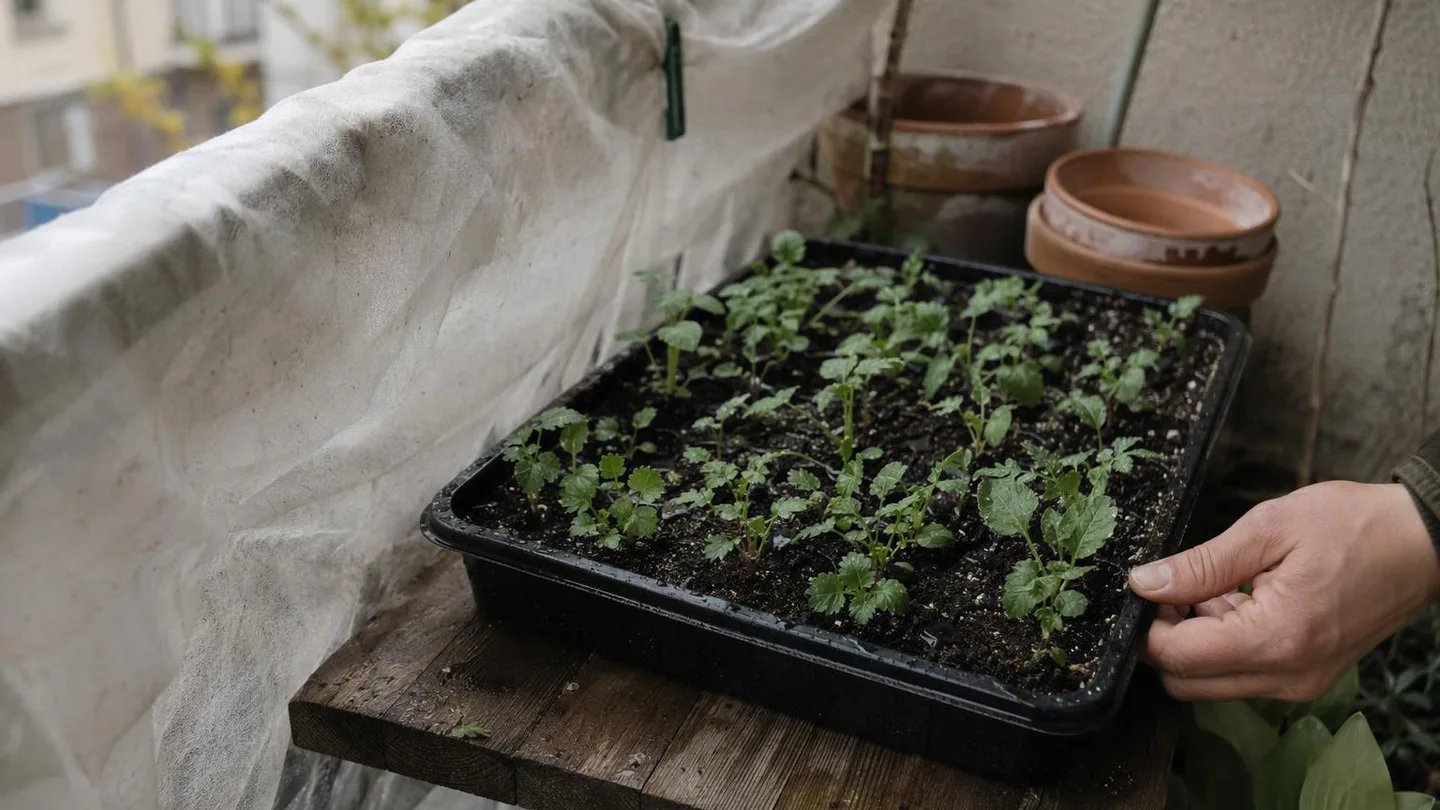
About 30–60 minutes before moving the seedlings outside, water the root ball until the mix is evenly moist. The goal is a hydrated plant, not a dripping tray. Water running constantly from the drainage holes makes the tray heavier and can leave the mix short of air, while a dry root ball gives the leaves less water to replace what they lose outdoors.
Morning or late afternoon is safer than beginning at midday because the first exposure is less likely to combine strong light, high temperature and drying wind. If the forecast is mild but the only available spot is exposed, use a temporary screen or move the tray a short distance back from the edge. The first day is about control, not proving that the plant can survive the worst place on the balcony.
In my own setup, I once placed a small tray containing basil, pepper and tomato seedlings near the balcony rail on a bright spring afternoon. The mix was moist, but the tray had more wind around it than I realised. By the time I brought it back in, the basil was limp and a few leaves had pale areas. I moved the tray into bright shade, repeated the previous exposure instead of advancing, and the plants resumed normal posture. The lesson was simple: a wet root ball does not cancel out a bad site.
Days 1–4: add outdoor time before you add harsh light
The first four days are where I resist the temptation to make the plan look impressive. The seedlings do not need a dramatic afternoon outside. They need several small exposures that leave the leaves usable for the next day.
- Day 1: Give the tray 1–2 hours in bright shade. Bring it indoors before the leaves begin to droop heavily. If the day is windy, shorten the outing rather than placing the plants in stronger sun to compensate.
- Day 2: Extend the visit to 2–3 hours. Keep most of the time in bright shade, with gentle morning light if the plants looked settled on Day 1.
- Day 3: Aim for 3–4 hours, including 30–60 minutes of direct morning sun. Move the tray back into shade after that first sun period.
- Day 4: Aim for 4–5 hours, with 1–2 hours of sun before midday. Avoid making the first stronger test on a hot, cloudless day.
A cloudy Day 2 still counts as useful outdoor time, but I would not treat it as equal to a sunny Day 2. If the next day is bright, keep the direct-sun portion modest rather than jumping straight to a full afternoon.
Look at the leaves when the tray comes back inside and again the next morning. Firm leaves, normal colour and a root ball that has not dried are signs to continue. A little temporary droop that disappears in shade is different from a plant that remains limp while the mix is moist.
If you see bleaching, crisp edges, wind tears or repeated collapse, repeat the last successful day for 1–2 days. If the damage is obvious, step back to the earlier stage that did not cause symptoms. A delayed transplant is easier to recover from than a seedling pushed through a bad exposure.
Days 5–7: reach a full day, then decide whether nights are safe
Days 5–7 add ordinary outdoor conditions more than they add drama. By Day 5, work toward 5–6 hours outside and about 2–3 hours of sun if the weather is moderate. Keep checking the hottest part of the day; a plant can manage a cool sunny morning and still struggle during a hot, reflective afternoon.
On Day 6, try 6–8 hours. The tray can experience more normal air movement and a longer period of direct light, but it still belongs in a sheltered position during strong gusts or unusual heat. If a plant is doing well in shade but wilting every time the sun reaches it, do not interpret that as a need for more exposure. It is a signal to slow down and reduce the intensity.
On Day 7, aim for 8–10 hours or a full day only when the forecast and crop allow it. A full day outside is not the same as leaving tender plants outdoors overnight. During this seven-day plan, I usually bring tomatoes, peppers, basil and other warm-season seedlings indoors before dark.
As a cautious working floor, I use roughly 10–13°C (50–55°F) minimum nights for many warm-season seedlings, then adjust for the crop and its recent exposure. That range is not a universal planting rule. Cool-season seedlings can tolerate lower temperatures once acclimated, while a warm-season plant that has only known indoor conditions may be checked by a much milder night.
If the week includes strong sun, persistent wind or large day-to-night temperature swings, take 10–14 days instead of forcing the seven-day plan. The calendar is a convenience. The leaves are the feedback.
When the plan goes wrong: wilt, scorch, wind damage and cold
The most useful diagnosis is to start with the root zone, not the leaf colour. Touch the mix at root depth with a clean finger or lift the pot to compare its weight with a recently watered one. Then look at the pattern of damage and when it appeared.
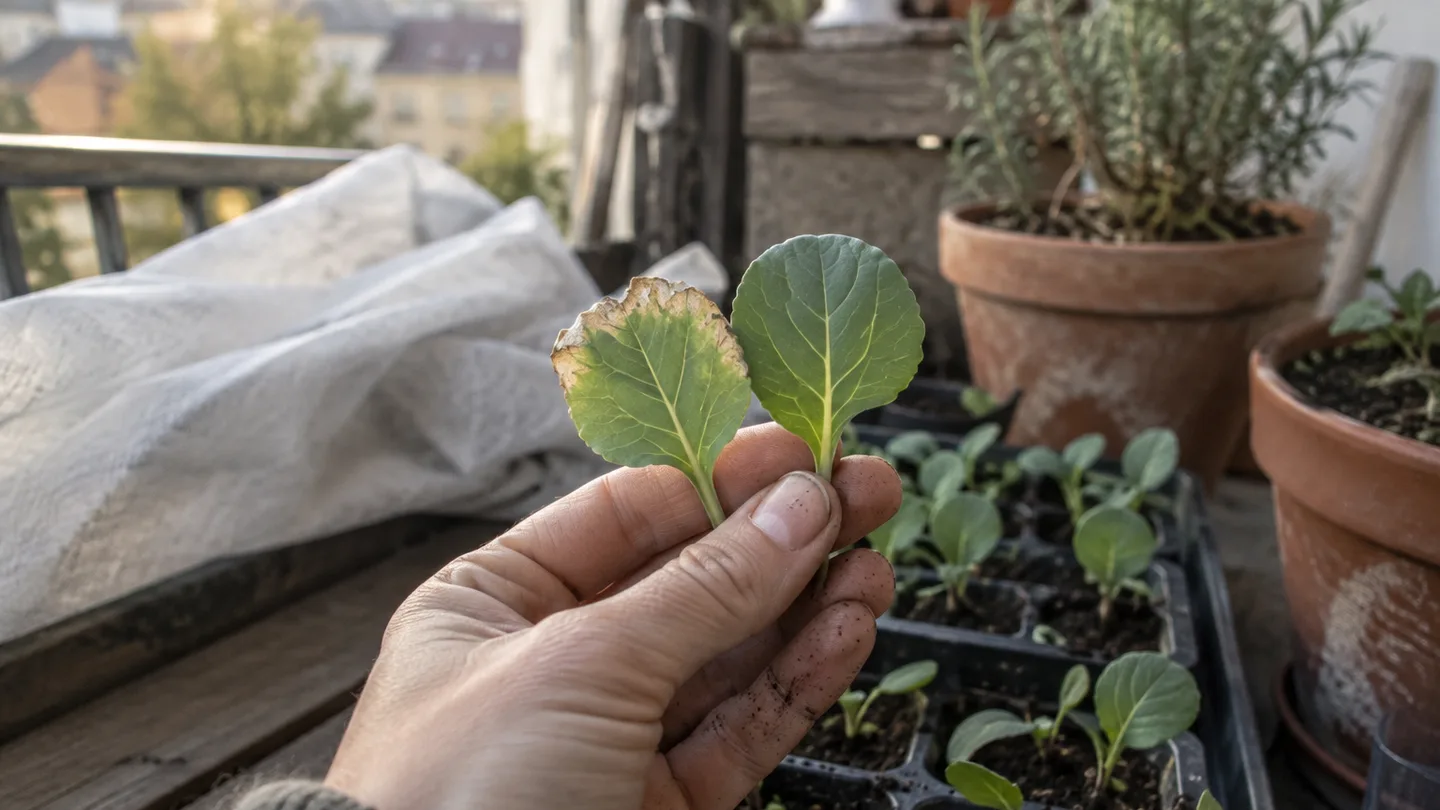
Read the symptom before you change the schedule
| What you see | Likely explanation | What I would do next |
|---|---|---|
| Limp leaves and dry mix below the surface | The root ball has dried faster outdoors than it did indoors | Water thoroughly, move to bright shade, and repeat the last successful exposure |
| Limp leaves while the mix is moist | Sun, wind or heat is temporarily overwhelming water loss from the leaves | Provide shade and shelter; do not keep adding water just because the leaves droop |
| Pale, bleached or white-looking patches | Light stress or early sun scorch | Move back to bright shade and reduce direct sun for 1–2 days |
| Ragged, creased or torn leaf edges | Wind movement or a tray that shifted against a railing | Check the tray position, add shelter and delay the next increase |
| Blackened, translucent or water-soaked tissue | Cold injury is possible, especially after a cold night | Bring the plant in, remove no tissue until it is clear what is dead, and stop advancing |
| A stem pinches or collapses at the soil line | This is not a normal hardening-off response; a separate root or stem problem may be involved | Isolate the plant and investigate problems such as damping off before hardening it again |
Wind damage often gets blamed on weak plants, but the first check should be physical: is the tray still where you placed it? Check for a tipped or shifted tray before assuming leaf damage is from something else. A stem bent against a railing can look like a disease problem until you see the contact mark.
Do not expect scorched tissue to turn green again. The useful test is whether new growth remains firm and normal after you reduce the stress. If damage expands overnight, the plant is still too exposed. If one leaf is marked but the growing point remains healthy, recovery may be possible without restarting the whole process.
Stem collapse deserves separate attention. Hardening off can reveal a weak plant, but it does not explain every failure at the soil line. Check the mix, airflow, crowding and sanitation, and do not use the outdoor schedule as a cure for a seedling disease.
After Day 7, transplant without throwing away the progress
Hardening off prepares a seedling for outdoor conditions; it does not finish the job of planting it. When possible, transplant on a cloudy day or in late afternoon, and water the seedlings 1–2 hours beforehand so the root ball is evenly moist but not dripping.
Set each plant at the depth that suits the crop. A tomato may tolerate or benefit from deeper planting because buried stem tissue can produce additional roots, while peppers and basil are better treated according to their own stem and root habits. I do not bury every seedling just because a tomato can handle it.
Prepare the final container or bed before the tray comes out. The mix should drain freely, the pot should have usable drainage holes, and the plant should not sit in a saucer of standing water. If you are still planning the basics, container gardening for beginners is the place to sort out pot position, mix and watering before transplant day.
After planting, water around the root ball so the surrounding mix settles into contact with it. Give the seedlings 24–48 hours of protection from severe sun and wind, even if they completed the seven-day schedule. Keep the root zone evenly moist while new roots move into the surrounding mix, but do not turn the pot into a permanently wet reservoir.
Hardening off also does not remove the need for frost protection, crop-appropriate spacing or a sensible overnight temperature. A plant can be fully accustomed to sunlight and still be damaged by a cold snap.
One week after transplanting, look for new growth that stays firm and green. Repeated midday collapse, expanding scorch or a plant that never recovers by evening means the site, watering pattern or temperature still needs correcting.
Quick answers to the questions that change the plan
Can I harden off seedlings on a cloudy or rainy day?
Yes, a cloudy day can provide useful practice with outdoor temperature and air movement. It does not provide the same full-sun training, so keep seedlings sheltered from heavy rain and add direct sun gradually when it appears. A tray left in a cold, saturated position is not getting helpful hardening-off practice.
What should I do if I miss one day of the 7-day plan?
Do not double the exposure the next day. Repeat the last successful day. If the seedlings were stressed before the missed day, step back one stage. A pause is less harmful than a sudden jump from bright shade to a full afternoon of sun.
Can I leave seedlings outside overnight while hardening them off?
Usually not during the first week for tender crops. Keep tomatoes, peppers and basil indoors until overnight lows are safely within their tolerance and there is no frost risk. Cool-season seedlings can move outside sooner when they are acclimated and the forecast suits the crop.
Do seedlings grown under lights still need hardening off?
Yes. Grow lights can help produce sturdy plants, but they do not reproduce the same wind, ultraviolet exposure, temperature swings and drying conditions found outdoors. A strong indoor seedling still needs a gradual transition.
Tomorrow, put the tray in the brightest sheltered spot you have, set a timer for 90 minutes, and check the leaves and mix before bringing it back in. Write down what you saw; that small record will tell you more about the next step than the calendar alone.
Frequently Asked Questions
Can I harden off seedlings on a cloudy or rainy day?
Yes, a cloudy day can provide useful practice with outdoor temperature and air movement, but it does not count as full-sun training. Keep seedlings sheltered from heavy rain and add direct sun gradually when it appears.
What should I do if I miss one day of the 7-day plan?
Do not double the exposure the next day. Repeat the last successful day, or step back one stage if the seedlings were stressed; a missed day is less harmful than a sudden jump from shade to full sun.
Can I leave seedlings outside overnight while hardening them off?
Usually not during the first week for tender crops. Keep them indoors until overnight lows are safely within the crop's tolerance and there is no frost risk; cool-season seedlings can move outside sooner in suitable conditions.
Do seedlings grown under lights still need hardening off?
Yes. Grow lights can produce sturdy plants, but they do not provide the same wind, ultraviolet exposure, temperature swings and drying conditions as outdoors.