Leggy Seedlings: 7 Fixes to Save Weak, Flopping Stems
Leggy seedlings have long gaps between their leaves, pale narrow growth, and stems that lean toward the nearest light. The seven fixes below won’t make the stretched section shrink, but they can give the plant a better chance to produce compact, sturdier growth from this point onward.
First, make sure you’re looking at stretch rather than damping-off. A seedling that is tall and leaning may need a different light setup; one that is pinched, water-soaked, or collapsing at the soil line may have a root or stem disease problem.
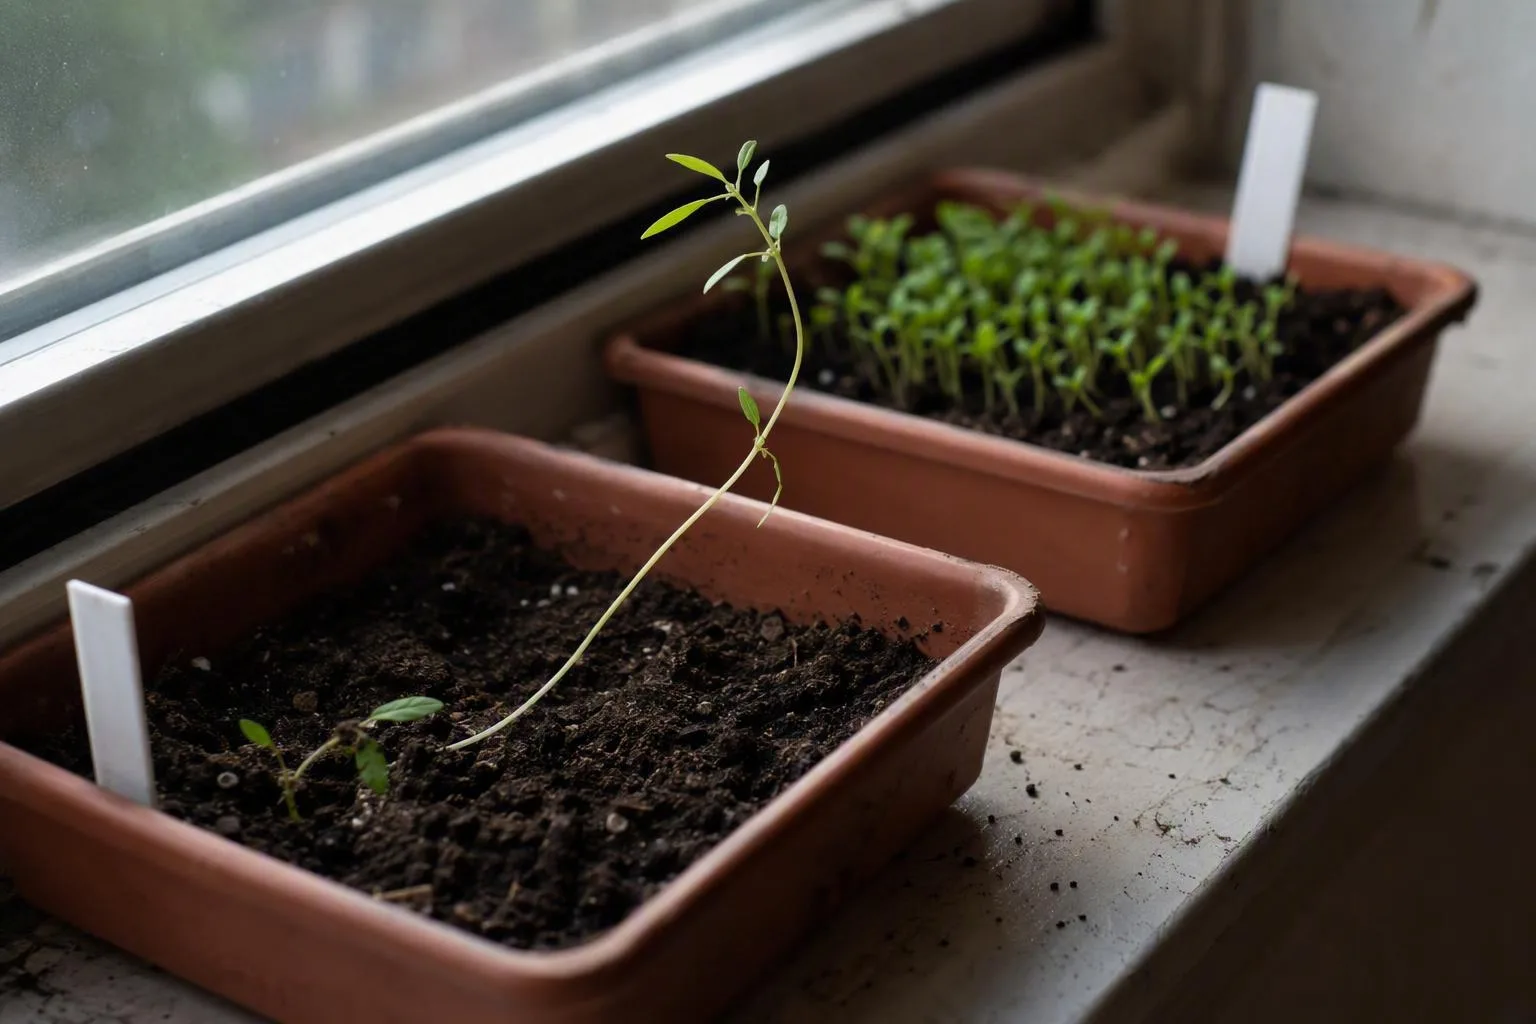
The quick diagnosis: pale, stretched, and leaning is different from damping-off
Look at the space between the cotyledons — the first seed leaves — and the first true leaves. On a stretched seedling, that section is unusually long and the stem may be thin enough to bend under the leaves. The colour can be light green rather than a healthy medium green, and the whole plant often tilts toward a window or lamp.
That elongated section is already formed tissue. It won’t contract after you improve the conditions, so judge the rescue by the next leaves and by whether the stem can support them. I check four things before changing anything: where the light is coming from, how warm the tray is, whether seedlings are crowding one another, and whether the mix is staying wet.
Damping-off looks different. The stem narrows at the mix line, turns soft or brown, and falls over as though cut. Mould on the surface and a persistently saturated plug strengthen that suspicion. Don’t try to straighten a seedling with a pinched stem; remove it and inspect the rest of the tray.
Fix 1 — Close the light gap: position the lamp 5–10 cm (2–4 in) above the canopy
I start with the lamp because light arriving from the side or from too far away is a direct invitation to stretch. For a modest, low-output seed-starting LED or fluorescent fixture, 5–10 cm (2–4 in) above the top leaves is a cautious starting range, but only if the fixture instructions permit it. A more powerful lamp may need to hang higher, so use the grow-light manufacturer’s hanging-height guidance rather than copying a distance from another setup.
Place the fixture over the centre of the tray. The aim is for the light to reach the top of the leaves, not to skim in from one side. If the leaves bleach, curl upward, develop dry-looking patches, or feel hot beneath the lamp, raise it and reassess. If the seedlings keep leaning and the new growth remains long and pale, the lamp may be too weak, too high, or covering too small an area.
A windowsill that gets one or two usable hours of direct sun can still be valuable, but it may not provide enough intensity for the whole day. Turning the tray helps distribute the bend; it doesn’t create more light. For a winter windowsill, I’d use the sun as a supplement and position a suitable grow light above the canopy for the rest of the useful day.
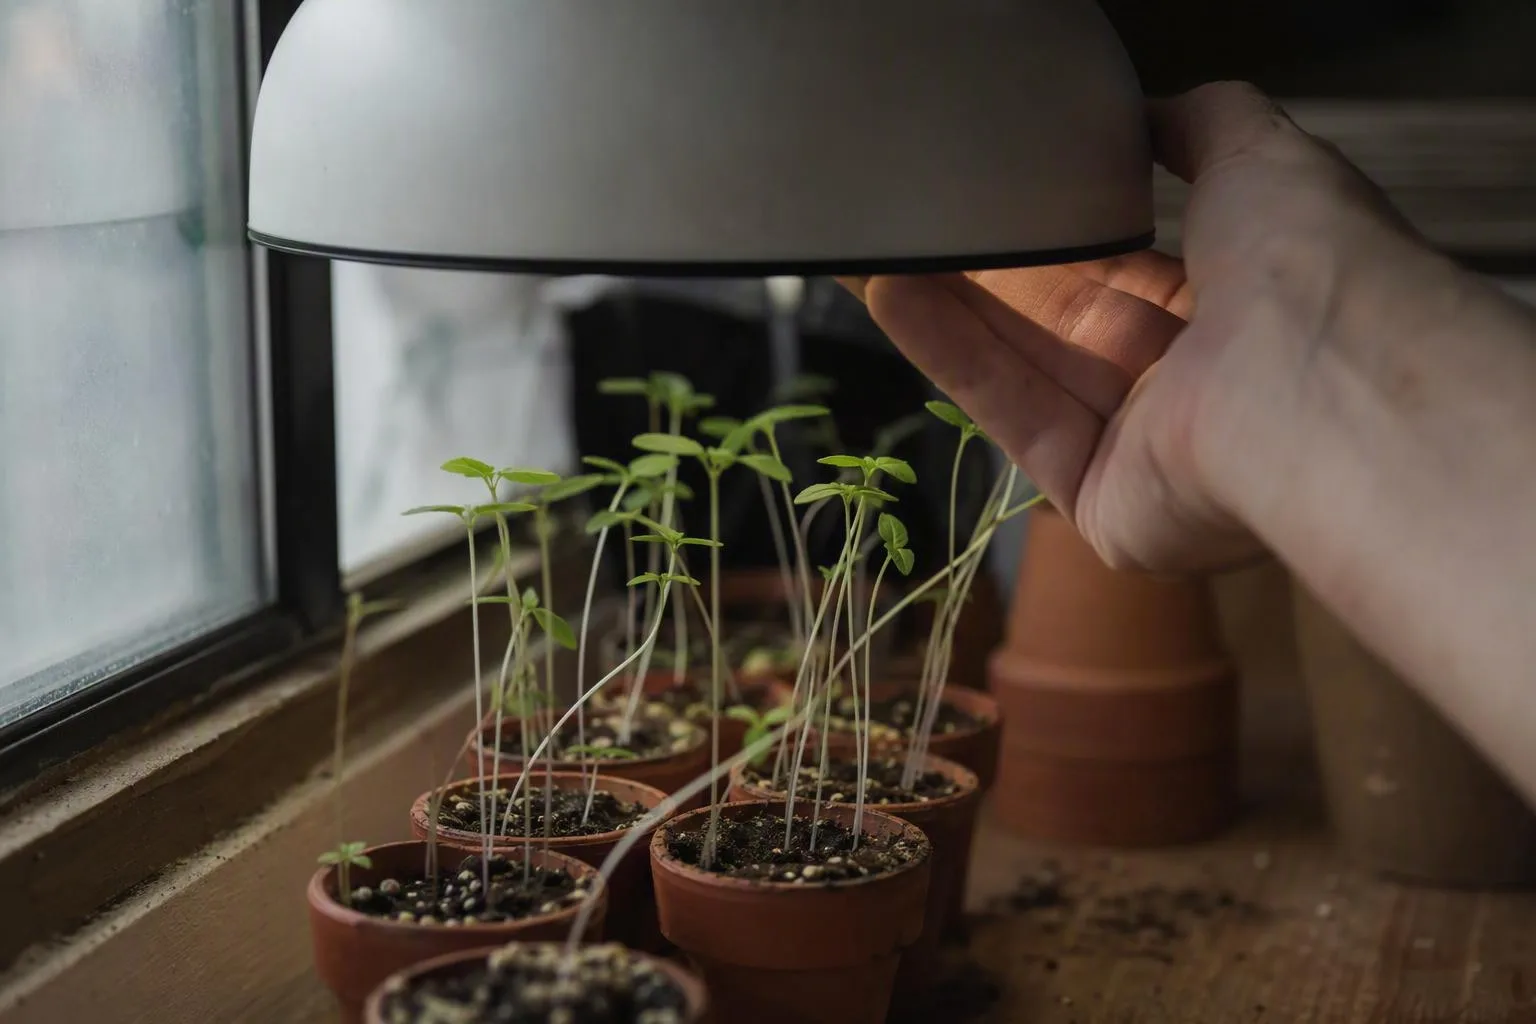
Fix 2 — Give the lamp a 14–16-hour day, followed by real darkness
A practical starting schedule for many indoor seedlings is 14–16 hours of light followed by 8–10 hours of darkness. Set a plug-in timer so the cycle happens without you remembering it each morning. Crop instructions and the fixture’s own guidance take priority if they specify a different schedule.
Leaving a weak lamp on for 24 hours isn’t a substitute for better usable light. Seedlings use a dark period as part of their normal daily rhythm, and a continuous glow can make it harder to maintain a predictable routine. The bigger problem is usually intensity: six hours of dim window light does not equal six hours under a correctly positioned seed-starting fixture.
Choose hours that fit your room. For example, a lamp running from 6 a.m. to 9 p.m. gives a 15-hour light period and leaves the tray dark overnight. If the seedlings are in a bedroom or living area, the timer also stops you from leaving the light on by accident. Keep the tray close enough to the lamp to receive useful light, but check the leaves after the first day for heat or bleaching.
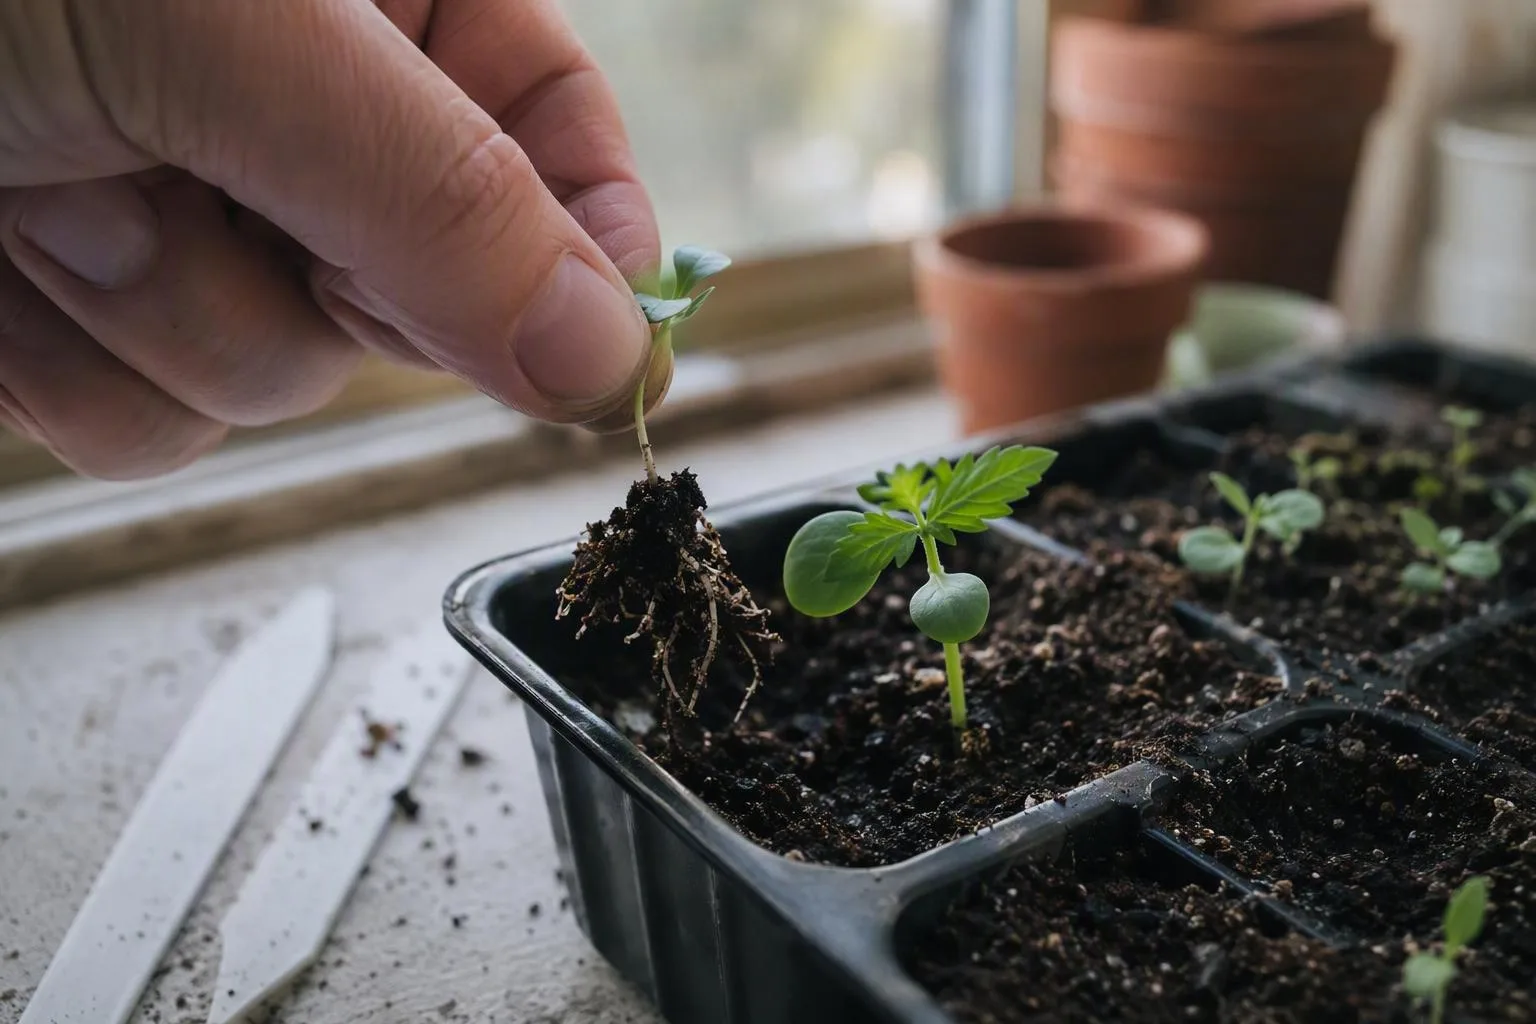
Fix 3 — Thin the green tuft to one seedling per cell
Thin crowded cells once the first true leaves appear. Keep the strongest-looking seedling in each plug or cell and remove the extras. In a small open tray, use the spacing on the seed packet; if you’re only keeping the seedlings there briefly, a temporary gap of about 2.5–5 cm (1–2 in) gives small plants more room before potting up. That is a holding distance, not the crop’s final spacing.
When several seedlings share one cell, their leaves overlap and shade the lower portions of their neighbours. They also compete for the same small volume of water and nutrients. The result can be a green tuft in which every stem is weaker than the one plant you actually want to grow.
Use clean scissors to snip unwanted stems at the surface of the mix. Pulling them can lift or loosen the keeper’s roots, especially in a soft peat-based plug. If the spare seedlings are valuable, you can try teasing one out while the mix is evenly damp, but I usually choose the safer cut when the roots are tightly woven.
Fix 4 — Make the leaves move gently, not flap in a wind tunnel
Put a small fan about 0.5–1 m (1.5–3 ft) away, or place it far enough back that the leaves tremble lightly rather than fold or whip. A short period of gentle movement each day is a useful starting point. You’re trying to make the plant respond to movement, not dry it until the stems and leaves lose their shape.
Air movement can encourage a more self-supporting stem and keeps the air around crowded leaves from sitting still. It cannot compensate for a lamp that is too weak or too distant. Light builds the energy for new growth; the fan is a supporting adjustment.
Check the mix again after adding airflow. A cell tray that needed watering every few days in still air may dry sooner beside a fan, a radiator, or a sunny pane of glass. Don’t respond automatically by watering more; lift the tray and feel the surface first.
Fix 5 — Stop warm roots from outrunning the available light
Bottom heat is useful during germination, but the balance changes after the seedlings emerge. Once most of the tray is above the mix, I remove the heat mat unless the crop instructions specifically call for continued warmth. A clear dome also deserves attention at this stage: it holds heat and humidity around the leaves, which can keep a weak, soft seedling growing faster than its light can support.
For many warm-season seedlings, a workable daytime starting range is about 18–24°C (65–75°F). Cool-season seedlings can often be managed at roughly 13–18°C (55–65°F) where the crop permits. These are starting points rather than targets that suit every species. Basil and tomato seedlings won’t be managed exactly like lettuce or onion seedlings.
The mechanism is straightforward. Warmth can speed stem extension, while insufficient light limits the photosynthesis that supplies material for sturdy new growth. That mismatch produces a plant that reaches upward before it has enough energy to build a strong frame. Move trays away from radiators, hot appliances, and enclosed plastic covers, then correct the light at the same time.
Fix 6 — Let the surface begin to dry before watering again
Stop watering by the calendar. Feel the top 0.5–1 cm (¼–⅜ in) of mix and lift the tray before adding water. If the surface is still wet and the cells feel heavy, wait. If the plugs feel light and the surface has begun to dry, water thoroughly enough to dampen the mix evenly.
For a tray with drainage holes, bottom-watering can work well. Set it in a shallow layer of water and let moisture move upward through the holes. Once the surface is damp, lift the tray out, allow excess water to drain, and empty the saucer or outer container. Don’t leave the cells standing in water.
Permanently wet mix contains less air around the roots. That can leave a seedling with a weak root system even though the leaves look green for a while. A completely dry plug causes a different failure: the leaves wilt, the stem loses its slight firmness, and water may run down the sides instead of soaking the root ball.
The interval depends on the setup. Thin plastic cells, small peat pots, a fan, dry indoor heat, and bright light can shorten it. A deep plastic tray in a cool room can stay damp much longer. Peat pots also lose moisture through their sides, while a covered tray may remain wet near the surface. This is why I check the actual tray instead of prescribing daily or every-other-day watering.
Once your seedlings leave the tray, the container gardening soil choice matters as well. Use a fine, open seed-starting mix for tiny roots, then move to a slightly more substantial potting mix at potting-up time. A dense garden soil can hold too much water in a small container.
Fix 7 — Repot the stem only when the crop can make roots from it
Pot up when the roots hold the plug together and the seedling has one or two sets of true leaves. A 7.5–10 cm (3–4 in) pot is a useful next stage for many seedlings, provided it has drainage and isn’t dramatically larger than the root ball. A huge pot gives the small roots a large volume of wet mix to manage, which makes watering harder.
Tomatoes are the useful exception to the usual soil line. They can generally make additional roots from buried stem tissue. Remove the lowest unhealthy leaves, then plant the tomato so the stem is buried to just below the lowest healthy leaves, or lay it in a shallow trench with the top leaves above the mix. More buried stem gives the plant more potential rooting points, but it still needs a free-draining mix and a stable pot.
Keep peppers and eggplants close to their original soil line. I also avoid deeply burying cucumber, squash, melon, and similar soft or rot-prone stems. Those crops may tolerate a little extra support from the mix, but burying a long wet section of stem can create a weak point rather than a stronger root system.
Use this order:
- Fill the new pot with lightly damp mix, leaving space for the plug and about two fingers below the rim.
- Make the planting hole before disturbing the seedling.
- Loosen the cell from the outside and lift the plug by its leaves or root ball, never by the stem.
- Set the seedling at the crop-appropriate depth, then firm the mix around the roots without packing it hard.
- Water around the root ball and let the pot drain.
- Add a loose temporary support if the stem still wobbles, but keep correcting the light so the plant can support itself later.
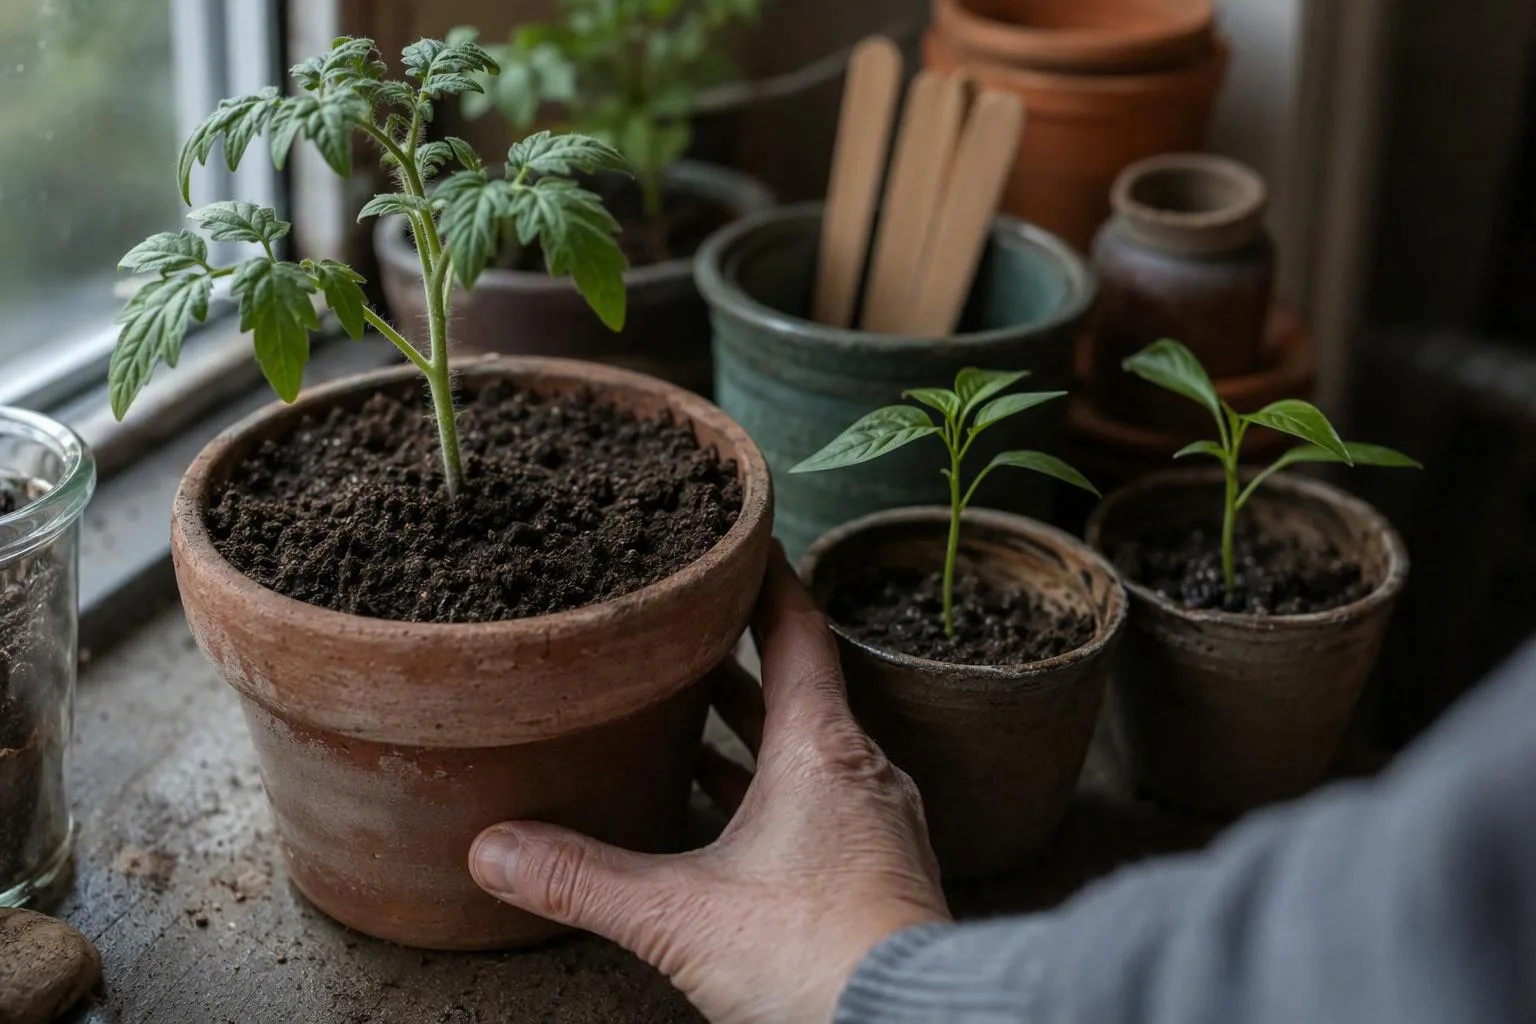
The rescue order: change the environment today and judge new growth in 5–7 days
Seven fixes are easier to use as a sequence than as a shopping list. In the first 24 hours, put the light above the tray, set the timer, remove unnecessary bottom heat, and thin crowded cells. Water only if the surface and tray weight say the seedlings need it. Don’t start with fertilizer; extra nutrients cannot turn inadequate light into usable light.
Over the next two or three days, add gentle airflow and rotate a windowsill tray daily if the sun comes from one direction. Avoid rotating a tray under a fixed overhead lamp unless the light coverage is uneven; changing the plant’s position can make diagnosis harder. Keep notes on the lamp height, schedule, room temperature, and watering rather than changing four variables every few hours.
Here’s a concrete example. Suppose a 24-cell tray has 18 tomato seedlings, the lamp is 25 cm (10 in) above the leaves, the heat mat is still on, and the cells feel heavy at 7 p.m. My rescue sequence would be to lower a suitable low-output lamp toward the 5–10 cm (2–4 in) starting range, switch off the mat, thin each occupied cell to one plant, and leave the tray unwatered that evening. I’d add a gentle fan the following day and recheck the mix the day after that.
At day five to seven, look at the newest leaves and the stem beneath them. A greener, tighter set of leaves and a stem that stays upright are useful signs that the new conditions are helping. The old stretched section should still be visible; success is not a shorter stem. If new growth is still racing upward, reassess usable light before feeding or repotting again.
A snapped stem, damping-off, or simple stretch? Know when to start again
A green, leaning seedling with an intact growing point may continue after you correct its environment. It might need a support while the new stem develops, especially if the plant is top-heavy. A stem that is completely severed at seedling size is usually a poor candidate for prolonged nursing, particularly when spare seed is available.
Restart when the stem is pinched at the soil line, collapsing, brown, visibly mouldy, or surrounded by foul-smelling saturated mix. Those signs fit damping-off or root damage more closely than simple stretch. Remove affected seedlings promptly rather than letting a soft stem touch its neighbours.
Before reseeding, wash the tray and cell inserts, scrub away old mix, and let the parts dry. Check that water can leave each cell and that the outer tray isn’t holding a deep puddle. If you’re reusing a decorative pot for a later stage, check the guide to drainage holes in pots first; a container without a reliable exit for excess water is a poor rescue vessel.
For a second opinion on the basics, compare University extension guidance on indoor seed starting with the instructions for your crop and fixture. The grower’s setup still decides the final adjustment: a bright shelf, a dim windowsill, a warm radiator, and a cool utility room won’t dry or stretch seedlings at the same pace.
Tonight, lift the tray before watering, measure the distance from the canopy to the lamp, and write down the timer hours. In five to seven days, check whether the newest leaves are greener and closer together; if they aren’t, move the light diagnosis to the top of your list before buying anything else.