How to Save Pepper Seeds: Dry, Store, and Plant Them
A pepper’s seeds are ready when the fruit reaches its ripe color, not merely when it first looks full-sized. Once dry, aim to sow them about ¼ inch (6 mm) deep in warm mix, around 80–85°F (27–29°C); those are practical targets, not magic cutoffs.
The part that most affects what grows next year comes before drying: choose a ripe fruit from a variety you actually want to grow again. Then keep the seeds dry, labeled and protected from moisture. Here’s the sequence I’d use for a balcony-sized batch, from fruit to seedling.
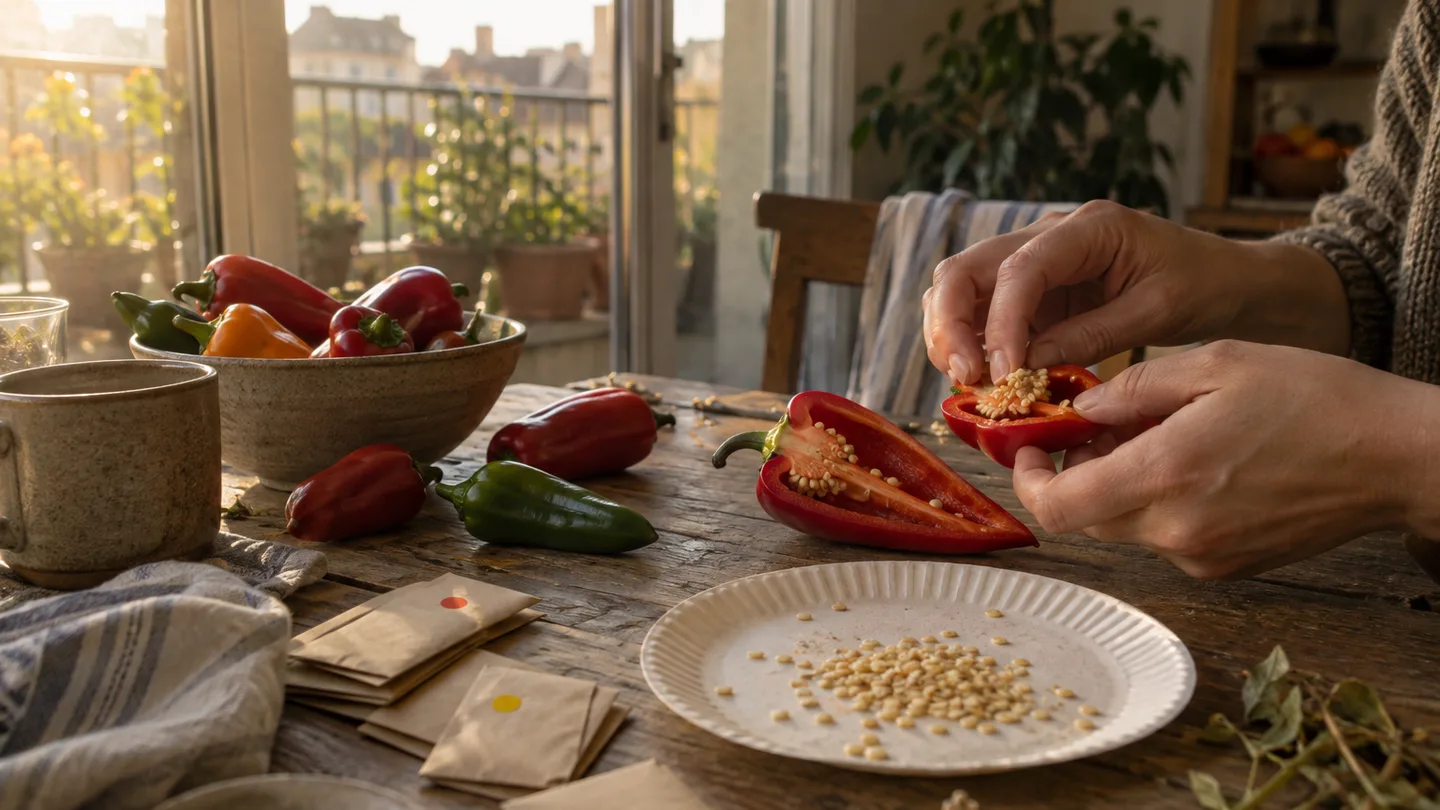
Start with a fully ripe pepper—and a variety worth saving
Let the pepper change to its mature color on the plant. Depending on the variety, that may be red, yellow, orange, brown or another color. A green bell pepper is often an unripe fruit, not a separate green-ripe type; check the variety description if you’re unsure. Seeds from a fruit picked while still immature can be less dependable because the seed may not have completed development.
Check the plant label or seed packet, too. Seeds from an open-pollinated variety are more likely to produce plants resembling the parent. An F1 hybrid is a particular first-generation cross; seeds saved from it can grow, but the offspring may not keep the parent’s combination of traits. If you want a predictable repeat, start with a named open-pollinated variety and record its name on the envelope.
For instance, if your plant is labeled ‘California Wonder’ and the packet identifies it as open-pollinated, that is a more suitable seed-saving candidate than an F1 hybrid when your goal is to grow a similar pepper next season. The label matters more than whether the fruit looks especially large or attractive.
There’s one complication on a small patio: peppers can cross-pollinate. A flower may receive pollen from a different pepper variety nearby, and the resulting fruit can still look like the parent. The saved seeds may then produce offspring with different traits. There isn’t one isolation distance I’d treat as reliable for every balcony; nearby plants, pollinator visits and the layout all affect the chance of crossing.
If keeping a variety’s traits matters, you can cover selected unopened flower buds with a breathable bag before they open, then keep the flowers covered through pollination and mark the fruit. Use a breathable material, not a sealed plastic bag that traps moisture. If that level of control is impractical, save seeds anyway, but treat the next generation as an experiment rather than a guaranteed copy. My preference is to save a small, clearly labeled batch from one fully ripe fruit instead of a large envelope whose parentage I can’t identify.
For a broader balcony crop plan, the guide Easy fruits and vegetables to grow in pots may help you decide whether the pepper deserves the space.
Extract the seeds without spreading hot-pepper residue
Work with a dry cutting board and a spoon. For a mild pepper, cut around the stem, pull out the seed-bearing core, and loosen the seeds over a clean plate. Pick away bits of pale inner tissue and any soft fruit pulp. If some seeds remain attached, rub them free gently rather than scraping hard enough to damage them.
For hot varieties, put on disposable or washable gloves before you cut. The pale ribs and inner tissue contain much of the pepper’s capsaicin, and residue can transfer from the fruit to your fingers, tools or seeds. Avoid touching your face while handling the pepper. Wash the board, knife and hands with soap afterward; don’t rely on a quick rinse to remove oily residue.
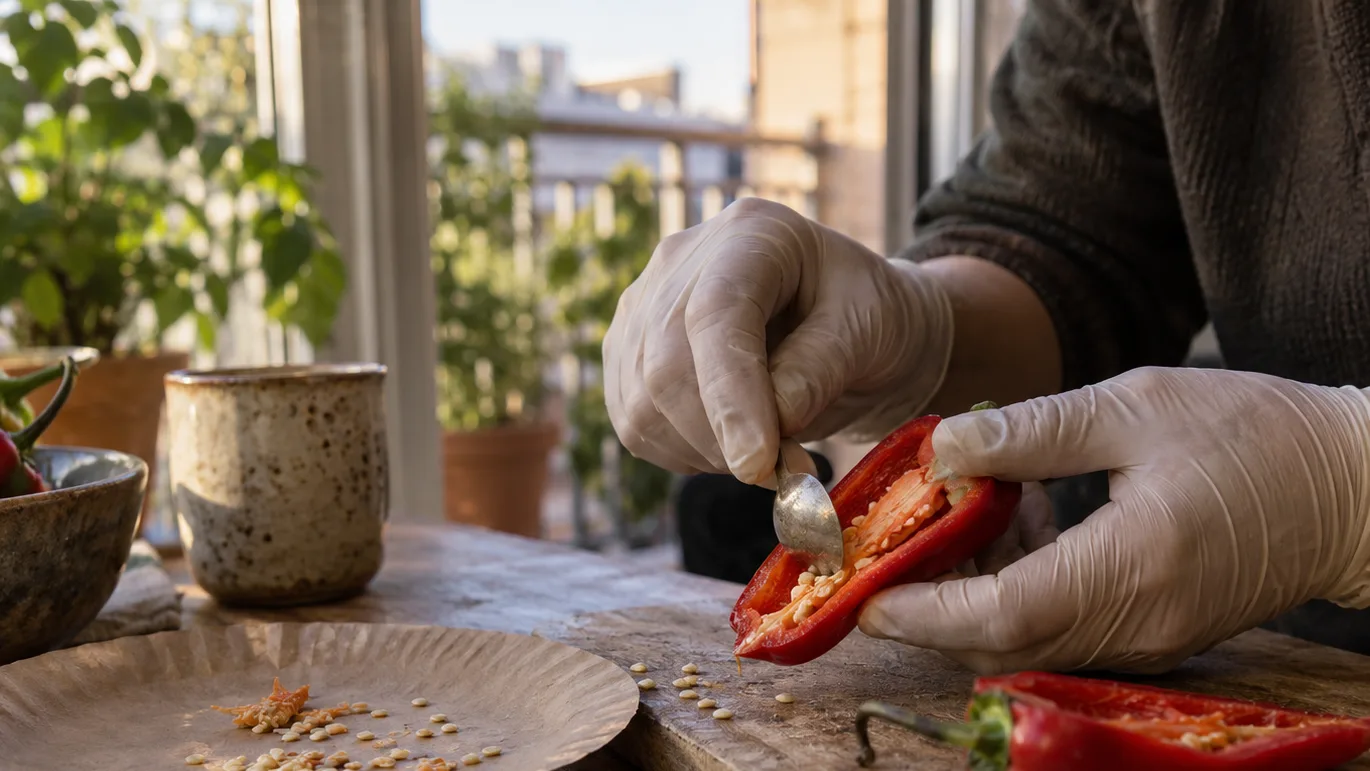
You don’t need to judge a seed’s future by its color or size alone. A plump-looking seed can fail to germinate, while a smaller one may still sprout. Instead, discard seeds that are visibly moldy, crushed, soft or badly discolored, and dry the sound-looking ones. Appearance is a useful way to remove obvious damage, not a dependable germination test.
If you rinse seeds to remove clinging pulp, spread them out immediately afterward. They need to dry fully before storage; a damp seed tucked into an envelope is a storage problem, not a shortcut.
Dry for crispness, not by the calendar alone
Spread the seeds in a single layer on a labeled plate, mesh screen or another clean surface that lets air reach them. Write the variety and harvest year on a nearby label before you start. Put the batch somewhere shaded, dry and ventilated, away from direct sun, a radiator or a hot appliance.
Five to ten days is a useful planning window in ordinary indoor conditions, but the calendar is not the test. Room humidity, airflow and how wet the seeds were when spread all change drying time. Check them by touch: properly dry seeds feel hard and no longer bend or feel damp. If they still flex, give them more time and check again rather than sealing them up.
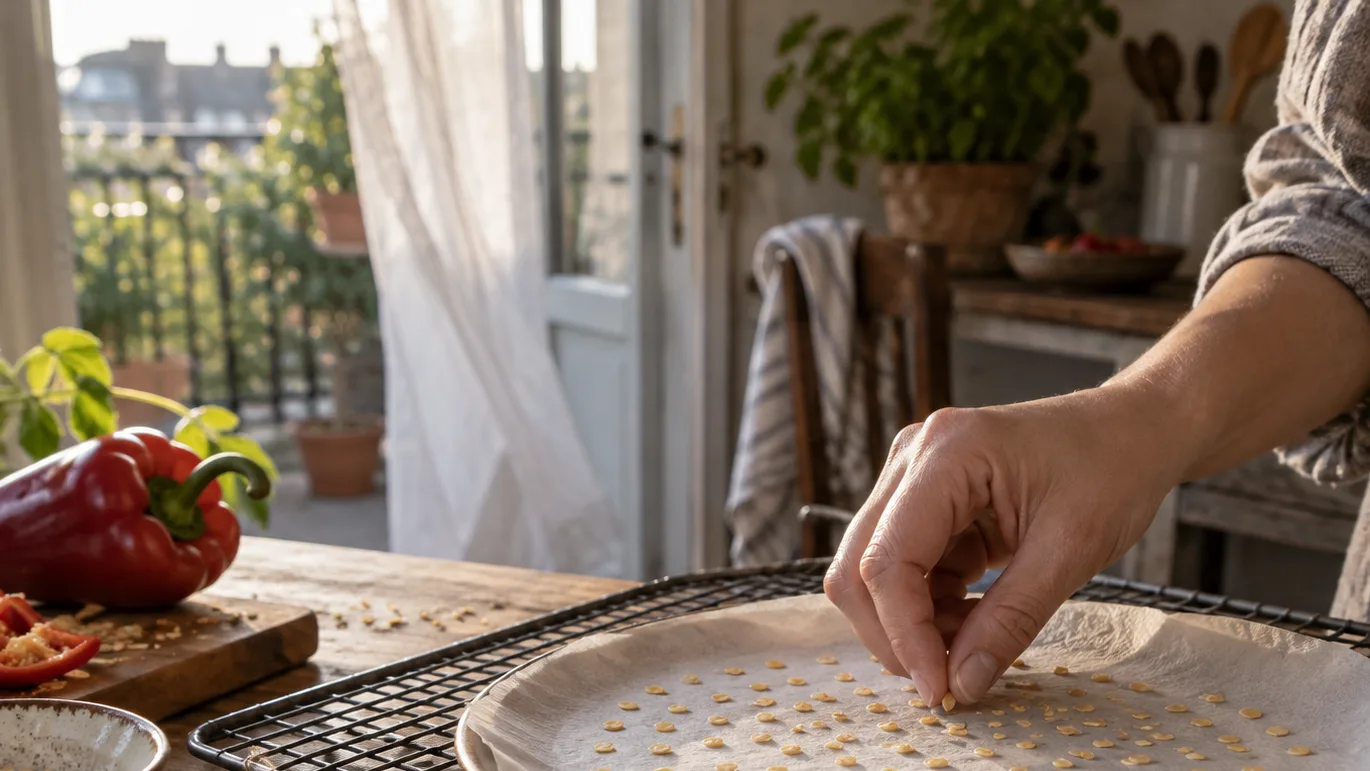
Don’t pile seeds into a heap. The seeds in the middle can stay damp while the ones at the edges feel dry, making the batch harder to assess. Strong direct sun and high heat are poor ways to speed the job: they add heat without solving the basic need for gentle, even airflow. If your room is humid, a mesh screen and a spot with moving air are more useful than a sunny windowsill.
Here’s a simple decision rule: if the seed bends, feels cool or tacky, or still seems damp against the plate, leave it out longer. If it feels hard and dry, move to storage. Don’t put seeds away just because a week has passed; moisture trapped in a closed container can encourage mold and spoil the batch.
Keep the dry batch cool, dark, and sealed against moisture
Once the seeds are thoroughly dry, put them in a paper envelope labeled with the variety and harvest year. Place that envelope inside an airtight container and keep it in a cool, dark location. The envelope keeps varieties separate and makes the label easy to read; the outer container helps limit moisture exposure.
A refrigerator can be useful if you can keep the container dry and closed. Take it out and let the sealed container come to room temperature before opening it. If you open a cold container in warm, humid air, moisture can condense inside; waiting first reduces that risk. Return the container to storage promptly after taking out what you need.
Don’t assume a seed batch has a fixed shelf life. Storage temperature, moisture and the condition of the seed when it went away all matter. If the batch is old, or if you can’t afford to lose your planting window, test a few seeds before sowing the whole lot. Put a small sample on a damp paper towel, keep it warm, and check over the following days for sprouts. A small test costs little and tells you more than a confident-looking envelope label.
For seeds that do sprout, use the result as a planning check rather than a promise about every seed in the packet. A few successful sprouts show that at least some of the batch is viable; they don’t establish that all of it will germinate.
Sow warm, shallow, and early enough for your last frost
For indoor starts, sow pepper seeds about ¼ inch (6 mm) deep and keep the mix around 80–85°F (27–29°C). I’d treat both figures as working targets, not pass-or-fail boundaries. The shallow depth is a practical compromise: it gives a small seed a light covering while avoiding a deep layer it must push through. The warm range is a target for a warmth-loving crop; a consistently cool tray can slow germination, while an overheated or drying mix creates a different problem.
Start roughly 8–10 weeks before your local last frost as a planning estimate. The logic is to leave time for germination—which can take around 7–21 days, varying with seed age and warmth—then allow seedlings to develop before outdoor conditions suit a pepper. A colder room, an older seed batch or a slow-growing seedling can shift the schedule. Look up your local frost timing with the Old Farmer’s Almanac frost-date calculator, then adjust for your own growing conditions rather than treating a calendar date as a forecast.
Fill a clean seed tray or small pots with pre-moistened seed-starting mix. Sow, cover lightly, and label the variety. Keep the mix evenly moist, not waterlogged: squeeze a little between your fingers and aim for the feel of a wrung-out sponge, not a dripping one. If the surface dries while you wait, add water gently so you don’t wash seeds into a corner. If the mix stays saturated, pause watering and improve drainage; seeds need moisture, but a tray sitting in water can deprive them of air.
A heat mat can help keep the mix warm in a cool room, but check the mix itself rather than assuming the setting equals the temperature at seed depth. Remove or lower the added heat once seedlings emerge if the tray is becoming too warm, and move the seedlings into bright light. Warmth supports germination; after emergence, light becomes just as important for sturdy growth.
When seedlings have developed several true leaves—the leaves that appear after the first smooth seed leaves—you can move them into individual pots if they need more root room. Handle them by a leaf, not by the delicate stem. A small pot is easier to fit on a balcony, but it dries faster than a larger one, so check moisture regularly. The practical trade-off is not “small pots are bad”; it’s that a compact pot asks you to monitor watering more closely. For another container crop with similar pot-up decisions, see growing eggplant in containers.
If nothing has emerged after three weeks, don’t immediately flood the tray or dig up every seed. Check the mix temperature and moisture first, then test a few seeds from the stored batch separately. That separates a sowing-condition problem from a weak batch and gives you a clearer next step.
Before you put the envelope away, write the variety and year on it, then set out a small tray and check its mix temperature. That one check will make your next sowing decision more useful than guessing from the room thermostat.