Overwintering Plants in Pots: 5 Steps Before the First Frost
For many frost-tender plants in pots, I start bringing them indoors when forecast nights approach 10°C/50°F; I don’t wait for a 0°C/32°F frost warning. That 10°C cue is a conservative buffer for moving, inspecting and settling plants before freezing conditions arrive, not a universal minimum for every species.
A pot above ground also gives the roots less protection than a plant in open soil. The root ball is surrounded by a limited amount of mix, with cold air touching the container sides, so an exposed balcony pot can cool faster and more sharply than the ground nearby.
Your frost countdown: the five moves and their deadlines
| Move | When I do it | What changes the timing |
|---|---|---|
| 1. Triage | 7–14 days before the likely move | Plant tolerance, wind and the amount of indoor space available |
| 2. Inspect and isolate | Before entry, then through the first 7–14 days inside | Visible pests, crowded foliage or wet mix |
| 3. Prepare canopy and roots | Several days before moving | Dead growth, leggy stems, circling roots or collapsed mix |
| 4. Choose the landing spot | Before the forecast changes | Light, temperature, airflow and the weight of a wet pot |
| 5. Move drained | On a dry, daylight window before the trigger | Whether the top mix is dry and the container feels light |
Hardy perennials adapted to your local winter may stay outside with protection around the container, while tropical foliage, basil, coleus and other tender herbs need a much earlier decision. Citrus, rosemary and geraniums usually deserve a cool, bright transition rather than being treated exactly like either a tropical houseplant or a fully hardy perennial.
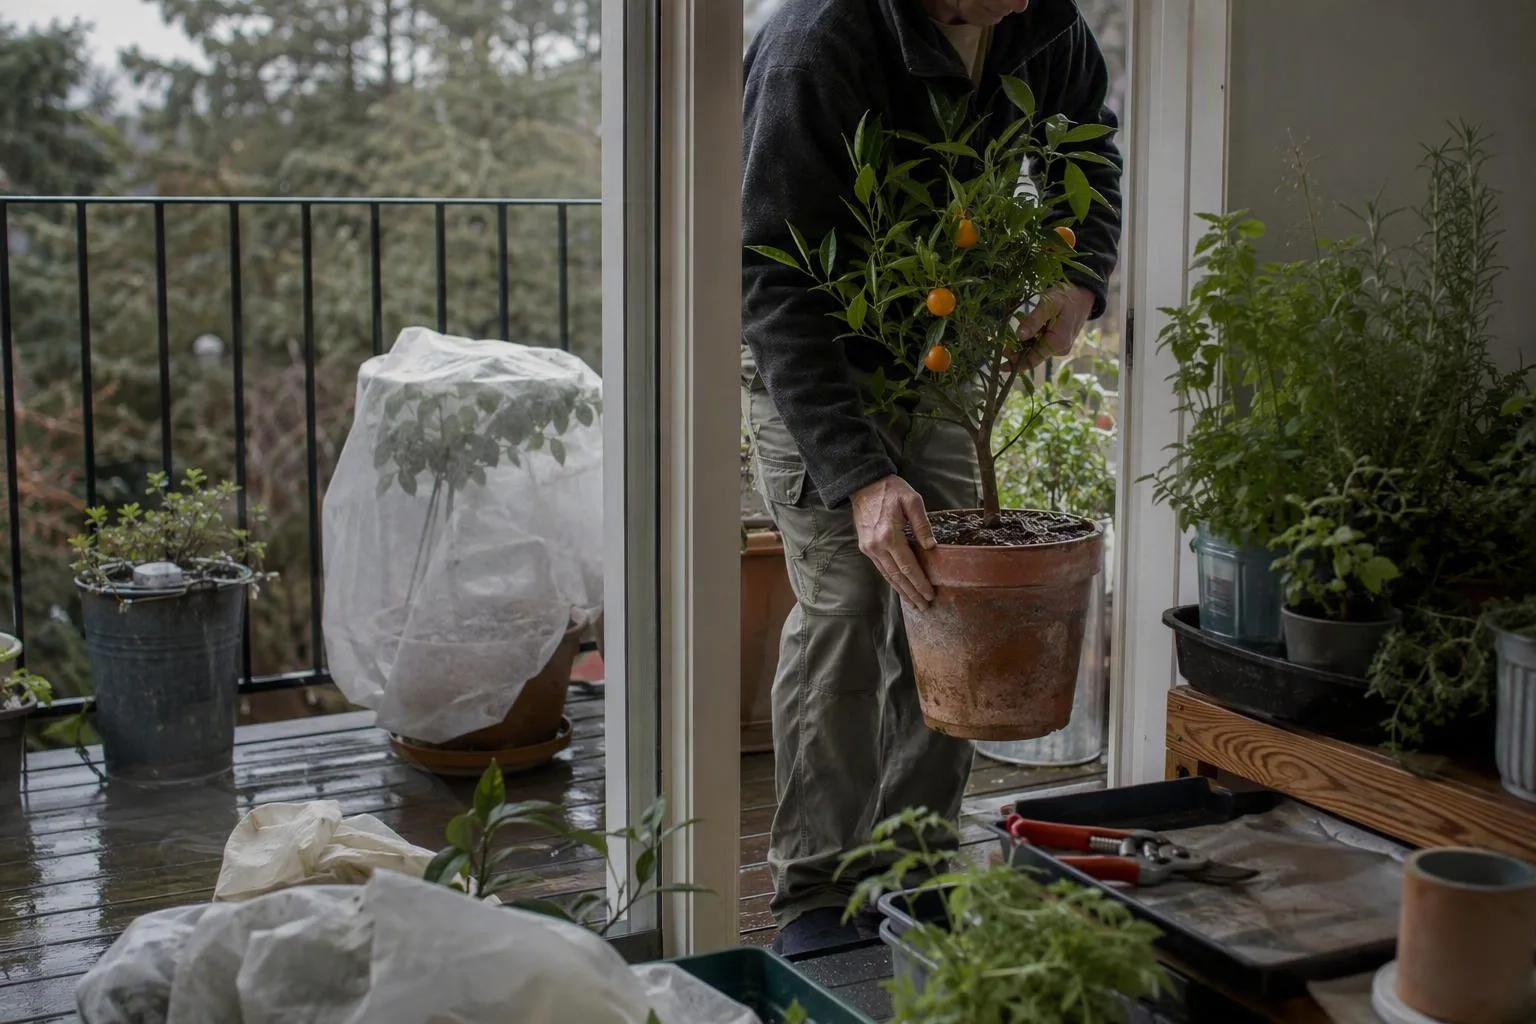
Use the forecast as a window, not a single deadline
I look at official local frost and freeze warnings rather than relying on a seasonal date printed on a calendar. A frost warning tells me that exposed plant surfaces may reach freezing; a night approaching 10°C/50°F gives me a practical window to do the work without carrying a wet, pest-covered jungle indoors at the last minute.
That window narrows on a windy balcony, beside an open rooftop edge or wherever a small dark container sits in the open air. Wind increases the plant’s drying demand and removes heat from exposed surfaces. A sheltered patio with a large, pale container may give me more time, but I still use the plant’s tolerance and the actual forecast as the deciding information.
The useful distinction is not simply indoor versus outdoor. It’s whether the plant is going to keep growing, enter deliberate dormancy, or remain outside with its roots protected. I’d rather make that choice while the plant is healthy than react after cold damage has already turned leaves translucent or black.
Step 1 — Decide which pots come inside, go dormant or stay protected
Start with the plant, not the pot you happen to have room for. I sort my containers into three working groups:
| Plant group | Examples | First plan |
|---|---|---|
| Frost-tender plants | Basil, coleus, tomatoes and many tropical foliage plants | Bring inside early and keep growing if light allows |
| Cool-bright transition plants | Citrus, rosemary and geraniums | Move to a bright site and adjust watering before colder nights |
| Hardy perennials | Species rated for your local winter | Consider outdoor root protection or dormancy instead of a warm room |
Use 10°C/50°F as my conservative packing signal for many tender plants, not as a promise that every plant is safe above it. The plant label or reliable species guidance may call for a warmer or cooler minimum. If the forecast is heading toward 0°C/32°F, freezing injury becomes a more immediate concern for frost-tender foliage and roots, so I don’t use a frost warning as my preparation reminder.
Wind and container size can move the decision earlier. A small pot has less mix to buffer a cold night, and a pot on an exposed balcony is surrounded by moving air on every side. The plant may also be dry before the cold arrives, which leaves less water in the root ball to moderate temperature changes. I check the official pesticide label if treatment is needed, and I reserve the indoor floor space before I promise a plant a second season.
- Identify the plant. Write down the species or cultivar rather than relying on a vague name such as fern or vine.
- Check its minimum temperature tolerance. If you can’t identify it, treat uncertainty as a reason to move a tender-looking plant earlier, not as evidence of hardiness.
- Choose active growth or dormancy. Active growth needs usable light and moderate warmth. Dormancy means a deliberate rest in a cooler place with much less water and no attempt to push soft new leaves.
- Assign floor space. Leave room to inspect, water and move the pot without brushing its leaves against neighbouring plants.
For hardy perennials, protect the root zone rather than just the foliage. Moving the container against a sheltered wall, raising it off a freezing surface and wrapping the pot with breathable insulation can be more practical than forcing a dormant plant into a heated, dim room. Whether that is sufficient depends on the plant’s local adaptation and your winter weather.
Step 2 — Treat the pot as a pest quarantine
Outdoor plants can carry insects or eggs that are easy to miss in daylight and very noticeable beside indoor plants. I inspect an outdoor pot in this order: leaf undersides first, then stem joints, the soil surface, the rim and finally the drainage holes in pots. Looking in that order keeps me from declaring a plant clean after seeing only its upper leaves.
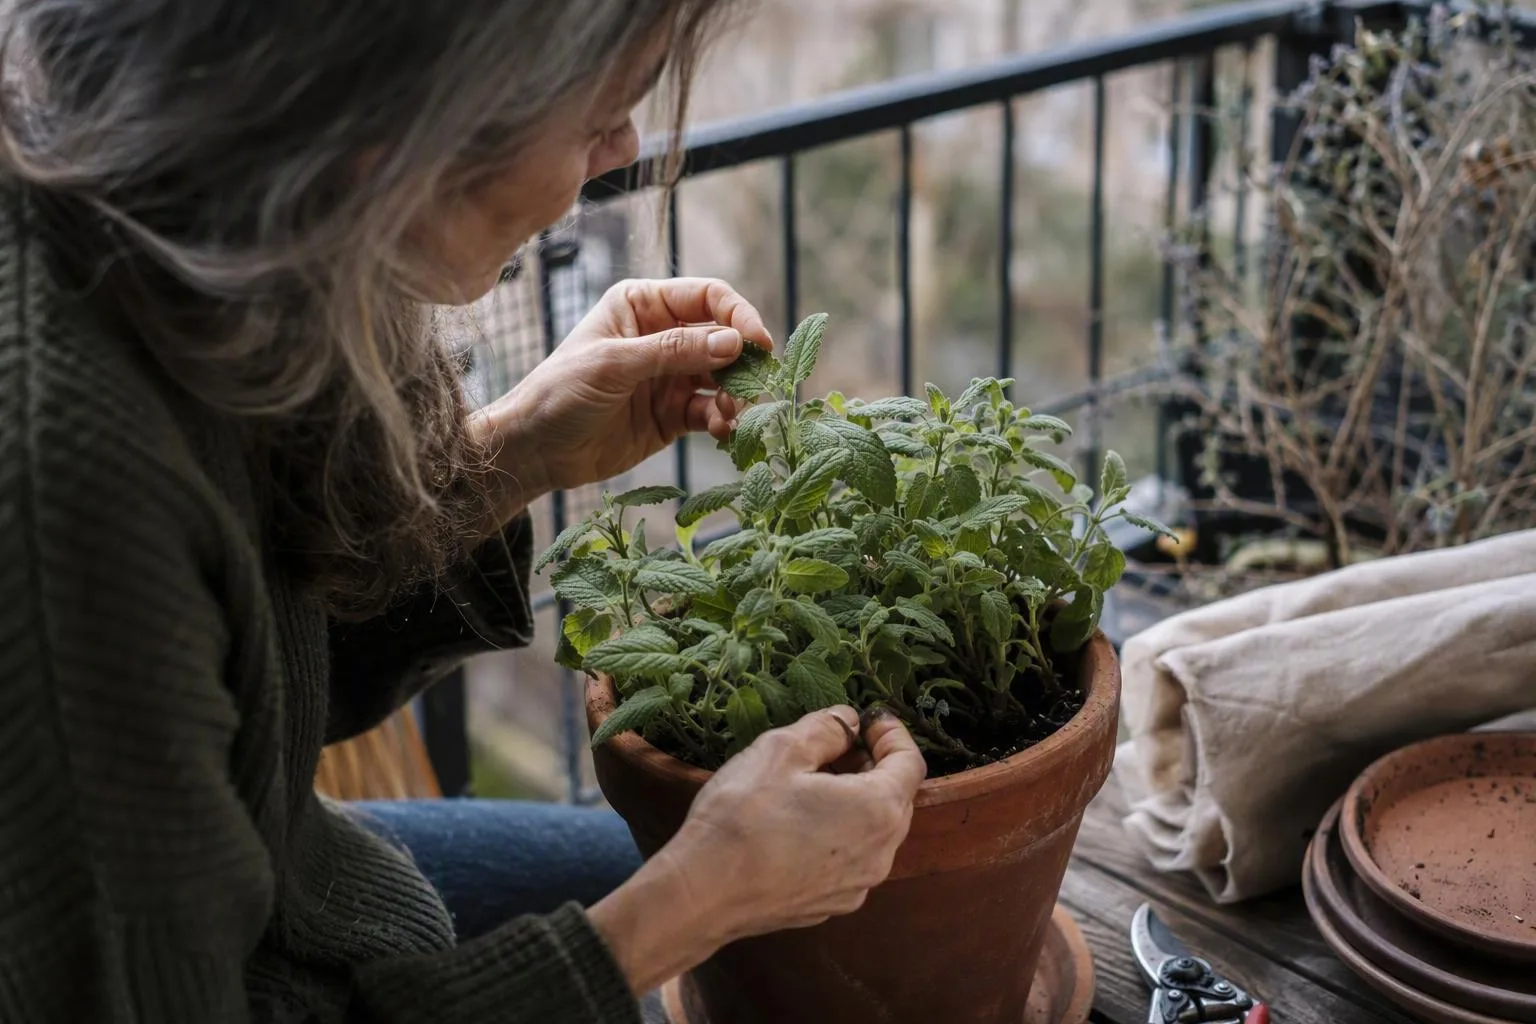
Sticky leaves or a shiny film can point to sap-feeding insects. Fine webbing can indicate mites, especially around dry leaf joints. Cottony clusters suggest mealybugs, firm bumps along stems can be scale, and a small cloud of white insects rising from the foliage is a useful whitefly warning. None of those signs identifies the exact pest by itself, but each tells me to isolate the pot and inspect more closely.
Remove dead leaves, spent flowers and weeds from the surface. They make it harder to see the soil and give hiding places to small insects. For foliage that tolerates it, rinse leaves with lukewarm water, paying attention to the underside. I avoid blasting delicate leaves or washing a pot that is already saturated. Let the canopy dry before placing it in a cool room; wet foliage pressed against cool air is a poor combination for a plant already adjusting.
A questionable plant gets its own spot for 7–14 days after entering the home, followed by another inspection before it joins established houseplants. I keep the isolation pot far enough away that leaves cannot touch. The purpose isn’t to create a perfect pest-free guarantee. It gives hidden insects, fresh damage and watering problems time to become visible while the plant is still easy to move.
If treatment is necessary, use an official pesticide label for the plant and the setting. Edible plants need extra care: a product suitable for ornamental foliage may not be labelled for herbs or vegetables, and bringing a recently treated plant into a living space adds another reason to follow the label’s directions rather than improvise a stronger mixture.
Step 3 — Prune, clean and repot only when the roots justify it
Autumn preparation is not a contest to make every plant small. Remove dead, diseased or damaged growth first, because it contributes nothing to winter growth and can obscure problems during inspection. If a plant tolerates pruning, I may shorten soft, leggy growth by about one-third to make the canopy manageable. I make that cut for space and balance, not because the calendar demands a particular haircut.
Don’t automatically hard-prune citrus, woody herbs or plants that flower on older stems. A severe cut can remove the growth you were hoping to keep for the next flowering cycle. Citrus also has a limited indoor light supply in many homes, so a freshly pruned plant may respond with weak shoots rather than a compact canopy. Remove obvious damage, then check the plant’s pruning habit before taking more.
Repot only when the roots justify it. I look for roots tightly circling the outside of the root ball, a mix that has collapsed into a dense mass, or water that races down the sides because the shrunken mix has become hard to re-wet. A plant moving indoors does not automatically need a new container. Disturbing healthy roots, then asking them to adjust to lower light and a new temperature, can create two stresses where one would have done.
If a change is necessary, shift up one container size: roughly 2.5–5 cm/1–2 inches wider than the current pot. A much larger container leaves a deep band of fresh mix around a small root ball. That extra mix can stay wet after the plant’s leaves stop using water quickly, especially in a cool room. Choose a pot with clear drainage and check the drainage holes in pots before filling it.
There’s a gentler alternative when the root ball is sound but the surface mix is tired. Scrape away the top 2.5–5 cm/1–2 inches, replace it with fresh container mix and keep the stem base at its original level. The same practical principles described in container gardening soil apply here: use a purpose-made, airy mix rather than dense garden soil, and don’t bury the crown or stem to compensate for a low fill level.
A better indoor plan starts with floor space
Indoor space is a growing condition, not a decorating detail. A plant wedged behind a curtain may technically be inside but still receive too little light. A pot crowded against three others is harder to inspect, and one missed scale insect can turn a simple quarantine into a collection-wide cleanup.
I reserve the brightest and easiest-to-reach positions for plants that have a realistic chance of continuing to grow. For a plant that needs more light than my home can provide, it may be kinder to take cuttings or accept the end of that season’s plant than to crowd it into a dim corner. That’s a judgement call, but it saves floor space and avoids pretending that warmth can replace light.
Step 4 — Build a landing spot with enough light and stable temperatures
For sun-loving plants, I start with the brightest practical window and aim for roughly 4–6 hours of direct light where the season and glass allow it. In the Northern Hemisphere, a south-facing window may provide a better winter starting point than an east- or north-facing one; reverse that compass comparison if you’re south of the equator. The useful rule is still to choose the brighter practical window, then watch the plant rather than trusting the compass alone.
If direct light is not enough, use a grow light on a timer for about 12–14 hours daily and follow that fixture’s instructions for strength and hanging distance. Fixtures vary, so I don’t treat a bulb’s wattage or a printed distance as transferable to every setup. Pale, stretched new growth is the plant’s report that the light reaching its leaves is inadequate; feeding it more does not supply the missing light.
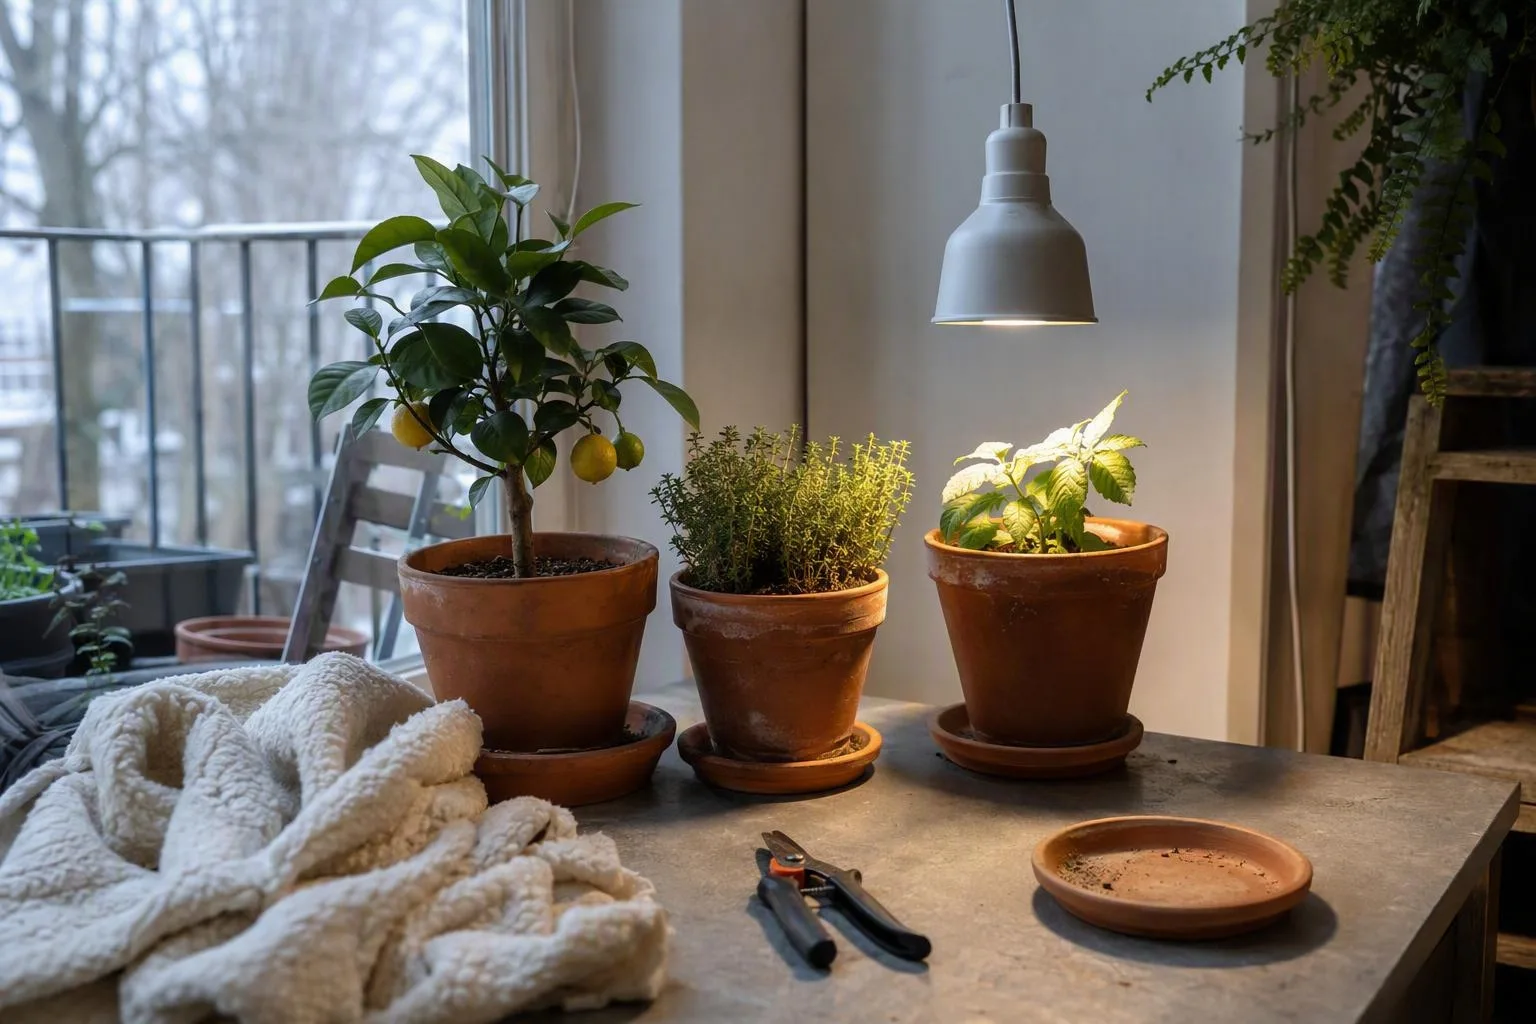
Keep leaves from touching cold glass. The leaf surface can be much colder than the room, and a plant pressed against the pane has no room for air movement. I also avoid direct blasts from radiators and heat vents, which can dry one side of the canopy while the root ball remains wet. Leave a gap between pots so I can turn them, inspect them and water without drenching a neighbour.
For active growth, approximately 15–24°C/59–75°F by day is a workable room range for many common container plants, with cooler nights acceptable for some species. It’s a starting range, not a species guarantee. A cool, dim room may suit a plant that is intentionally dormant, but an actively growing plant in that same room is likely to make weak, elongated growth or shed leaves as its light budget falls.
Large wet pots also matter on balconies and rooftops. Water and mix add weight, and moving a container near a railing or placing several together changes the load in one small area. Check your building rules and the structure’s stated limits before keeping a large collection on an elevated space. I’d rather overwinter fewer plants securely than create a dangerous, awkward arrangement that nobody can inspect easily.
Step 5 — Move on a dry, drained day and label the care plan
Do the final move in this order:
- Inspect again. Look under leaves and around stems after pruning and washing. A plant that has changed since yesterday needs attention before it travels indoors.
- Clean the container. Brush soil from the outside, remove dead material from the rim and make sure the drainage holes are open.
- Check moisture. Push a finger into the top 2–5 cm/1–2 inches of mix and lift the pot. For a plant whose care plan allows watering, water only when that surface is dry and the container feels noticeably lighter.
- Water early if needed. If both checks say dry, water thoroughly outdoors or over a suitable tray, then let the pot drain completely.
- Move in daylight. Daylight makes it easier to spot pests, damaged stems and leaves touching glass as you place the plant.
- Settle it in the prepared spot. Use a saucer that catches drips but does not leave the pot standing in water.
- Label the pot. Record the species, move date, pruning date and last treatment so the winter care plan is not a guessing exercise.
A fully saturated pot is a poor indoor starter. Water fills spaces that would otherwise hold air around the roots, and the lower light and slower evaporation indoors can leave that wet mix in place longer. If the pot feels heavy and the top is still moist, I move it without adding water and check it again later.
On my own balcony, I once carried a pot in after a rainy week and set it beside a radiator because the best window spot was still occupied. The leaves wilted while the mix stayed heavy. The mistake had two parts: I brought in a saturated root ball and paired it with hot moving air. I now choose the landing spot first, inspect the pot outside, and drain it before the carry. That order has proved more useful in my setup than buying another winter-care product.
I don’t fertilize during the move. A recently shifted plant has not yet shown whether it has enough light to use new nutrients, and a dormant plant has no reason to be pushed. I also keep the newcomer away from established houseplants until its inspection period is over, even if the pot looked clean at the door.
The first 14 days indoors: a slower watering regime, not neglect
The first fortnight is an adjustment period. Check each plant twice a week for moisture, pests and leaf drop, but use those checks to gather information rather than to pour water on a calendar. I compare the top 2–5 cm/1–2 inches of mix with the pot’s weight. A cool, low-light pot may go 7–14 days between waterings, while a warm, bright room may need more frequent checks; the container tells me which condition I have.
If you’re unsure how to interpret a pot that feels heavy, compare your observations with how often to water container plants in winter, then still test the individual pot. Two plants in the same room can have different root volumes, leaf areas and soil mixes. The guide can give you an inspection rhythm, but it cannot feel the weight of your container.
Pause feeding for roughly 2–4 weeks unless the plant is clearly making active new growth. Once growth resumes, feed according to the crop’s needs and the product directions. A plant that is merely holding its leaves through winter is using a different amount of water and nutrient than one producing new stems under a grow light.
Some reactions are predictable without being harmless. A sudden reduction in light can cause older leaves to yellow or drop. Yellow leaves beside wet mix point me first toward excess water or poor drainage, while crisp, limp leaves beside dry mix point toward dehydration or heat stress. A dormant plant needs less water than an actively growing one, and keeping dormant roots continuously wet removes the dry interval that helps the plant rest.
Keep a small winter record you can actually use
I write the move date on a paper label and make a short note after each check: light, pot weight, top-mix condition and any pest sign. I don’t need a spreadsheet. A line such as window, light, still heavy, no new webbing is enough to stop me repeating the same mistake three days later.
Group plants by care needs where possible, not by how attractive the arrangement looks. A bright, thirsty herb beside a cool dormant perennial invites the wrong watering decision. Separating those jobs makes the room easier to manage and gives each plant a more honest chance of settling.
When the leaves complain: a week-one symptom-to-cause check
| What you see | Check first | First correction |
|---|---|---|
| New growth is pale, thin and stretched | Light reaching the newest leaves | Move to a brighter practical window or add a correctly positioned grow light |
| Fungus gnats or sour-smelling wet mix | How long the lower mix has stayed wet and whether drainage is clear | Pause watering, clear the drainage path and let the plant dry to the level its species permits |
| Sticky leaves or fine webbing | Leaf undersides, stem joints and nearby plants | Isolate the pot and repeat the inspection before choosing a labelled treatment |
| Sudden drooping while the soil is wet | Root stress, blocked drainage or a cold, waterlogged root ball | Don’t add water; check the holes and the pot’s position, then inspect roots if the problem persists |
| Scorched patches beside glass or a heater | Leaf contact, radiant heat and hot moving air | Move the foliage away from the source and give the canopy room |
Some leaf loss after the move can be transitional, especially when the plant has gone from outdoor light to a weaker indoor site. I watch the direction of travel: firm new growth and a pot that dries between checks are reassuring signs, while spreading yellowing, soft stems, persistent wetness or fresh pest damage call for a correction.
Seven days after the move, lift every pot, inspect one leaf underside on each plant and write down which containers are still wet before watering any of them. That is the next physical job: not a blanket winter schedule, just a short record that shows which plants have actually adjusted.