Pruning Tomato Plants: What to Cut, When, and Why It Matters
Pruning tomato plants gets much less confusing once you separate a 4 cm (1½ in) sucker from a flower truss: the first may be removed on a vining plant, while the second is where fruit forms. A determinate bush tomato may need little more than lower-leaf cleanup, but an indeterminate vine can become a top-heavy tangle if every side shoot is allowed to develop.
My working plan for a balcony is simple: identify the growth habit, choose the stems your pot and support can carry, remove small unwanted shoots, and stop before the plant looks stripped. The timing matters because a cut made during transplant recovery, drought, or intense heat has a different cost from the same cut on a settled, leafy plant.
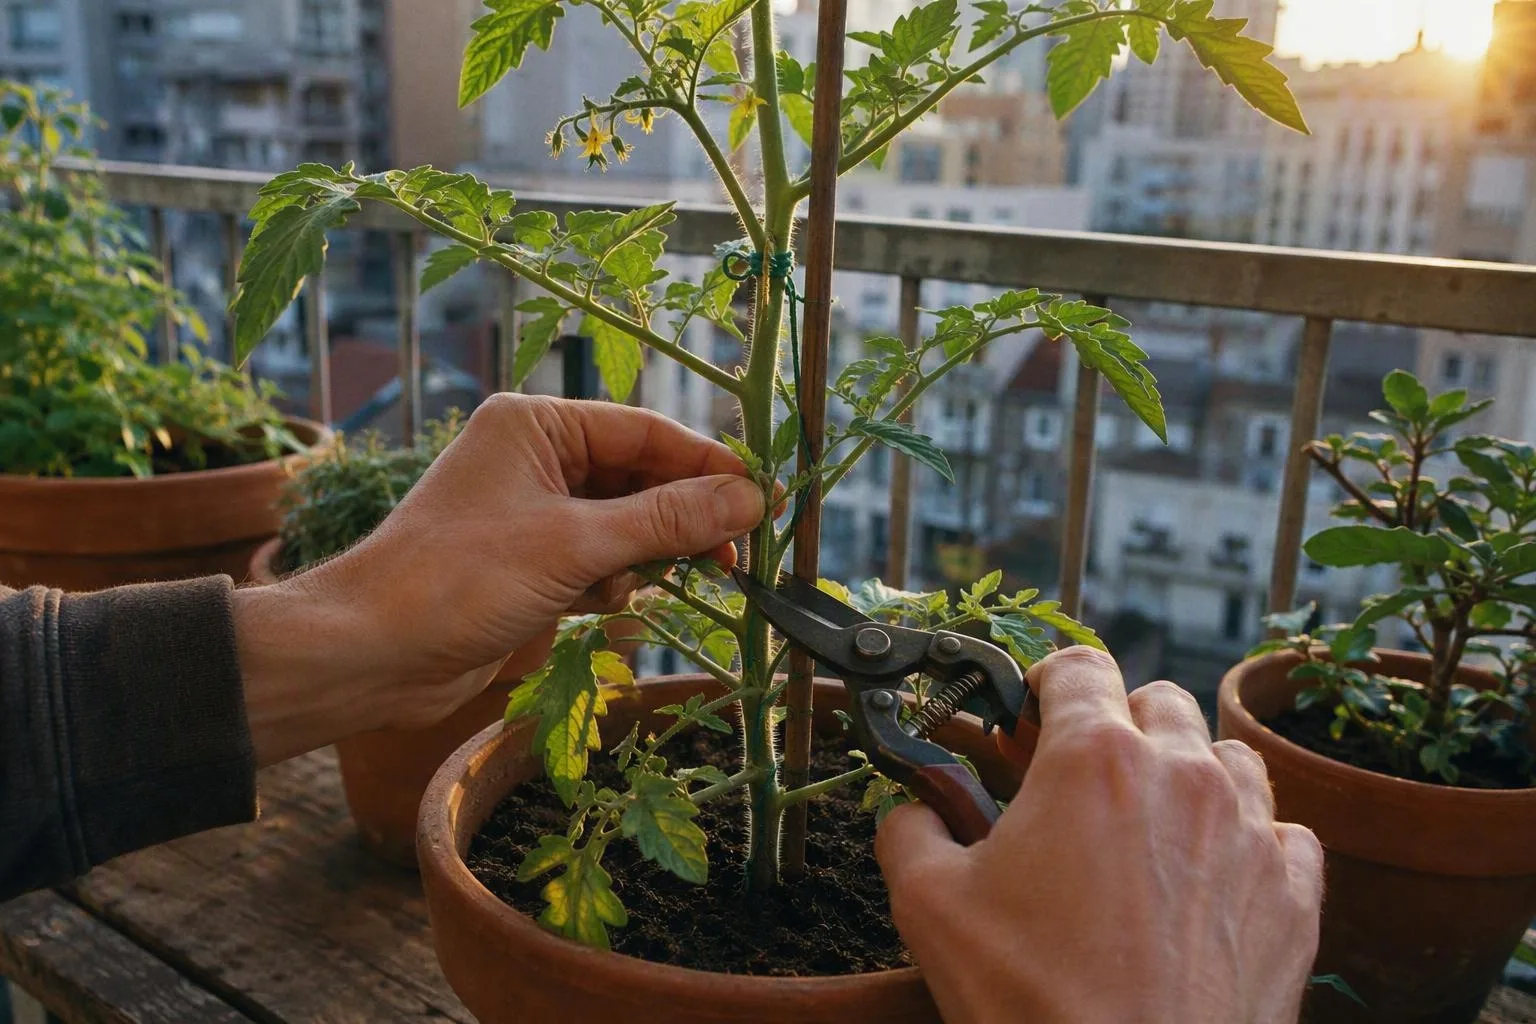
First, identify the tomato you’re holding: determinate or indeterminate
The first decision is not whether a sucker looks untidy. It is whether the plant has a fixed, bushy fruiting pattern or a continuing vine that will keep offering you new side shoots. That distinction sets the pruning plan before the pruners come out.
Determinate, or bush, tomatoes tend to stop their main upward extension after a terminal flower truss. They usually set much of their crop within a shorter window and remain more compact. Their side shoots can carry flowers, so removing every one can take away potential fruiting sites. I treat a determinate plant as a light-cleanup job: remove damaged leaves, leaves touching the potting mix, and an occasional branch that is rubbing against another stem or cannot be supported safely.
Indeterminate, or vining, tomatoes keep extending from a growing tip. New leaves, flower trusses, and side shoots continue to appear as the plant gets taller. That makes them the natural candidates for regular sucker removal. In a container, I might keep one main stem for the narrowest support, or two if the pot is stable and the trellis or cage can carry the extra foliage.
There is a confusing middle ground. Some cultivars are described as semi-determinate, and a compact-looking plant may be a dwarf indeterminate rather than a determinate bush. Words such as patio, bush, or compact describe the plant’s form, but they do not by themselves tell me how its growing tip behaves.
If the label is missing, watch the top of the plant for a week. A stem that keeps producing a leafy growing tip above new flower trusses is behaving like an indeterminate vine. A branch that ends in a flower truss and fills out from several shorter side shoots is more likely to be determinate. I use that observation as a practical clue, not as a substitute for the variety description.
For most balcony pots, I would start with fewer leaders than the plant could theoretically support. A single sturdy stem is easier to tie, inspect, and move away from a railing. Two stems can make sense for a vigorous indeterminate in a large, well-anchored pot, but the extra canopy also catches more wind and dries the container faster. The same limited-root-volume logic that matters across container gardening matters here: spend the available support and mix on stems you can keep watered and tied, not on every shoot the plant can produce.
If the packet is vague, compare its description with university extension guidance on determinate and indeterminate tomato pruning, then watch the plant for another week before making a major cut.
The plant map: leaf axils, suckers, flower trusses, and leaves near the soil
Stand at the pot and trace one leaf back to the main stem. That small exercise gives you a reliable map, even if the plant has already become crowded.
The leaf axil is the angle where a leaf stalk joins the main stem. A tomato sucker usually starts in that angle as a small pointed bud, then develops its own little leaves and a new growing tip. If you let it grow, it becomes a side stem rather than a loose leaf.
A flower truss is different. It begins as a branching spray carrying several flower buds, and those flowers later become the fruit cluster. A truss may emerge close to a leaf axil, which is why beginners sometimes remove it by mistake. The visual test is simple: a sucker looks like a leafy shoot with a pointed growing end; a truss looks like a branched stalk carrying buds. Keep the truss.
Keep the main stem, its growing tip, flower trusses, and healthy leaves unless you have a specific reason to remove them. Leaves are not decorative filler. They make the sugars that support new growth and fruit, and they help shade fruit that would otherwise sit in direct afternoon sun.
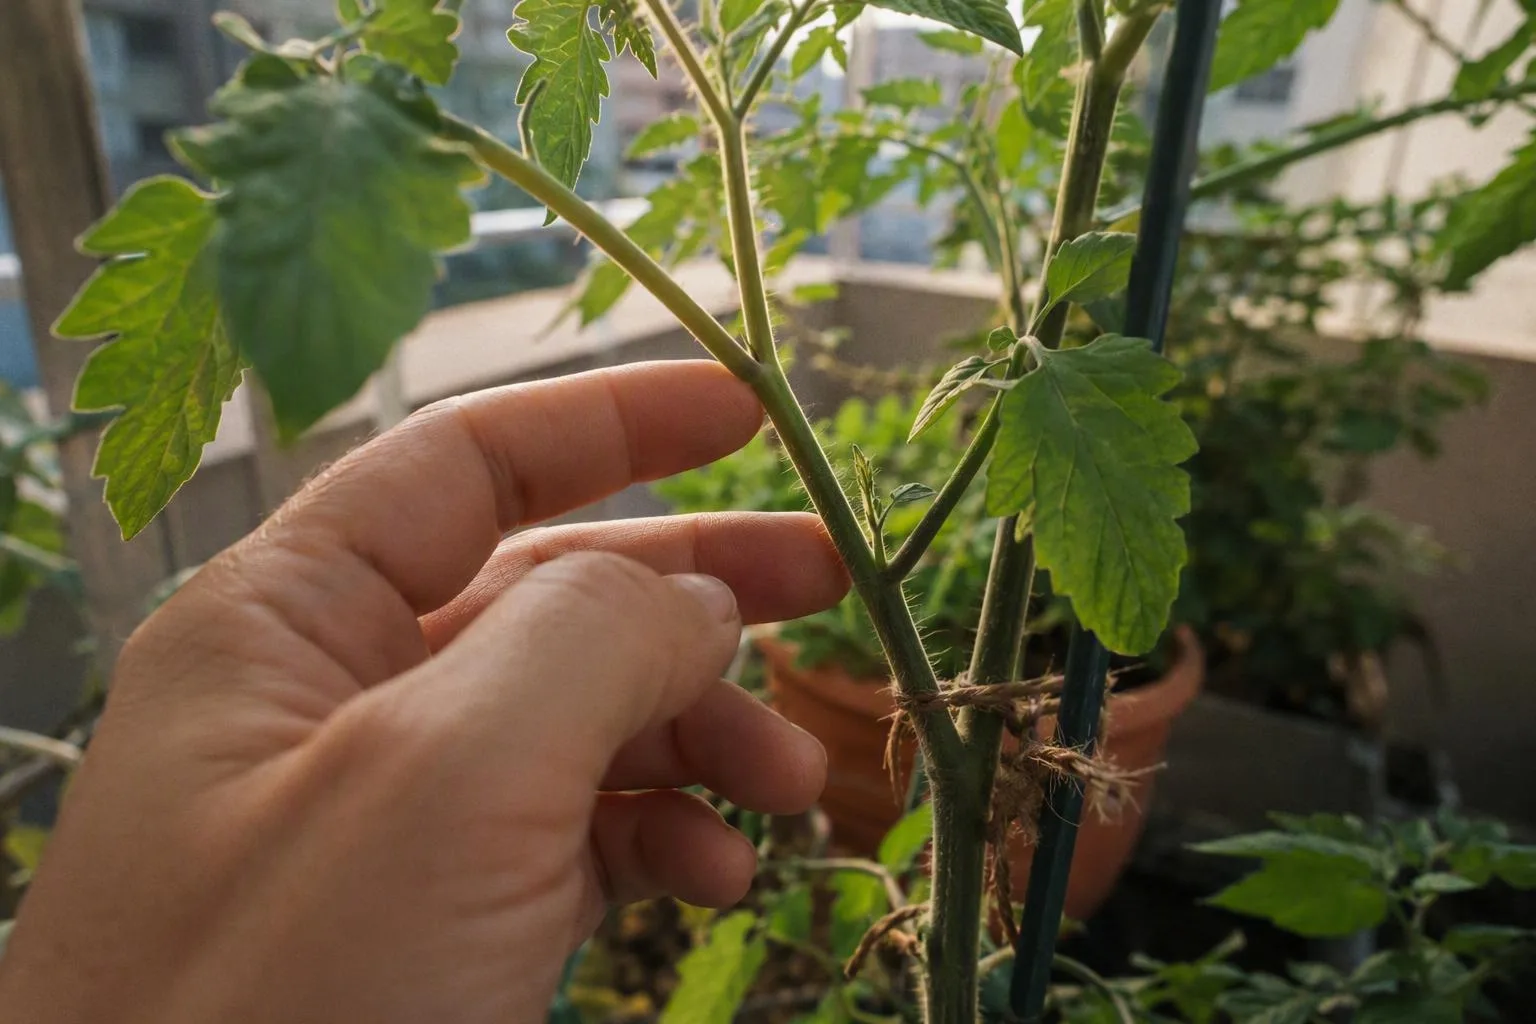
A sucker between 2 and 5 cm (1–2 in) is the easy window for an indeterminate plant. I can usually pinch it cleanly at its base without disturbing the main stem. If a sucker has reached 15–30 cm (6–12 in), I stop treating it like a thumbnail-sized shoot. I decide first whether it could be useful as a second leader, then use clean pruners if it is coming out.
In my own setup, I transplanted a Sungold cherry tomato into a 25-litre (about 6.6-gallon) plastic pot on May 27. I left it alone while it settled, then found a sucker about 4 cm long on June 8 and pinched it cleanly. I missed the next weekly check during a hot spell. By June 22, a lower sucker was nearly 20 cm long. I pulled it instead of cutting, split the skin at the stem joint, and had to steady the fork with a soft tie. The plant continued growing, but that torn junction stayed an awkward weak point for the rest of the season. That is why I call 2–5 cm the easy window: not because a 20 cm sucker is automatically fatal, but because a quick pinch has become a cut and a support problem.
For a thick sucker, cut just outside the junction with the main stem. Avoid leaving a long stub, but do not gouge into the main stem while trying to make the cut perfectly flush. A large sucker creates a larger wound than a small one, so I avoid removing several large branches on the same day. One deliberate cut, followed by a day or two of observation, is kinder than turning a crowded plant into a collection of fresh wounds.
Clean pruners matter most when you move from a plant with suspicious spots, mould, or damaged tissue to a healthy one. Wiping or washing the blades removes sap and plant debris that could be carried to the next stem. On an ordinary healthy plant, I focus on making clean cuts and keeping my hands out of the foliage as much as possible.
A four-stage pruning calendar from transplanting to the last fruit
I don’t prune by calendar date alone; I use plant stage and weather. A small tomato that has just left its nursery pot should be handled differently from a tall vine already carrying green fruit.
Stage 1: the first 1–2 weeks after transplanting
For roughly the first 1–2 weeks after transplanting, leave routine sucker removal alone. Set the plant at the right depth, water the mix thoroughly, and secure the stem before wind can rock the root ball. If a branch is broken, diseased, or lying in the potting mix, deal with that specific problem, but do not give the plant a full haircut simply because you can see new shoots.
During this period, the roots are adjusting to a new volume of mix. Healthy leaves give the recovering plant a working surface for making sugars while those roots re-establish contact with the surrounding potting mix. Removing a small sucker is not usually the main risk; removing too much of the remaining canopy while the plant is already adjusting is the poorer trade.
Stage 2: active growth and the weekly sucker check
Once the plant is upright and pushing new leaves, check an indeterminate tomato about once a week. Look into every leaf axil, starting at the bottom and moving upward. Remove the small suckers you do not want, and leave any sucker you have deliberately chosen as a second leader. Tie the stems before the fruit clusters become heavy enough to pull them sideways.
A determinate plant gets a lighter pass. I remove leaves that are resting on the mix, damaged growth, and side shoots that create a tight, unsupported fork. I do not remove every healthy lateral simply to make the plant look like a single-stem vine.
The weekly habit should yield to the plant’s condition. Heat, drought stress, or slow growth changes the point of pruning. If the leaves are limp in the morning, the pot is drying unusually fast, or the plant is barely making new growth, solve that problem before chasing the next sucker.
Stage 3: lower-leaf cleanup after the plant is established
When the tomato is established, I remove the lowest leaves once they touch the mix or hang within about 15 cm (6 in) of it. Established means the stem is standing securely, new growth is continuing, and the plant is not relying on repeated emergency watering to stay upright.
Lower leaves close to the mix are more likely to receive splashes of potting mix during watering. They also make it harder to inspect the stem base for damage, pests, or a persistently wet surface. I remove a few at a time, cutting the leaf stalk cleanly, rather than stripping the whole lower half of the plant in one session.
I do not use the first flower truss as an excuse to remove every leaf below it. A lower leaf that is healthy, clean, and keeping fruit shaded can still be useful. The cut is justified by contact, damage, crowding, or disease symptoms, not by a desire for a perfectly bare stem.
Stage 4: topping when the support or season runs out
For an indeterminate tomato, topping makes sense when the growing tip reaches the top of its support or when the season is approaching its end. A practical seasonal point is approximately 4–6 weeks before the expected first frost, using your local frost-date and growing-season reference data to set the date rather than guessing from a general planting calendar.
Make the cut above the highest fruit truss you are keeping, leaving about two leaves above that truss. Those leaves continue to feed and shade the upper fruit. The purpose of topping is to limit new height and late flowers that may not have enough time to mature; it does not make existing green fruit ripen instantly.
There is a useful condition at this stage. If the plant has plenty of season left and the support still has room, I leave the growing tip alone. If the support is full, the plant is leaning into a walkway, or frost is close enough that new flowers are unlikely to finish, topping becomes a sensible way to stop adding work for the plant and for me.
On a normal check, I use this order:
- Check the potting mix and support before touching the plant.
- Identify the main stem, flower trusses, chosen leaders, and healthy leaves.
- Remove clearly diseased or broken tissue first, then clean the blade.
- Remove unwanted suckers while they are small.
- Take off low leaves touching or nearly touching the mix.
- Top the plant only if its support or the remaining season calls for it.
This order keeps me from making a decision based on the first shoot I notice. It also means I understand the plant’s final shape before I remove anything that might have been useful as a leader.
How much canopy can you remove before the trade-off turns against you?
Leaves are the plant’s food-making surface, and that matters more than a neat outline. They use light, water, and carbon dioxide to make sugars that support stems, roots, flowers, and fruit. At the same time, a dense canopy can hide suckers, press leaves together, and make it harder to see where water is landing in a small pot.
Selective pruning is therefore a trade-off. Fewer crowded stems can improve access and make the plant easier to tie and inspect. Too few leaves reduce the plant’s food-making surface, and exposed fruit can receive more direct heat and light than it can handle comfortably.
I use roughly one-third of the healthy foliage in one session as a conservative balcony ceiling, not as a target and not as a universal law. If a plant has only a small number of healthy leaves after transplanting, the sensible amount to remove may be none. If the plant is vigorous and heavily crowded, I still make the work incremental rather than taking a third simply because the number is available.
One stem
One-stem training gives a narrow structure. It suits a small balcony, a narrow trellis, or a pot that moves in the wind because there is less stem mass to tie and less canopy projecting sideways. The cost is that you are choosing a smaller framework, so the plant may look less full than an untouched vine.
Two stems
Two-stem training is my compromise for a vigorous indeterminate tomato with a dependable support. I usually keep one strong sucker just below the first flower truss and guide it upward as the second leader. Both stems need their own support path. If they are allowed to cross, the benefit of choosing two leaders is lost in another tangle.
Light pruning
Light pruning suits determinate plants, plants with sparse foliage, and containers exposed to intense reflected light from a pale wall or glass railing. In those conditions, leaf cover helps shade fruit and slows the swing between hot, dry afternoons and cooler evenings. A compact, slightly shaggy plant can be a better balcony plant than a tidy skeleton.
Heat, intense reflected light, recent transplanting, drought stress, or sparse foliage are all reasons to remove less rather than more. Sunscald shows up as a pale, bleached, or papery patch on fruit that has recently become exposed to strong sun. If I see that damage, I stop trying to open the canopy and let nearby leaves do their protective work.
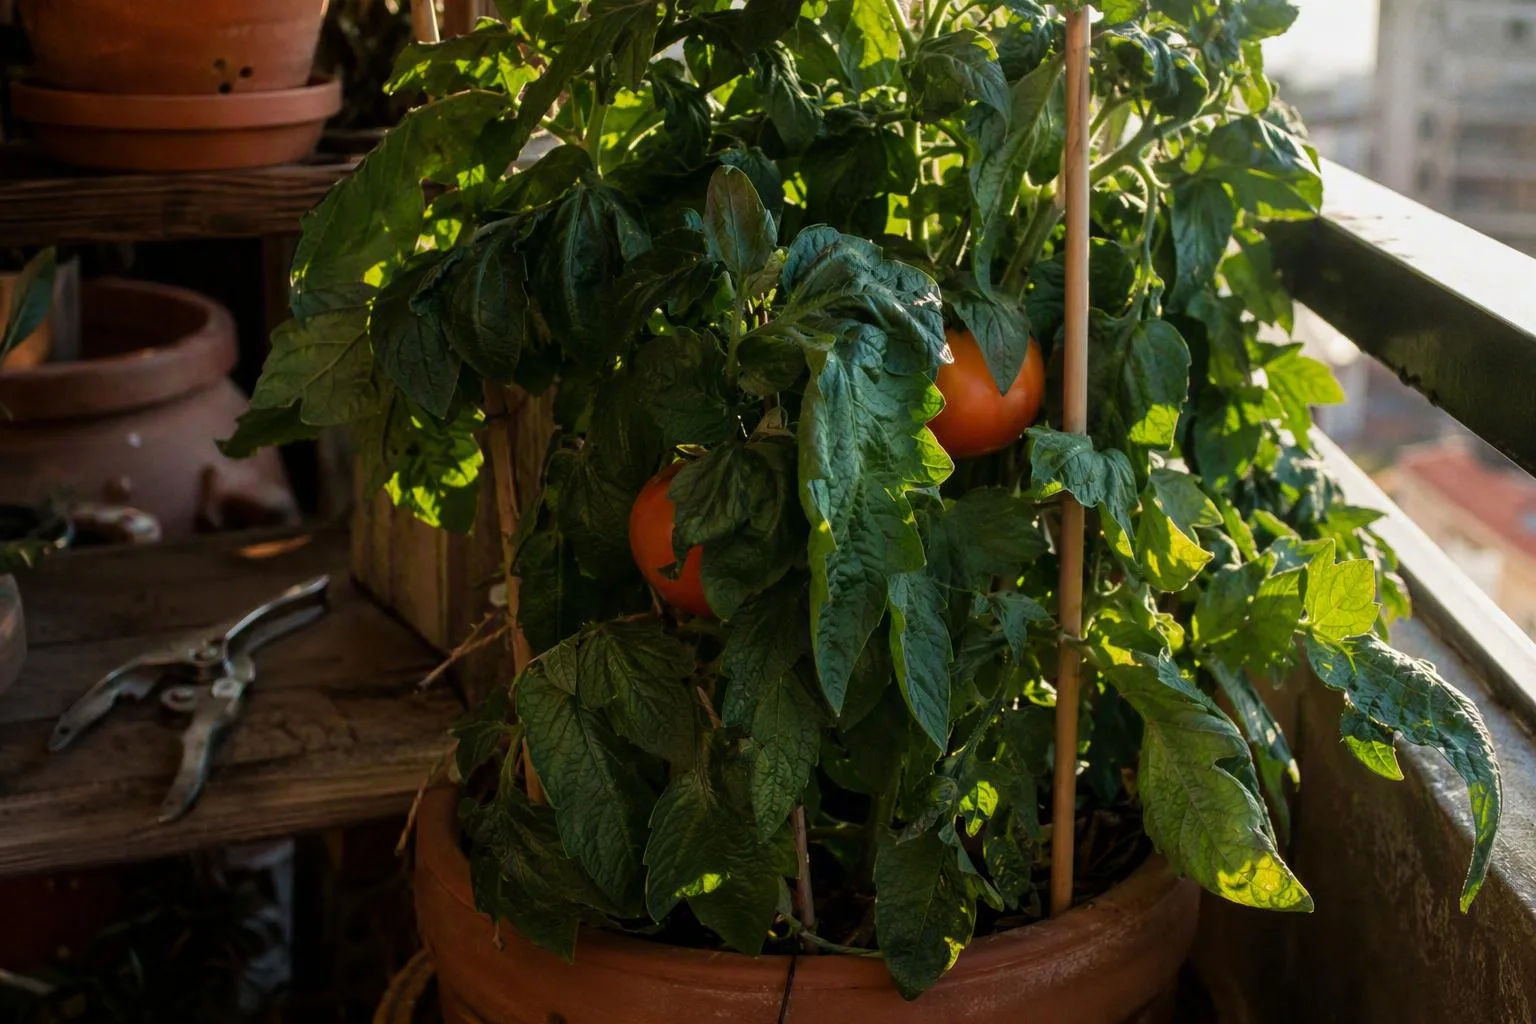
Troubleshoot the cut: yellow leaves, oversized suckers, and a plant left too bare
The common pruning mistake is not one bad cut. It is responding to that cut with another cut, then another, until the plant has lost the leaves that would have helped it recover. Once the symptom appears, pause and diagnose the plant you have, rather than trying to recreate the shape you intended.
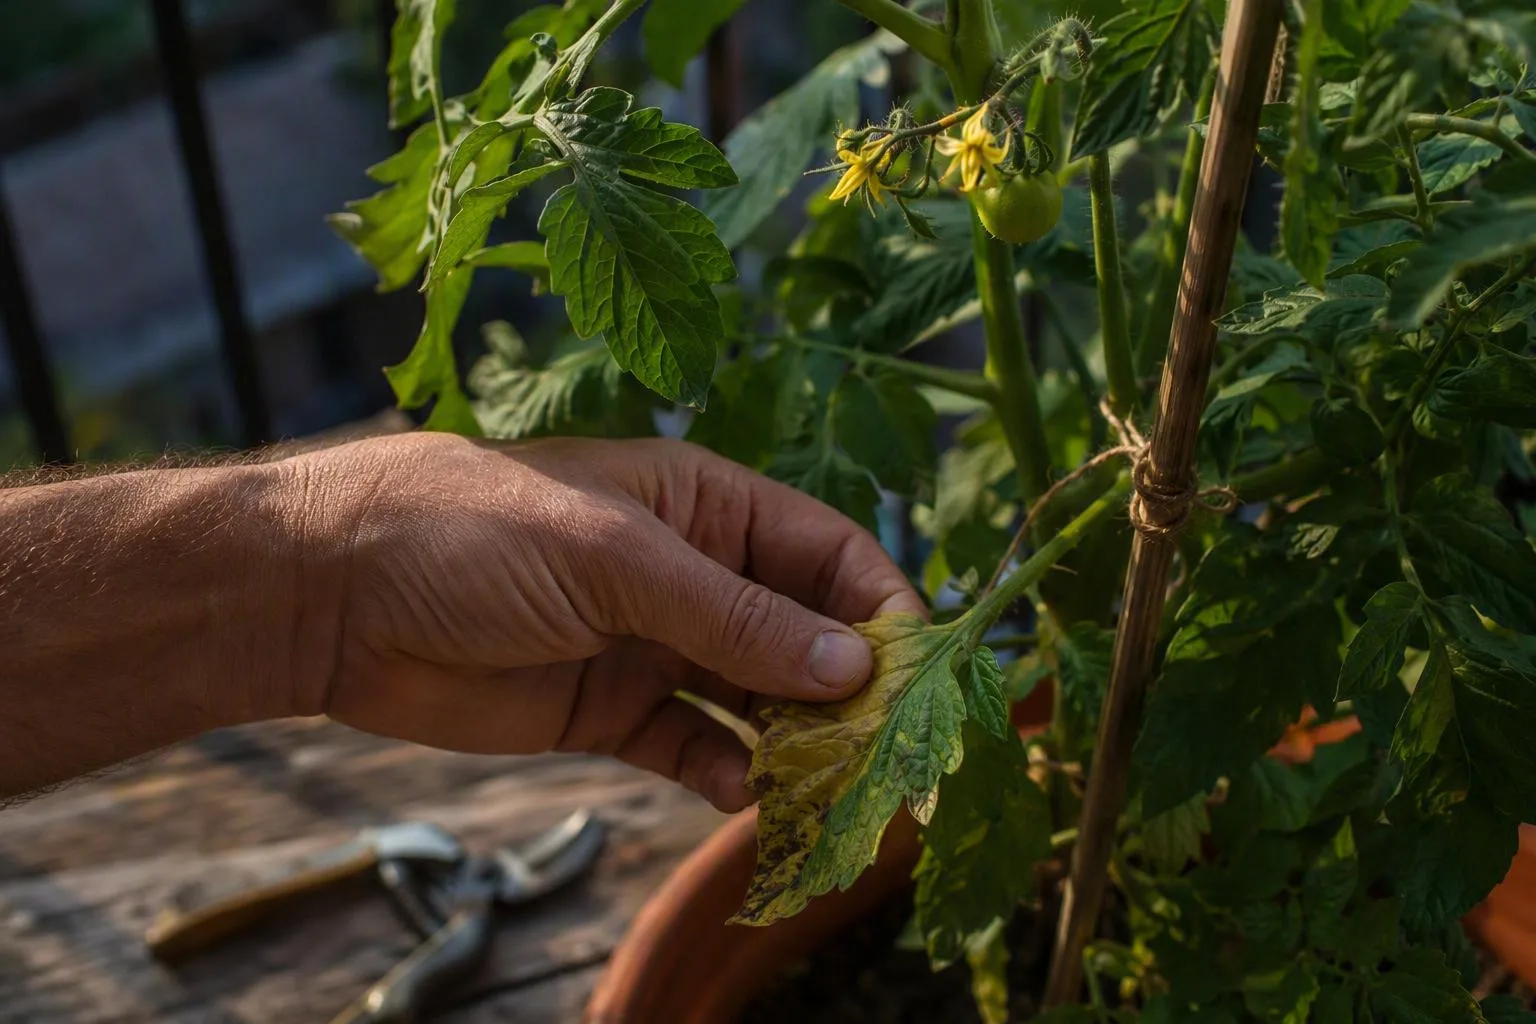
Yellow lower leaves. A single uniformly yellow lower leaf on an otherwise vigorous plant can simply be old foliage. If it is touching the mix, remove it. If yellowing is spreading quickly, appearing high in the plant, or arriving with dark spots, mould, wilting, or a sour-smelling pot, stop pruning and inspect watering, roots, and disease symptoms. Yellow is a signal, not a diagnosis.
A sucker has reached 15–30 cm (6–12 in). Do not yank it downward. First decide whether the stem is healthy enough to keep as a second leader. If it is not, use clean pruners and make one controlled cut just outside the junction. If the sucker is already flowering, the decision is a little less obvious: on an indeterminate plant it may be worth retaining if your support and pot can carry it; on a determinate plant, removing it may discard part of the plant’s planned canopy.
The main stem snaps. Do not cut the whole plant back to make the damage look symmetrical. Remove the ragged section with a clean cut, secure the remaining stem, and inspect the side shoots below the break. On an indeterminate plant, a healthy side shoot below the break can sometimes be trained as the replacement leader. Give it support before it becomes the next heavy point of leverage.
The plant looks too bare or the fruit is bleaching. Stop cutting. A leaf removed from a stem will not grow back at that spot, so the fix is preservation rather than further tidying. Keep the remaining healthy foliage, support exposed branches, and provide temporary shade during the harshest part of the day if the balcony allows it. Do not remove more leaves just because the first exposed fruit is now easier to see.
You pruned while the plant was wilted. Pruning a wilted plant adds fresh wounds while the plant is already struggling to balance water loss. Check the mix below the surface, water thoroughly if it is dry, and wait until the foliage has recovered before making non-urgent cuts. If the mix is wet but the plant remains limp, stop watering on autopilot and inspect the roots and drainage instead.
One pair of pruners moved between several plants. Clean the blades before moving from a plant with suspicious disease symptoms to a healthy one. Remove the visibly affected tissue first, put it in the rubbish rather than brushing it across neighbouring foliage, and clean the tool again before returning to a healthy plant. Sanitation cannot cure an infected tomato, but it is a sensible way to avoid carrying wet debris from one stem to another.
After a heavy pruning session, I keep watering and feeding as separate questions. A container can dry at a different pace because of pot size, material, wind, sun, and weather, so I compare the plant’s actual moisture with how often to water container plants rather than obeying a fixed weekday. Pruning does not by itself create a nutrient shortage, so I do not reach for fertilizer as an automatic response to a bare-looking plant. If the growth is pale or weak, I check how often to fertilize container plants separately and correct the cause I can actually see.
Before the weekend, take five minutes with the plant in front of you. Find the first flower truss, mark the stem or stems you intend to keep, and remove only the suckers you can identify by their leafy shape. Put a clean pair of pruners beside the pot and set a weekly reminder. The next check should show a supported leader, intact flower trusses, and enough healthy leaf cover that the fruit is not sitting naked in the sun.