When to Harvest Potatoes in Containers: 5 Clear Signs
If you planted seed potatoes 60–90 days ago, you’re in the first window for checking new potatoes. For mature potatoes meant for storage, think 90–120 days or longer, then look for a canopy that has yellowed, collapsed, and stayed down; the final decision comes from the skin and a test dig, not the calendar on its own.
Those numbers are working ranges, not promises. A container with cool soil, limited sun, repeated heat stress, or uneven watering can run behind the packet estimate, so I use the calendar to decide when to inspect and the plant to decide whether to lift.
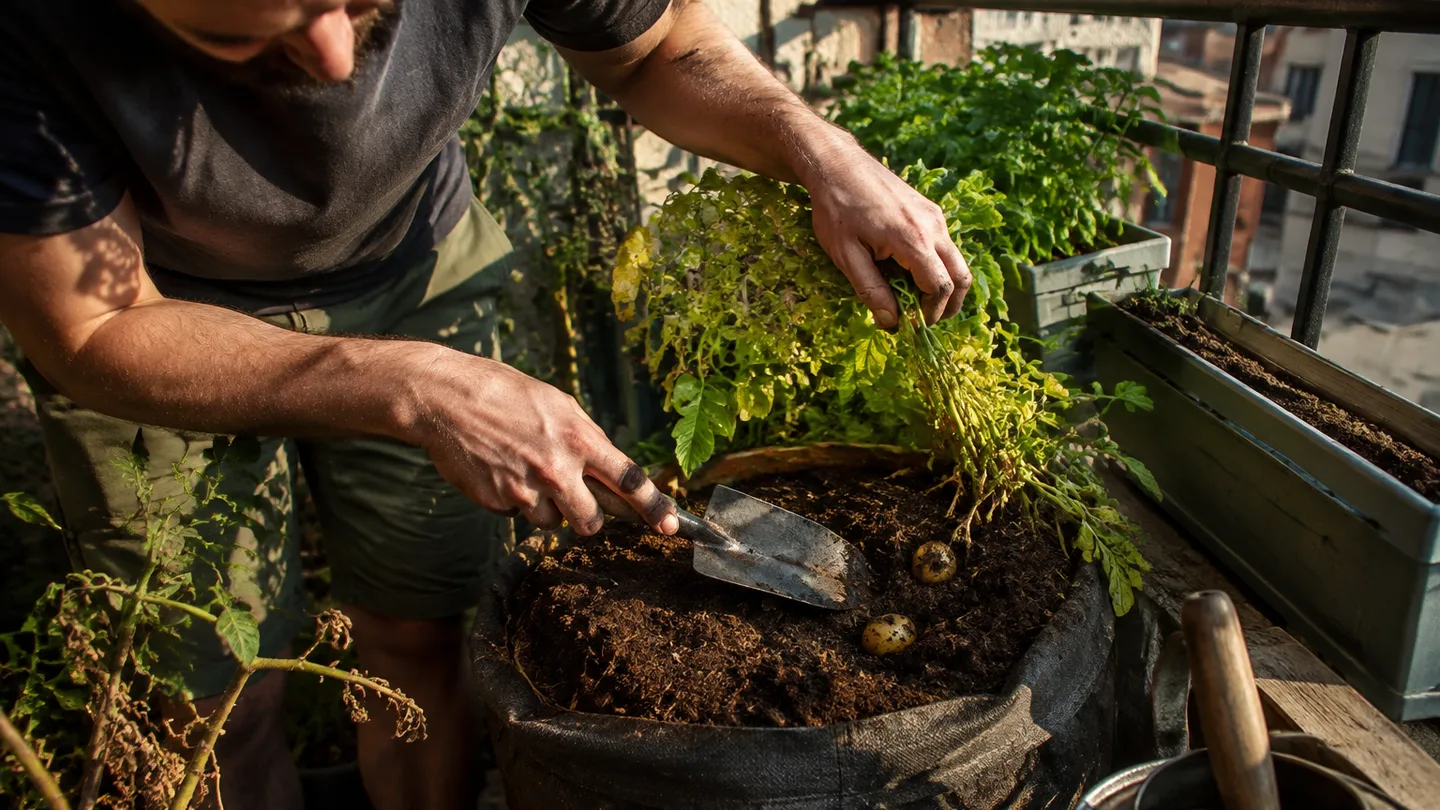
The two harvests you might mean: new potatoes at 60–90 days, mature potatoes at 90–120
Before you dig, decide which kind of harvest you want. New potatoes are young tubers with delicate skins. They’re best for eating soon after lifting. Mature potatoes have had longer to fill out and set a firmer skin, which makes them more suitable for keeping.
| Harvest | First check from planting | Main clue | After lifting |
|---|---|---|---|
| New potatoes | About 60–90 days | Flowers or a side sample | Eat soon; no full curing period needed |
| Mature potatoes | About 90–120 days or longer | Tops have died back and skins stay attached | Cure before storage |
You don’t have to choose between an early taste and a full harvest. In a grow bag, you can reach carefully through the side or along the edge, remove a few small tubers, and leave the remaining plant undisturbed. That partial harvest is one of the better reasons to grow potatoes in containers: you can inspect the crop without committing the whole pot.
A useful line to remember is this: a calendar tells you when to look, while the skin tells you whether to lift.
Calendar check: has this cultivar reached its stated maturity window?
Sign 1 is timing, but timing is a permission slip rather than a verdict. Count day one when the seed potatoes or seed pieces are planted in the container. Don’t start the clock when you bought the bag, and don’t add the days spent chitting, which is the process of letting seed potatoes sprout before planting.
If the label names an early variety, begin checking around 60–90 days. Maincrop or storage varieties usually need around 90–120 days or longer. Use the maturity wording on your own packet if it gives a different starting point, because seed sellers don’t all describe maturity in exactly the same way.
For example, if you planted on day 0, an early crop might deserve its first edge check around day 65 or 70. A storage variety planted on the same day may still be filling tubers at day 90 and need another few weeks. The point isn’t to dig automatically on day 90; it’s to stop treating the plant as too young to inspect.
Container conditions can move the useful date. A pot in weak light may grow plenty of leaves but put on fewer or smaller tubers. Cold compost at planting, a long dry spell, or repeated wilting in a black plastic grow bag can also slow the crop’s progress. If you’re still working out the basics of position, depth, and pot choice, the broader guide to growing potatoes in containers is worth checking before you plant another bag.
For a second view, compare the practical distinction in horticultural extension guidance on potato maturity, skin set, and harvest timing. The useful pattern is the same one I use here: separate the young eating harvest from the mature storage harvest instead of looking for one universal date.
Flowers can start a new-potato harvest—but they do not prove the crop is mature
Sign 2 is flowering. When potato plants produce open flowers, tubers are often present below the soil, and you can begin checking for new potatoes. That makes flowering a useful cue if your goal is a tender, small harvest.
It does not certify that full-size storage potatoes are ready. Flowers can appear while the tubers are still small, and the plant may continue building size after the first blooms. Some cultivars flower weakly, flower briefly, or produce no obvious flowers at all, so a missing bloom is not a reason to abandon the crop.
To sample without emptying the pot, water only if the mix is genuinely dry, then wait until it is slightly moist rather than muddy. Move to the edge of the container. Slide your fingers down through the loose mix, feel for one or two tubers, and lift them with your hand. Replace the mix around the stem as gently as you can.
Don’t yank the main stem to see what comes up. That may expose or tear roots without telling you whether the rest of the crop has reached a useful size.
The mature-crop signal: tops yellow, collapse, and stay down for 10–14 days
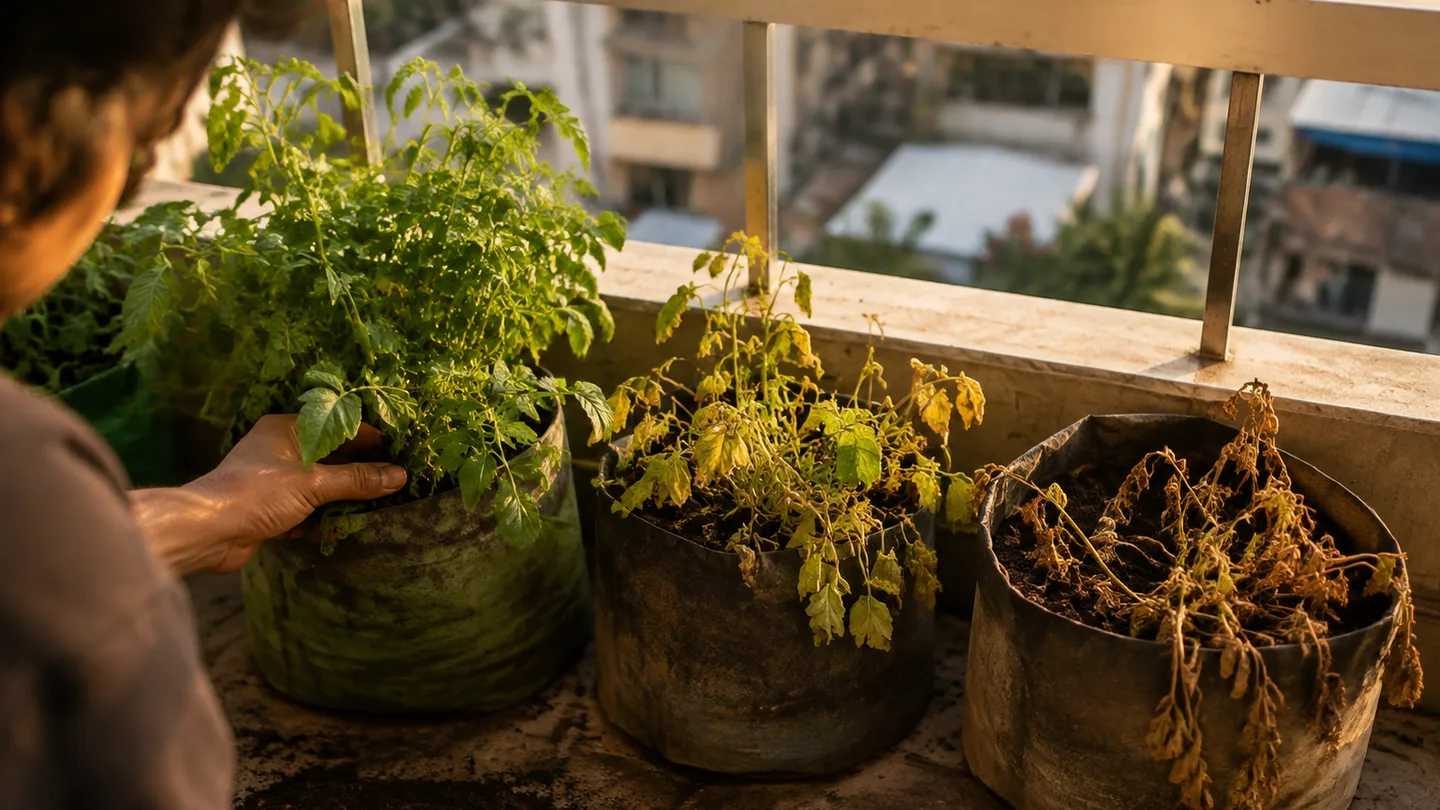
Sign 3 is a whole-plant change, not one tired leaf. As a mature crop finishes, the foliage usually shifts from green to yellow, then brown, and the stems lose their upright shape. The important part is that the change spreads through much of the plant and remains after the cool overnight period.
A single yellow leaf can be old foliage, a damaged stem, or a local problem in the pot. Afternoon wilt is different again. If the plant droops during a hot, bright afternoon but looks noticeably firmer the next morning, I treat that as a heat or water-stress clue rather than a harvest signal.
Once the tops genuinely finish, the plant is no longer sending much energy into new leaf growth. The tubers can then spend time firming their skins underground. In dry, frost-free conditions, I normally allow about 10–14 days after widespread dieback before a mature harvest. That wait is useful only if the crop is healthy and the weather is safe.
On my own balcony, I once treated a hot-afternoon flop as the finish line. I loosened the mix at the edge of the bag and found small, firm tubers whose skins rubbed away; by morning, the remaining stems had lifted. I left the bag in place and changed the question from whether the leaves were down to whether they stayed down after the night. That distinction has been more useful than trying to force a harvest date from the calendar.
Rub test: a ready skin stays attached; an immature skin rubs away
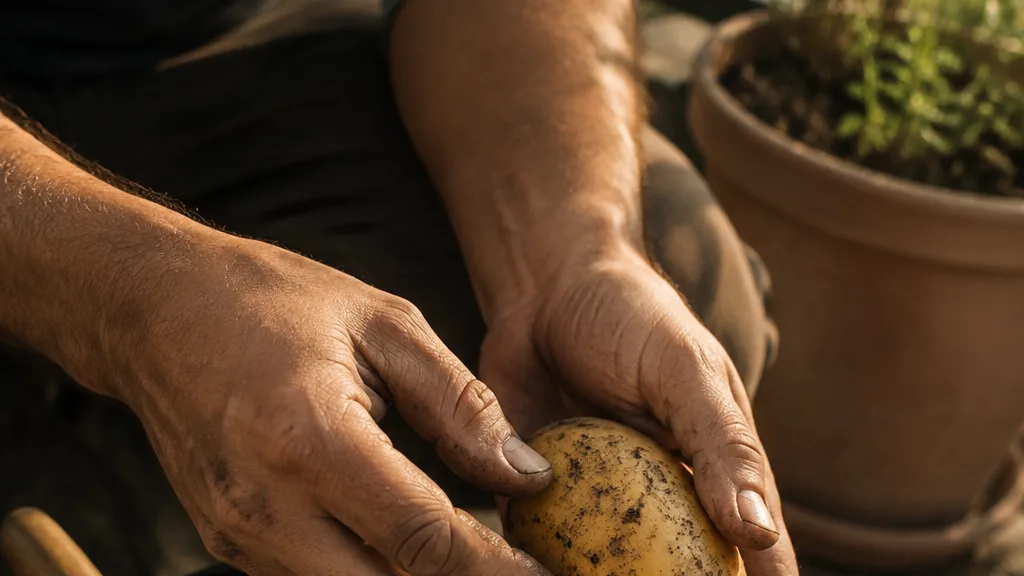
Sign 4 is skin set. Take one sample tuber from the edge of the container and gently rub its skin with the pad of your thumb. Use light pressure, not your fingernail.
If the skin slips, scrapes, or peels away easily, the tuber is still immature. Leave the crop longer when the tops and weather allow, then repeat the check after about 7–14 days. If the skin stays firmly attached under a gentle rub, the potato is closer to the condition you want for lifting and short-term storage.
Skin set matters more than size alone. A large potato with a loose skin can bruise and lose moisture more readily than a smaller potato with a firm skin. Conversely, a naturally small cultivar may be mature without producing supermarket-sized tubers. Variety still matters, but the rub test tells you what that particular plant has actually done in its pot.
Sample only one or two tubers at first. Repeatedly scraping the skin of several potatoes creates damage without improving the decision. If the crop is otherwise healthy, replace the mix and give it another week or two before checking again.
One test dig beats guesswork: check tuber size, count, and condition
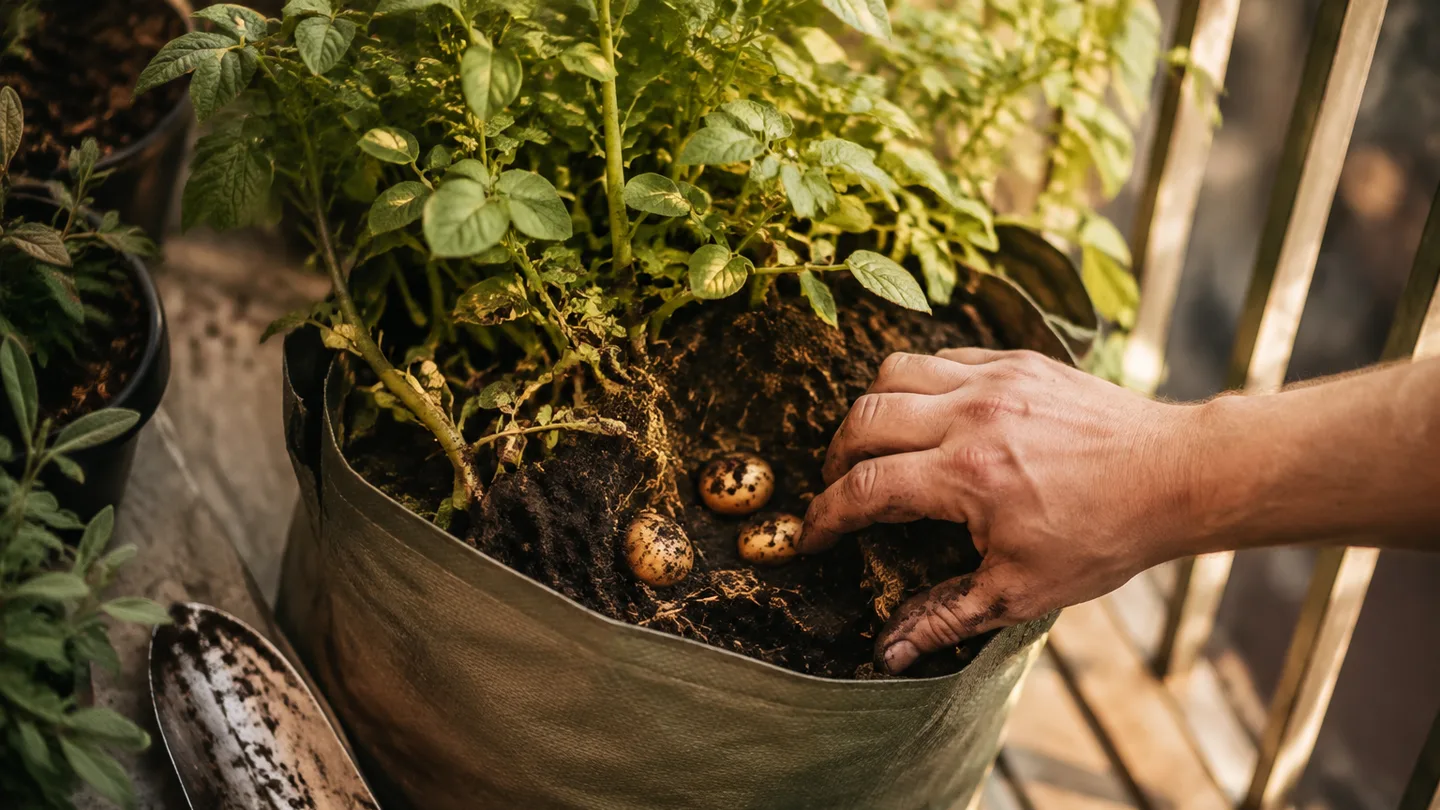
Before I empty the whole container, I want one test dig. This is Sign 5, and it is the final check because it combines the calendar, the foliage, and the actual tubers.
Work from one side of the grow bag or rigid pot. Use your fingers to expose a small section of the root zone, then follow one stem down to its tubers. Look at several potatoes rather than judging the crop by the biggest one you find. A handful of new potatoes commonly falls around 2.5–5 cm (1–2 in), while mature size depends heavily on the cultivar, planting depth, light, and time left in the mix.
Ask three practical questions:
- Are the tubers the size you want for the meal or storage plan?
- Does the skin stay attached when rubbed gently?
- Are they firm and sound, without soft rot, deep cuts, or large green patches?
Green patches are a food-safety warning, not a sign that the potato is simply under-ripe. Light reaches tubers that sit too near the surface or become exposed as the mix settles, and the skin can turn green. I don’t treat substantial green areas as something to ignore or disguise with peeling. If you want to read more, check food-safety guidance on green potatoes and glycoalkaloids before deciding what to do with a questionable tuber.
The count is useful too, but it isn’t a yield promise. One container can produce a mixture of large, medium, and very small tubers because position, moisture, and available root space are not perfectly even. If most of the sample is tiny while the tops are still green, leave the plant. If the sample matches your intended use and the skins are firm, you have a defensible reason to lift.
When the signs disagree: frost at 0°C/32°F, blight, wet mix, and heat
This is where the normal harvest rule changes. Don’t force every situation into the 10–14-day wait after dieback; the condition of the container and the forecast can matter more than the ideal sequence.
- The plant wilts in afternoon but recovers overnight. Check the moisture several centimetres below the surface and inspect the drainage holes. A dry pot may need a slow, thorough watering; a wet pot may have roots sitting in airless mix. In either case, a reversible daily wilt is not proof of maturity.
- The foliage darkens and collapses quickly. Rapid blackening or brown collapse is a disease warning, not the same thing as natural dieback. Treat it as a separate problem, remove visibly affected tops if appropriate, and seek local guidance rather than assuming the tubers will improve if left untouched for another fortnight.
- The mix is saturated. Avoid tipping or digging while the compost is dripping wet if you can. Mud clings to skins, hides soft spots, and makes it easier to snap tubers during lifting. Stop heavy watering and wait for the mix to become workable, unless frost or rot risk forces an earlier harvest.
- A freeze is approaching. A forecast near 0°C/32°F is a reason to act. A container has a small exposed mass of soil, so it can cool more quickly than the ground around it. If the crop is mature, harvest it. If it is still green, move the pot against a sheltered wall, protect the foliage and sides, or harvest early if protection is not practical.
- Wind and sun are drying the container unevenly. On an exposed balcony, the growing vegetables in pots on balcony advice about shelter and moisture checks applies to potatoes as well. A dry top layer can sit over a wetter lower layer, so test deeper before adding more water or blaming the calendar.
My decision order is simple: first rule out a temporary stress, then check for disease or frost, then judge whether the tubers themselves are ready. The normal waiting period is a useful condition, not a command that overrides a hard freeze or a rapidly failing plant.
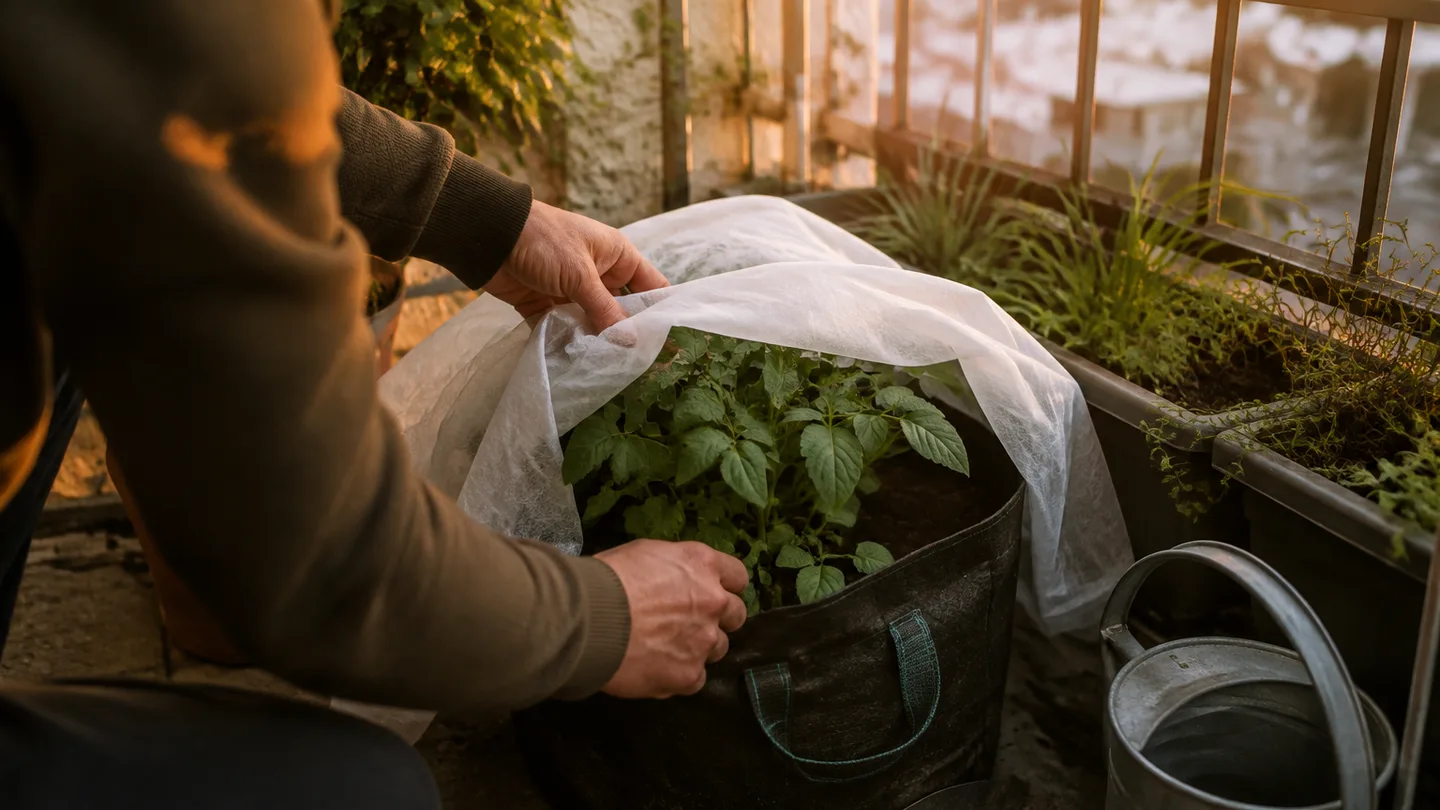
Lift, dry, and store: a container harvest sequence that avoids cut tubers
Once the plant, skin, and test dig agree, harvest in an order that keeps the tubers clean and intact. If the crop is ready but the mix is damp, stop heavy watering and allow roughly 3–7 days for it to dry enough to handle, provided there is no approaching frost, prolonged rain, or obvious rot problem.
- Remove the dead tops. Cut or pull away the finished stems at the surface. This clears your hands and reduces the chance of dragging dead foliage through the tubers.
- Prepare a landing area. Spread a tarp, shallow tray, or sheet of cardboard beside the container. A grow bag can be tipped slowly onto it. With a rigid pot, loosen the mix around the inner wall and work downward by hand.
- Search with your hands. Feel through the compost and lift potatoes individually. Hands give you immediate feedback when you meet a tuber. If you use a tool at all, keep it near the outer wall and well away from the main root zone; blindly driving a fork into the middle is an easy way to cut the crop.
- Brush, don’t wash, mature potatoes. Let clumps of soil dry, then brush away what falls loose. Washing adds surface water just as you are trying to prepare potatoes for storage. New potatoes can be rinsed for immediate cooking, but mature ones benefit from staying dry.
- Cure the storage harvest. Curing means giving mature potatoes time to dry minor scuffs and firm their skins. Spread them in darkness with airflow for about 7–10 days at approximately 10–15°C (50–59°F). Keep them out of direct light, check for soft or leaking tubers, and remove damaged ones rather than storing them with the sound crop.
The same root-volume logic that matters in growing vegetables in pots matters at harvest: a crowded, shallow container gives you less room to search and more opportunity to knock tubers against the sides. A tarp and your hands cost nothing, but they make the final few minutes much less destructive than rushing with a garden fork.
This week, write down the planting date and the cultivar if you know it. If the crop is in the 60–90-day window, check the edge for one new potato when flowers are present; if it is in the 90–120-day window, watch whether the tops stay down overnight and rub the skin of one sample before you empty the pot.