Worm Castings for Container Plants: How Much to Use
For most container plants, start with worm castings at 10–20% of the finished potting mix. In a 20 L (5.3 US gal) container, that means 2–4 L (0.5–1.1 US gal) of castings, with the lower end sensible if the bagged mix already contains compost or the castings are very fine and wet.
That percentage applies to the whole finished mix, not to a scoop added on top of an already full pot. The remaining 80–90% should be a structurally sound container mix that leaves room for air, drains through the pot holes and does not collapse into a dense paste after watering.
My short version is this: worm castings are a useful amendment, not a replacement for potting mix. Measure them by volume, blend them evenly and treat a thick surface layer as a separate job.
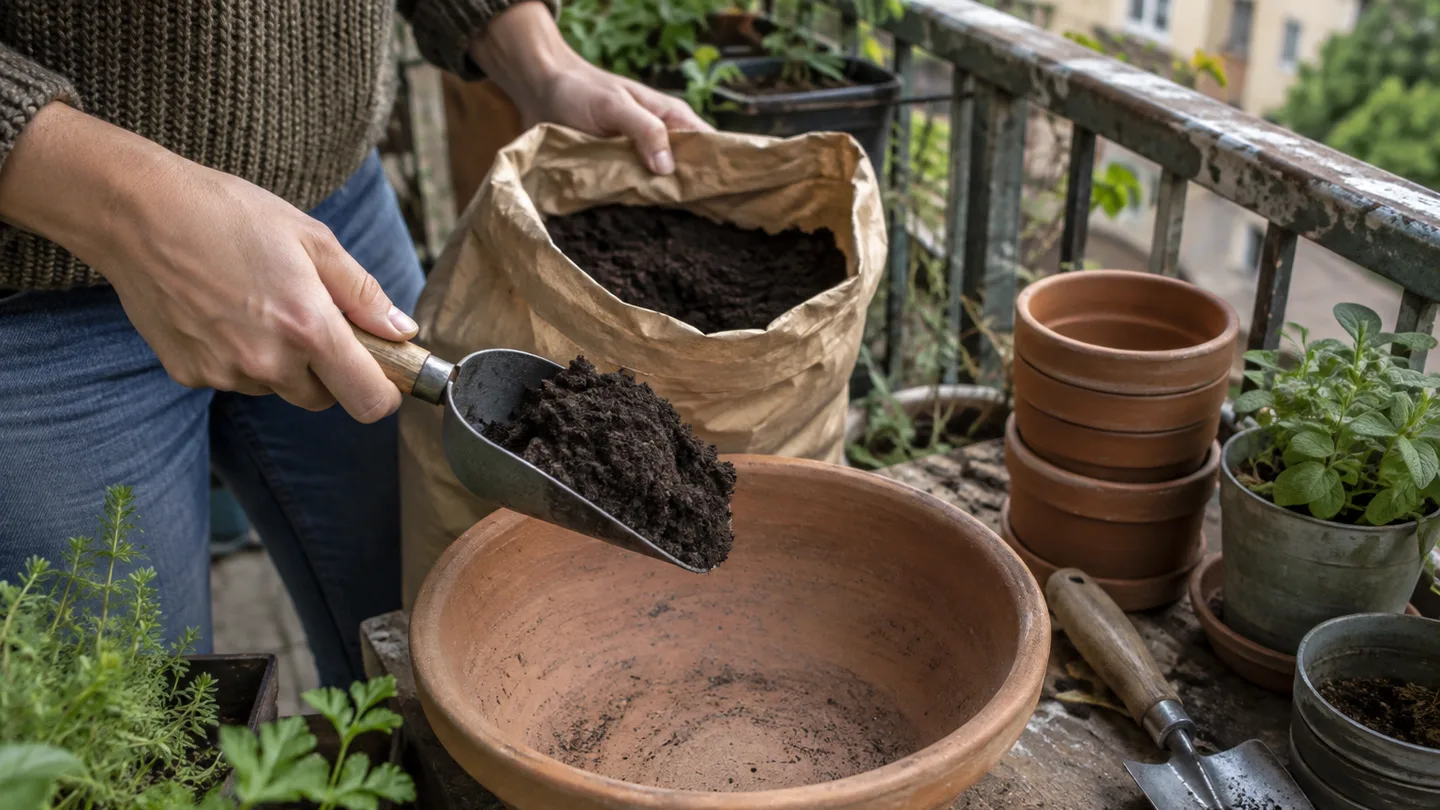
The working rate: use worm castings for 10–20% of the finished potting mix
When I say 10–20%, I mean the volume of castings divided by the volume of the final batch. If you are making 10 L of finished mix, add 1–2 L of castings and 8–9 L of potting mix. For 20 L, use 2–4 L of castings and 16–18 L of potting mix.
The distinction matters because it is easy to fill a pot with ordinary mix and then spread castings over the top while thinking you have used a 10% rate. You have not. You have added a top-dress, which has a different purpose and a different quantity.
I would start near 10% when the base product already lists compost, manure or vermicompost among its ingredients. I would also stay near 10% if the castings feel very fine, wet or sticky. A lighter, crumbly product combined with a coarse, well-draining potting mix gives you more room to move toward 20%.
Use a jug, bucket or marked tub rather than guessing with handfuls. A handful changes with the size of your hand and the moisture in the product; a litre measure gives you a repeatable starting point.
Why worm castings are an amendment, not a container’s entire growing medium
Worm castings add fine organic matter, some moisture-holding capacity and a mild supply of nutrients. Those qualities are helpful, but a plant in a pot also needs large enough air spaces around its roots. The coarse part of a container mix is what keeps those spaces open after watering and as the mix settles.
That is the reason I treat worm castings as one ingredient rather than the whole root zone. Depending on the product’s texture and moisture level, 100% castings can pack closely together. Water then drains slowly, the root zone stays short of oxygen and the plant can look thirsty even though the pot is still heavy.
A drainage hole does not make every pore in a pot dry immediately. After watering, a wetter band can remain above the hole; this is often called a perched water table. In plain terms, water remains held in the small spaces in the mix because those spaces do not empty as quickly as water can leave through the opening. The hole is useful, but it cannot turn a dense medium into an airy one.
That is also why I do not put gravel in the bottom as a cure. The gravel may create a different texture at the base, but it does not remove the wet band in the finer material above it. The better fix is a suitable container mix, clear drainage holes and a pot that is not sitting in trapped water.
When I mix a batch on a balcony, I wet a small handful before filling the pot. Once, a damp bag of castings pressed into a smooth, heavy lump instead of breaking apart easily. I folded more of the base mix through it before planting. That simple hand check did not measure a yield, but it caught the texture problem before a plant had to live in it.
A shopping-aisle conversion: litres of castings for 5, 10, 20 and 40 litre pots
The quickest calculation is pot volume × 0.10 for the low rate or pot volume × 0.20 for the high rate. The table uses working volume, not bag weight. A damp bag of castings can weigh much more than a dry, fluffy bag containing the same measured volume, so weight is a poor way to keep the mix ratio consistent.
| Working pot volume | Castings at 10% | Castings at 20% | Remaining potting mix |
|---|---|---|---|
| 5 L (1.3 US gal) | 0.5 L | 1 L | 4.5–4 L |
| 10 L (2.6 US gal) | 1 L | 2 L | 9–8 L |
| 15 L (4 US gal) | 1.5 L | 3 L | 13.5–12 L |
| 20 L (5.3 US gal) | 2 L | 4 L | 18–16 L |
| 30 L (7.9 US gal) | 3 L | 6 L | 27–24 L |
| 40 L (10.6 US gal) | 4 L | 8 L | 36–32 L |
These are mixing figures, not a promise that the plant will use every litre of the pot. A tapered container may hold less than its advertised capacity when filled below the rim, and a plant’s rootball also occupies space. For a quick store decision, the table is close enough; for a large batch, measure the actual container or use the manufacturer’s stated volume as your starting point.
One useful rule is to calculate the castings before you open the bag. If the pot is 30 L, you need 3–6 L, not an entire small bag poured in by instinct. Any leftover castings can be sealed and kept for a measured top-dress rather than forcing the whole bag into one container.
Three applications, three quantities: blend it, repot it, or top-dress it
The right amount depends on where the castings are going. I use three different procedures, because the same scoop behaves differently when it is distributed through a pot and when it is concentrated around one rootball.
- For a new batch, blend 10–20% through the whole volume. Measure the potting mix and castings separately, combine them in a tub or clean bucket and turn the mixture several times. The goal is an even colour and texture, not a layer of castings sitting beneath the roots.
- For repotting, keep the same overall ratio. Mix the castings into the backfill before the rootball goes into the new pot. Set the plant at its appropriate depth, then fill around it with the finished blend. Do not put a concentrated scoop of castings directly under the rootball. That creates a small zone with a different texture and moisture level from the rest of the pot.
- For an established plant, use a surface layer. Once roots have filled much of the pot, disturbing the whole rootball is unnecessary. Remove loose debris, spread a shallow layer over the surface and water it in. The next section gives the limit I use for that layer.
The order matters. Mixing first gives the roots a consistent medium from the top of the pot to the bottom. A casting pocket can stay wetter than the surrounding mix, so a plant may develop stressed roots even though the total amount added seems modest.
My opinionated rule is simple: if you cannot mix the castings evenly, use less. A smaller, well-distributed amendment is more useful than a larger amount left in a wet pocket.
Top-dressing established plants: keep the layer to 1–2 cm (0.4–0.8 in)
For an established container, I keep a worm-casting top-dress to about 1–2 cm (0.4–0.8 in). That is enough to add a fresh organic layer without building a permanent cap that stays wet around the stem.
The volume depends on the surface area of the pot. These figures assume a roughly circular, level surface; a tapered or flared pot will vary slightly.
| Approximate pot diameter | 1 cm layer | 2 cm layer |
|---|---|---|
| 15 cm (6 in) | About 0.18 L (0.2 US qt) | About 0.35 L (0.4 US qt) |
| 30 cm (12 in) | About 0.7 L (0.75 US qt) | About 1.4 L (1.5 US qt) |
| 45 cm (18 in) | About 1.6 L (1.7 US qt) | About 3.2 L (3.4 US qt) |
Measure the diameter inside the rim, not the widest point of a flared pot. Keep the castings a few centimetres away from the stem or crown, meaning the point where the stems meet the roots. Organic material pressed against that junction can stay damp while the rest of the surface dries.
If the surface is crusted, lightly scratch only the top centimetre with your fingers or a hand fork. Do not churn deeply through a pot full of established roots. After spreading the layer, water slowly so it settles into the surface without washing it into a thick paste.
If the pot already stays damp for several days, skip the top-dress until the moisture problem is corrected. A fresh layer of organic material cannot compensate for a container that is drying too slowly.
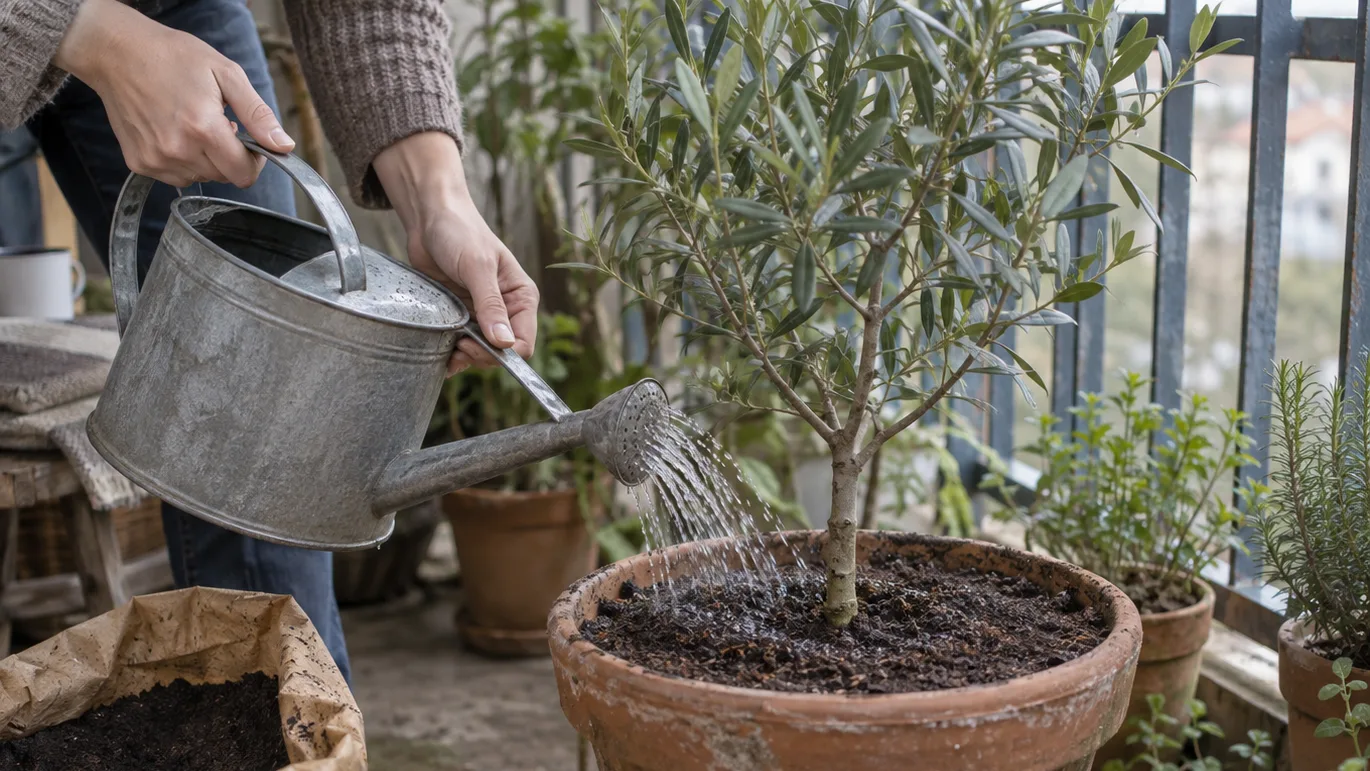
Seedlings, herbs, tomatoes and acid-loving plants do not get the same dose
The 10–20% range is a starting point, not a rule that every crop should receive the same mix. I adjust it according to root size, drainage needs and how much growth I expect from the plant.
Seedlings and cuttings: 5–10%. Young roots occupy a small volume and can be unsettled by a fine, moisture-holding medium. Start with the low end, especially in small cells or shallow pots. Once the plant has a stronger rootball, move it into a normal container mix rather than continually increasing the casting fraction in the starter pot.
Herbs and leafy crops: 10–15%. Basil, parsley, lettuce and similar crops can use a modest organic addition when the base mix drains freely. Woody Mediterranean herbs such as rosemary and thyme deserve the leaner end because a rich, wet mix conflicts with their preference for quicker drying.
Tomatoes, peppers and other vigorous fruiting annuals: 10–20%. Use the higher end only when the base mix remains open after watering. A tomato in a large container still needs a structurally sound root zone; extra castings do not replace the pot volume, light and steady water that fruiting plants require.
Cacti and succulents: low end or none. In these pots, I prioritise fast drainage and predictable drying over added organic material. If the castings make the mix clump, omit them.
Blueberries and other acid-loving plants: low end or none unless the whole mix is designed for them. Worm castings are not an acidifying amendment. They cannot turn an unsuitable neutral mix into a reliable blueberry medium. Keep the intended acidity and drainage of the base recipe in charge.
The useful distinction is not whether a plant is called a heavy feeder. It is whether the extra fine material improves the root zone without taking away the air spaces that crop needs.
When to add more: active growth, watering losses and the 4–8 week check
During active growth, an established container may suit a modest top-dress about every 4–8 weeks. I use the shorter end for small pots, vigorous annuals and plants that are watered frequently; I use the longer end for large containers or slower-growing plants.
This is a checking interval, not a calendar promise. Before adding anything, feel the surface and check the pot’s weight. A container that is still heavy and cool below the surface does not need another layer simply because four weeks have passed.
The same moisture judgement used for how much to water container plants is more useful than a fixed feeding date. If the pot is still wet, delay the castings. If the plant is dormant or growth has slowed in cool weather, delay them as well.
Worm castings are also not a complete fertiliser by default. They can contribute nutrients, but their analysis varies and they may not supply every element a fruiting or flowering plant needs. If leaves are pale or fruiting is weak, check root moisture, light and pot size before adding more organic material. Then compare the symptom with guidance on how often to fertilize container plants rather than treating castings as a guaranteed replacement.
Frequent watering can also carry soluble nutrients out of a container over time. That is one reason a small top-dress may make sense during a long growing period, but it is not a reason to keep piling material onto a pot that is already staying wet.
The failure signs: wet pots, sour smells and pale leaves are not all the same problem
When a plant looks unhappy after adding castings, I check the physical condition of the pot before assuming it needs more food. The visible symptom is often the last part of the chain; the mix structure and watering pattern are where I would look first.
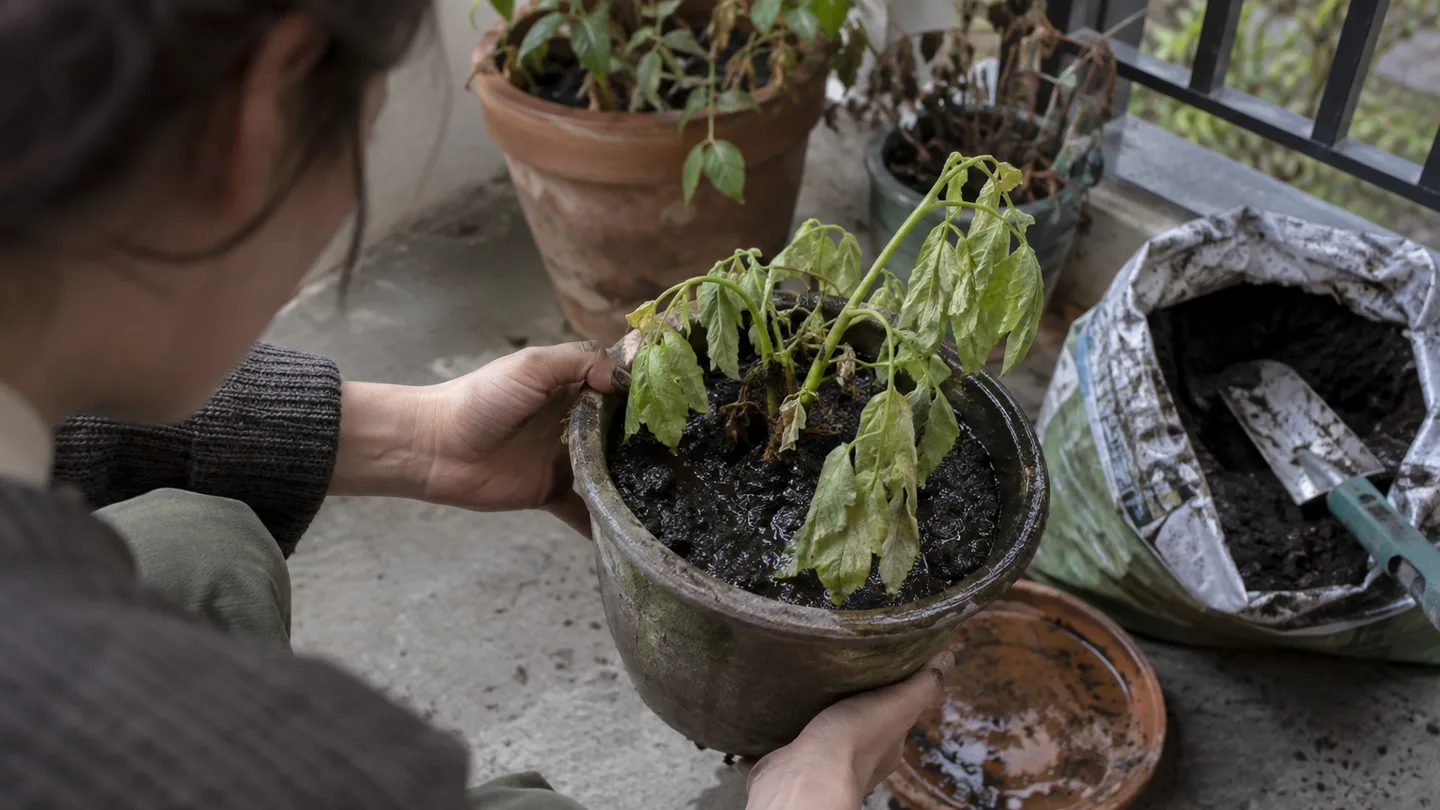
- The pot stays heavy and wet far beyond its normal drying pattern. Check the drainage holes, saucer, pot material and mix structure first. If a hole is blocked or the mix has collapsed, remove excess surface material and improve the next repotting batch with more of the original container mix. Do not respond by adding another casting layer.
- The surface smells sour or feels slimy. Treat that as a sign to inspect aeration and moisture before feeding again. Remove the wettest loose surface material, check whether the pot is standing in water and allow the container to reach its normal drying point. If the whole rootball is dense and sour, a repot into a more open mix may be necessary.
- A white crust appears on the surface or rim. Check water and fertiliser history before blaming the castings. A crust can come from dissolved minerals or fertiliser residues that remain as water evaporates. Scrape away the loose deposit, flush only when the pot drains freely and correct the input that is leaving the residue.
- Fungus gnats gather around the surface. Persistent moist organic material gives them a suitable place to complete their life cycle. Let the surface dry to the plant’s safe limit, improve airflow and review the watering pattern. Adding more castings makes sense only after the moisture problem is under control.
- Leaves stay pale or fruiting is weak. Treat worm castings as mild and incomplete rather than as a complete feeding program. Check root moisture, light, pot size and the plant’s normal nutrient demand. If you are comparing the leaves with overwatered plant symptoms, start with the pot’s moisture and weight, not leaf colour alone.
These checks are deliberately ordered. Moisture and oxygen problems can prevent roots from using available nutrients, so adding more fertility first can make the diagnosis harder rather than helping the plant.
Worked example: a 20 L (5.3 US gal) container filled without guesswork
Suppose I am filling a 20 L balcony container for a tomato, pepper or leafy crop. I first decide whether the base mix is already rich. If it contains compost or vermicompost, or if the castings are very fine and wet, I choose the low rate: 2 L (0.5 US gal) of worm castings and 18 L (4.8 US gal) of potting mix.
If the base mix is open and relatively low in organic material, I can move toward the upper end: 4 L (1.1 US gal) of castings and 16 L (4.2 US gal) of potting mix. I do not pour 4 L of castings onto 20 L of base mix and call that a 20% recipe. That produces 24 L of finished material, so the castings would make up about one-sixth of the result instead.
- Measure the castings and base mix separately in a clean tub.
- Turn them together until the colour and texture look reasonably even.
- Fill the container, stopping about 2–5 cm (1–2 in) below the rim so watering does not run straight over the edge.
- Set the plant into the finished mix at the correct depth, then fill around the rootball without pressing the mix into a hard plug.
- Water thoroughly once, allowing excess to leave through the drainage holes, then return to a moisture check rather than a fixed daily schedule.
The order protects the roots from a concentrated casting pocket and gives the whole container the same starting texture. If the mix feels sticky when wet, I reduce the casting amount before planting rather than hoping the pot will correct the texture later.
The label check that changes the answer: pure castings, vermicompost blend or compost mix
Not every bag using the word “vermicompost” contains the same material. A product labelled as pure worm castings is different from a vermicompost blend that also contains compost, coir, peat or other ingredients. If the label gives a proportion, count the actual casting fraction rather than treating the whole bag as pure castings. If it does not give a proportion, use the lower end of the range or treat the product as an organic amendment whose texture needs checking.
Before buying, I look at four things:
- The ingredient description. It should tell you whether you are buying castings alone or a mixed growing product.
- The moisture and texture. Very wet, sticky material deserves a smaller starting percentage than loose, crumbly material.
- The smell. An earthy smell is reassuring as a practical check; sour or ammonia-like notes make me pause rather than mixing a large batch.
- Any nutrient or salinity information supplied by the maker. That information can help decide whether the product belongs near the low end, especially for seedlings and salt-sensitive plants.
For vermicompost quality guidance, I would look for information that discusses maturity, nutrient analysis and electrical conductivity rather than relying on the word “natural” on the front of a bag. The label cannot tell you everything, but it can stop you from treating a rich blend as if it were a neutral bulk medium.
Your next physical step is simple: measure the empty pot’s working volume, calculate 10% and 20% with a calculator, then set aside the lower figure first. If the base mix is already compost-rich or the castings fail the texture check, stay near that lower amount and blend it through the potting mix before the plant goes in.