Growing Broccoli in Containers: Pot Size, Timing and Yield
A broccoli plant needs about 15–20 litres (4–5 US gallons) of actual potting mix if I want more than a leafy survivor. The 8-litre (2.1-gallon) pot many balconies already have can keep broccoli alive, but it leaves very little room for mistakes with water, heat or feeding.
I’ve made that small-pot mistake myself. On a south-facing balcony, I put one seedling into an 8-litre pot, watered it thoroughly, and still found the upper mix drying sooner than I could comfortably manage; the central head stayed small and loose. I didn’t run a formal side-by-side trial, but the next plant in a 20-litre pot was easier to keep evenly moist and formed a more convincing crown.
That is the useful way to think about broccoli in containers: pot volume is not just root space. It is also a small buffer against a hot afternoon, a windy day and the missed watering that can interrupt head formation.
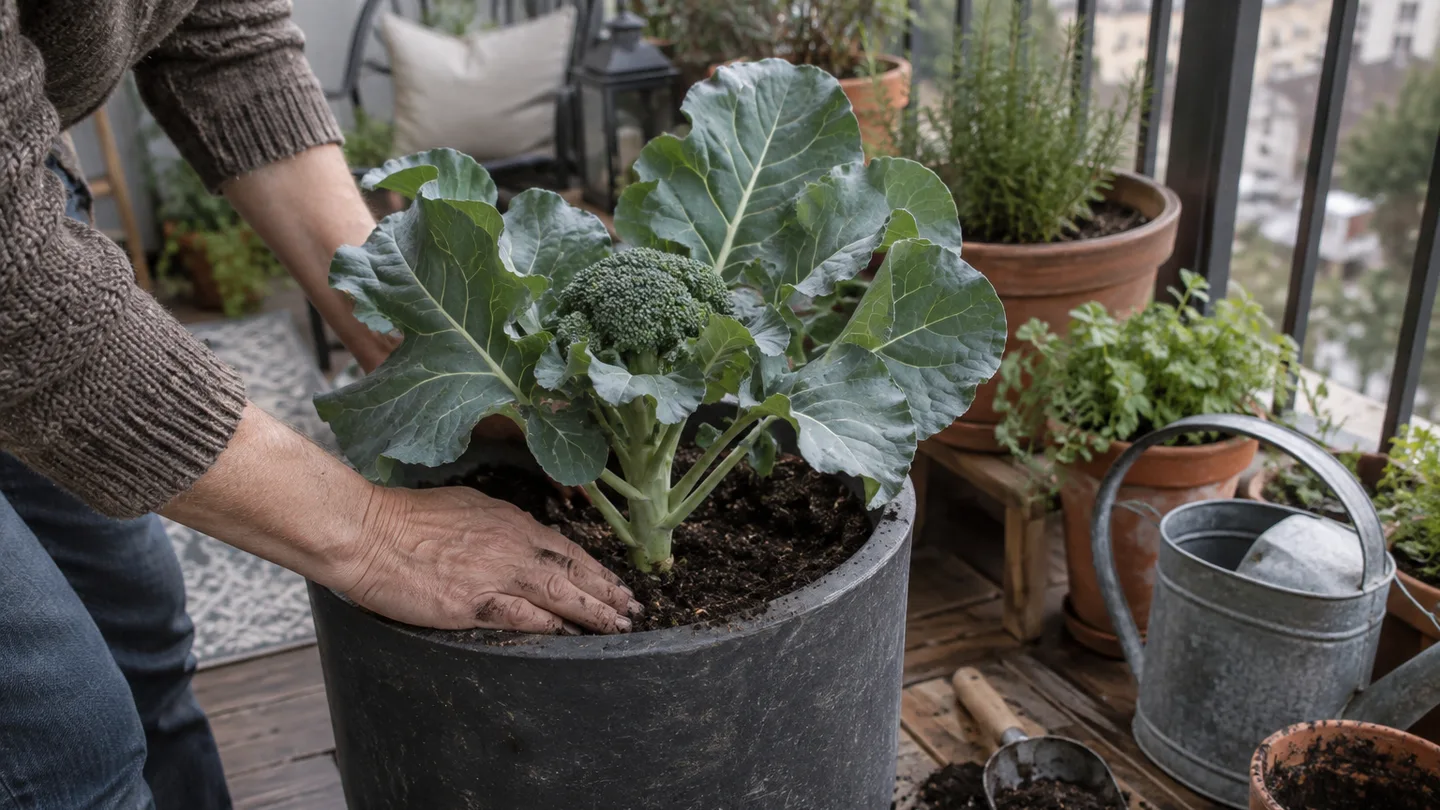
The pot that gives broccoli a fair chance: 15–20 litres (4–5 US gallons) per plant
My default is one broccoli plant in 15–20 litres (4–5 US gallons) of finished mix, with at least 25–30 cm (10–12 in) of usable depth. If you can choose between a 15-litre and a 20-litre container, I’d take the larger one unless weight or space makes that impractical.
| Nominal pot volume | What it means for broccoli | My verdict |
|---|---|---|
| 8 L (2.1 US gal) | Small root and moisture reserve; dries quickly in sun and wind | Useful for a compact experiment, not my choice for a dependable head |
| 15 L (4 US gal) | workable minimum for one compact or early variety | Reasonable if you check moisture closely |
| 20 L (5.3 US gal) | More room for roots, water and steady feeding | Best default for one full-size plant |
| 30 L (7.9 US gal) | Extra buffer against drying and temperature swings | Helpful on exposed balconies or for a longer season |
A restricted root zone creates a chain of problems rather than one single failure. Less mix holds less available water, so the plant moves from comfortable to stressed faster. Repeated drying and rewetting also makes feeding less even because nutrients leave with drainage water, while the roots have less room to keep growing after transplanting. The result may be a plant that looks vigorous but produces a small or loose head.
One plant per container is the simplest arrangement. If you want a shared planter, leave about 45–60 cm (18–24 in) between full-size plants, and only go closer with a compact variety that is specifically suited to smaller heads. A container can be wide enough for two stems and still be too shallow or too light to support them well.
Check the container’s internal dimensions instead of trusting the label alone. A tapered pot that is 30 cm (12 in) wide at the top and 25 cm (10 in) deep may hold only about 17–18 litres before you leave headspace, depending on how sharply it narrows. That is why a nominal 20-litre pot can be a better purchase than a pot that merely measures 30 cm across.
If broccoli fails your light or weight audit, don’t force it into the space. Use Easy fruits and vegetables to grow in pots to choose a crop that repays a smaller container more readily.
Plant broccoli by the temperature window, not by the seed packet alone
Broccoli is a cool-season crop, and the timing of head formation matters more than the date printed on the front of a seed packet. I aim to have the plant making its head while daytime temperatures sit roughly around 13–21°C (55–70°F). When temperatures stay above about 24–27°C (75–80°F), I treat loose heads, premature flowering and bolting—sending up flowers instead of building a firm head—as increasing risks.
For a spring crop, start seed about 5–7 weeks before you expect to transplant. Move a seedling outdoors after it has been hardened for about a week and has 4–6 true leaves. True leaves are the recognisable broccoli-shaped leaves that appear after the first smooth seed leaves. A practical spring target is transplanting around 2–4 weeks before the last expected frost, provided the young plant is protected from severe cold.
For a fall crop, work backwards roughly 10–14 weeks from the first expected hard freeze. Use your local regional frost-date records as a planning aid, then allow extra time if your balcony is shaded, windy or slow to warm. Packet maturity dates also need reading carefully: some count from sowing, while others count from transplanting, so the same number can describe different amounts of time.
Sunlight is the other half of the timing decision. Aim for at least 6 hours of direct sun. Four or five hours may produce a slower, smaller crop, while one or two hours is usually a poor use of balcony space for heading broccoli. The ability to move a pot is useful here: chase the sun in spring, then move the plant away from a heat-reflecting wall if the afternoon becomes harsh.
The same cool-season logic applies to growing kale in containers, although kale gives you edible leaves without waiting for one central head. Don’t use the same calendar for growing eggplant in containers; eggplant needs a warmer window and reacts badly to the cold conditions broccoli prefers.
Can I grow broccoli indoors in a pot?
Only if the plant receives at least 6 hours of strong direct sun or suitable supplemental light. An ordinary windowsill may keep a seedling green, but the light level is often too weak for a sturdy plant and a well-filled head. If the stem stretches toward the glass, the plant is already telling you that the light is inadequate.
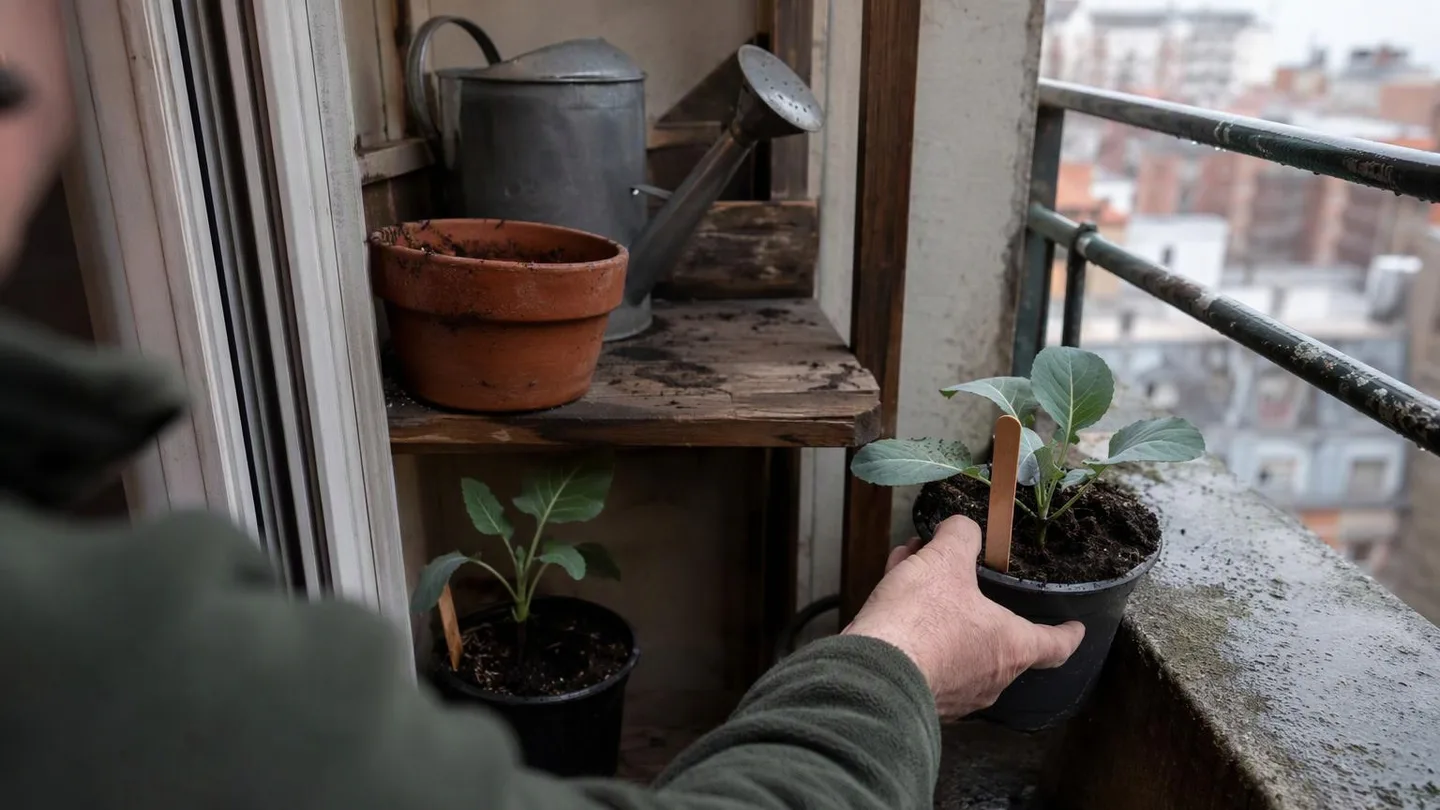
Build the container with 18–20 litres of mix, open drainage and no gravel layer
Choose a container that will take roughly 18–20 litres (4.75–5.3 US gallons) of quality container mix at its working fill line. Leave about two fingers of space below the rim so watering doesn’t immediately wash mix over the edge. A pot described as 20 litres may be measured to the brim, so the interior shape matters more than the printed number.
Use potting mix made for containers rather than garden soil. Garden soil can compact inside a pot, reducing the air spaces roots need and making the container slow to drain after watering. If the mix collapses into a dense block when you squeeze it, improve the structure modestly with about 10–20% perlite or fine bark. I would rather correct a genuinely heavy mix than add amendments automatically to a light, well-structured one.
Skip the gravel layer. The problem is a perched water table, which is simply a saturated band of potting mix that can remain above the bottom of the container. A gravel layer does not create a deeper drain; the change from fine mix to coarse stone can make water pause above the gravel instead. Keep the whole root-zone mix continuous and let the drainage holes do their job.
Check that every drainage hole is open before filling the pot. Set the container on feet or a stand if the holes are blocked by a flat surface, and use a saucer only to protect the balcony—not as a permanent reservoir. Empty standing water after the pot has finished draining. A 2–3 cm (about 1 in) layer of bark, straw or another clean mulch can slow evaporation, but keep it away from the stem so the crown stays dry.
For edible plants, I choose food-contact-safe plastic, plain terracotta or a glazed container whose maker identifies it as suitable for food use. I avoid painted or treated reclaimed timber and unknown decorative glazes unless I can confirm their intended use. If you’re repurposing a container, check food-safety guidance for repurposed containers before planting into it.
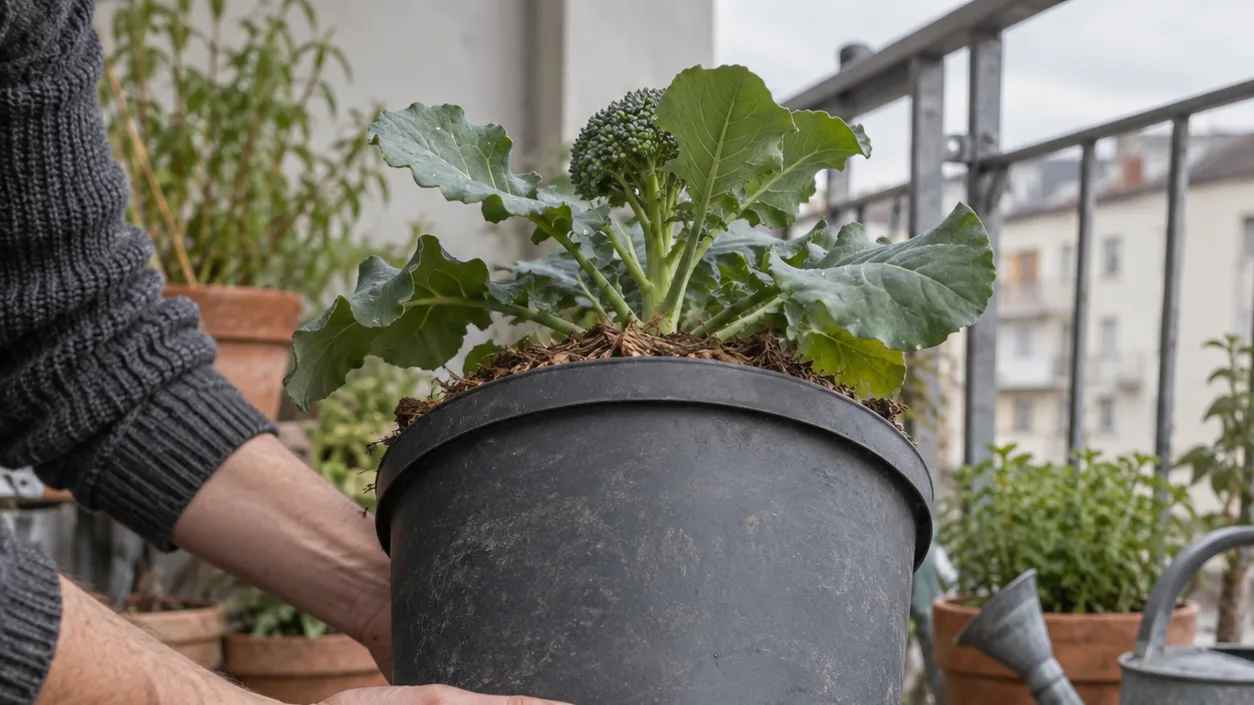
Transplant one plant per pot, then give it a quiet 5–7 days to settle
The order of planting matters because a newly moved seedling has a small, disturbed root system. I prepare the final pot before the seedling comes out of its tray.
- Harden the seedling. Over about 7 days, introduce it gradually to outdoor light, wind and temperature changes. Bring it in or shelter it if the leaves wilt repeatedly or the night becomes unusually cold.
- Fill and pre-moisten. Add mix to just below the rim and water it once so the container is not trying to settle after planting. Pre-moisten the seedling’s root ball as well.
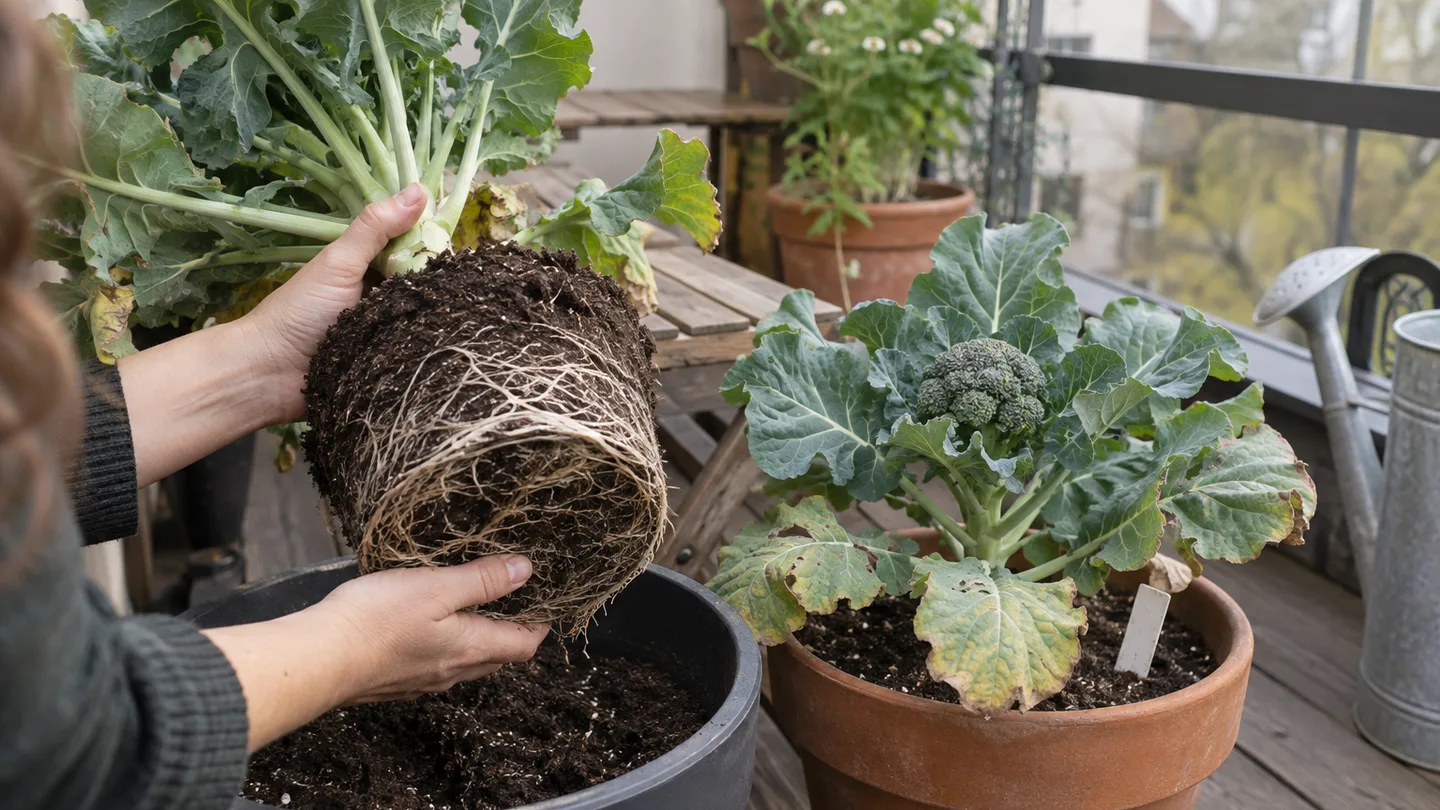
- Set the plant at its existing depth. The top of the root ball should sit level with the surrounding mix. Firm the mix around it without burying the crown, where the stem meets the roots.
- Water slowly. Pour around the root ball until water begins to leave the drainage holes. This settles the mix against the roots more effectively than several small surface splashes.
- Shelter it briefly. Give the plant protection from hard wind and the strongest afternoon sun for the first few days, then return it to its full-light position.
Should I direct-sow broccoli in the container or transplant a seedling?
Direct sowing avoids root disturbance, but the pot is occupied during germination and early growth, when a seedling may fail because of uneven moisture or a cold night. A hardened seedling with 4–6 true leaves is usually the practical choice when the cool growing window is short. Direct sowing makes more sense when the season is long and you can keep the container protected while the plant establishes.
Repeated shallow watering immediately after transplanting keeps the surface damp while deeper mix dries out. That encourages roots to remain near the top, where heat and evaporation are strongest. One thorough settling water, followed by checks below the surface, gives you better information than watering automatically every morning.
Keep the crown growing: check 2–3 cm down before watering and feed on a 10–14-day rhythm
Push a finger 2–3 cm (about 1 in) into the mix before watering. If that layer feels dry and the pot feels noticeably lighter, water the whole root zone slowly. Keep going until a little water drains from the bottom, then empty the saucer. The aim is a fully moistened container followed by a partial dry-down, not a permanently soggy pot.
Watering frequency depends on the container and its position. In a plastic pot in full sun and wind, broccoli may need checking daily and may need water daily during hot spells. In a glazed pot in cooler part shade, the same plant may go 2–3 days between thorough waterings. Those are checking examples, not a calendar; lift the pot, feel the mix and look at the leaves before deciding.
Heat and wind change the answer quickly. During a heatwave, water early in the day, add temporary afternoon shade if the leaves wilt despite moist mix, and move the pot away from hot masonry. In strong wind, group containers or place the broccoli behind a stable screen, but don’t push it into deep shade. A larger pot helps because it loses a smaller share of its total moisture reserve during one hot afternoon.
A pre-fertilised container mix may supply the first 4–6 weeks, depending on the product and how much watering carries nutrients away. Once the plant is established, use a balanced liquid feed at the label rate and repeat roughly every 10–14 days during active growth. I prefer balanced feeding over a heavy nitrogen push: enormous leaves are not useful if the plant keeps delaying the head.
Stop feeding by calendar if the plant is badly wilted, waterlogged or heat-stressed. Correct the root-zone problem first. Fertiliser cannot compensate for roots that are either short of oxygen or unable to take up water.
Harvest the 10–15 cm (4–6 in) main head before yellow flowers, then follow the side shoots
Harvest is a timing decision, not a size contest. Cut the central head when the green flower buds are tight, firm and still closed. If yellow petals are showing, the head has moved past its best eating stage and the texture becomes less compact.
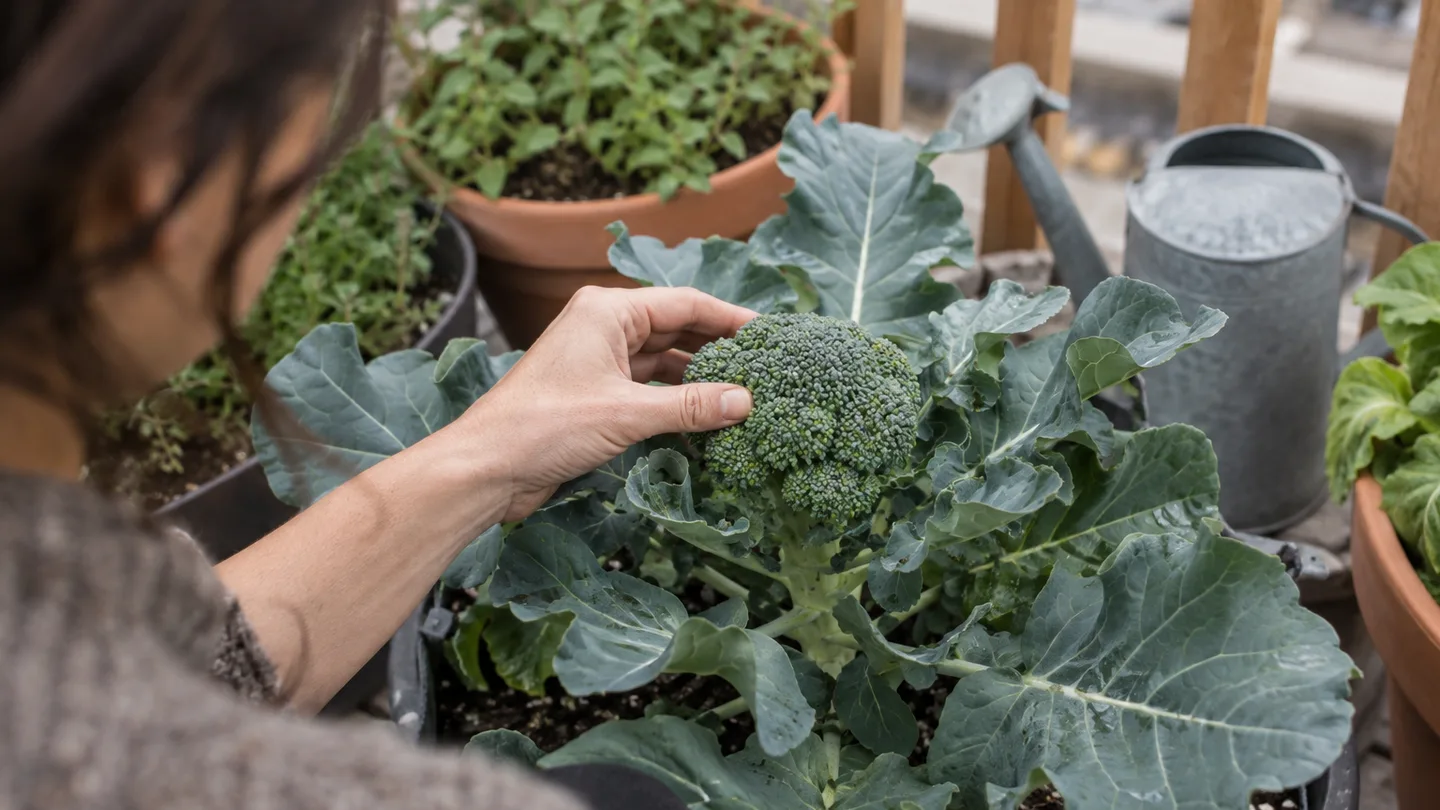
Use a clean knife to cut the central head with roughly 10–15 cm (4–6 in) of stem, just above a leaf junction. Leave the lower leaves and plant in place. Once the dominant head is removed, side shoots can develop along the stem while temperatures remain suitable.
For planning, count on one main head per plant rather than imagining a continuous supply. A strong plant in a 20-litre or larger container may produce roughly 300–600 g (10–21 oz) of total usable florets, including side shoots, but that is a broad, non-guaranteed range. Smaller pots, heat, pest damage, delayed harvest and interrupted watering can reduce it substantially.
Side shoots may extend the harvest for about 2–4 weeks if the weather stays cool enough. Pick them while the buds are still tight. Leaving an opened shoot on the plant does not improve the next one; it simply lets that stem move further toward flowering.
When the crop disappoints: tiny heads, loose buds, yellow leaves and caterpillars
When broccoli fails in a container, I start with the root zone and temperature before blaming the seed. The symptoms overlap, so check what the mix is doing rather than diagnosing from leaf colour alone.
| What you see | What to check first | Practical response |
|---|---|---|
| A tiny head that stalls | Buttoning: a small head, often about 2–5 cm (1–2 in), after transplant shock, root restriction or temperature stress | Keep the plant evenly moist and cool; don’t expect a stalled crown to become full-sized, but leave the plant for possible side shoots |
| Loose or open buds | Heat, a dry spell, uneven watering or waiting too long to cut | Improve moisture consistency, give temporary afternoon shade and harvest the next tight head sooner |
| Yellow lower leaves | Check 5 cm (2 in) down after 2–3 days: wet mix suggests poor aeration, while dry mix during wilting points toward underwatering | Correct drainage or watering depth before adding more fertiliser |
| Holes, frass or chewed edges | Inspect leaf undersides and the crown for caterpillars, eggs or aphids | Remove pests by hand where practical and use row cover if it can be secured without trapping heat |
Buttoning is especially frustrating because the small head can look like progress before it stops. The plant has begun the reproductive stage, but the combination of root disturbance, restricted volume or unsuitable temperature has limited the resources available to expand it. Keep caring for the plant, but shift your expectation from one large crown to a possible harvest of smaller shoots.
For yellow leaves, resist the urge to fertilise first. If the pot is still wet 5 cm down after several days, inspect the drainage holes and saucer. If the mix is dry below the surface whenever the plant wilts, increase the thoroughness or frequency of watering. The same yellowing can come from opposite moisture problems.
Inspect every few days during active growth, especially beneath the leaves and around the central crown. Caterpillars can hide along the midrib, while aphids often gather on tender growth. Row cover is useful only if it is fitted before pests get inside and weighted so wind cannot lift it onto the plant.
A practical 12-week run sheet for one container, from seedling to final cut
Use this as a sequence of jobs rather than a promise that every plant will harvest in exactly twelve weeks. Your packet’s transplant-to-maturity range and local temperature pattern should adjust the final window.
- Weeks 0–1: Transplant the hardened seedling, water until drainage begins and check the mix below the surface each day. Protect it from hard wind while the roots reconnect.
- Weeks 2–4: Look for new leaves and steady growth. Decide whether the existing mix is feeding the plant; if not, begin balanced liquid fertiliser after establishment at the label rate.
- Weeks 5–7: Keep watering consistent, inspect leaf undersides every few days and watch the centre of the plant. If the weather turns hot, move the pot away from reflected heat and add temporary afternoon shade.
- Weeks 8–12: Check the central head daily once it begins tightening. Cut while the buds are green and closed, then leave the plant in place for side shoots.
Will broccoli survive a light frost in a container?
Established broccoli can often come through a light frost, but I protect a potted plant sooner than one planted in a bed. The reason is that container roots are surrounded by pot wall and air rather than by the larger insulating mass of ground soil, so I expect the root zone to cool faster. Move the pot against a sheltered wall, cover the foliage with suitable frost protection or bring it under cover when a hard freeze is forecast.
Before the weekend, stand beside the intended balcony spot and count the hours of direct sun rather than judging by brightness. Then measure the container’s internal depth and buy one that will hold at least 15 litres of mix per plant—preferably close to 20 litres—before you buy the seedling.
Frequently Asked Questions
Can I grow broccoli indoors in a pot?
Only if the plant receives at least 6 hours of strong direct sun or suitable supplemental light; an ordinary windowsill may grow leaves but often produces a weak head.
Will broccoli survive a light frost in a container?
Established broccoli often handles a light frost, but container roots cool faster than roots in the ground, so protect or move the pot when a hard freeze is forecast.
Should I direct-sow broccoli in the container or transplant a seedling?
Direct sowing avoids root disturbance but occupies the whole pot during germination; a hardened seedling with 4–6 true leaves is usually the practical choice when the cool growing window is short.