Growing Lemongrass in Pots: Pot Size, Sun and Winter Care
For one young lemongrass plant, start with a 5-gallon (19 L) pot about 12–14 inches (30–36 cm) wide. A larger clump has more room in a 7–10-gallon (26–38 L) container, but whatever you choose needs drainage holes and a spot that can safely support the pot when its mix is wet.
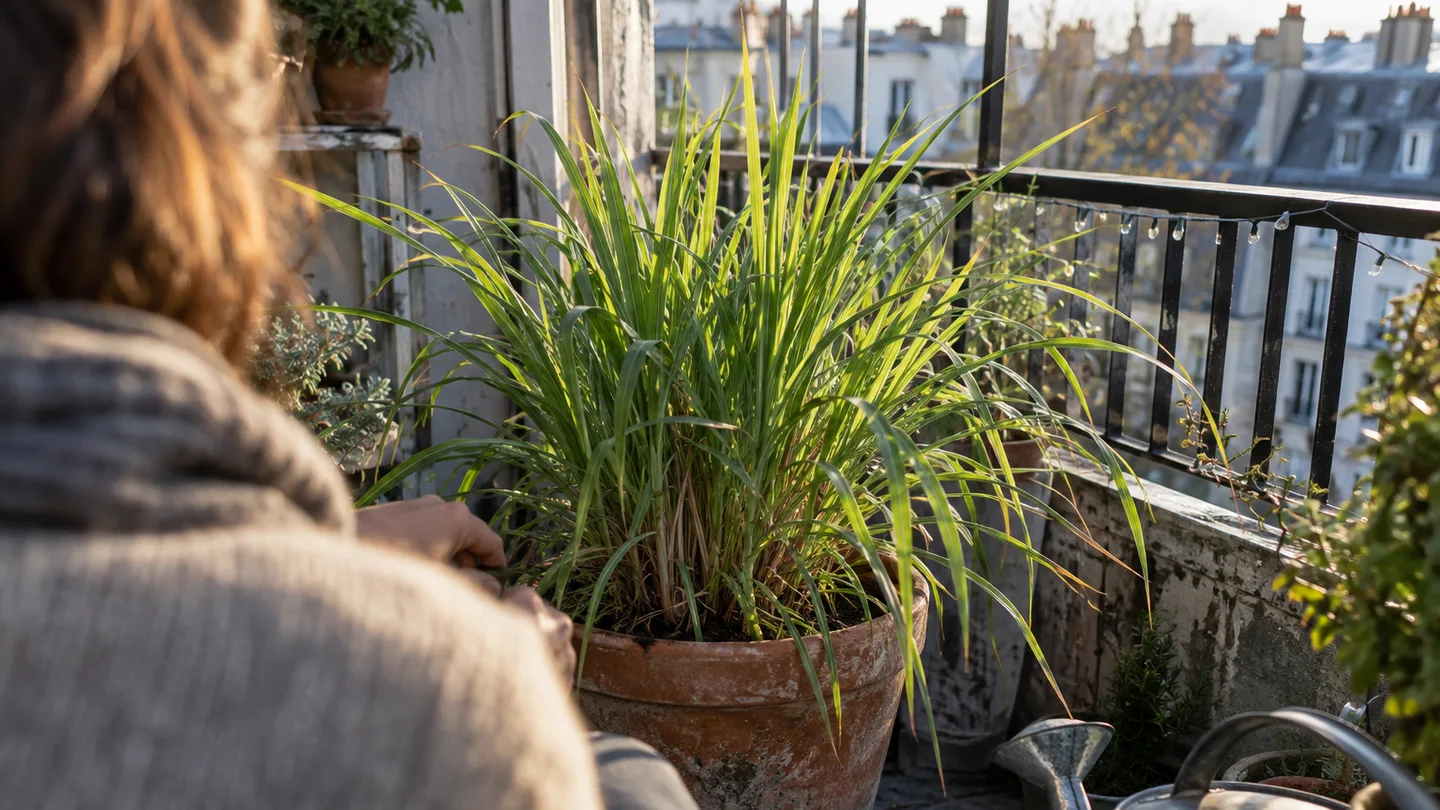
One plant needs room: start with a 5-gallon pot, not a window box
Lemongrass makes a widening clump rather than staying as a slim, upright tuft. In a small window box, its roots have little room to spread, and the limited mix gives you less margin between a pot that has dried out and one that has just been watered. A plant may survive in cramped quarters, but survival isn’t the same as producing sturdy stalks you’ll want to use.
For one young plant, a pot around 5 gallons (19 L) and 12–14 inches (30–36 cm) across is a practical starting point. If you’re buying a large nursery clump or want to keep the plant for several seasons, consider 7–10 gallons (26–38 L). Bigger isn’t automatically better: a very large container filled with wet mix is heavy, takes up useful floor space, and can stay damp longer if the plant’s roots haven’t filled it yet.
Before you buy, check two things. First, the container needs open drainage holes at the bottom. Second, consider the finished weight: a pot, wet growing mix, and mature plant weigh more than the empty container in the shop. On a balcony or rooftop, put the pot where you intend to grow it and check any building or landlord limits rather than guessing from the empty-pot weight.
My preference is to buy enough root room once, then move the pot to chase better sun if needed. I wouldn’t try to compensate for a tiny container by watering more often; that treats the symptom while leaving the roots crowded.
Start with a rooted clump or division, then wait for warm nights
A rooted nursery plant is the straightforward start: it gives you an established crown, the short, firm base from which the leaves grow. A division—a section separated from an existing clump with roots and growing points attached—can also work well. Choose a healthy piece with roots, not a loose handful of leaves. Either way, one plant belongs in the pot sizes above; don’t cram several divisions together in a 5-gallon container and expect each to have the same room.
Wait until frost risk has passed and nights are reliably above about 50°F (10°C) before moving the pot outside. That temperature is a useful caution point, not a date on the calendar: the right week differs by location and year. Set the root mass at the same depth it was growing before, with the crown at soil level. Burying the crown can leave it sitting too wet; leaving much of the roots exposed makes them dry more quickly.
If you’re dividing a plant, keep the division compact enough to fit without bending or crushing its roots. Gently fill around the root mass, firm the mix with your fingers, and water until excess drains out. Give a newly planted clump a little time to settle before judging its growth.
Six hours of direct sun is the practical floor for strong stalks
Aim for roughly 6–8 hours of direct sun a day. Six hours is a useful working floor for a balcony grower, not a guarantee of a particular stalk size. With less direct light, expect slower growth and less vigorous foliage; a plant in bright open shade isn’t receiving the same energy as one in direct sun.
Balcony light can be deceptive. A bright-looking space may get direct sun for only a short stretch, while a corner that seems gloomy from indoors may receive a good block of morning light. Put the empty pot in the intended spot and check it at a few points through the day. Record when direct sunlight reaches the pot, not just when the balcony feels bright. Repeat the check on another day if clouds or nearby buildings make the first result hard to interpret.
I don’t have a dated log comparing a west-facing pot with a shadier one, so I won’t invent one. Instead, try this on your own balcony: note the hours of direct sun for several days, then move the pot if the total falls well short of your target. A west-facing spot may give useful afternoon light, but it can also dry a container quickly in hot weather. Check the mix before you decide that the plant needs more water every day.
If the best-lit position is exposed to strong wind, you’re balancing light against faster drying and the chance of leaves being battered. A slightly less exposed spot may be the better choice if you can still give the plant several hours of direct sun.
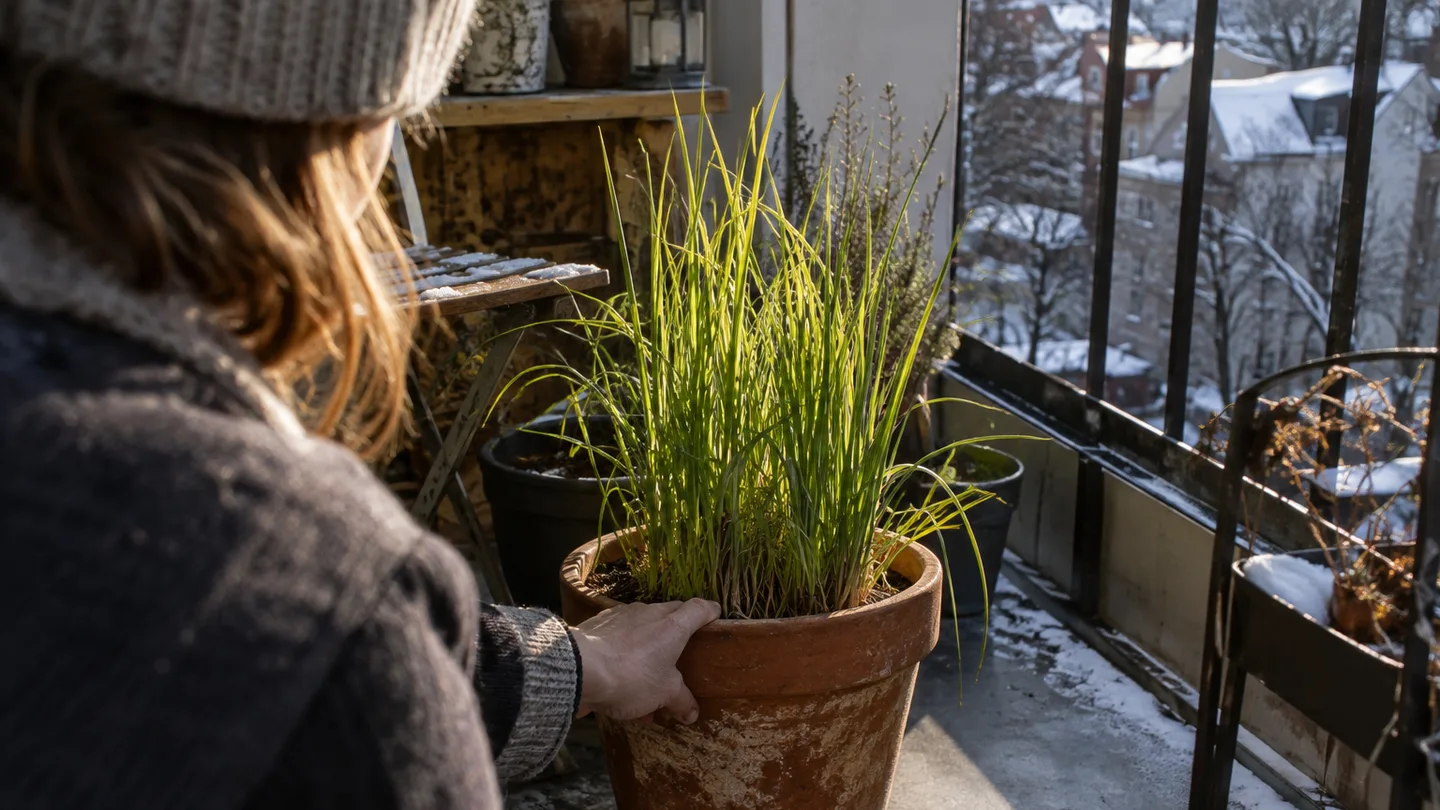
Keep the crown at soil level and the root zone damp, not waterlogged
Use a container potting mix that drains freely and holds some moisture; don’t fill the pot with dense garden soil. Garden soil can settle and compact in a container, reducing the air spaces around roots. Leave a little room below the rim so water doesn’t immediately spill over when you soak the pot.
Set the crown at the surface of the mix, then water slowly until water runs from the drainage holes. That first soak settles mix around the roots and wets the whole root zone. Afterward, check the top inch (2.5 cm) of mix with a finger. If it feels dry, water thoroughly; if it’s still damp, check again later rather than adding more just because it’s watering day.
A pot’s drainage holes let excess water escape, but putting gravel in the bottom doesn’t improve the drainage of the mix above it. Water moves differently where fine potting mix meets a much coarser layer; the boundary can hold a wetter zone above the gravel instead of drawing water out more efficiently. Use the full depth of the pot for growing mix, and keep the holes clear.
A fixed calendar schedule misses the details that change drying speed. A small plastic pot in hot sun and wind may need checking much sooner than a larger glazed pot in a sheltered, partly shaded position. Checking is the useful routine; watering follows the condition of the mix.
For a step-by-step refresher, look for container-gardening guidance on potting mix and drainage from a public extension service. The practical point is simple: a container needs both moisture around the roots and a route for excess water to leave.
Through summer, feed for growth without letting the pot dry out
During active growth, check the pot more often in hot, windy weather and water when the surface layer dries. Pour slowly enough for the mix to absorb the water; if it runs straight down the sides, pause briefly and water again. A small splash that wets only the surface won’t do the same job as a thorough soak.
For feeding, choose either a slow-release fertilizer labeled for container plants or a liquid feed, and follow its label rate. Don’t combine products or increase the dose to hurry growth. Fertilizer supplies nutrients; it can’t replace light, root room, or steady moisture. If new growth is already strong, adding extra feed is not automatically useful.
When leaves look stressed, check the mix before changing the routine. A dry pot may have crisp or browned tips and leaves that look less upright; a persistently waterlogged pot may have damp mix and foliage that yellows or droops. Those signs can overlap, and a brown tip alone doesn’t diagnose the problem. Put a finger into the mix, check that the drainage holes are open, and see whether the container feels unusually light or remains wet.
If the mix is dry, water it thoroughly and check again. If it’s still soggy, don’t add more water: make sure the holes are clear and let the excess drain. Keep the plant’s recent conditions in mind, too. A burst of hot wind, a move into stronger sun, or a spell of cool weather can change the water balance without any change to your usual routine.
The same check-the-mix approach is useful for growing basil in pots, though the plants don’t have identical needs. I’d rather check a pot than follow a rigid weekly schedule that ignores the weather.
Harvest outer stalks once their bases are about ½ inch thick
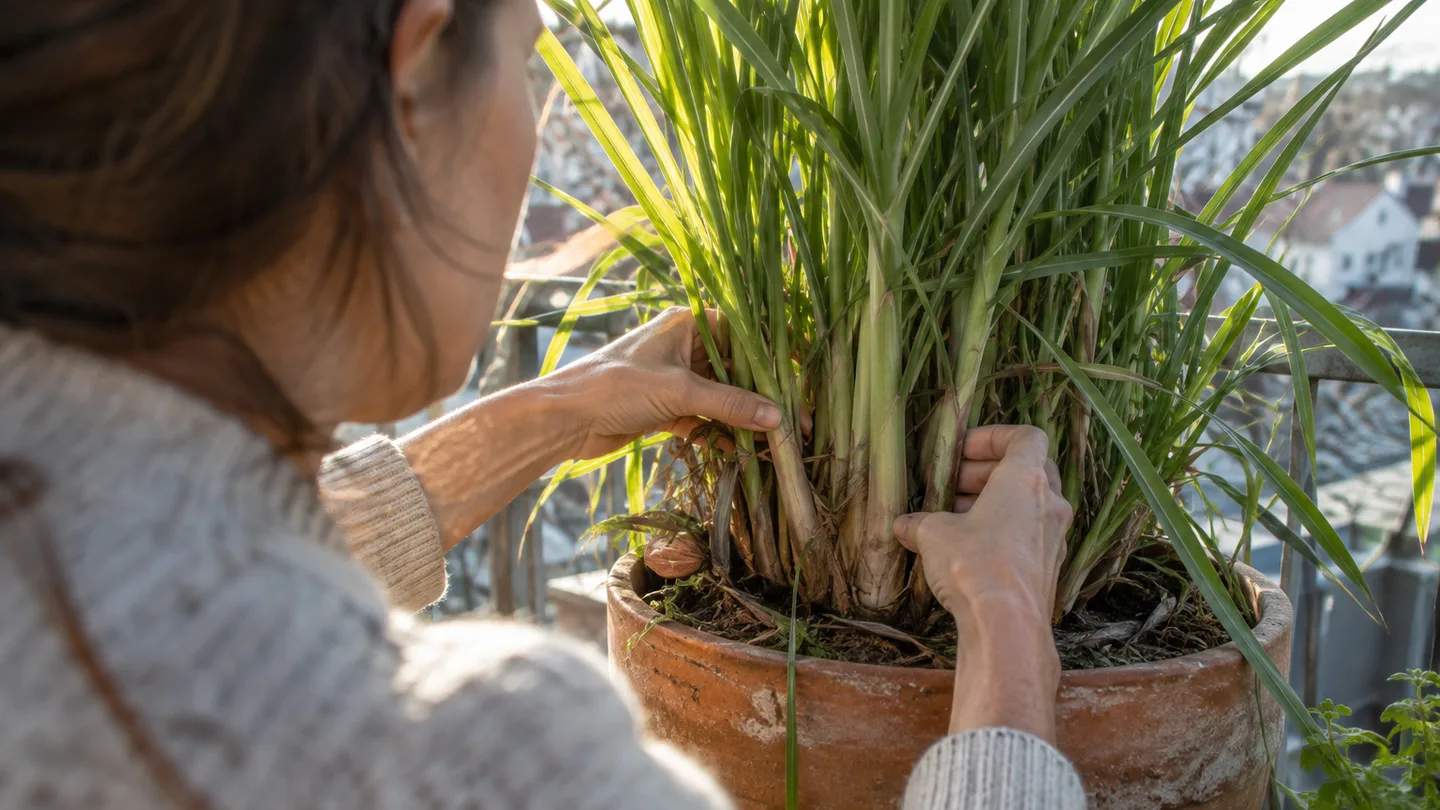
Look for outer stalk bases around ½ inch (1.3 cm) thick as a practical harvest cue. The leaves can make a young plant look substantial before the lower stalks have thickened, so check down near the soil rather than judging by the height of the foliage. The useful part is the firm lower section, not a long, narrow leaf blade.
The tactile cue I look for is a firm, rounded base that feels solid under a light touch, with a pale lower section that thickens into a short cylinder. Cut or pull an outer stalk near the base without damaging the central growing points. Leave the younger inner shoots to continue developing. Taking the outside stalks first lets the middle of the clump keep producing new growth.
If the clump is filling the pot and the mix seems to dry very quickly, consider dividing it or moving it to a larger container when active growth resumes in spring. Look for a mass of roots circling the pot or a dense root mat at the outside of the root ball when you ease it out. I’m giving you a decision rule here, not a report of a repotting I actually did: if the clump is crowded and dries fast even after a thorough soak, more root room is worth considering before you simply increase watering.
For a pot that is already large enough, spring division can renew the space without keeping an unwieldy container. Keep roots attached to each section, and don’t divide a stressed or recently dried-out clump just to make more plants. There’s no need to harvest every stalk at once.
Before nights near 50°F (10°C), choose an indoor winter plan
Lemongrass is frost-sensitive, so plan to move the pot before cold nights approach rather than waiting for a frost warning. Use nights near 50°F (10°C) as a prompt to make the decision and check your local forecast. The point is to avoid leaving a tender plant outside until cold has already damaged it.
For an actively growing indoor plant, choose your brightest available window and keep the pot away from cold drafts. Growth may slow in lower winter light, so don’t expect summer speed. Reduce watering as growth slows, but don’t let the root ball dry out completely. Check the mix before watering and let excess drain from the saucer or cover pot.
Some growers let the plant rest more during the dim part of the year rather than pushing soft growth in a poorly lit room. If you choose that approach, give less water as growth slows and stop routine feeding until active growth returns. If you keep it growing, use the same restraint with fertilizer: a dark window doesn’t become brighter because you feed more.
Before bringing the pot in, inspect the leaves, crown, and soil surface for insects or eggs. Remove dead leaves and clear debris from the pot top; rinse the foliage if it needs a clean, then let it drain before setting it indoors. Keep the plant apart from other houseplants for a while if you’re concerned about carrying pests inside.
Yellowing or limp leaves after the move don’t point to one cause on their own. Check for cold drafts, persistently wet mix, and insufficient light before changing several things at once. For a different container plant with its own indoor-season decisions, see growing citrus in containers; for another warm-climate pot crop, compare notes with growing ginger in containers. For locally adjusted timing, look up local cooperative extension guidance on lemongrass and compare it with your own forecast.
This week, put the empty pot in its intended spot and track direct sun for a day. Then check your cold-night forecast and decide where the pot will go before the season turns.
Three useful side questions
Can I grow lemongrass from seed?
Yes. Seed is an option if you can provide warm conditions for germination, but it takes longer to establish than starting with a rooted plant or division. If your goal is stalks sooner, a healthy rooted start is the more direct route.
Will a grocery-store lemongrass stalk grow roots?
Sometimes, if the stalk is fresh and still has an intact base. A cut or dried base is a less promising start, so treat rooting a grocery stalk as an experiment rather than a sure way to get a plant. Once it has roots and new growth, move it into a pot with enough room.
Can I use the leaves as well as the stalks?
The leaves are aromatic and can be steeped to flavor food or drink, but their texture is tough. They’re generally removed before serving rather than eaten like the tender lower part of the stalk.
Frequently Asked Questions
Can I grow lemongrass from seed?
Yes, but it needs warm conditions to germinate and takes longer to establish than a rooted plant or division; explain that seed is an option rather than the quickest route to harvest.
Will a grocery-store lemongrass stalk grow roots?
Sometimes, if the stalk is fresh and retains an intact base; rooting is less dependable when the base has been trimmed or dried, so present it as an experiment rather than a sure start.
Can you use lemongrass leaves as well as the stalks?
The leaves are aromatic and can be steeped for flavor, but their tough texture means they are generally removed before serving rather than eaten like tender stalk pieces.