Growing Sweet Potatoes in Containers: Pot Size & Yield
A single sweet potato slip needs roughly 20 litres (5 gallons) of mix to be worth planting, but I’d choose 30–40 litres (8–10 gallons) for a more forgiving container. From one well-grown plant, I’d plan for anything from under 1 kilogram (2.2 pounds) in a cramped pot to around 1–3 kilograms (2.2–6.6 pounds) in a larger pot with a long, warm season.
Those numbers are planning brackets, not a promise. Sweet potatoes reward warmth, direct sun and uninterrupted growth more than they reward simply adding another 10 litres of compost. The pot gives the roots room to form, but the season decides whether they have time to thicken.
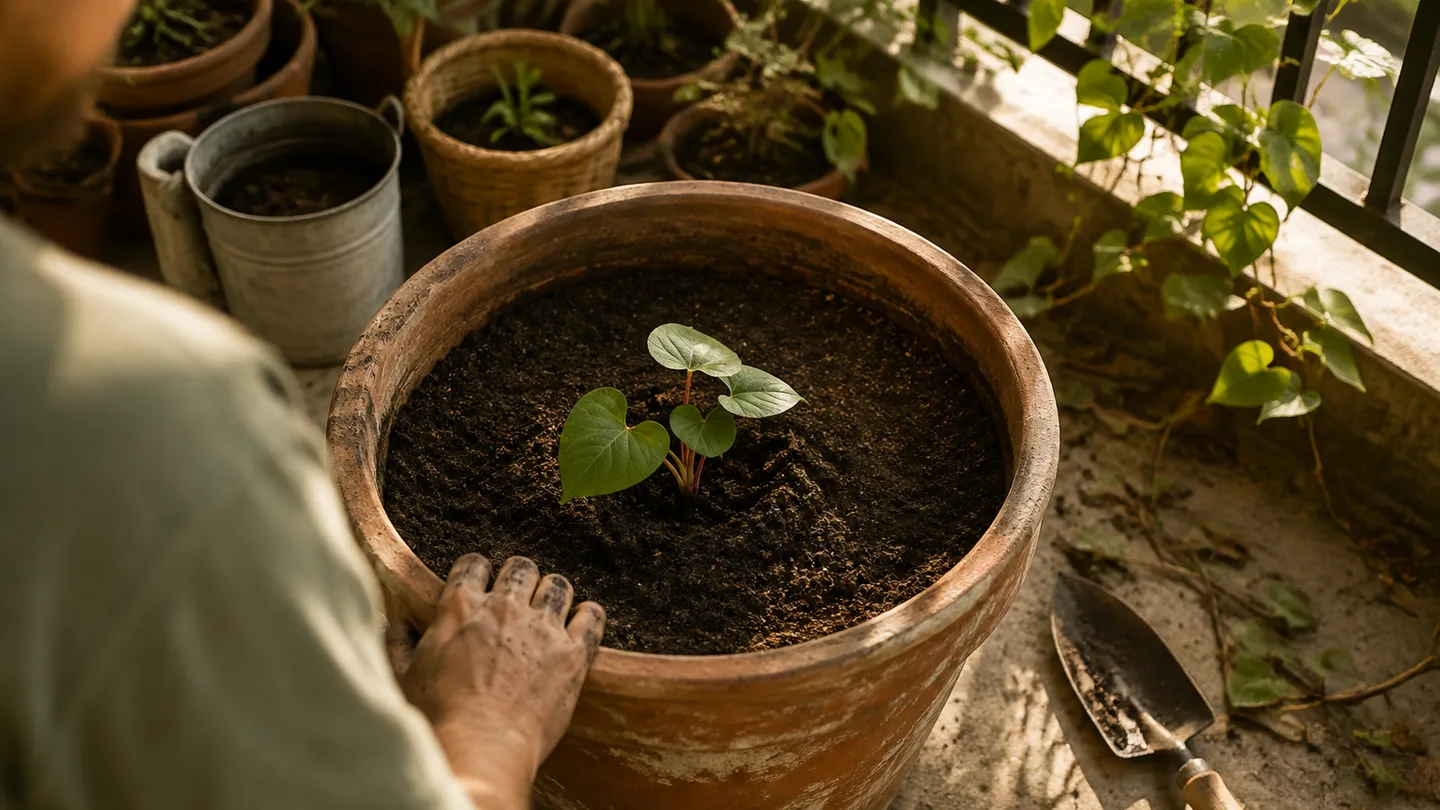
The pot-size answer: one slip per 20–60 L (5–16 gal), with 30–40 L (8–10 gal) as the practical target
Here’s the rule I use when I’m standing in a garden centre with a slip in one hand and a container in the other: one slip per container, with 20 litres as the workable minimum and 30–40 litres as the sensible target.
| Container capacity | How I’d use it | What to expect |
|---|---|---|
| 20 L (5 gal) | One slip only | A viable trial, but the plant will need closer moisture checks and gives you less room for missed watering. |
| 30–40 L (8–10 gal) | One slip | The best all-round choice for a balcony or patio: enough root space without making the pot unnecessarily difficult to move. |
| 45–60 L (12–16 gal) | One slip, preferably | A larger moisture buffer and more room for storage roots, but not an automatic increase in harvest. |
Why one slip? A slip is a young rooted shoot. It starts small, but it can make a surprising amount of foliage and a network of fine roots before the storage roots swell. Add two slips to a 30-litre pot and you have not created a 60-litre growing space. You have given each plant roughly 15 litres, with more competition for water and nutrients.
Even in a 45–60-litre container, I usually plant one slip if my goal is to judge the crop fairly. If you want two plants, I’d rather use two separate 30-litre pots. That makes watering, harvesting and yield records much easier to interpret.
Remember that a pot’s advertised capacity is often brimful capacity. You still need headspace so water does not run over the rim, and the pot walls take up some volume. Fill the container to about two fingers below the rim, not right to the top. The usable mix volume will therefore be lower than the number printed on the label.
If you’re still deciding whether a large container deserves one of your sunny spots, the wider principles in growing vegetables in pots and Easy fruits and vegetables to grow in pots are useful comparisons. Sweet potatoes take a long time to occupy the pot, so they are a poor choice for a balcony that receives only a brief patch of sun.
Yield is a range, not a pot-size formula: what 20, 40 and 60 litres can realistically produce
I don’t use a kilogram-per-litre formula for sweet potatoes. It looks tidy on paper, but it hides the variables that matter most: whether the cultivar suits your season, whether the pot gets direct sun, whether the mix stays warm, and whether the slip is planted early enough to build a healthy canopy.
For purchase planning, these are the broad brackets I’d use:
- 20 litres (5 gallons): under about 1 kilogram (2.2 pounds) is a realistic budget for a cramped or interrupted crop. A strong plant in a long, hot season may do better, but I would not buy the smallest pot expecting a full kitchen harvest.
- 30–40 litres (8–10 gallons): roughly 0.5–2 kilograms (1–4.5 pounds) is a useful planning range for one plant that receives good sun and steady care.
- 45–60 litres (12–16 gallons): about 1–3 kilograms (2.2–6.6 pounds) is the bracket I’d consider possible when the plant has a long warm run, a suitable cultivar and no major drought or chilling setback.
Those ranges are deliberately wide. They are not a harvested dataset, and they should not be read as a promise that a 40-litre pot produces twice as much as a 20-litre pot. Extra volume mainly buys you a larger margin for error. It slows the swing from damp to dry and gives the plant more room to keep making roots when the top layer is warm and active.
In my own balcony setup, I once gave a slip a narrow pot because the vines fitted the railing better. The plant made an impressive green curtain, but when I emptied the container the storage roots were few and thin. I had mistaken visible vine growth for progress underground. The next time, I used one broad container and let the vines trail across the floor instead of treating their length as a harvest forecast.
Sun and warmth can matter more than the difference between 30 and 40 litres. A larger pot in two hours of weak light is still a poor sweet-potato setup. A smaller pot in strong afternoon sun may form better roots, provided you can keep it evenly watered. Slip quality matters too: a sturdy rooted slip gets a head start that a weak, recently snapped shoot does not.
To learn from your own conditions, weigh the cleaned roots from each pot rather than relying on photographs or vine length. Record the container volume, planting date, cultivar label, approximate direct-sun hours and final usable weight. That simple note tells you more about your balcony than a universal yield claim can.
Shape, drainage and mix: the container specifications that protect storage roots
Give the plant at least 30 centimetres (12 inches) of usable mix depth. Width matters as well, because storage roots can form along the buried stem and in the surrounding loose mix. A broad grow bag or rectangular planter is often easier to fill evenly than a narrow decorative pot.
A 40 × 40 × 30 centimetre planter calculates to 48 litres (12.7 gallons) when filled to the brim. Leave 5 centimetres (2 inches) below the rim and the fill depth becomes about 25 centimetres (10 inches), reducing the practical volume to roughly 40 litres before allowing for wall thickness. If you want 30 centimetres of actual mix, choose a container taller than 35 centimetres rather than assuming the outside measurement tells the whole story.
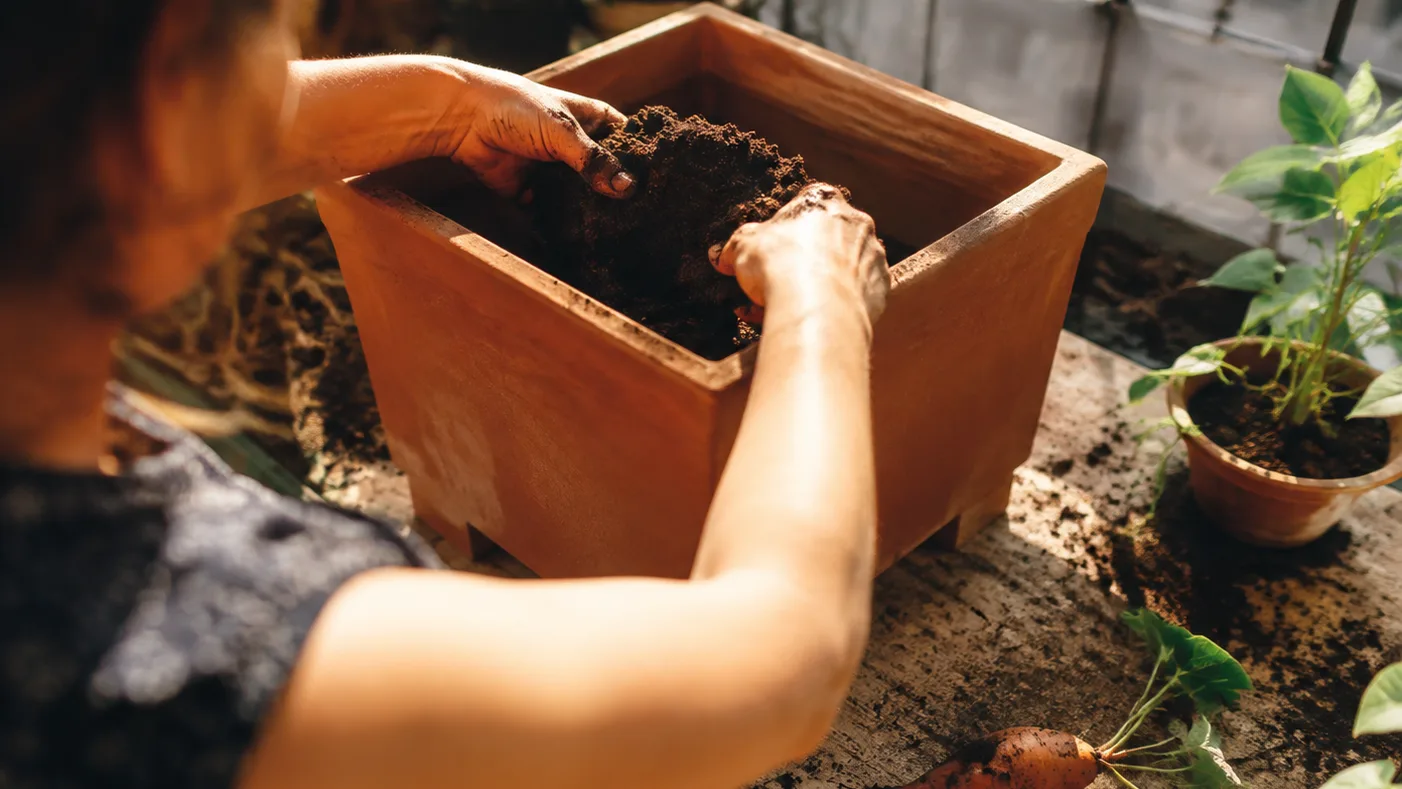
Use a container with several open drainage holes. Water should be able to leave the root zone after a thorough watering, and the pot should not sit in a saucer of standing water for hours. A grow bag can work well if it is genuinely in the 30–60-litre range, its base is not blocked, and it sits on a surface that can carry the load.
The drainage detail that causes the most confusion is the perched water table. In plain language, fine potting mix can hold a saturated band above the drainage holes after watering. The water does not disappear simply because there is an opening at the bottom. A layer of gravel under the mix usually leaves the fine mix sitting higher above the holes, so it does not solve the saturated band and reduces the space available for roots.
I avoid filling sweet-potato pots with straight garden soil. In my pots, it has settled into dense clods against the sides; the mechanism is predictable because soil aggregates lose pore space when confined, watered and repeatedly moved. Less pore space means less air around the roots and slower movement of excess water. A loose commercial potting mix is a better starting point. If the mix collapses into a sticky lump when wet, blend in a coarse aerating material such as perlite, pumice or chunky fibre rather than trying to fix it with a gravel layer.
Keep the fertiliser level moderate at planting. A rich, nitrogen-heavy mix can push leaf and vine growth before the plant has built the balanced root system you want. My preference is a free-draining mix with some mature organic matter, not a dense, dark soil that stays wet in the bottom third of the container.
Finally, treat a large wet container as a load, not a decoration. Forty litres of water alone would be about 40 kilograms (88 pounds), before you add the pot and saturated mix. I put containers of this size on the floor or another load-bearing surface, not on a balcony railing, unless the building information and the support system clearly allow it. For a useful comparison with another root crop, see growing potatoes in containers, where container shape and harvest access create similar practical decisions.
From slip to running vines: timing, spacing and planting depth that keep one pot productive
Sweet potatoes are warm-season plants. I wait until frost risk has passed and the mix is close to 18°C (65°F) before planting. A cold container can leave a newly planted slip stalled while the calendar keeps moving, and a late start is difficult to recover from when autumn arrives.
- Prepare the container first. Fill it with damp, loose mix, leaving the headspace above the surface. Watering before planting settles the mix without washing a new slip sideways.
- Plant one sturdy rooted slip. Bury about 5–8 centimetres (2–3 inches) of stem, keeping the leaves above the surface. Press the mix gently around the stem so there are no large air gaps, but do not pack it hard.
- Put the pot in the brightest position. Aim for about 6–8 hours of direct sun. If your balcony has only one or two usable hours, I would spend a 40-litre pot on a crop that tolerates lower light more usefully. Sweet potatoes may still make vines in weak light, but the storage-root harvest is likely to be disappointing.
- Protect the early weeks. Keep the mix evenly moist while the slip roots into the container. Once new growth is obvious, shift from frequent light sprinkles to thorough watering followed by a check of the mix before watering again.
- Count the season from transplanting. Early cultivars may be ready in roughly 90–120 days, while types with a longer maturity window need more time. Treat the label’s maturity period as a planning tool, not a guarantee, because a cool start or repeated drought slows the crop.
The buried-stem depth is a compromise. Too little contact with the mix leaves the young plant poorly anchored. Burying a long section of stem is not a substitute for a large container, and repeatedly covering vine joints can spread rooting through the pot instead of concentrating your attention on the main storage-root zone.
If you are using a grocery-store sweet potato to make slips, warmth matters from the beginning. I would use a purchased, labelled slip when the season is short or the container is precious. In my experience, store roots are often a less predictable source because they may be treated, labelled only by a broad variety name or poorly matched to the length of the local warm season.
Keep the pot in the harvest zone: moisture, feeding and vine control
Check the top 2–5 centimetres (1–2 inches) of mix with a finger before watering. If that layer is dry but the pot still feels heavy and cool below it, wait and check again. If the dryness extends deeper and the leaves are losing their firmness, water slowly until a little excess leaves the drainage holes, then empty any saucer.
Frequency depends on the container and the weather, not on a fixed calendar. In a plastic pot in full sun during hot weather, I may check daily. In a glazed pot in part shade, the same mix may go two or three days between checks. Wind, a trailing vine canopy and the difference between a 20-litre pot and a 60-litre grow bag can change that rhythm.
After the slip is established, use a low-nitrogen fertiliser at the product label rate, roughly every 2–4 weeks during active growth if the mix needs feeding. I do not keep increasing the dose because the leaves look pale after a hot day. Pale foliage with wet mix points me toward root stress or poor drainage; pale foliage with a genuinely dry root zone calls for water first.
Excess nitrogen can produce a vigorous mat of vines without giving you the concentrated storage-root harvest you want. This is one reason I prefer a moderate feeding routine. The plant needs leaves to power growth, but more leaf is not automatically more sweet potato.
Let the vines trail if you have floor space. A trellis can save room and keep leaves off a walkway, but it is mainly a space-management tool, not a yield booster. I avoid heavy pruning. I also avoid repeatedly pinning every vine node into the mix, because that encourages roots at many points and makes the harvest harder to interpret. If a vine escapes, guide it back rather than stripping the plant bare.
Use the leaves as clues, not as a diagnosis by themselves:
- Leaves limp only in the hottest afternoon: check the mix and weather again in the evening. Temporary heat response is different from a plant that is still wilted the next morning.
- Leaves limp in the morning: check moisture deeper than the surface and inspect whether the drainage holes are blocked.
- Lots of vines and no sign of thickening roots: review nitrogen, direct sun, cultivar maturity and the number of warm weeks remaining.
- Yellowing leaves with sour-smelling or constantly wet mix: treat drainage and root-zone saturation as the first suspects, not as a signal to add more fertiliser.
Harvest day and the number that matters afterwards: timing, curing and weighing the crop
Use the cultivar’s days-to-maturity estimate together with your first-frost deadline. Yellowing foliage can suggest the plant is slowing down, but it is not proof that the storage roots have finished sizing. If the season is ending, a forecast of cold weather matters more than waiting for every leaf to change colour.
When harvest day arrives, I empty the container onto a tarp rather than digging blindly into the mix. For a rigid pot, tip it on its side and loosen the root ball with your hands. For a fabric bag, open or roll down one side. A hand fork is safer than a spade because a cut root may be edible but is a poor candidate for storage.
Separate the thick storage roots from the thin feeder roots and brush away loose mix. I weigh the sound roots after this first cleanup, then record the result against the container size and planting date. That cleaned weight is the useful number. A container full of tangled vines tells you very little about whether the pot was worth the balcony space.
Curing comes next. The usual home target is roughly 5–10 days around 29–32°C (85–90°F) with high humidity. The warm, humid period gives small skin injuries time to seal and helps the roots develop a sweeter eating quality. It is difficult to reproduce perfectly in an ordinary home, so use the warmest clean place available, keep the roots in a single layer where possible, and avoid trapping wet roots in an airtight plastic bag.
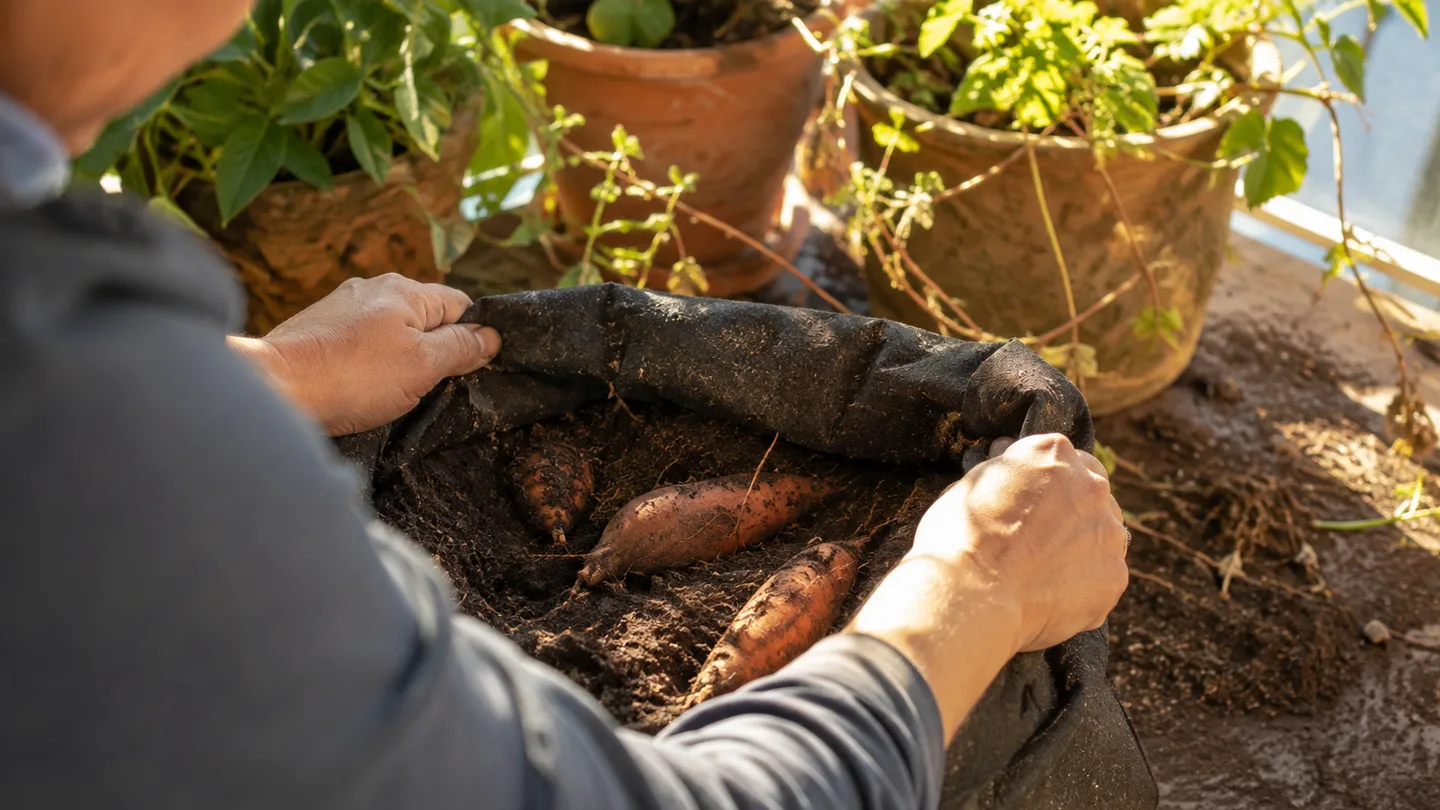
Freshly harvested sweet potatoes can be cooked straight away, but I cure the sound roots before storing them because curing improves their handling and gives the skin a better chance to heal. Cut or badly bruised roots should be cooked first rather than mixed into a storage batch with undamaged roots. For exact storage temperatures and food-safety details, I’d cross-check food-preservation guidance on curing and storing sweet potatoes before keeping a large harvest.
If your home cannot stay warm and humid, do not turn that limitation into an all-or-nothing decision. Cure the best roots in the warmest suitable room you have, use damaged roots promptly, and accept that storage life may be shorter. The first harvest is also useful information: if a 20-litre pot produces a small handful, moving to 30–40 litres next season may help, but only if the container can also receive enough sun and warmth.
Can I grow a sweet potato from a grocery-store sweet potato?
Yes, but I treat it as an experiment rather than the predictable route. In my experience, grocery-store roots may be treated, identified only by a broad variety name, or poorly matched to the length of your local warm season. Start slips in warmth, wait for sturdy shoots with roots, and transplant those rooted slips rather than planting a bare broken shoot directly into the final pot.
Can I use a fabric grow bag instead of a rigid pot?
Yes, provided its actual capacity is about 30–60 litres (8–16 gallons), the base drains freely and it sits on a load-bearing surface. Fabric sides expose more mix to air, so I check moisture more often than I would in a glazed or thicker plastic pot, especially during hot, windy weather.
Can I eat sweet potatoes immediately after harvesting?
Yes. Fresh roots are edible, but curing for roughly 5–10 days is the step I would use for sound roots intended for storage. Set aside any cut or badly bruised roots and use them first.
Before the weekend, measure the spot where the pot will sit, count its direct-sun hours, and buy one container with at least 30 centimetres (12 inches) of real planting depth. Fill it with loose mix, plant one sturdy slip when the mix is warm, and write the planting date on the pot. In a week, check that new leaves are firm in the morning and that water can leave through the drainage holes; those two observations will tell you more than the size printed on the label.
Frequently Asked Questions
Can I grow a sweet potato from a grocery-store sweet potato?
Yes, but supermarket roots may be treated, mislabeled or poorly adapted to the local season; purchased slips are the more predictable option. Explain how to start slips in warmth and transplant only sturdy, rooted growth.
Can I use a fabric grow bag instead of a rigid pot?
Yes, provided its actual capacity is in the 30–60 L (8–16 gal) range, it drains freely and it is placed on a load-bearing surface. Fabric dries faster than plastic, so moisture checks need to be more frequent.
Can I eat sweet potatoes immediately after harvesting?
Freshly harvested roots are edible, but curing for roughly 5–10 days improves skin healing, sweetness and storage life. Damaged or cut roots should be used first rather than stored with sound roots.