Growing Thyme in Pots: Pot Size, Soil and Watering
For one thyme plant, start with a pot about 8–10 inches (20–25 cm) wide and at least 6–8 inches (15–20 cm) deep; plan on roughly 4–8 litres (1–2 US gallons) of mix, depending on the pot’s shape. The part that tends to trip people up isn’t a complicated feeding schedule: it’s keeping the roots from sitting in a mix that stays wet after watering.
I treat a thyme pot as a small, exposed growing space, not a miniature garden bed. On a balcony, that means checking where the sun actually lands, leaving a clear drainage hole, and testing the mix before I water. Those three decisions matter more than choosing a decorative pot.
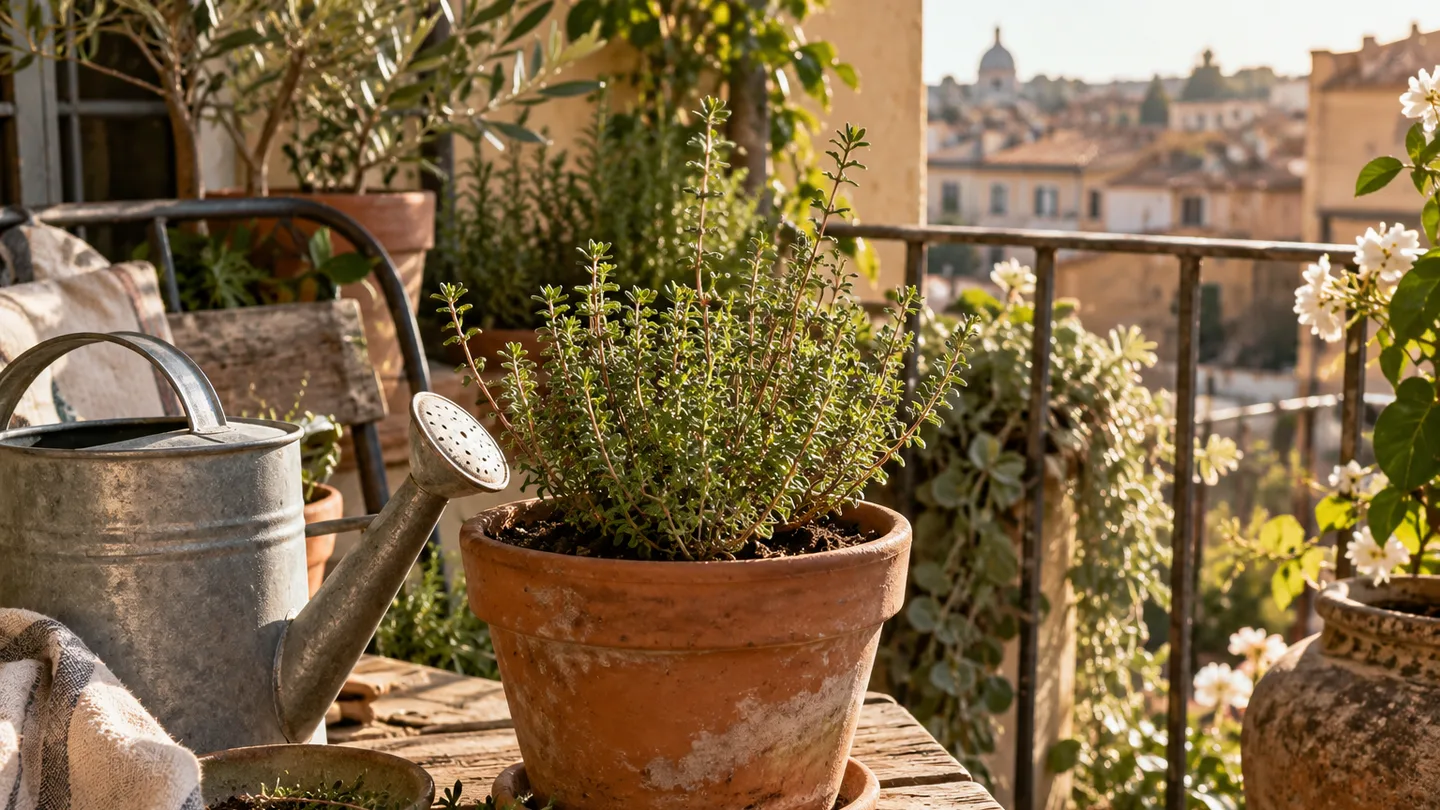
Choose a thyme that suits the pot—and the way you cook
If you want thyme for regular cooking, look for an upright culinary thyme, often sold simply as common thyme. Lemon thyme can also be useful in the kitchen; its scent and flavour are distinct, so it’s worth choosing because you like them rather than because the label sounds like an upgrade. Creeping or trailing types are more about their spreading habit and how they look at the pot’s edge. Trailing forms spill over the edge and can suit a hanging planter, though that position may make frequent snipping less convenient.
For a first container, I’d buy a healthy nursery plant rather than wait for seed-grown thyme to become harvestable. Check for fresh leafy growth and a root ball that holds together without looking like a solid mass of circling roots. A nursery plant gives you a head start; seed is a perfectly workable option if you’re happy to begin with smaller plants and wait.
If you’re deciding which herbs deserve balcony space, start with growing herbs in containers. Thyme pairs well with a kitchen routine that already uses herbs such as growing basil in pots, but the two don’t need identical watering habits.
Give it six hours of sun before you spend on soil
Aim for about six or more hours of direct sun a day. In a shadier position, thyme may still live, but growth can become more open and less compact, with longer stems and fewer leafy tips to pick. If your balcony gets only a short window of direct sun, try the brightest practical spot before buying supplies.
Watch the space at more than one time of day. A wall or railing can block morning light and leave the pot relying on late sun; pale walls and paving can also reflect heat onto leaves and the container. I’d choose a bright position with some airflow over a cramped, scorching corner, especially if the pot will be difficult to move once filled. Take a quick look from the balcony at breakfast, midday and late afternoon before settling on a permanent spot.
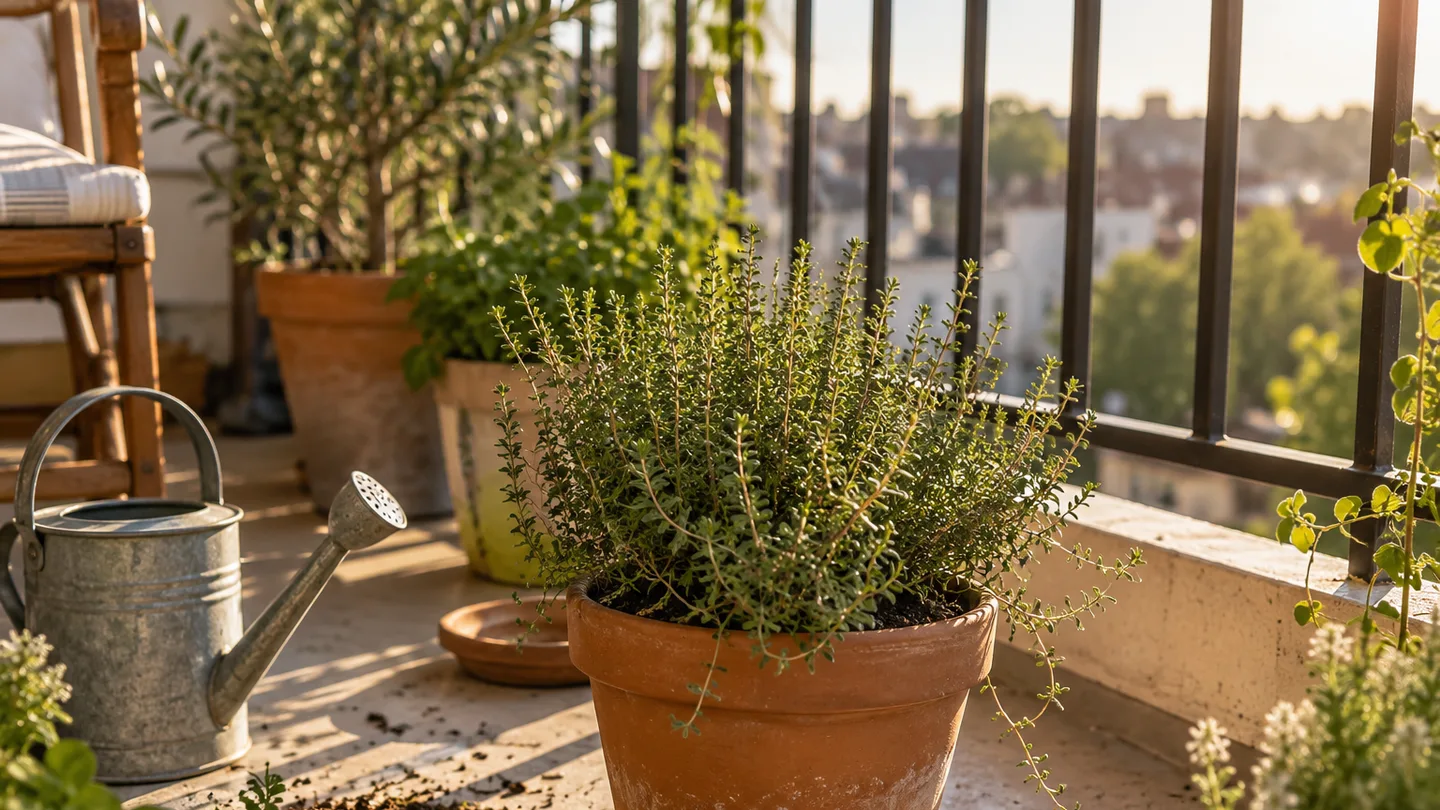
Pot size in numbers: 8–10 inches wide and 6–8 inches deep for one plant
For one nursery thyme, an 8–10 inch (20–25 cm) diameter pot that is at least 6–8 inches (15–20 cm) deep is a practical starting point. Depending on whether the pot is narrow-sided, straight-sided or bowl-shaped, that footprint holds roughly 4–8 litres (1–2 US gallons) of mix. Treat the volume as a shopping estimate, not a guarantee: two pots with the same top diameter can hold different amounts.
| Planting plan | Useful pot dimensions | Approximate mix volume |
|---|---|---|
| One thyme plant | 8–10 in (20–25 cm) wide; 6–8 in (15–20 cm) deep | 4–8 L (1–2 US gal) |
| Two or three plants | About 12–16 in (30–40 cm) wide; at least 8 in (20 cm) deep | Roughly 10–20 L (2.5–5 US gal), depending on shape |
For a group, leave about 6–8 inches (15–20 cm) between plants, then check their mature form on the label: a compact upright variety can fit a smaller arrangement than a vigorous spreading one. Don’t choose a very large container just to give thyme “room to grow.” A much larger volume of unused mix can stay damp longer than the roots can draw water from it, particularly in cool weather or a sheltered spot. My preference is a pot that comfortably accommodates the root ball and some growth, rather than a planter sized for an imagined future shrub.
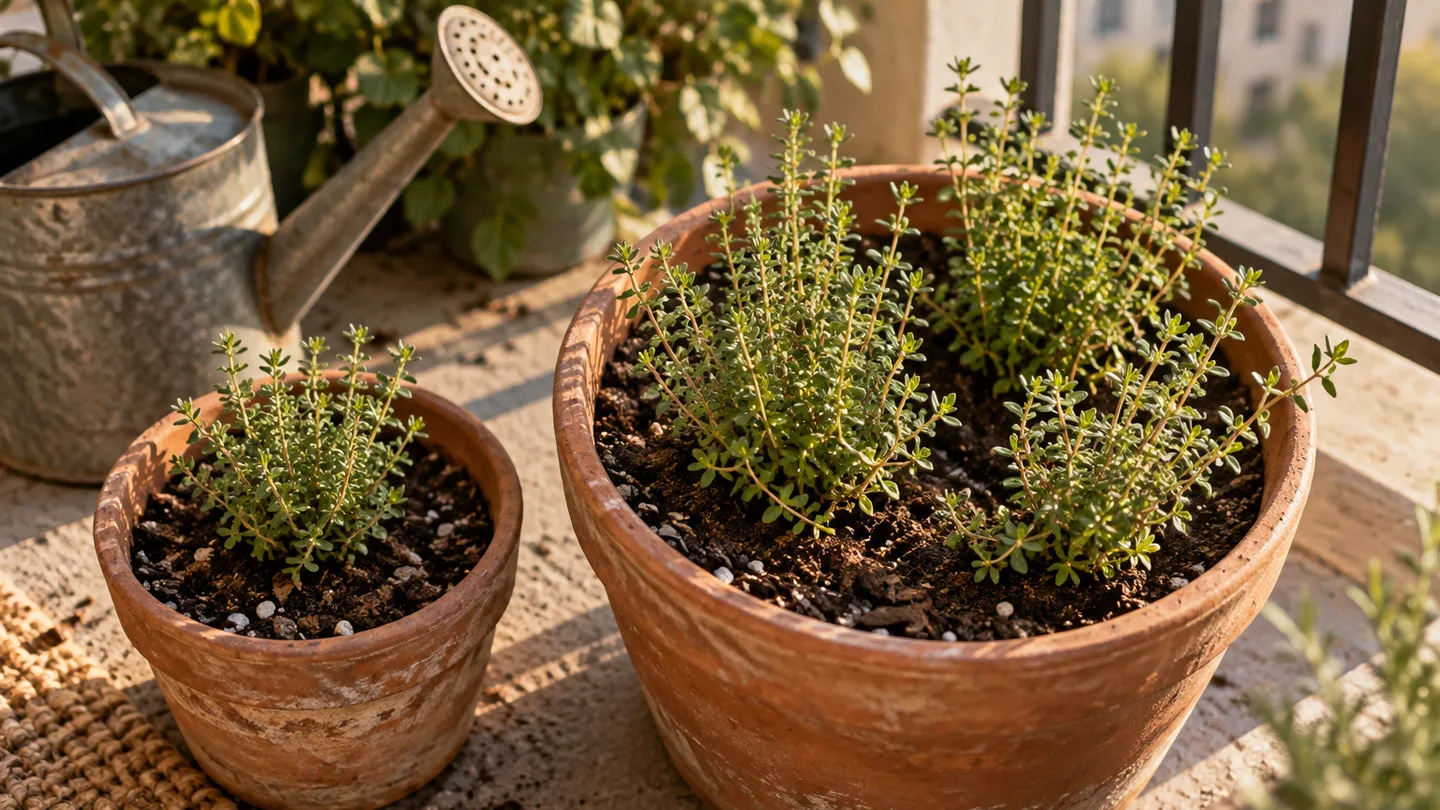
The drainage setup: an open hole beats a gravel layer
Start with a standard potting mix that holds some moisture but does not pack into a dense, waterlogged mass. If yours feels fine and moisture-retentive, a starting blend is about two parts potting mix to one part coarse perlite or pumice by volume. If the bagged mix is already loose and gritty, you may not need to amend it. The goal is a mix that can hold enough water for roots to use while allowing excess water to move out.
Use a pot with an open drainage hole. Water moves through the mix and exits at the base; a saucer catches what drains, but empty it after watering so the pot isn’t left standing in the runoff. A gravel layer at the bottom doesn’t fix a slow-draining mix. Water is held in the finer potting mix by small spaces between particles; when that mix meets much coarser gravel, water can remain perched above the boundary until enough accumulates to drain across it. Fine sand is not a substitute for coarse grit: tiny particles can fill the spaces you were trying to preserve.
Skip the gravel and adjust the mix itself instead. If water takes a long time to emerge despite a clear hole, check that the hole isn’t blocked and that the potting mix hasn’t become compacted. A shard or mesh over a large opening can keep mix from washing out, but it should not seal the hole.
For a second opinion on container media, consult regional extension advice on container potting mixes. The useful question is whether your particular mix drains freely, not whether the bag uses a particular marketing phrase.
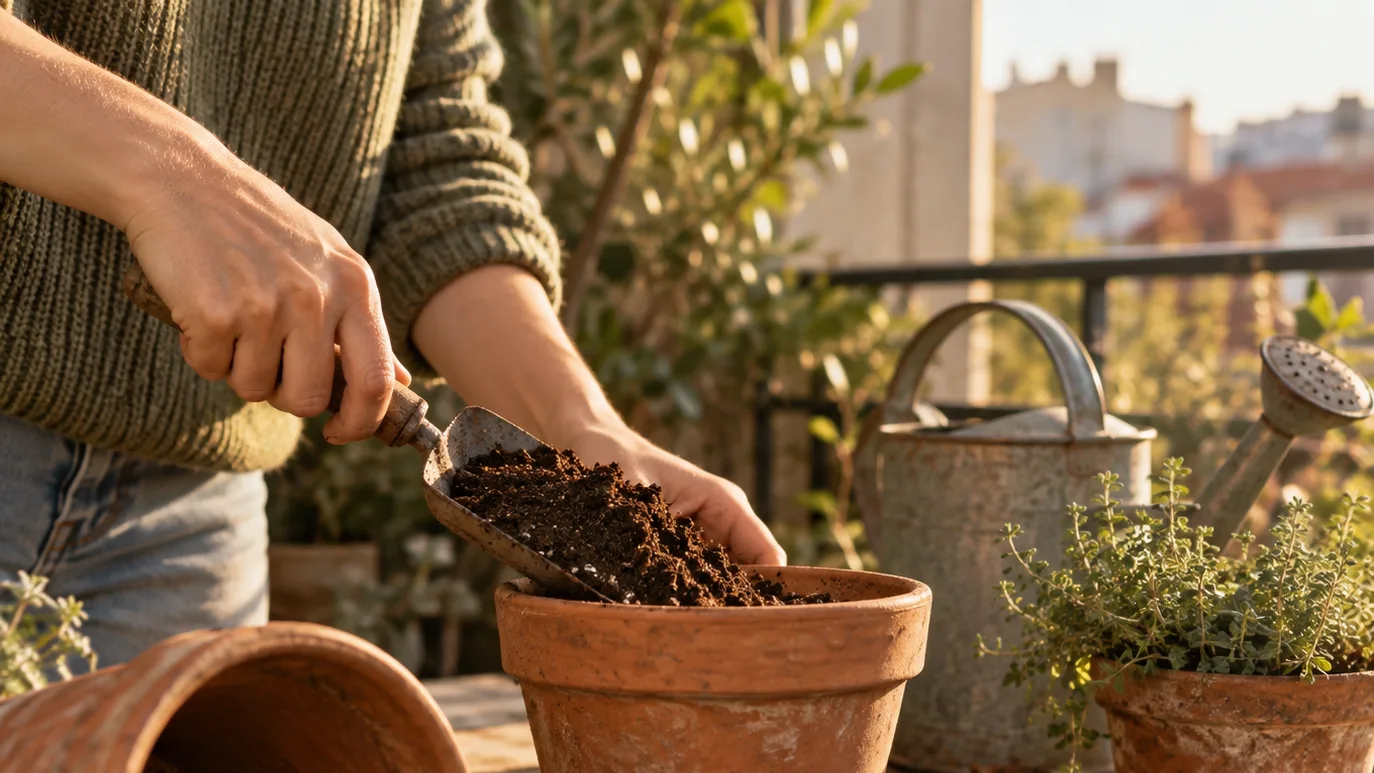
Plant at the same depth, then let the roots settle
Set the pot on a stable surface, cover the drainage hole only if needed to keep mix from escaping, and add enough mix that the nursery root ball will sit near its previous soil level. Slide the plant out gently. If roots circle tightly around the outside, loosen a few by hand; don’t tear the whole root ball apart.
Place the thyme so its crown—the point where stems meet roots—sits at the same depth it did in the nursery pot. Fill around it, keeping the mix a little below the rim so water has room to enter instead of spilling over. Firm the surface lightly with your fingers, then water through until excess drains from the hole. Let the pot drain before returning it to a saucer.
For the next few days, check the mix rather than giving the plant another automatic drink. The nursery root ball and the surrounding potting mix can have different compositions and densities, so they may dry at different speeds. I check near the edge of the original root ball as well as the surrounding mix; a dry-looking surface alone doesn’t tell me whether the whole root zone needs water.
Seed-grown thyme follows the same pot and drainage principles, but starts more slowly. Sow on the surface or cover only very lightly, and keep the seed-starting mix evenly moist while waiting for germination. Once seedlings are established, avoid keeping them constantly soggy; transplant them when they’re sturdy enough to handle.
Water when the top 1–2 inches are dry—not on a calendar
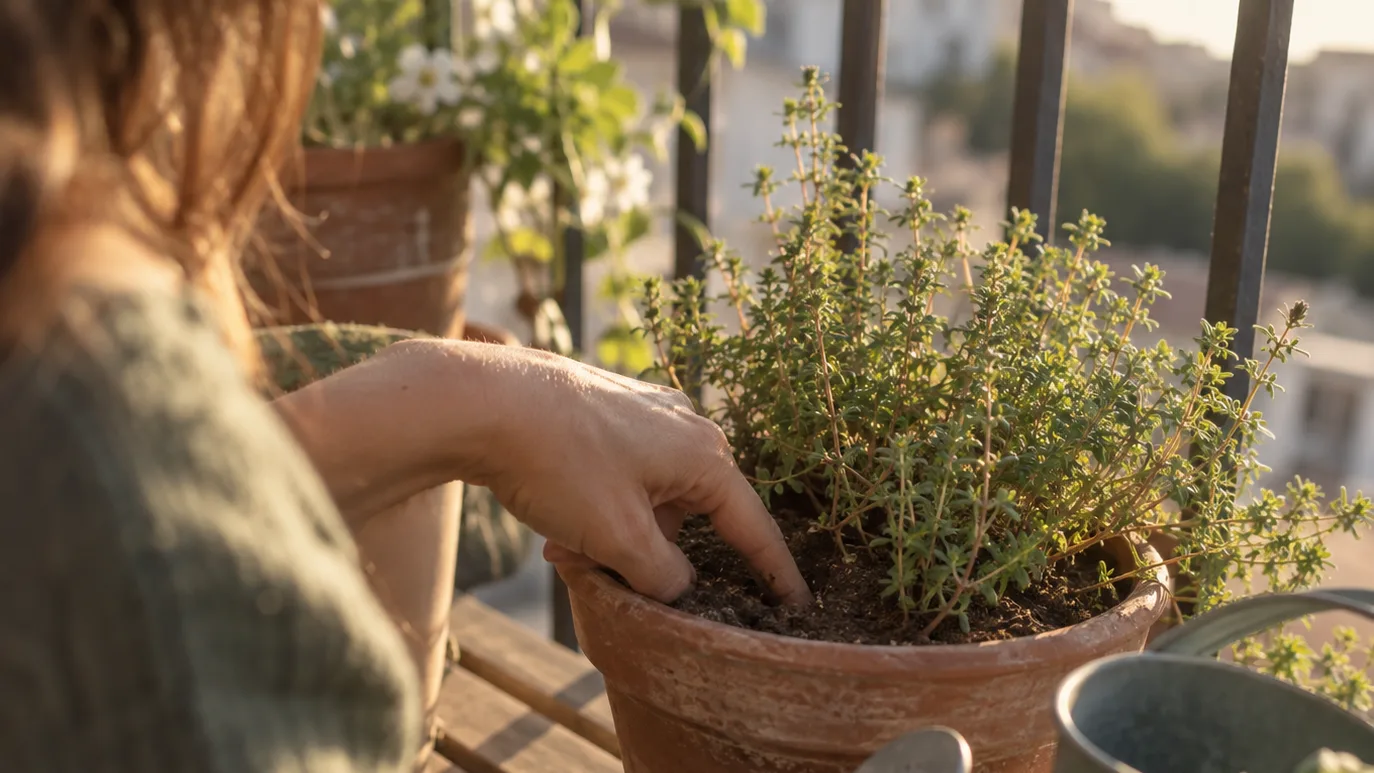
Push a finger about 1–2 inches (2.5–5 cm) into the mix. If that layer feels dry, water slowly over the surface until water runs from the drainage hole. Then let the pot drain. If the mix still feels cool and damp at that depth, wait and check again rather than watering because a weekday has arrived.
The interval changes with the conditions. Small pots have less mix to hold water; terracotta loses moisture through its sides; sun and wind increase drying. A larger plastic pot in a cooler, sheltered position may stay moist longer. In warm, exposed weather you might check daily; in a cool or partly shaded position, checks can be less frequent. The check tells you what the roots are experiencing now, which a fixed schedule cannot.
Limp or yellowing leaves don’t diagnose the problem by themselves. Both too little water and roots kept too wet can leave a plant looking unhappy. Use this order:
- Check below the surface. If the mix is dry where your finger reaches, water thoroughly and see whether the plant perks up as the root zone is rehydrated.
- If the mix is wet, check the exit. Confirm that the hole is open and the saucer is empty. A persistently wet pot calls for better drainage and a pause in watering, not another drink.
- Look at the plant’s position. If the mix is neither very dry nor persistently wet, consider recent heat, wind, abrupt sun exposure or cold before changing the watering routine.
On my balcony, I make a point of checking the nursery plug rather than judging the pot by its surface. The practical catch is that the plug can feel dry while the surrounding mix still feels damp, or the reverse. When the readings differ, I water only if the root ball itself needs it, then give the whole pot time to drain. That small check helps me avoid turning a routine watering into a guess.
Feed lightly; a lush, floppy thyme plant is not the goal
Thyme generally needs less feeding than a fast-growing leafy herb. Check the potting-mix label before adding fertilizer: some mixes include a starter charge, and adding more immediately can be unnecessary. If the plant is growing actively and the mix contains little or no feed, a diluted, balanced fertilizer used according to its label is a cautious option.
A heavily fed thyme plant can make softer growth than I want from a compact culinary herb. That’s a judgment about the form I’m trying to maintain: dense, manageable stems are easier to harvest and keep in shape than long, floppy growth. If the plant is already stretching, check its light before reaching for fertilizer; extra feed won’t replace missing sun.
Harvest sprigs without cutting back into bare, woody stems
Snip leafy stem tips with clean scissors, cutting just above a pair of leaves or a leafy side shoot. Routine harvesting can double as light shaping: take a few sprigs from different sides rather than stripping one section bare. As a cautious limit, remove no more than about one-third of the plant at one time, especially if it is young, recently transplanted or already stressed.
Try not to cut deep into old, leafless wood. A woody stem with no visible leafy growth below your cut may not produce a neat flush from that point, so leave some green growth on each stem. If your thyme has become leggy, shorten only leafy sections and make gradual corrections over several harvests instead of giving it a severe haircut.
Flowering isn’t automatically a problem. Letting some stems bloom gives up a portion of the soft tips you might otherwise harvest, but it can be a reasonable trade if you enjoy the flowers or want to leave them for visiting pollinators. For a compact cooking plant, pinch some flower stems and keep harvesting leafy tips; for a more relaxed pot, let a few blooms remain. For another woody herb with similar pruning decisions, see growing dill in pots for a contrast in growth habit and harvest style.
Winter and common setbacks: check the pot before blaming the plant
In a container, roots are surrounded by air on the sides and bottom, unlike roots insulated by the ground. That makes a pot more exposed to temperature swings. What to do in winter depends on your local cold, the pot material and how sheltered the balcony is; don’t assume a plant that survives in a garden bed will have the same protection above ground.
Before a cold spell, move the pot beside a sheltered wall if that spot still has suitable light, and keep it out of strong drying wind where practical. Don’t bring it into a warm, dim room and expect it to thrive there. In a very cold location, ask a local horticultural service about protecting perennial herbs in containers, and check the Royal Horticultural Society’s thyme-growing guidance for general growing information. Persistent wetness is a separate problem: winter watering should still follow the moisture in the mix, not a fixed weekly rule.
Brown, woody lower stems can be part of an older thyme plant’s shape; sudden limpness or widespread yellowing deserves a check of moisture and drainage first. If the pot stays wet, address the mix, hole and saucer. If the root zone is dry, water thoroughly and reassess. Don’t cut a struggling plant back into bare wood in the hope that pruning alone will solve it.
Can thyme grow indoors on a windowsill?
Yes, if the window gets strong direct light for a good part of the day. A dim window can leave growth sparse, and the pot still needs an open drainage hole. Turn the pot occasionally if growth leans toward the glass.
Can I grow thyme from seed in a pot?
Yes. Sow on the surface or with only a very light covering, keep the mix evenly moist during germination, and expect a slower start than with a nursery plant.
Can thyme share a pot with rosemary or sage?
They can suit similarly sunny, free-draining conditions, but match companions by their eventual size. A rosemary plant can become the larger presence and crowd a small thyme root zone. If you want a dedicated guide to growing cilantro in pots, its watering needs are a useful reminder that not every culinary herb belongs in the same shared planter.
This week, check the pot’s drainage hole, note how many hours of direct sun reach the spot, and feel the mix an inch below the surface before watering. If those three checks look right, your thyme has a sensible start.
Frequently Asked Questions
Can thyme grow indoors on a windowsill?
It can, if the spot receives strong direct light for much of the day; explain that a dim window often leads to sparse growth and that the pot still needs drainage.
Can I grow thyme from seed in a pot?
Yes. Describe sowing on the surface or with only a very light covering, keeping the mix evenly moist during germination, and why a small nursery plant gives a quicker start.
Can thyme share a pot with rosemary or sage?
They have broadly similar sunny, well-drained preferences, but rosemary can outgrow thyme; suggest matching companions by eventual size and leaving enough root space.