Nitrogen Deficiency in Plants: Signs, Causes and Fixes
Nitrogen deficiency usually starts with the oldest leaves—not the newest ones
Nitrogen deficiency in plants usually appears first on the oldest, lowest leaves. They fade fairly evenly from green to pale green or yellow, while the newest growth often stays greener for a while. Before you pour fertilizer into the pot, compare the lowest 3–5 leaves with the newest 2–3 leaves and check the root-zone moisture.
Nitrogen is mobile inside a plant, so the plant can move some of it away from older tissue and toward active growth when the supply is short. That explains the pattern: older leaves lose colour first, growth slows, and new leaves may be smaller than expected. It also explains why a single yellow leaf is weak evidence. The pattern across the plant matters more than one damaged leaf.
Before I add fertilizer, I compare the lowest 3–5 leaves with the newest leaves, then look at moisture and drainage. Yellow leaves alone are not a diagnosis. If the plant is finishing its season, normal end-of-season leaf drop can begin with older leaves too, but the whole plant usually shows a broader slowdown rather than a sudden contrast between pale old leaves and vigorous new growth.
Those are the plant nutrient deficiency signs I would check first: leaf age, whether the yellowing is even or patterned, and whether the newest growth is still expanding normally.
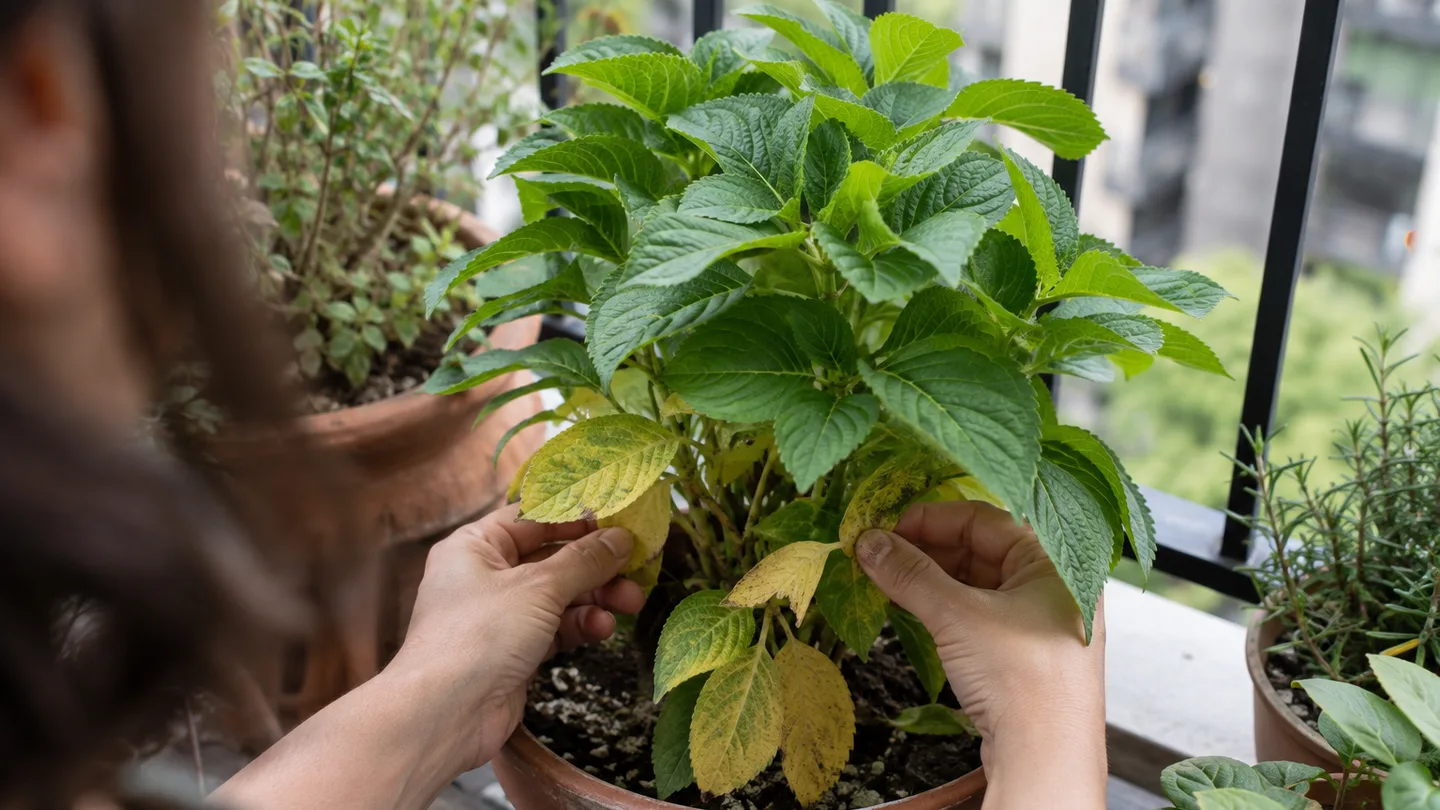
A 10-minute container check: compare old leaves, new growth, moisture and roots
I use a 10-minute check before I feed a yellowing container plant. The order matters because a dry or damaged root system can create the same pale colour as a nutrient shortage, while adding fertilizer to that root system can make the stress worse.
- Inspect the leaf pattern. Look at three to five of the oldest leaves and two or three of the newest. Note whether the colour change is fairly even, follows the veins, or looks like tiny dots.
- Feel the mix below the surface. Push a finger or a wooden stick 2–5 cm (¾–2 in) into the potting mix. The surface can look dry while the centre remains wet, especially in a deep plastic pot.
- Lift the pot if it is safe to do so. A very light pot suggests that the mix has dried; a surprisingly heavy pot several days after watering suggests that the root zone is staying wet.
- Check the drainage. Water should be able to exit through the holes rather than pooling in a saucer. Empty standing water after watering if the container is sitting in it.
- Inspect roots only when repotting is already necessary. Healthy roots are not a uniform colour in every plant, but brown, soft, collapsing roots together with sour-smelling wet mix are a strong reason to stop feeding and investigate root damage.
On my own balcony, I once had a pepper in a 25 cm (10 in) plastic pot whose lower leaves were fading. I nearly reached for liquid feed, but the mix was still damp 4 cm (1½ in) down and the saucer held water. I emptied the saucer, moved the pot where air could reach it, and waited for the mix to dry partway before watering again. The next leaves held their colour; the old leaves did not turn green again. I keep overwatered plant symptoms as a second check whenever a yellowing plant feels heavy rather than light.
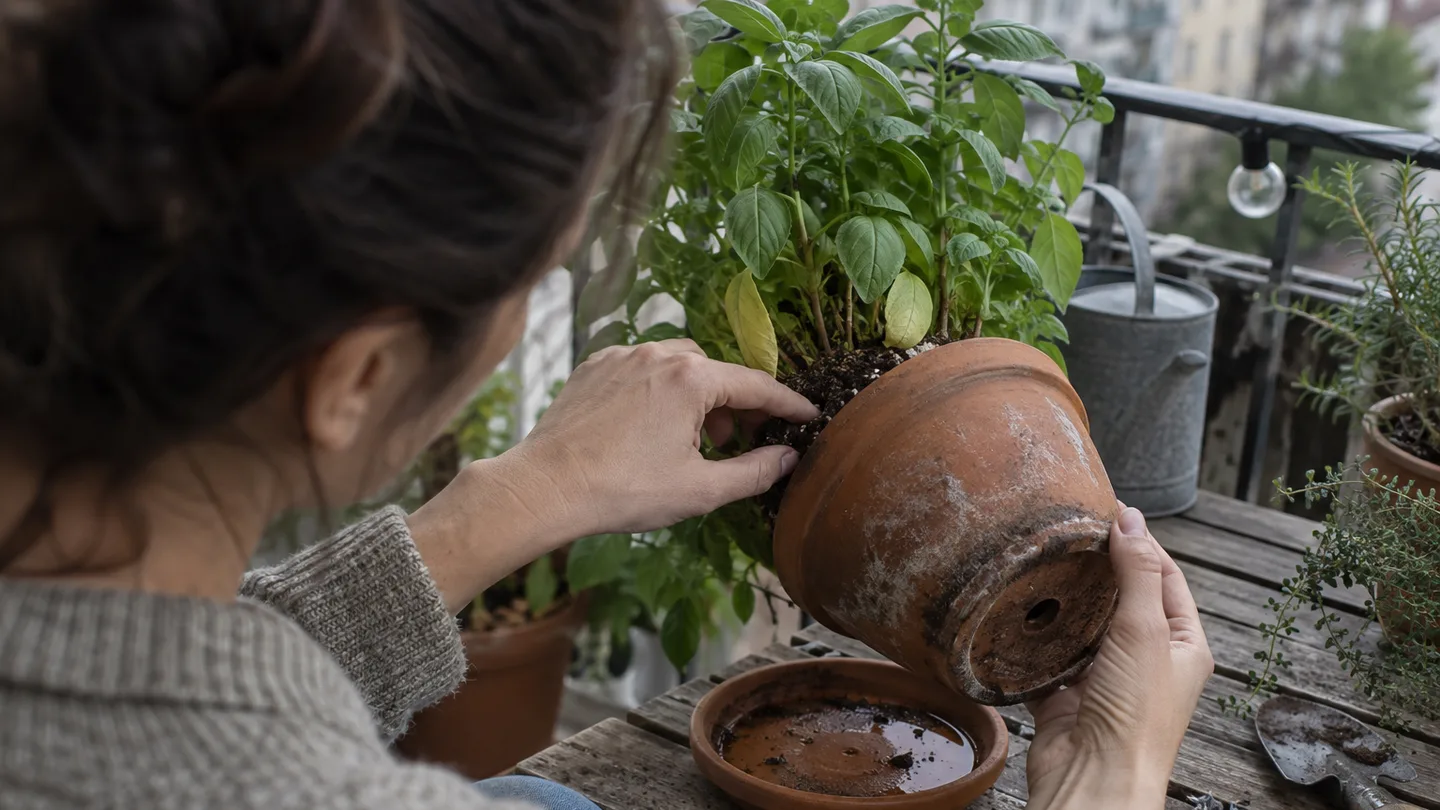
Yellow leaves with green veins, soggy soil or speckling? Rule out the look-alikes
The useful distinctions are pattern, leaf age and moisture. They do not replace a soil or tissue test, but they tell you which check to make next instead of treating every yellow leaf with nitrogen.
| What you see | What I would consider first | Next check |
|---|---|---|
| Older leaves turn fairly evenly pale green or yellow | Nitrogen shortage is possible | Check new growth, feeding history and drainage |
| Newest leaves are yellow while the veins remain green | Iron availability, pH or root uptake | Test the mix and inspect moisture before adding iron |
| Older leaves yellow between greener veins | Magnesium availability or root-zone imbalance | Check the crop, pH and fertilizer label |
| Leaves pale while the mix stays wet; the plant may wilt | Root stress or overwatering | Check drainage and roots during necessary repotting |
| Fine speckles, distorted leaves, insects or webbing appear | Pests | Look closely under leaves and along new growth |
| One or two oldest leaves fade while the rest grows normally | Normal ageing is possible | Watch the newest leaves rather than feeding automatically |
Many herbs and vegetables perform around pH 6.0–7.0, but that is a working range rather than a universal target. Some acid-loving crops may need roughly pH 4.5–5.5. A blueberry, for example, should not be managed as though it has the same root-zone requirement as a basil plant. Test the mix and check the crop’s requirements before adding lime, sulfur, iron or another amendment.
If you want a named second reference, I’d compare the symptom language with University of Minnesota Extension's Understanding plant nutrients. I use it as a cross-check, not as permission to skip the moisture and root inspection in a small pot.
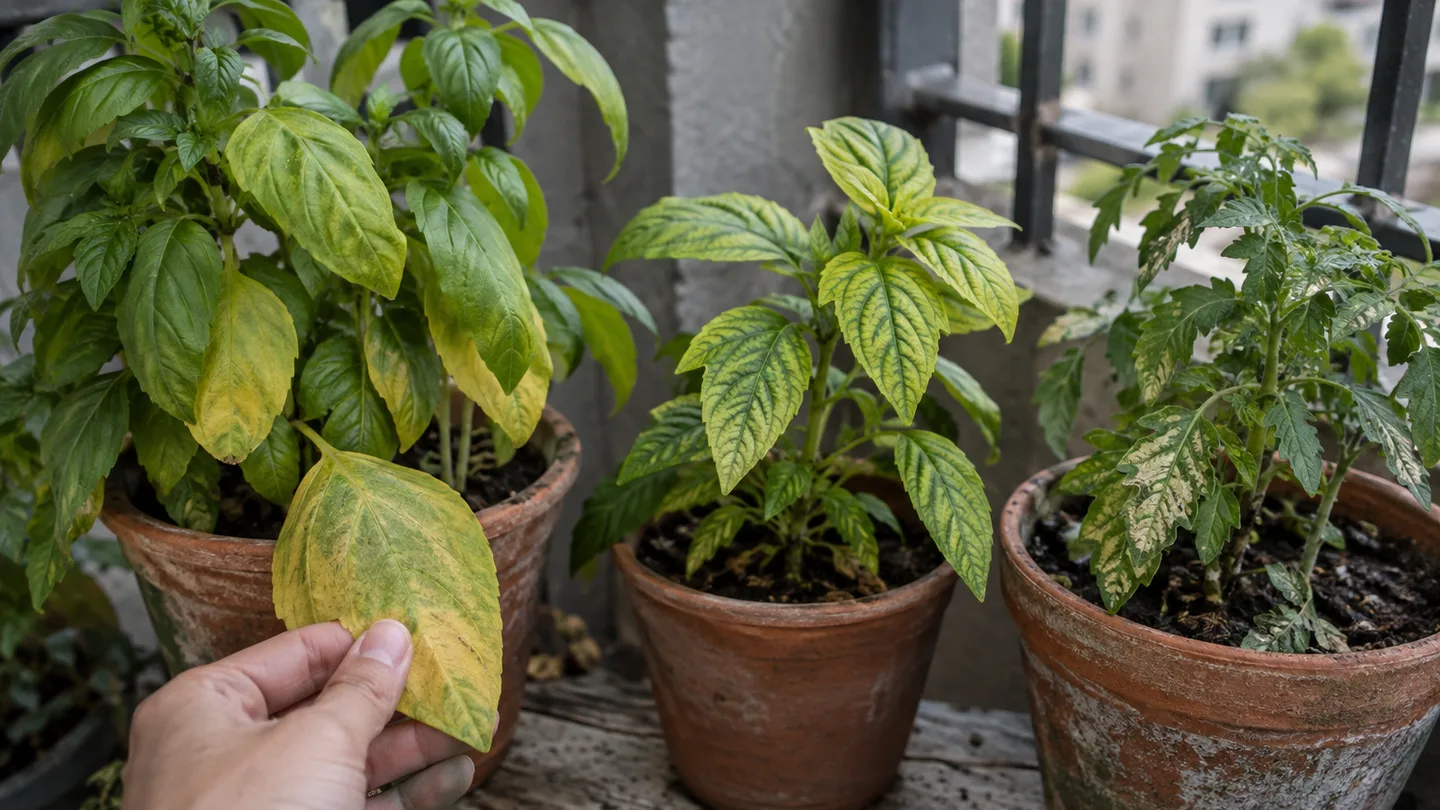
Why a full pot can still leave a plant hungry
A full pot is not the same thing as a fed pot. Container roots live in a limited volume, and the nutrients in that volume can change faster than they would in a large bed of soil.
Repeated drainage carries some soluble nitrogen away. The effect is more noticeable in a small container that needs frequent watering, particularly during warm, windy weather. The plant may be surrounded by damp mix after watering but still have less available nitrogen than it had earlier in the season.
A small pot also has a finite nutrient reserve. Many commercial potting mixes are labelled to feed for about 4–6 weeks, but the actual duration depends on the mix, the crop, watering frequency and the product label. Once that initial reserve is used or washed out, the plant needs a deliberate feeding rhythm.
Roots also need workable conditions before they can take up nitrogen. Waterlogged mix displaces air from the pore spaces. Cold, compacted or badly pH-balanced mix can reduce root activity as well. Fresh, carbon-rich material such as uncomposted sawdust can temporarily tie up nitrogen while microbes break it down, leaving less immediately available to the plant.
That is why I do not reduce every case to not enough fertilizer. The more useful question is: was nitrogen absent, washed out, unavailable at the root, or simply misdiagnosed?
Choose the least risky fix: fertilizer form, N-P-K number and dose
The first number in an N-P-K label is nitrogen. The other numbers describe phosphorus and potassium, so a product with a larger first number contains a larger nitrogen proportion by label analysis. That does not make it the best choice for every crop or every stressed pot.
| Fertilizer form | Useful role | Working interval | Main risk |
|---|---|---|---|
| Water-soluble or liquid | Quick correction once roots are hydrated and functioning | Often reapplied in a 7–14-day range only when the label permits it | Overdose, salt buildup or fast loss through drainage |
| Controlled-release granules | Steadier background feeding during active growth | Many products specify an 8–12-week duration or another product-specific window | Harder to reverse if the dose is too high or the plant stops taking up nutrients |
| Slower organic nitrogen source | Gradual contribution as the material breaks down | Varies widely by product and temperature | Too slow for an acute deficiency, or inconsistent in a cold pot |
Liquid products are usually the quickest way to provide plant-available nitrogen, but quick is not the same as better. The highest nitrogen number is not automatically best. Excess fertilizer salts can draw water away from roots, burn leaf margins and leave a white crust on the mix.
For edible containers, use a product whose label suits the crop and the intended use. Read the dilution and application directions on the container rather than borrowing a dose from a different product. The Association of American Plant Food Control Officials (AAPFCO) label resources can help explain label terminology, but the product label in your hand still controls how that product is used.
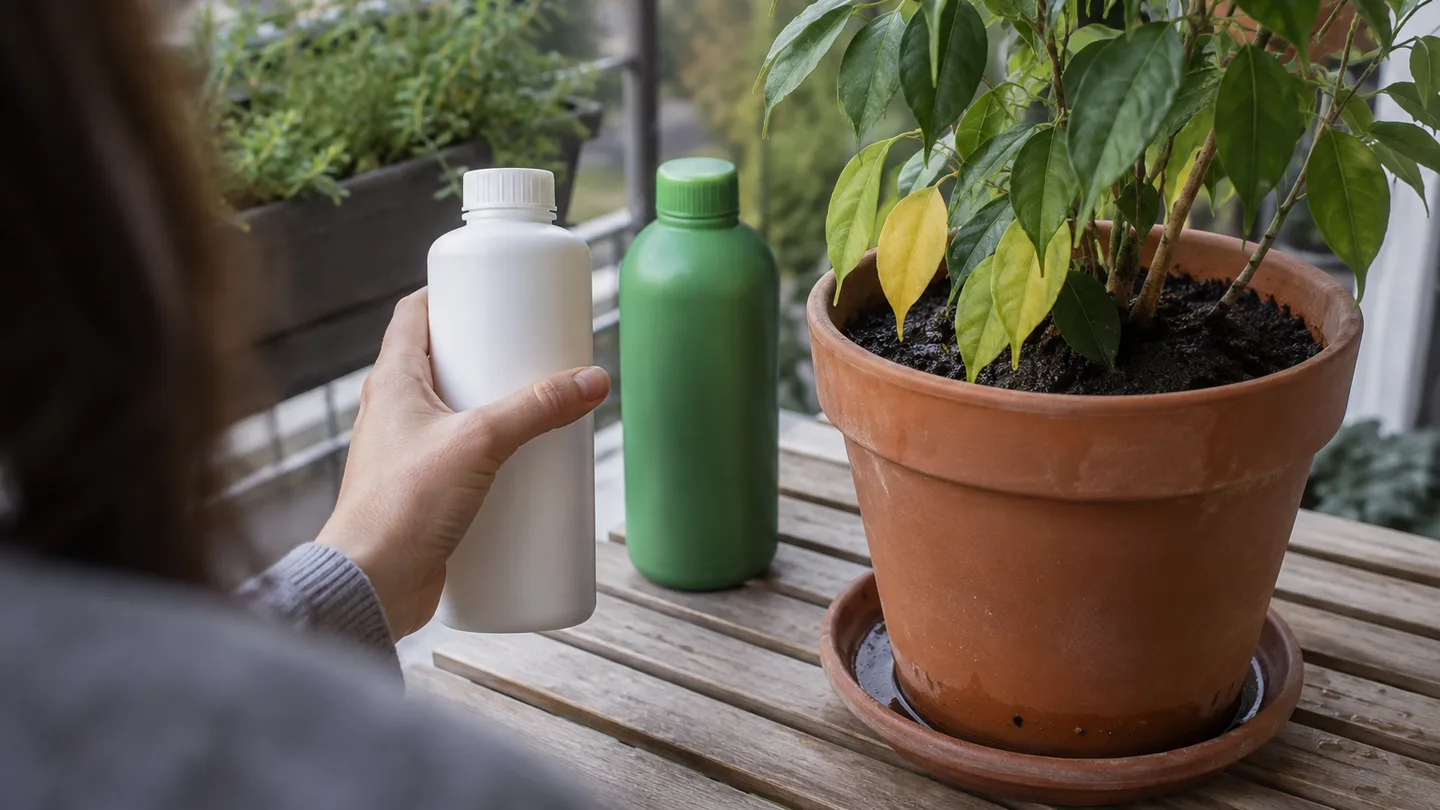
Correction order matters: water first, repair roots, then feed
Fertilizer cannot solve a root system that is unable to absorb it. I use this sequence so the correction does not create a second problem.
- If the mix is dry, water first. Water thoroughly until a little exits the drainage holes, then let the root zone rehydrate. Do not scatter concentrated fertilizer onto a bone-dry root ball. If you need a refresher on the watering part, keep how much to water container plants nearby, but still judge the pot in front of you.
- If the mix is saturated, pause feeding. Let the container drain, empty the saucer and check why water is staying in the pot. If roots are brown and mushy during necessary repotting, remove the failing material, use fresh well-draining mix and correct the drainage before feeding.
- When the root zone is functioning, feed modestly. Apply the chosen fertilizer at the label rate to moist mix. Keep granules and concentrated liquid off the foliage unless the label specifically directs a foliar application.
- Do not double-dose. Do not combine a liquid feed with controlled-release granules just to speed recovery, and do not repeat the application early because the old leaves still look damaged.
Moist mix helps distribute soluble fertilizer around the root zone. A dry, damaged or salt-loaded root zone does the opposite: it concentrates the fertilizer where roots are already struggling. If the plant is waterlogged, more fertilizer simply adds chemistry to a drainage problem.
Recovery is measured in new leaves, not a miraculous comeback of old ones
Recovery is measured in new leaves. A damaged lower leaf often stays pale, develops brown edges or drops even after the underlying shortage is corrected. That is not proof that the treatment failed.
Make a first check after 7 days, then reassess the plant over 14–21 days under suitable light, moisture and root conditions. I’d expect improvement to show as newer leaves holding a healthier colour and expanding normally, not as every old yellow leaf returning to its original green.
No improvement after roughly 2–3 weeks is a reason to revisit the diagnosis. Check pH, roots, pests, temperature, light and the fertilizer label before adding another dose. If the newest leaves are still paling while the mix remains wet, nitrogen may never have been the main problem.
A container feeding rhythm: match the interval to pot, weather and fertilizer
A simple feeding log beats a rigid calendar. Write down the product, dilution or amount, date and whether the plant was actively growing. Then review the newest leaves after two weeks instead of stacking treatments because the weather changed.
For a liquid fertilizer, a 7–14-day interval may be reasonable during active growth only if the label permits it. A controlled-release product should follow its stated duration, such as an 8–12-week window, rather than being topped up every time the plant is watered. A slow organic source needs its own label guidance and may release less predictably in cool mix.
Conditions can change the watering and leaching pattern without changing the fertilizer dose. A small plastic pot in full sun may dry faster than a larger glazed pot in part shade. Wind, heat and a thirsty crop can increase watering demand, but more frequent watering does not automatically justify more fertilizer. It may mean you need to inspect drainage and root-zone moisture more carefully.
For the calendar question, I use the same rule described in how often to fertilize container plants: let the label set the interval, then adjust only when the crop, growth stage and container conditions justify it. If the plant is dormant, newly repotted, badly wilted or root-damaged, feeding frequency is not the first decision.

The no-feed decision: stop adding nitrogen when the symptom points elsewhere
At this point, I stop adding nitrogen when the pattern points to salts, roots, pH or pests instead. These red flags tell you what to check next:
- White crust on the mix or burned leaf margins: pause fertilizer and consider salt buildup. If the pot drains freely and is not already saturated, run plain water through it until drainage is clear. Do not flush a waterlogged container by adding even more water; fix the drainage first.
- Newest leaves yellow with green veins: check pH, roots and the crop’s iron requirements before applying an iron product. The issue may be availability rather than a lack of total iron in the pot.
- Wet mix plus wilting, yellowing or a sour smell: treat root failure as the priority. Improve drainage and inspect roots during repotting rather than feeding a plant that cannot absorb the fertilizer.
- Stippling, distorted growth or webbing: inspect leaf undersides and growing tips for pests. Nitrogen will not repair feeding damage from insects or mites.
Take one final photo of the newest leaves, check the mix 2–5 cm (¾–2 in) down and write down what you changed. Then check the same pot again in 7 days. If new growth is holding its colour, stay with the plan; if it is worsening, revisit the diagnosis instead of reaching for a stronger fertilizer.
Three side questions that cause bad fixes
Do coffee grounds fix nitrogen deficiency in potted plants?
Fresh coffee grounds are not a quick, reliable source of plant-available nitrogen for an already hungry pot. They can also alter texture and moisture near the surface. Composted material contributes more gradually, while a labelled fertilizer gives you a more predictable acute correction. The practical answer to the search coffee grounds for plants is: compost them first, and do not treat fresh grounds as emergency fertilizer.
Does Epsom salt add nitrogen to plants?
I do not use Epsom salt as a nitrogen treatment. Epsom salt is the common name for magnesium sulfate, so it supplies magnesium and sulfur rather than nitrogen. It will not correct nitrogen deficiency, and adding unnecessary salts can complicate a diagnosis that was wrong in the first place.
Can I use lawn fertilizer to fix nitrogen deficiency in a vegetable container?
Only use lawn fertilizer if its label suits the crop and container use. Some lawn products are formulated for turf rates or include weed-control ingredients that are inappropriate around edible plants. Check the full label, not just the large nitrogen number on the front.
Before the weekend, buy no second additive. Check the pot’s moisture, photograph the newest leaf and confirm that water exits the drainage holes. In seven days, compare that new growth with the photograph; it will tell you more than another dose added on guesswork.
Frequently Asked Questions
Do coffee grounds fix nitrogen deficiency in potted plants?
Fresh coffee grounds are not a quick, reliable source of plant-available nitrogen and can affect moisture and texture in a pot; composted material contributes more slowly, while a labelled fertilizer is the more predictable acute correction.
Does Epsom salt add nitrogen to plants?
No. Epsom salt supplies magnesium and sulfur, not nitrogen, so it will not correct nitrogen deficiency and can add unnecessary salts when the diagnosis is wrong.
Can I use lawn fertilizer to fix nitrogen deficiency in a vegetable container?
Only use a product whose label suits the crop and container use; lawn products may be too concentrated or may include weed-control ingredients that are inappropriate around edible plants.