Tomato Plant Wilting? 7 Causes and the Fix for Each
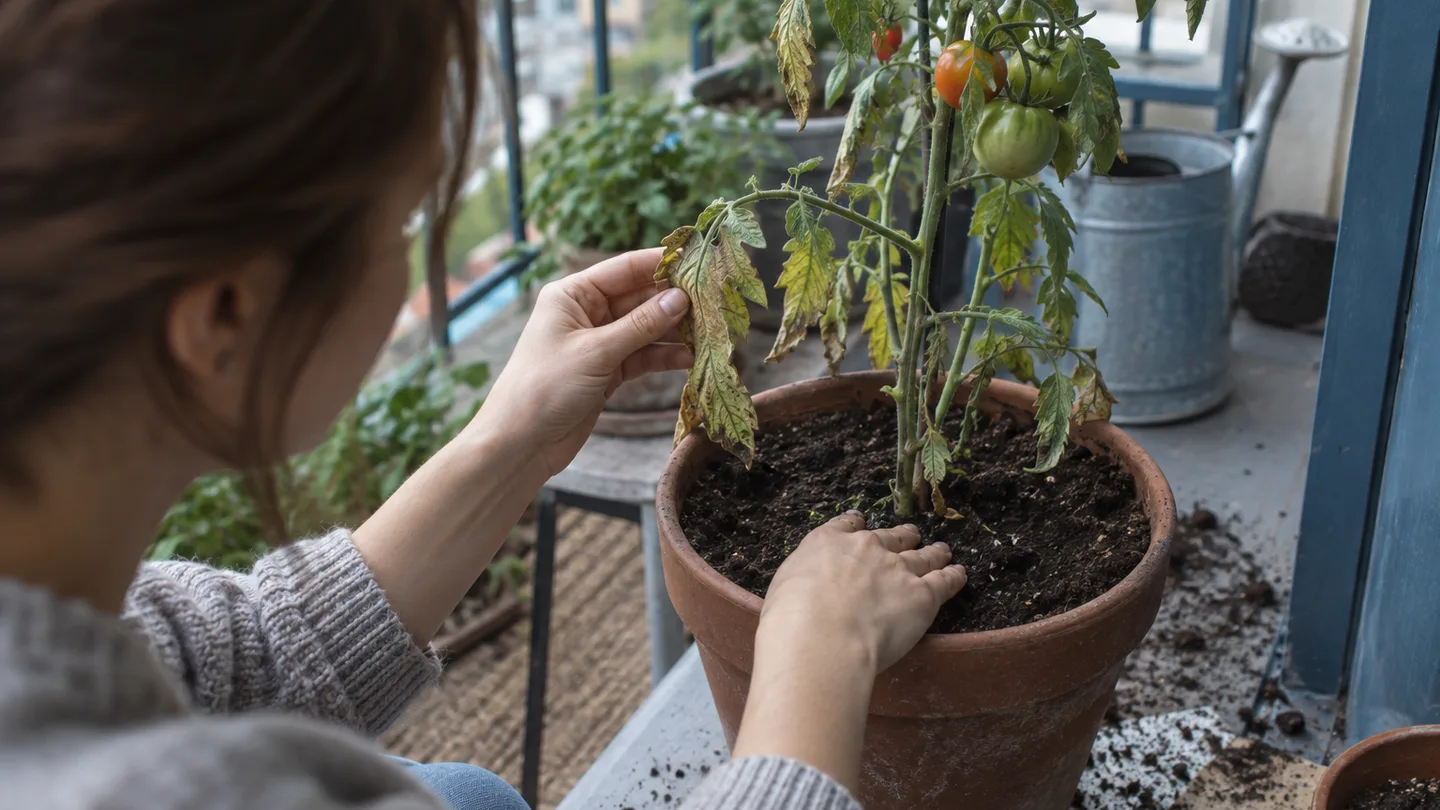
A tomato in a 20-litre (5-gallon) container can droop at noon for two opposite reasons: the root ball is dry, or the roots are too wet to supply water. The fastest split for a tomato plant wilting is to check it again at first light, then feel the potting mix 5 cm (2 in) below the surface before you reach for the hose.
That quick check usually points me toward one of seven jobs: rehydrate the mix, reduce heat and wind, repair drainage, settle transplant shock, release stem damage, investigate disease, or look for pests. Here’s how I separate them without guessing.
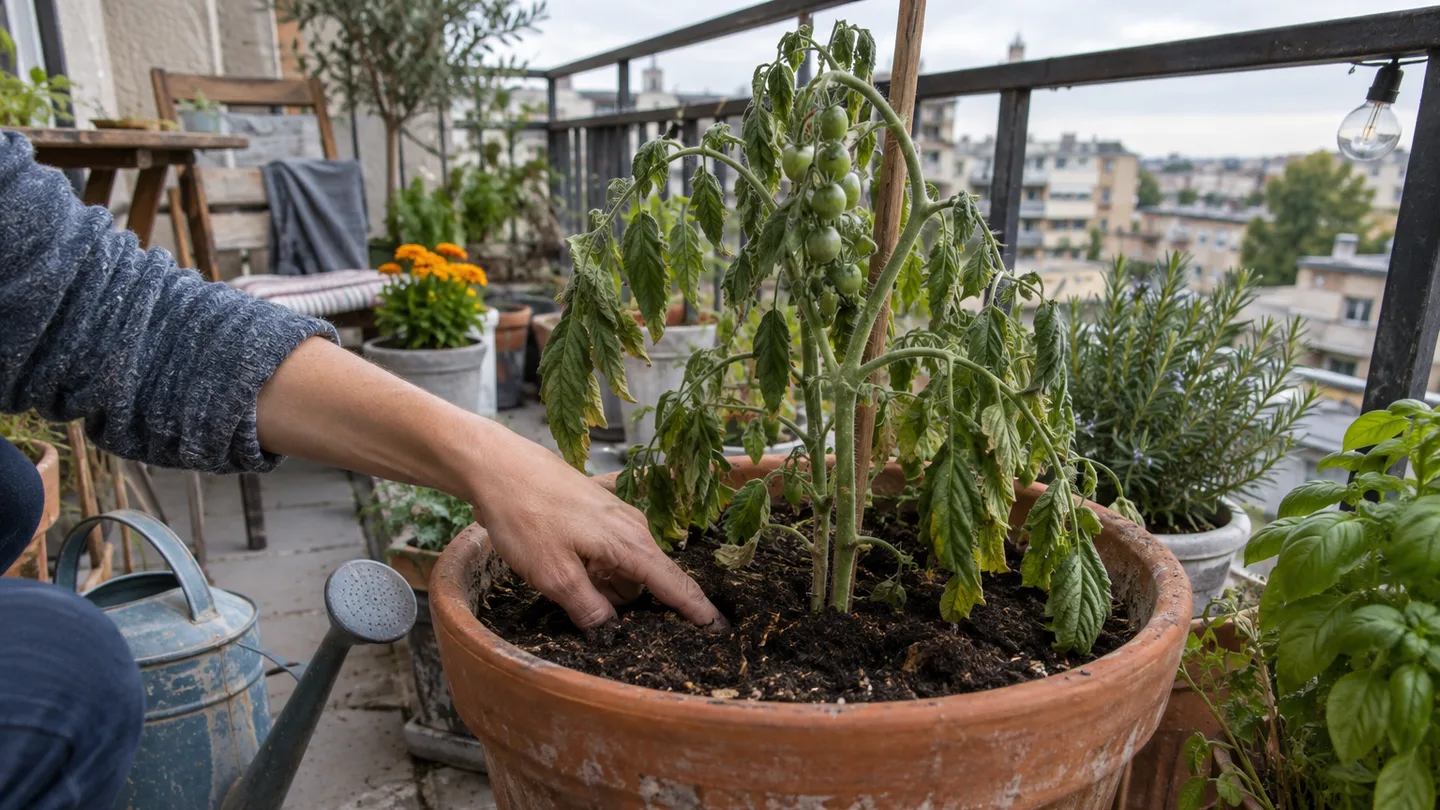
Start with the overnight test: temporary wilt or a plant in trouble?
I start with timing because a tomato that wilts only in the hottest part of the day is telling you something different from one that is still limp at breakfast. Check the plant before direct sun reaches it. If the leaves have lifted overnight, then press a finger into the mix about 5 cm (2 in) down.
- Leaves upright by morning, mix dry: treat it as a watering problem first.
- Leaves upright by morning, mix damp: heat, wind, or a small root volume is the better lead.
- Leaves still limp by morning, mix wet: skip more water and inspect drainage, roots, and the lower stem.
- One branch limp above a bend, tie, or pruning wound: inspect the stem before disturbing the roots.
- Whole plant worsening despite suitable moisture: move disease and serious root damage higher on the list.
This is triage rather than a diagnosis. Wilt is the plant losing firmness faster than its water-conducting system can replace it, and several unrelated problems can produce that same look.
Cause 1: The potting mix is dry below the surface
The top centimetre of a container can look dark while the main root ball underneath is dry. This happens after a light sprinkle, when water runs down a gap between the mix and the pot wall, or when a leafy tomato has used the available moisture faster than you noticed.
Push your finger, a wooden chopstick, or a narrow moisture probe 5 cm (2 in) into the mix close to the stem but not through the roots. Dry, crumbly mix at that depth points toward thirst. A pot that feels unusually light compared with the day after watering supports that reading. Compare the weight with your own pot rather than relying on an absolute idea of light or heavy; glazed ceramic, plastic, and fabric containers feel very different.
Rehydrate slowly. Pour enough water to wet the surface, wait about five minutes, then repeat once or twice. That pause gives dry particles time to swell and take up water instead of sending the next pour straight down the sides. Finish when water begins to appear from the drainage holes, then empty the saucer.
If the first pour immediately races out around the edge, the mix may have shrunk away from the pot or become difficult to wet. Pour more gently over the whole surface, or set the pot in a shallow tray for a short soak and remove it once the mix is evenly damp. A long soak with the pot sitting in water can leave the lower section saturated, so the tray is a rehydration aid, not a permanent reservoir.
For the ongoing schedule, the useful question isn’t whether it’s Tuesday. It’s how quickly this particular pot loses moisture in its current weather. The guide on how often to water container plants gives you the broader framework; for a tomato, use the 5 cm check to adjust it.
Cause 2: Heat and wind are pulling water out faster than roots can replace it
When a container tomato sits in full sun during weather around 30°C (86°F) or warmer, the leaves may lose water faster than the roots can move it upward. Wind adds to the problem by stripping away the still, humid air next to the leaves. The plant droops temporarily to reduce that loss; it isn’t necessarily asking for another full watering.
The pattern is distinctive: leaves hang during the hottest hours, the mix is still damp 5 cm down, and the plant partly or fully recovers in the evening or by morning. Flowers may also drop during a severe hot spell, but that alone doesn’t prove the pot is dry.
Last July, on my south-east-facing balcony, a compact tomato in a roughly 25-litre (6.5-gallon) plastic pot drooped hard around mid-afternoon during a spell near 31°C (88°F). The mix was damp below the surface, and the leaves stood up again the next morning. I moved the pot behind a slatted screen for afternoon shade and laid a loose 3 cm (about 1 in) layer of mulch over the mix. I didn’t add another heavy watering, and that episode changed how I read midday wilt: I check the root zone before treating the clock as the problem.
Give the plant a little less exposure rather than trying to out-water the weather:
- Provide afternoon shade during the hottest stretch while keeping enough morning light for growth.
- Use a screen, railing panel, or nearby grouping of pots to take the edge off strong wind.
- Add 2–5 cm (1–2 in) of loose mulch, leaving a clear gap around the stem.
- For the next season, choose a larger container if the plant repeatedly dries by late afternoon. More root volume acts as a water buffer.
Check again in the evening. If the plant remains limp after temperatures fall, or if the mix has become dry at root depth, move back to Cause 1 rather than assuming heat explains everything.
Cause 3: Wet roots are suffocating in a pot that drains badly
A tomato can look thirsty while sitting in saturated mix. Roots need moisture, but they also need air-filled spaces around them. When those spaces stay full of water, root function declines; the plant then struggles to move water to the leaves even though plenty of water is present in the pot.
In a container, the lower part of the mix can hold water above the drainage opening. Gardeners often call this the perched water table: a band of wet mix that remains above the hole because the fine particles hold water against gravity. The exact height changes with the mix and pot, but a blocked hole, a saucer full of water, or a very fine mix can leave too little air around the lower roots.
Check the drainage in this order:
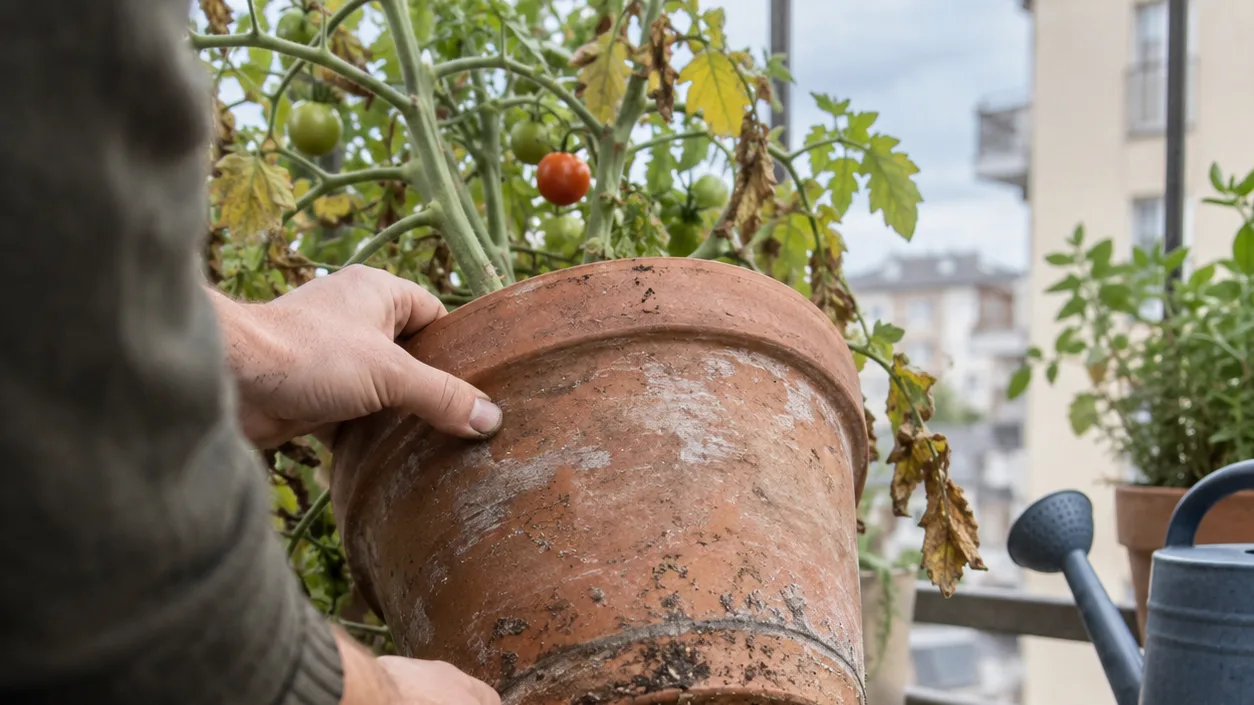
- Look underneath the pot for open drainage holes. Roots, weeds, a folded saucer, or compacted mix can block them.
- Check whether the pot is standing in water. Empty the saucer after watering and raise the container slightly if the base sits flat against a surface.
- Smell the mix. A sour or stagnant odour, together with yellowing leaves and persistent wilt, makes poor root conditions more plausible.
- If you can inspect the roots, healthy roots should feel firm. Dark, soft, collapsing roots are a warning that the plant has lost working root tissue.
Adding gravel to the bottom usually isn’t the repair people hope for. A layer of stones doesn’t create extra root volume or pull water out of the fine mix above it. It can also reduce the amount of usable mix while leaving the saturated zone in place. The better fix is a clear hole, a freely draining container, and a mix that holds moisture without staying slick and airless.
Pause watering while the upper root zone remains wet. Clear the holes and empty the saucer. If the mix smells sour or the roots are soft, move the tomato into a clean pot with fresh mix, handling the remaining roots gently and removing only tissue that is plainly dead and mushy. The article on overwatered plant symptoms can help you compare the leaf clues, but the pot itself is the evidence I trust first.
Cause 4: Recent transplanting or root damage has broken water uptake
Transplant shock is mainly a timing diagnosis. If a tomato begins wilting immediately after planting, sliding out of its nursery pot, or having its roots disturbed, the damage may have interrupted water uptake before the leaves had time to adjust. The first 24–72 hours are the period I watch most closely.
Recovery works best in a quiet order:
- Moisten the root zone evenly, but don’t turn the container into a puddle.
- Move the plant out of harsh afternoon sun for two or three days while it re-establishes contact with the mix.
- Support the stem so wind doesn’t rock the root ball and reopen small breaks around the roots.
- Hold off on heavy feeding. A plant with disturbed roots has less capacity to manage a concentrated fertiliser solution.
- Leave the roots alone. Repeatedly digging to check them creates the same damage you’re trying to cure.
Wilt that starts before transplanting, keeps worsening after several sheltered days, or appears with a wet, sour pot no longer fits a simple shock explanation. At that point, return to the overnight test and inspect the other causes.
Cause 5: A tight tie, snapped stem, or heavy pruning is blocking the stem
One limp branch is a valuable clue. If everything above a bent, split, pinched, or sharply kinked section droops while the rest of the tomato looks reasonably firm, water may be failing to pass the injury. A whole plant can also wilt if the main stem is damaged close to the soil.
Run your fingers along the stem and examine every support point. Look for a tie cutting into expanding growth, a clip pressing against the stem, a crack caused by moving the pot, or a split where a heavy fruit truss pulled the branch down. Give growing stems at least a finger of slack. The tie should support the plant without becoming a tourniquet as the stem thickens.
If the stem is bent but still connected, support it loosely and reduce movement. If a section is fully broken or crushed, make a clean cut below the damaged tissue and remove that section rather than leaving a ragged wound. With pruning, the size and timing of the cut matter: removing a few suckers is different from stripping a large amount of leaf during a hot afternoon. The practical guide to pruning tomato plants is worth using before making a major cut.
Localized wilt above an obvious injury points me toward the stem first. Whole-plant wilt with no physical interruption sends me back to the roots, moisture, disease, or pests.
Cause 6: Vascular wilt disease is stopping water inside the plant
Fusarium wilt, Verticillium wilt, and bacterial wilt are serious possibilities because they interfere with the plant’s internal water-conducting tissue. That tissue, often called the xylem, carries water upward from the roots. A plant can therefore have moist mix and still behave as if it is thirsty.
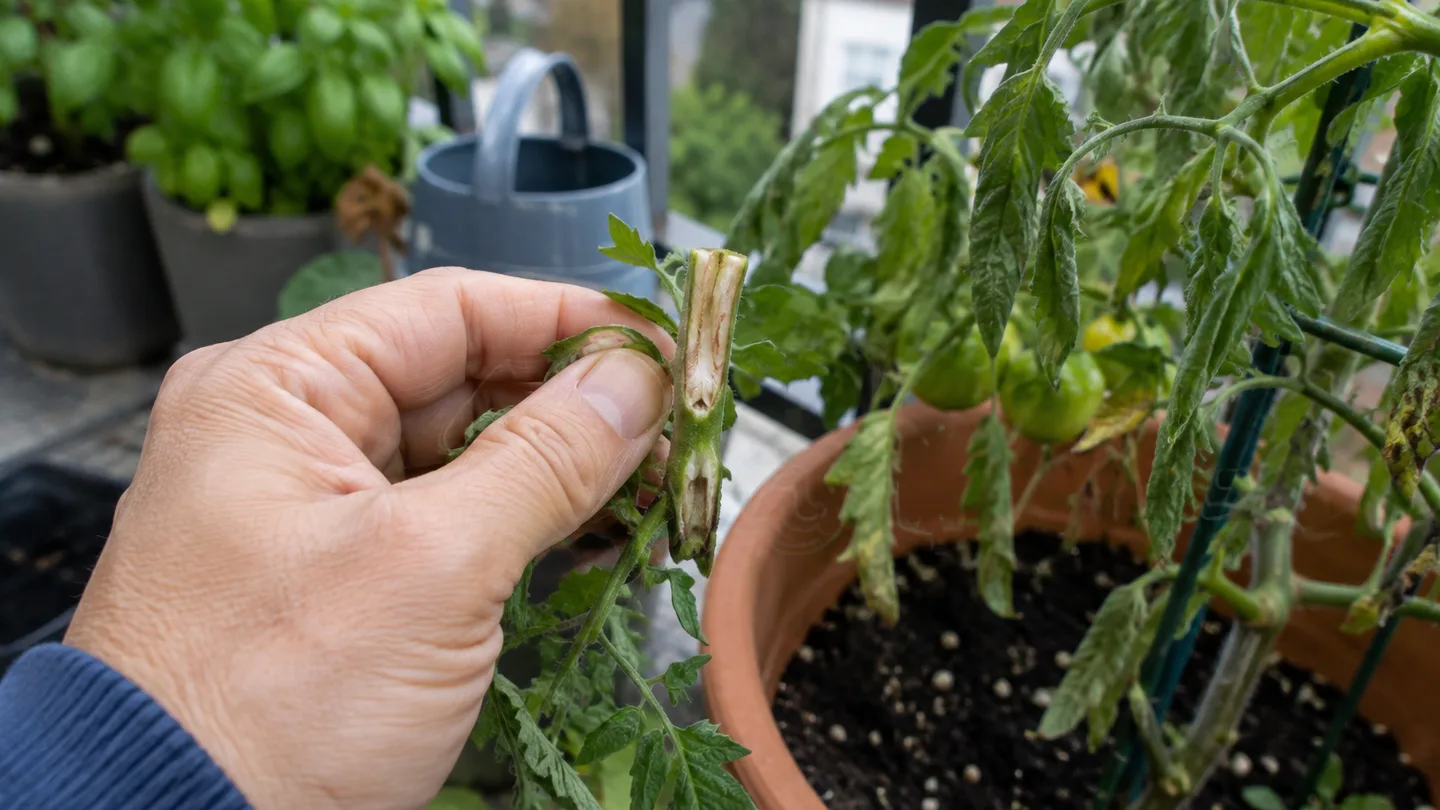
The warning pattern is wilt that fails to lift overnight, especially when it progresses from one side or branch to the rest of the plant. Yellowing between leaf veins, a steady decline despite suitable moisture, or brown streaking inside a freshly cut lower stem adds weight to the disease theory. Those signs overlap with root damage and stem injury, so wilt by itself cannot confirm a pathogen.
For comparison, I’d use university extension guidance on tomato wilt diagnosis alongside what you can see on the plant. The useful value of that reference is not a single photograph; it’s the symptom sequence and the distinction between vascular disease, root trouble, and environmental stress.
Watering won’t reopen tissue that is blocked or badly damaged. If the evidence points strongly toward a diseased plant, isolate it from nearby containers, remove it with as much root and mix as practical, and follow local disposal guidance. I keep suspicious tomato tissue out of home compost and avoid reusing the same potting mix for another tomato. Clean pruners and wash hands after handling it, especially before working on healthy plants.
There is an uncomfortable trade-off here. Saving one visibly declining tomato can put the other pots at risk if the cause is infectious. When the plant is collapsing despite correct moisture and has internal stem streaking, removal is often the more responsible balcony decision, even though it feels wasteful.
Cause 7: Pests are draining sap or damaging the roots
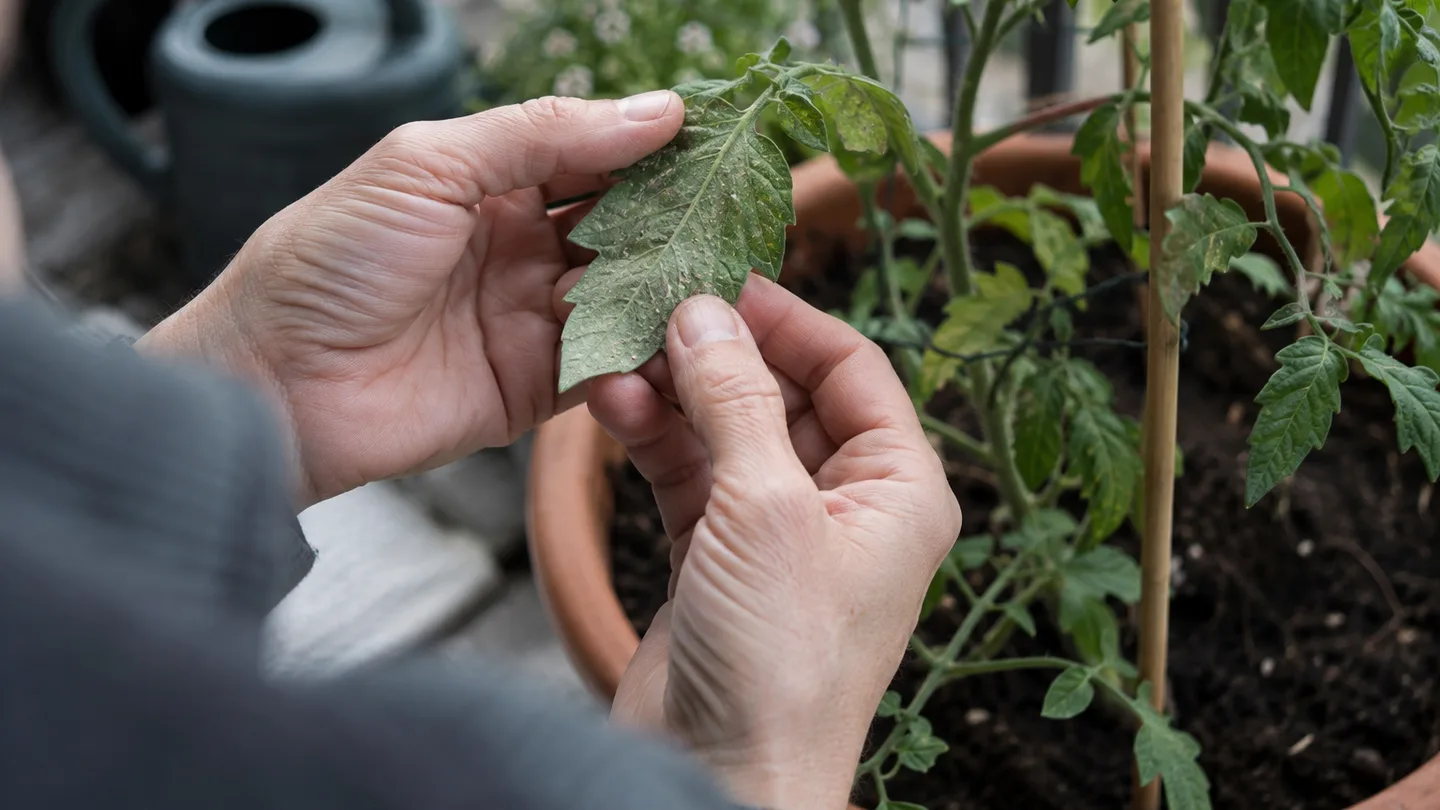
Sap-feeding pests can make a tomato look drought-stressed by removing fluids from leaves and tender shoots. Start underneath the leaves and around the growing tips. Aphids may cluster on soft new growth. Whiteflies flutter when the plant is disturbed and may leave sticky honeydew. Mites can produce pale stippling, bronzed leaves, and fine webbing when an infestation has advanced.
Use a piece of white paper beneath a suspect branch and tap the foliage over it. Tiny moving specks are easier to see against the paper than on a green leaf. Feel for stickiness on the leaves below an infested shoot, and inspect new growth before assuming the roots are at fault. The page on spider mites on plants covers the fine webbing and stippled-leaf pattern in more detail.
Root-feeding pests create a different picture: the tomato stays stunted, wilts repeatedly, and never seems to make a strong recovery after watering. If you carefully slide the plant out, swollen knots or galls on the roots can point toward root-knot nematodes. Root damage is not always visible from the surface, and a rough inspection can break more roots, so I only check when the moisture and stem clues don’t fit.
Match the response to what you actually find. Rinse accessible insects from the leaves, remove heavily damaged foliage, and improve airflow around crowded pots. For a treatment, use only a product labelled for the edible crop and the pest you have identified, following its harvest interval and application directions. I wouldn’t spray a homemade concentrate simply because the leaves look sad; the wrong product can burn foliage and obscure the original symptom.
For identification and treatment choices that vary by region, compare the plant with integrated pest management guidance for tomato pests. If severe root damage has left very little healthy root tissue, the plant may not recover in its current pot; that’s a point where replacing the mix and choosing a clean container can be more sensible than repeated spraying.
The five-check rescue sequence for a wilted tomato today
When I’m standing beside a limp container tomato, I use the least disruptive checks first. Water is easy to add and difficult to remove from a saturated pot, so the hose comes after observation rather than before it.
| Check | What the result suggests | Next physical move |
|---|---|---|
| First light | Recovered leaves suggest a temporary stress pattern; persistent limpness needs deeper checking. | Continue through the sequence if it has not recovered. |
| 5 cm (2 in) down | Dry mix supports watering; damp or wet mix makes extra water a poor first move. | Water in two or three slow passes only when the root zone is dry. |
| Pot and saucer | A very light pot suggests lost moisture; standing water or a blocked hole suggests drainage trouble. | Tip-check safely, empty the saucer, and clear the outlet. |
| Stem and supports | Wilt above a pinch, crack, or tight tie points to physical interruption. | Loosen, support, or remove the damaged section cleanly. |
| Leaf undersides and roots | Sticky residue, stippling, webbing, or root knots moves pests higher on the list. | Identify the pest before choosing an edible-crop treatment. |
If the plant is limp but the mix is wet, keep water off for now. Give it bright shelter from harsh afternoon sun, check that the holes are open, and watch whether the leaves improve as the pot drains. If the decline continues overnight, inspect the roots and lower stem rather than repeating the same watering cycle.
Keep the wilt from returning: pot volume, support, mulch, and a weekly check
Pot size is part of wilt prevention, not just a space issue. For a compact or determinate tomato—a variety that finishes at a more manageable size—I’d use roughly 20–30 litres (5–8 gallons) of root volume. A vigorous indeterminate tomato, which keeps producing tall growth through the season, generally deserves about 30–40 litres (8–10 gallons) or more. The variety’s mature size, the balcony’s wind, and how often you can water should decide where you land in those ranges.
A larger pot gives the roots more room and creates a bigger moisture buffer, but it also weighs more when saturated. Check your balcony or rooftop’s load rules before moving up to a large ceramic container. A sturdy plastic pot can provide the needed volume without the empty-pot weight of thick pottery.
Install the support while the plant is small, before a heavy canopy or fruit cluster pulls the stem sideways. Keep 2–5 cm (1–2 in) of loose mulch on the surface, with a bare margin around the stem so damp material isn’t pressed against it. Once a week, check moisture at 5 cm, confirm that water can leave the pot, look at every tie, and turn over a few leaves. During hot, windy weather, make that inspection daily.
Before the weekend, measure the pot’s internal width and depth, clear the drainage holes, and loosen any tie that no longer leaves a finger of space. In a week, the useful sign isn’t merely a greener plant: it’s a tomato that stays firm through the morning, has evenly moist—not soggy—mix below the surface, and shows no new damage above the stem or under the leaves.